


Uploading assets with Cloudinary
Contents
We use Cloudinary for asset management (image and video uploads), mainly to reduce website build times (as each image hosted within the repo has to get processed on each build). Offloading assets to Cloudinary saves time and resources.
Uploading assets via the PostHog.com uploader (recommended)
- Sign into your PostHog.com account via profile icon in top right corner
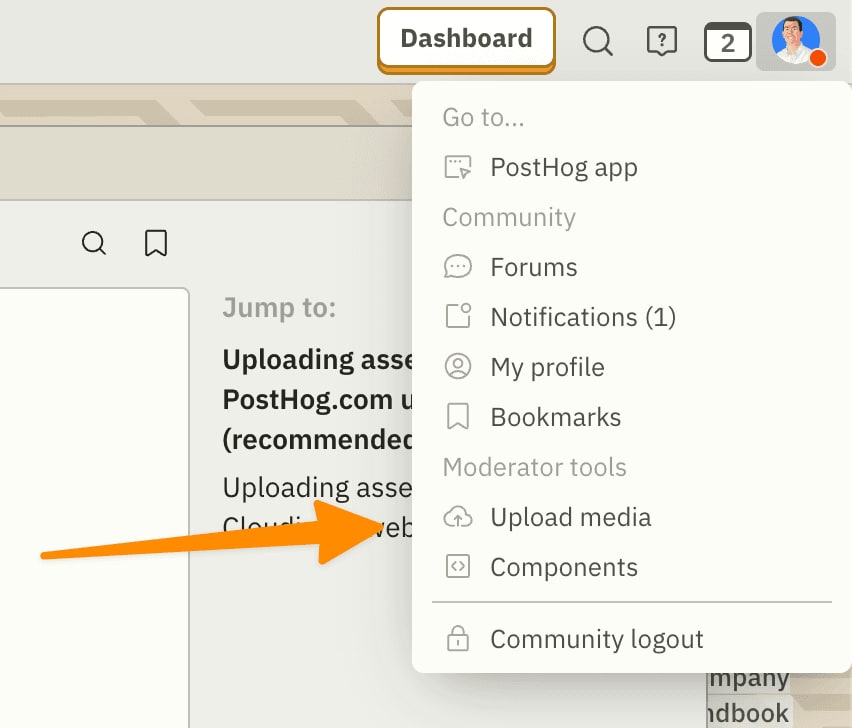
- Click the account menu, then under Moderator tools choose Upload media
- Open a folder, select, drag, or paste media to upload. This supports images, gifs, and videos. Cloudinary provides optimized links for images, but you'll want to optimize other formats before uploading.

- Copy the file URL and insert wherever you need it
Uploading assets using the Cloudinary website (don't use this option)
You shouldn't need to login to Cloudinary directly. Use the website uploader instead.
Go to the Cloudinary dashboard and log in. (Find the login in 1Password.)
Pro tip: Double-click a folder to drill in, despite the cursor pointer indicating it's a link you only need to click once.
Click 'Upload' in the top right, then drag and drop. The upload button will not appear unless you follow the exact link above into the image folder.
Add the filename (and any folders) to the base asset URL:
Use the full URL in your docs or handbook update