


Google Tag Manager
Contents
Google Tag Manager helps you add code snippets or tracking pixels to your website in a low-code way to send data to services like marketing and analytics tools.
It is an easy way to integrate PostHog into your website without having to update your codebase.
How to add PostHog to Google Tag Manager
Get your PostHog snippet with your project token and instance address from your project settings.
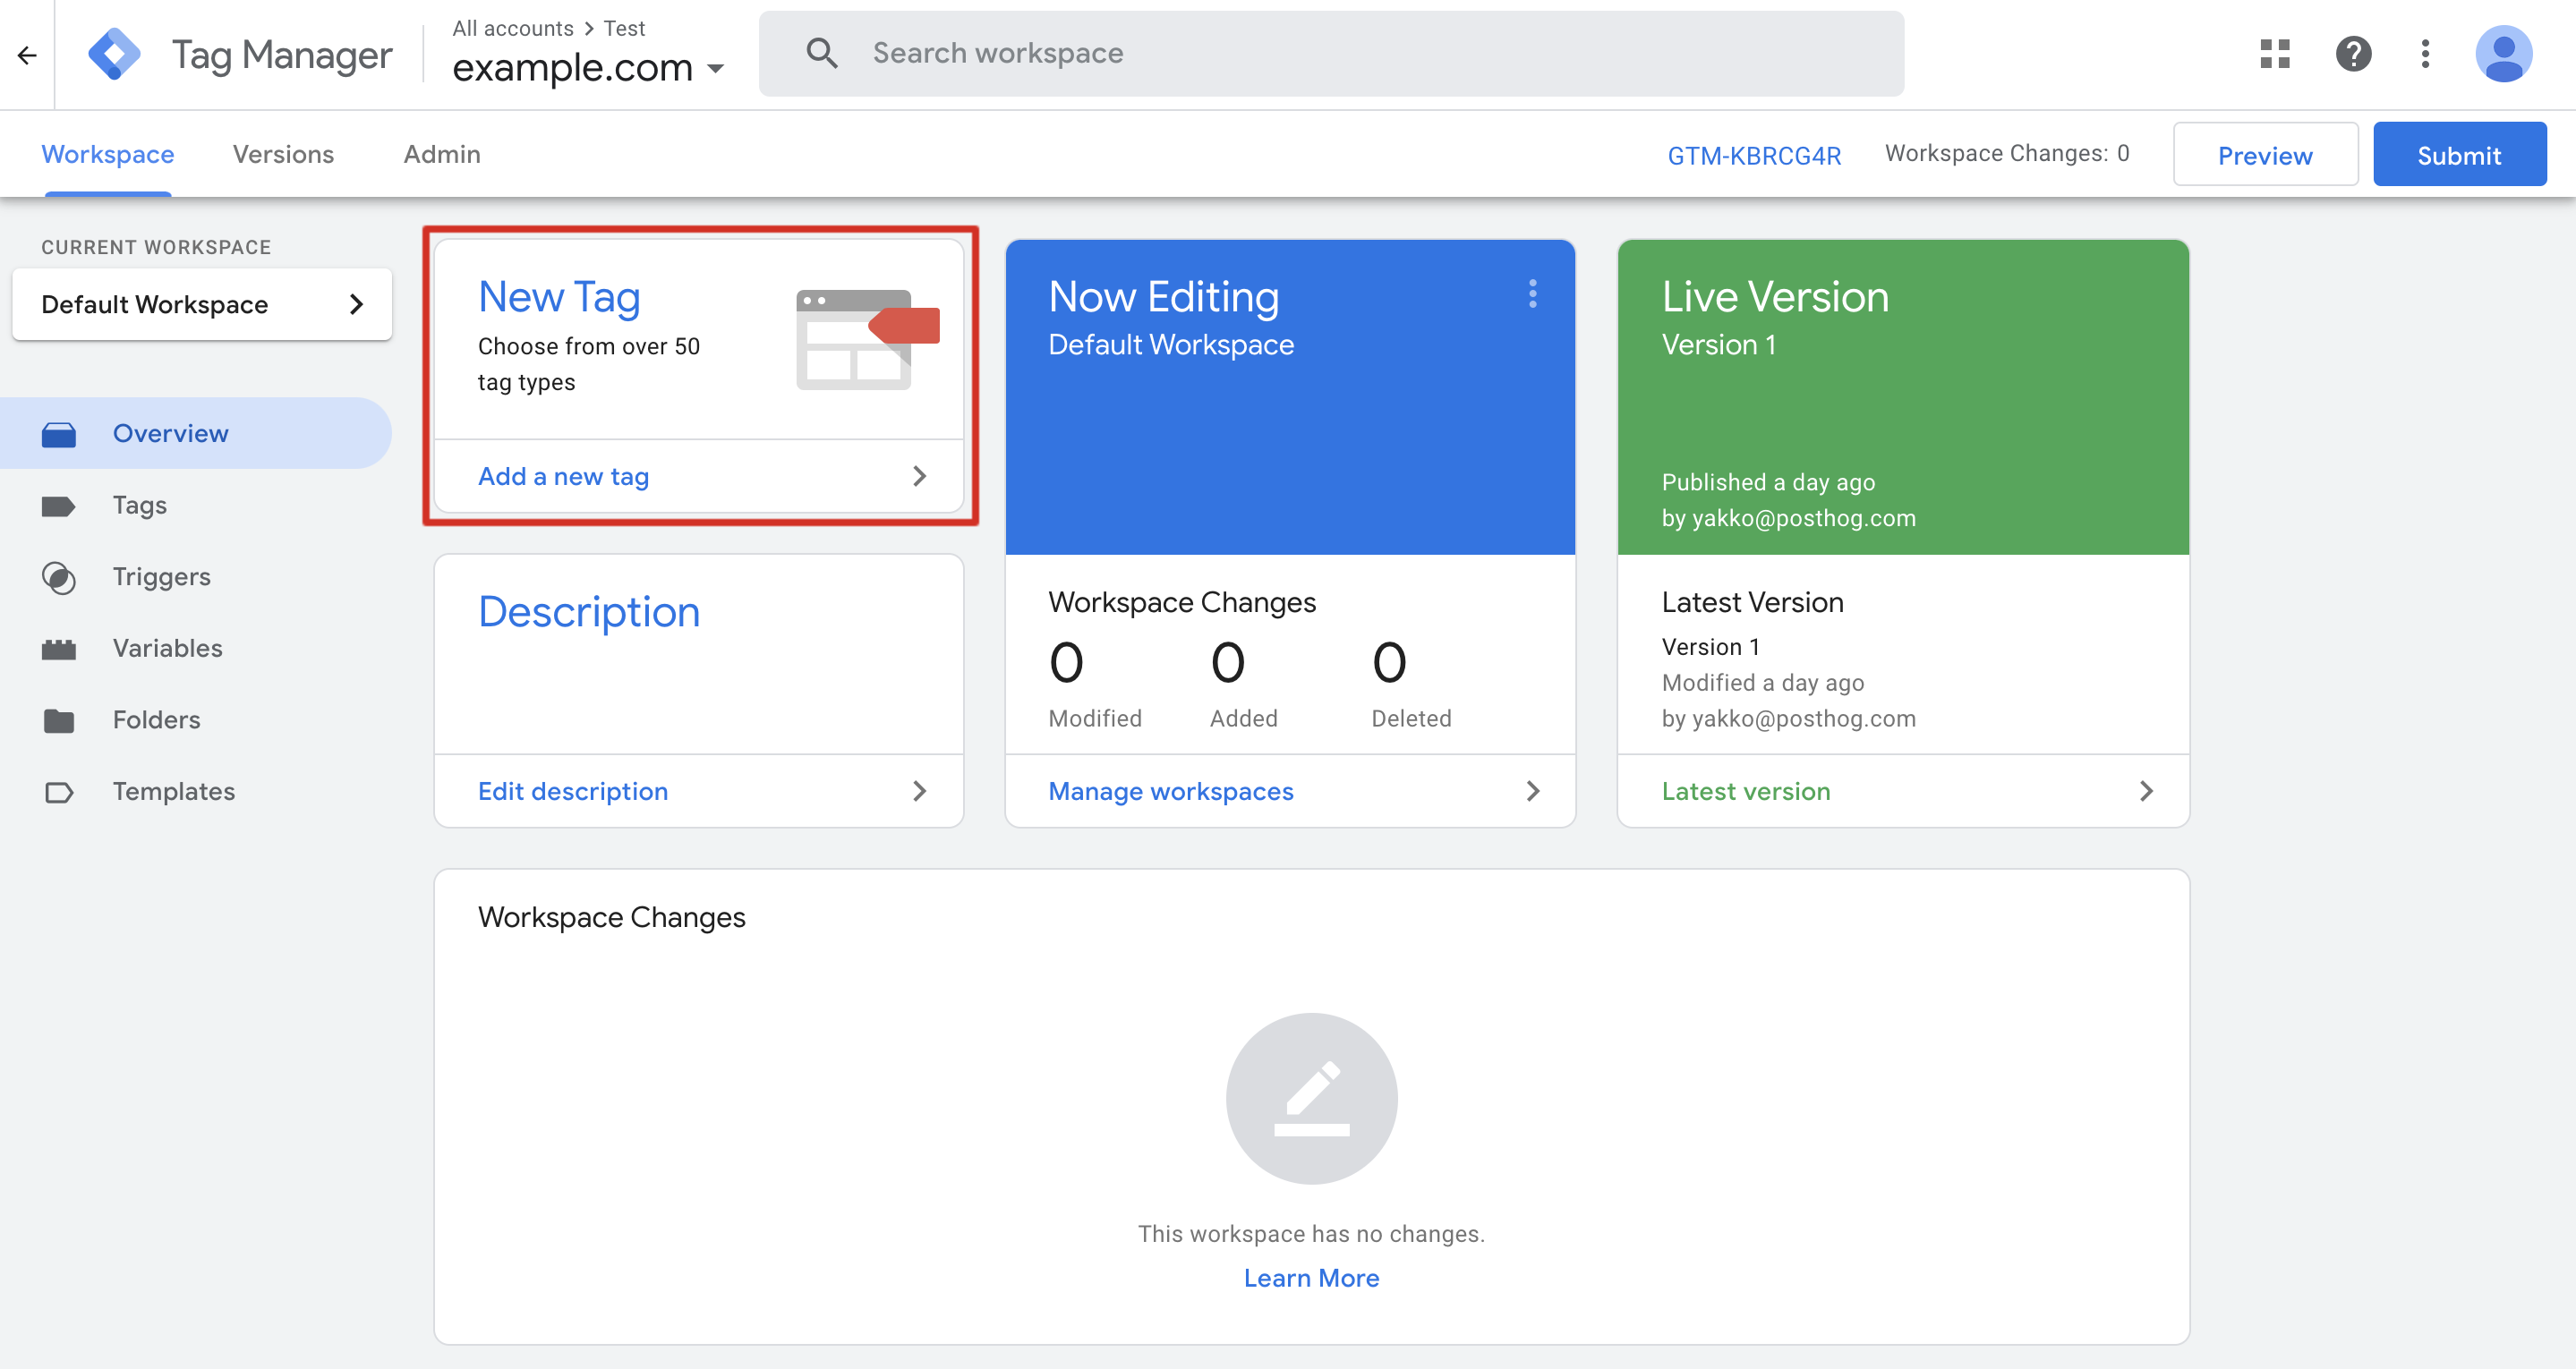
Assuming you have already set up Google Tag Manager, go to your dashboard and navigate to the desired account/container that is integrated with the website you want to add PostHog tracking to.
Click to add a new tag:
Under Tag Configuration, choose Custom HTML and add your PostHog snippet.
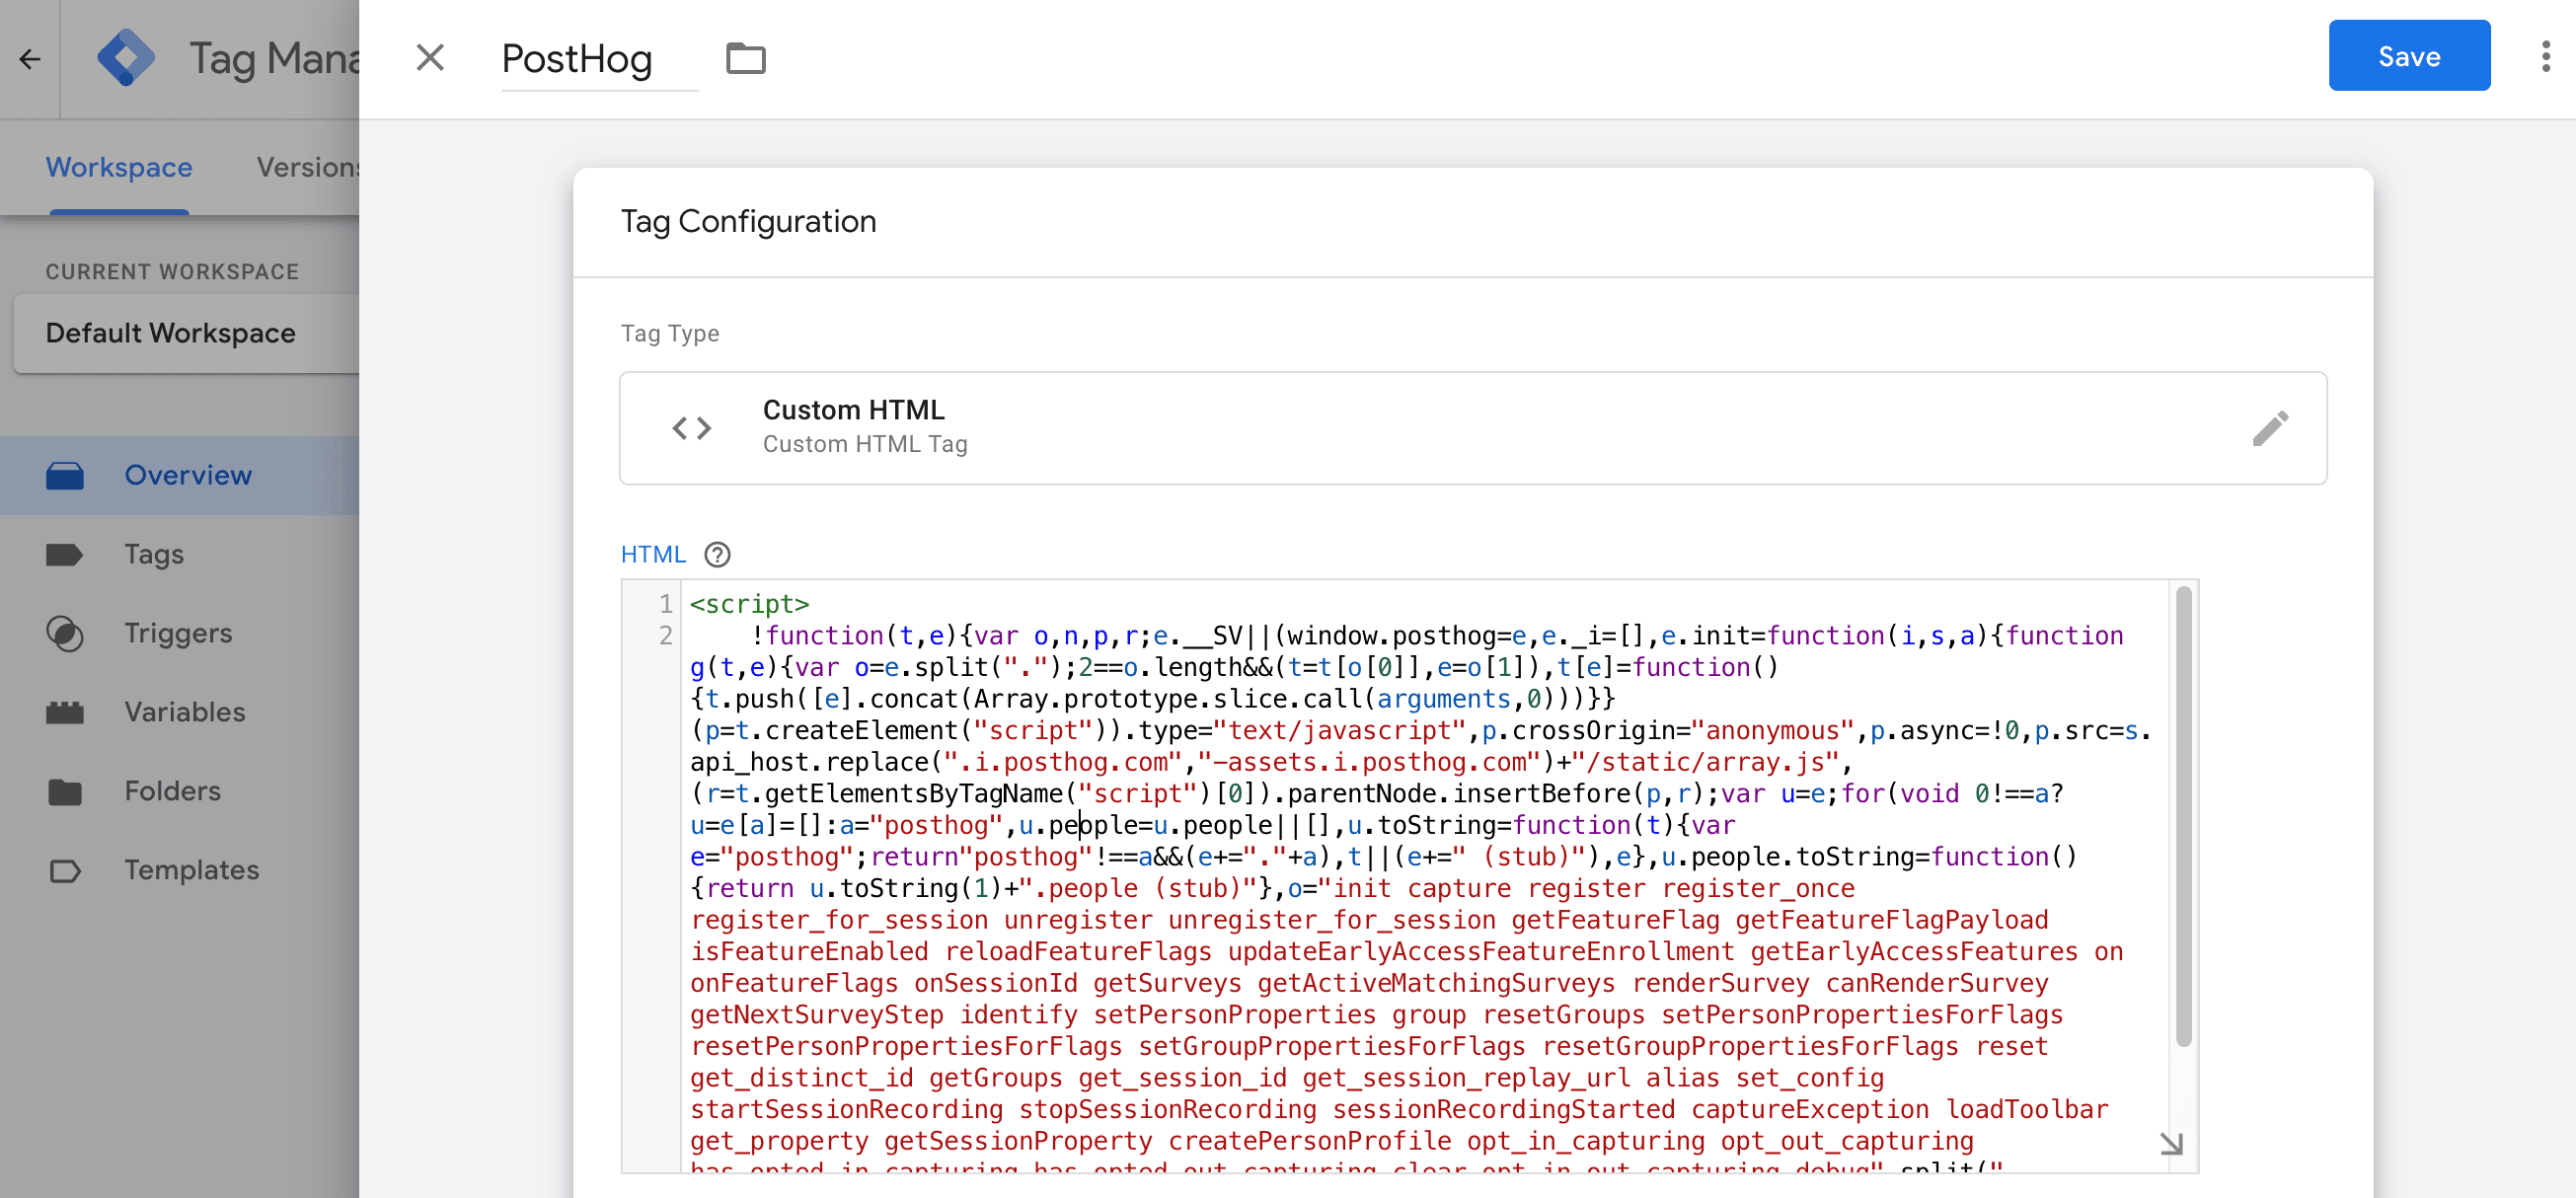
For the trigger, select the default All Pages - Page View trigger and then click Save.
Back on the main dashboard, click Submit to update your website with the new PostHog tag.
You're done! PostHog is now added to your site and autocapturing data like pageviews and clicks.
To confirm PostHog is configured correctly, visit your website and then check if the events from your session appear in the activity tab. It may take a few minutes for events to appear.
Using all the features of PostHog via Google Tag Manager
PostHog works the same via Google Tag Manager as it does via our snippet directly. This means you can use all of the features like session replays, surveys, and more without additional setup.
Some of these do require calling PostHog, which you can do by checking for the window's posthog object and calling any of its methods. For example, you can capture a custom event like this:
You can find the full list of methods in our JavaScript Web docs.