User paths are a type of insight that enable you to follow users along their journey through your product and determine where the biggest drop-offs are.
You can learn the following from paths:
- Where users are getting confused or stuck.
- Which parts of your app people are actually using.
- Why users aren't discovering new features.
- Where new users are landing into your marketing website.
How to create a paths insight
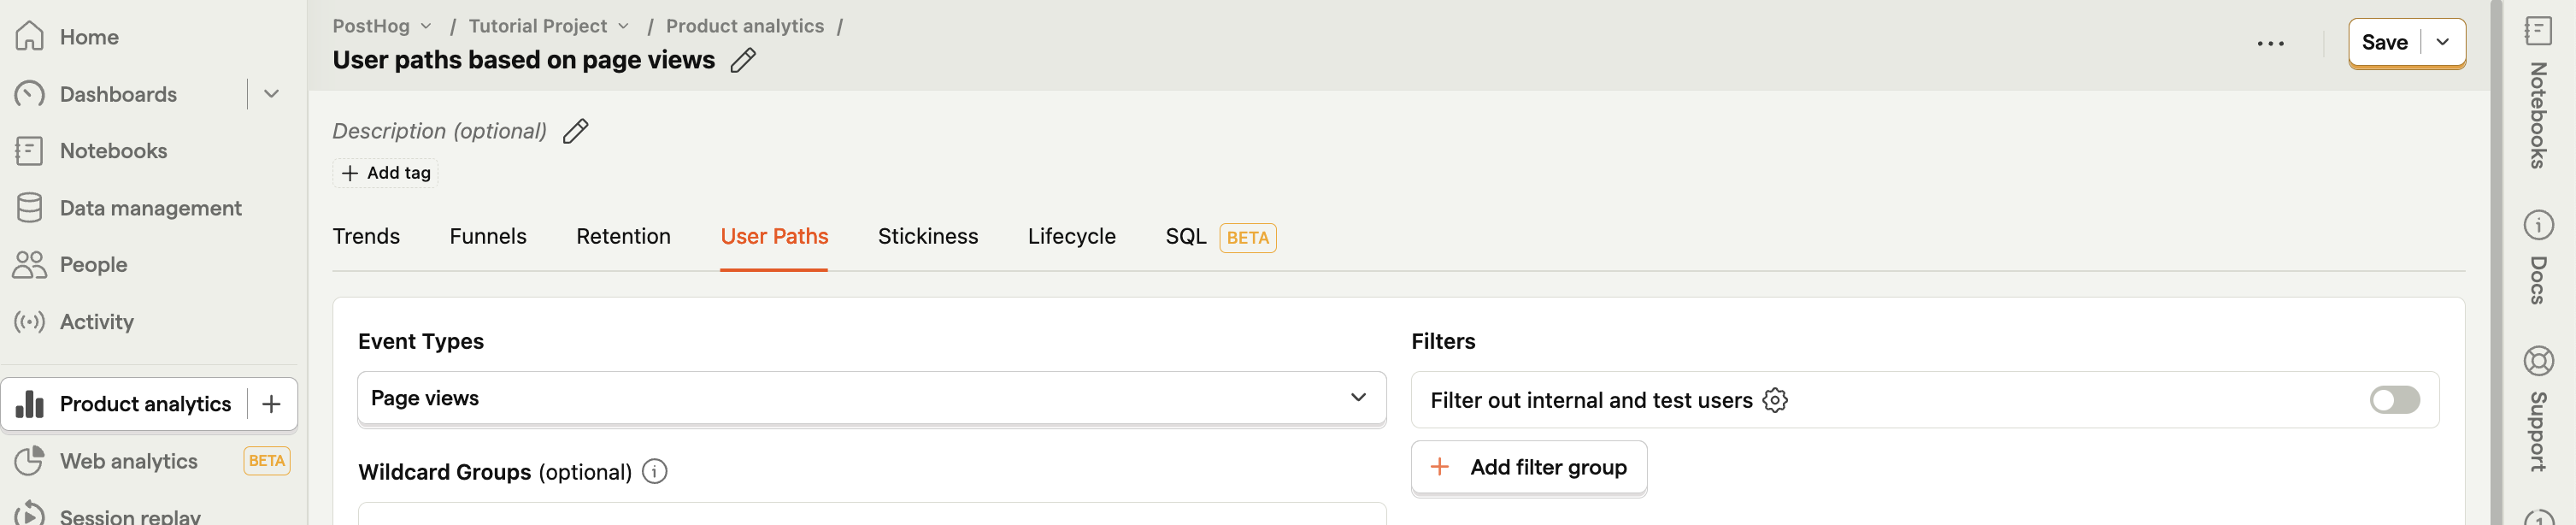
- Click Product Analytics on the left sidebar
- Click the + New insight button
- Select the User Paths tab

Understanding paths
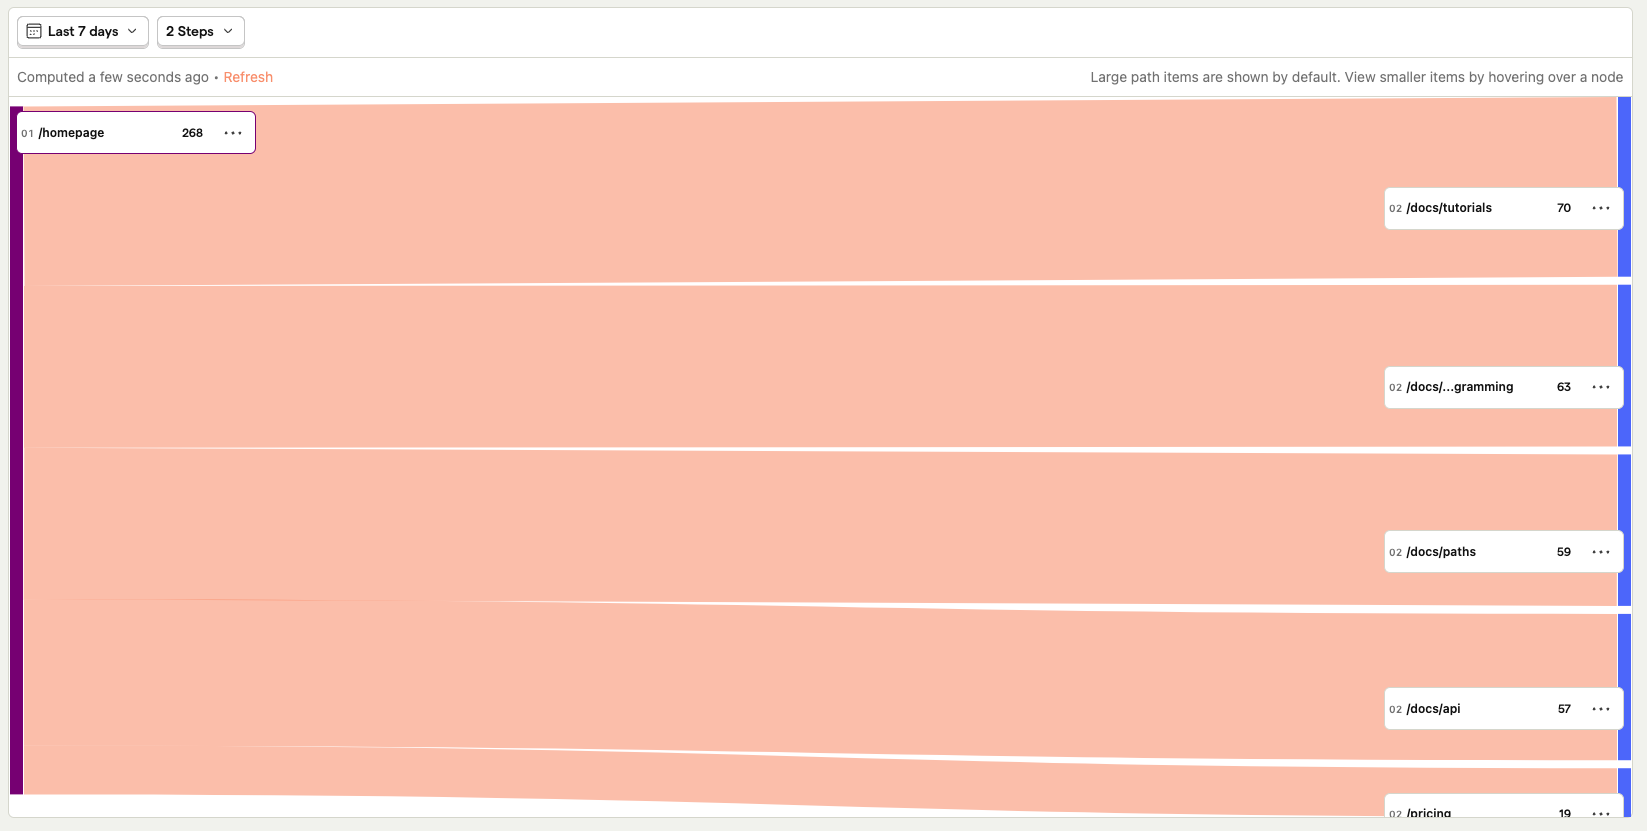
Paths can be overwhelming at first, especially if they have many steps. To help you understand them better, here's a simple example:
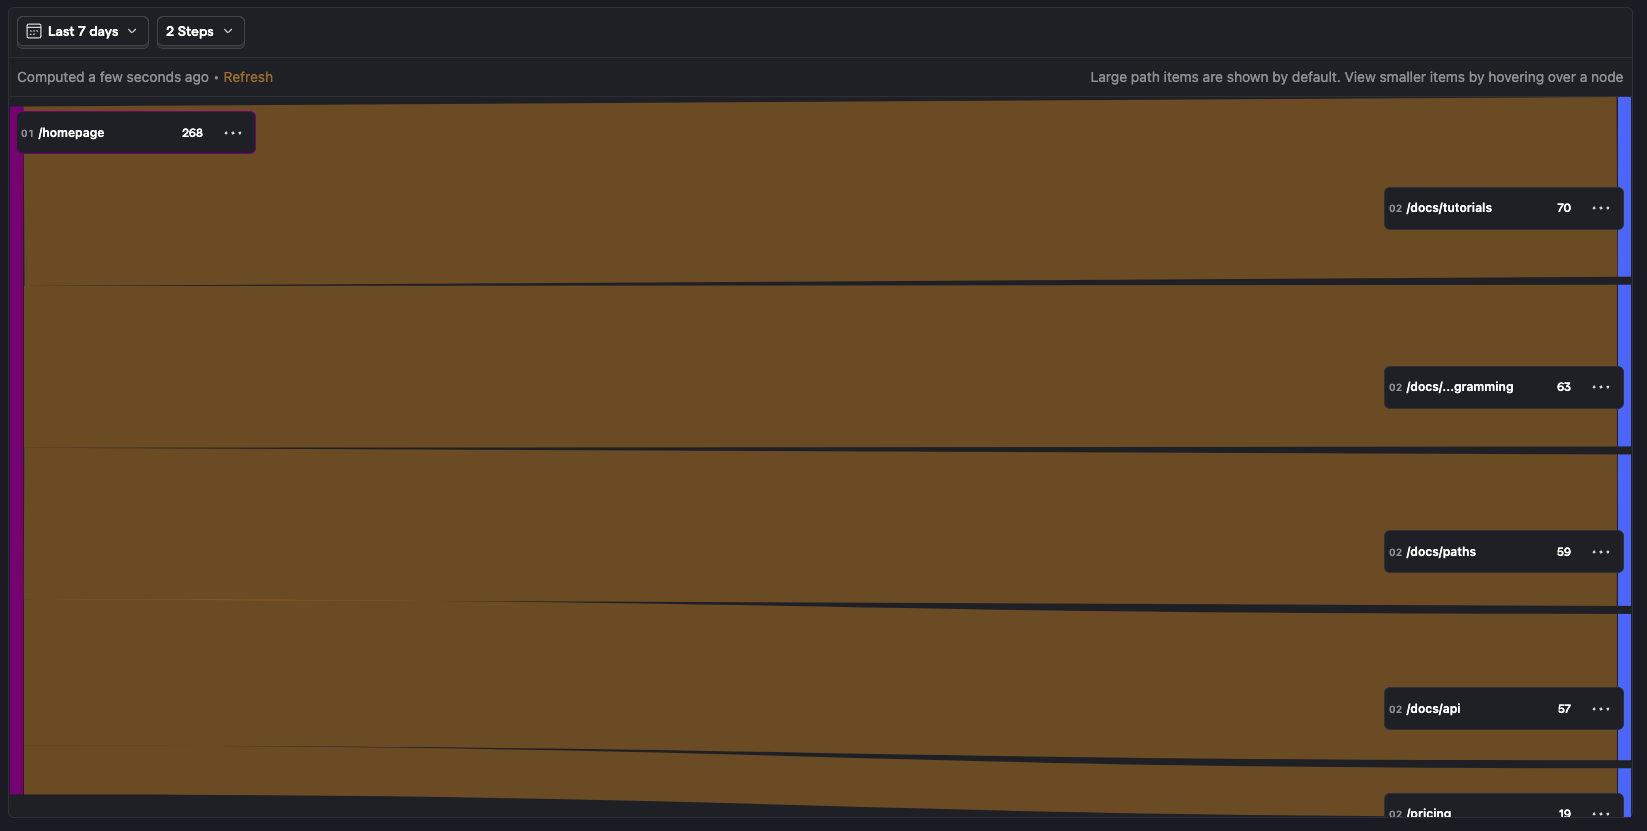
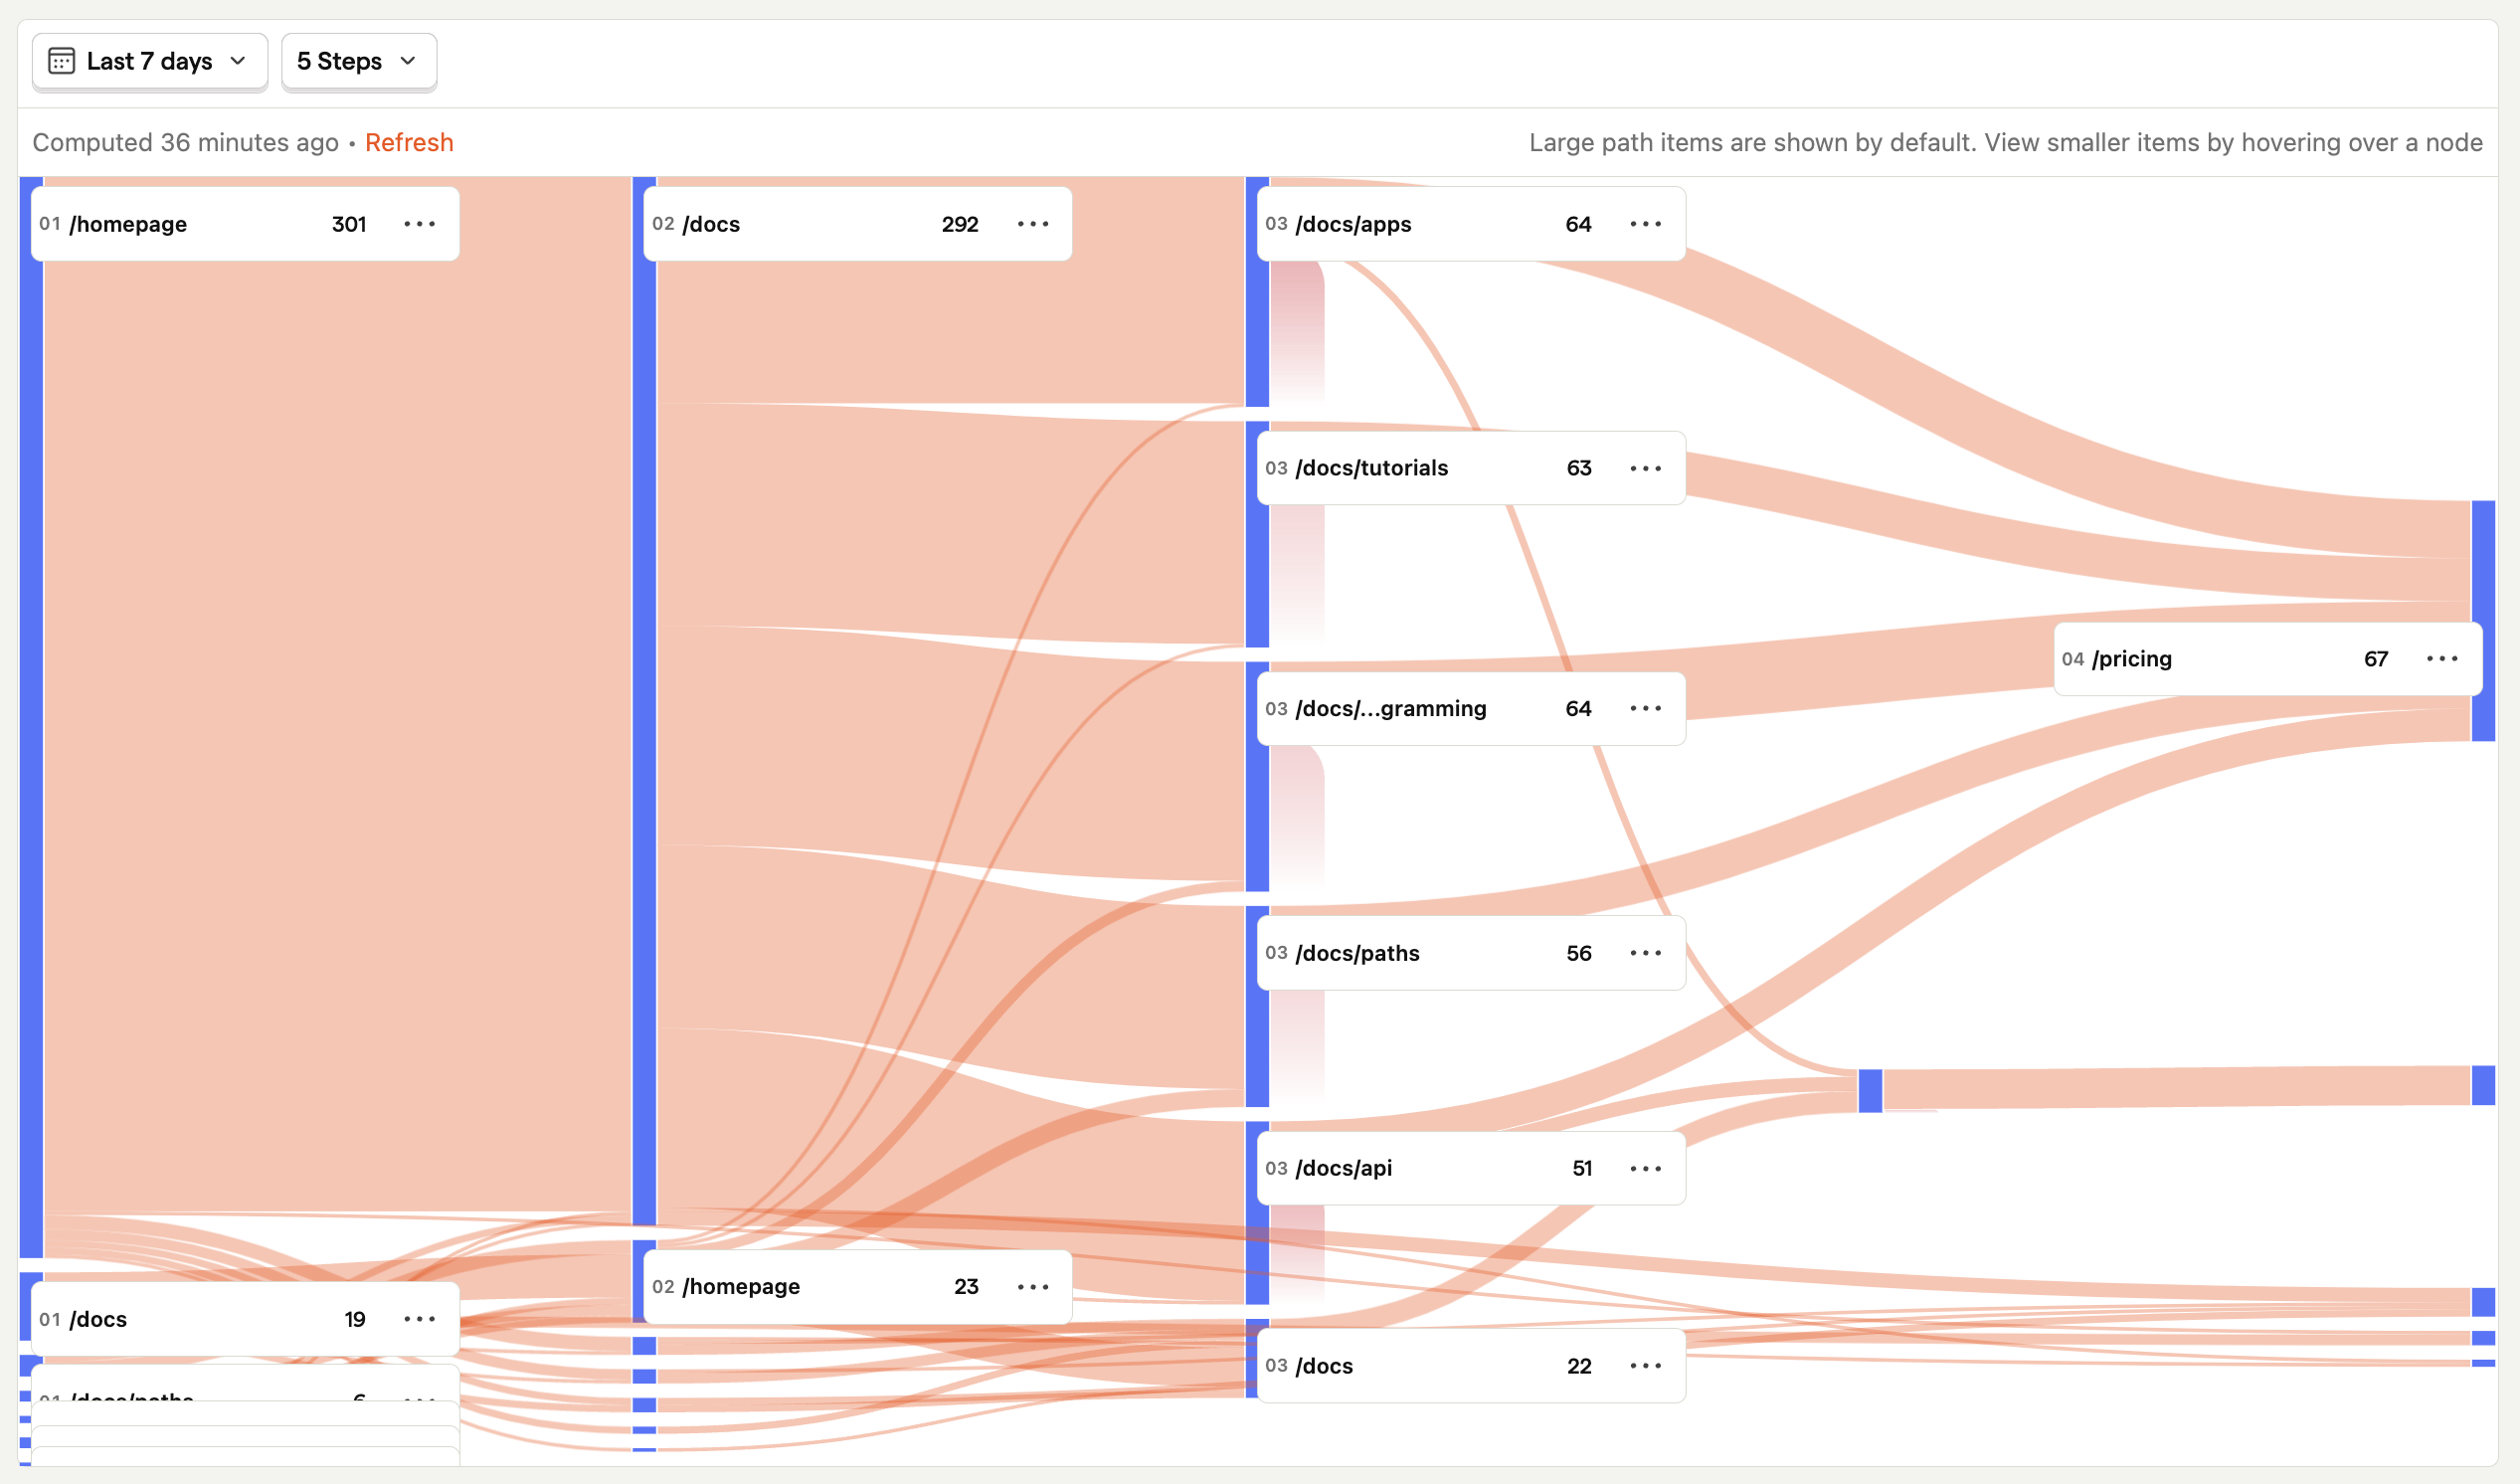
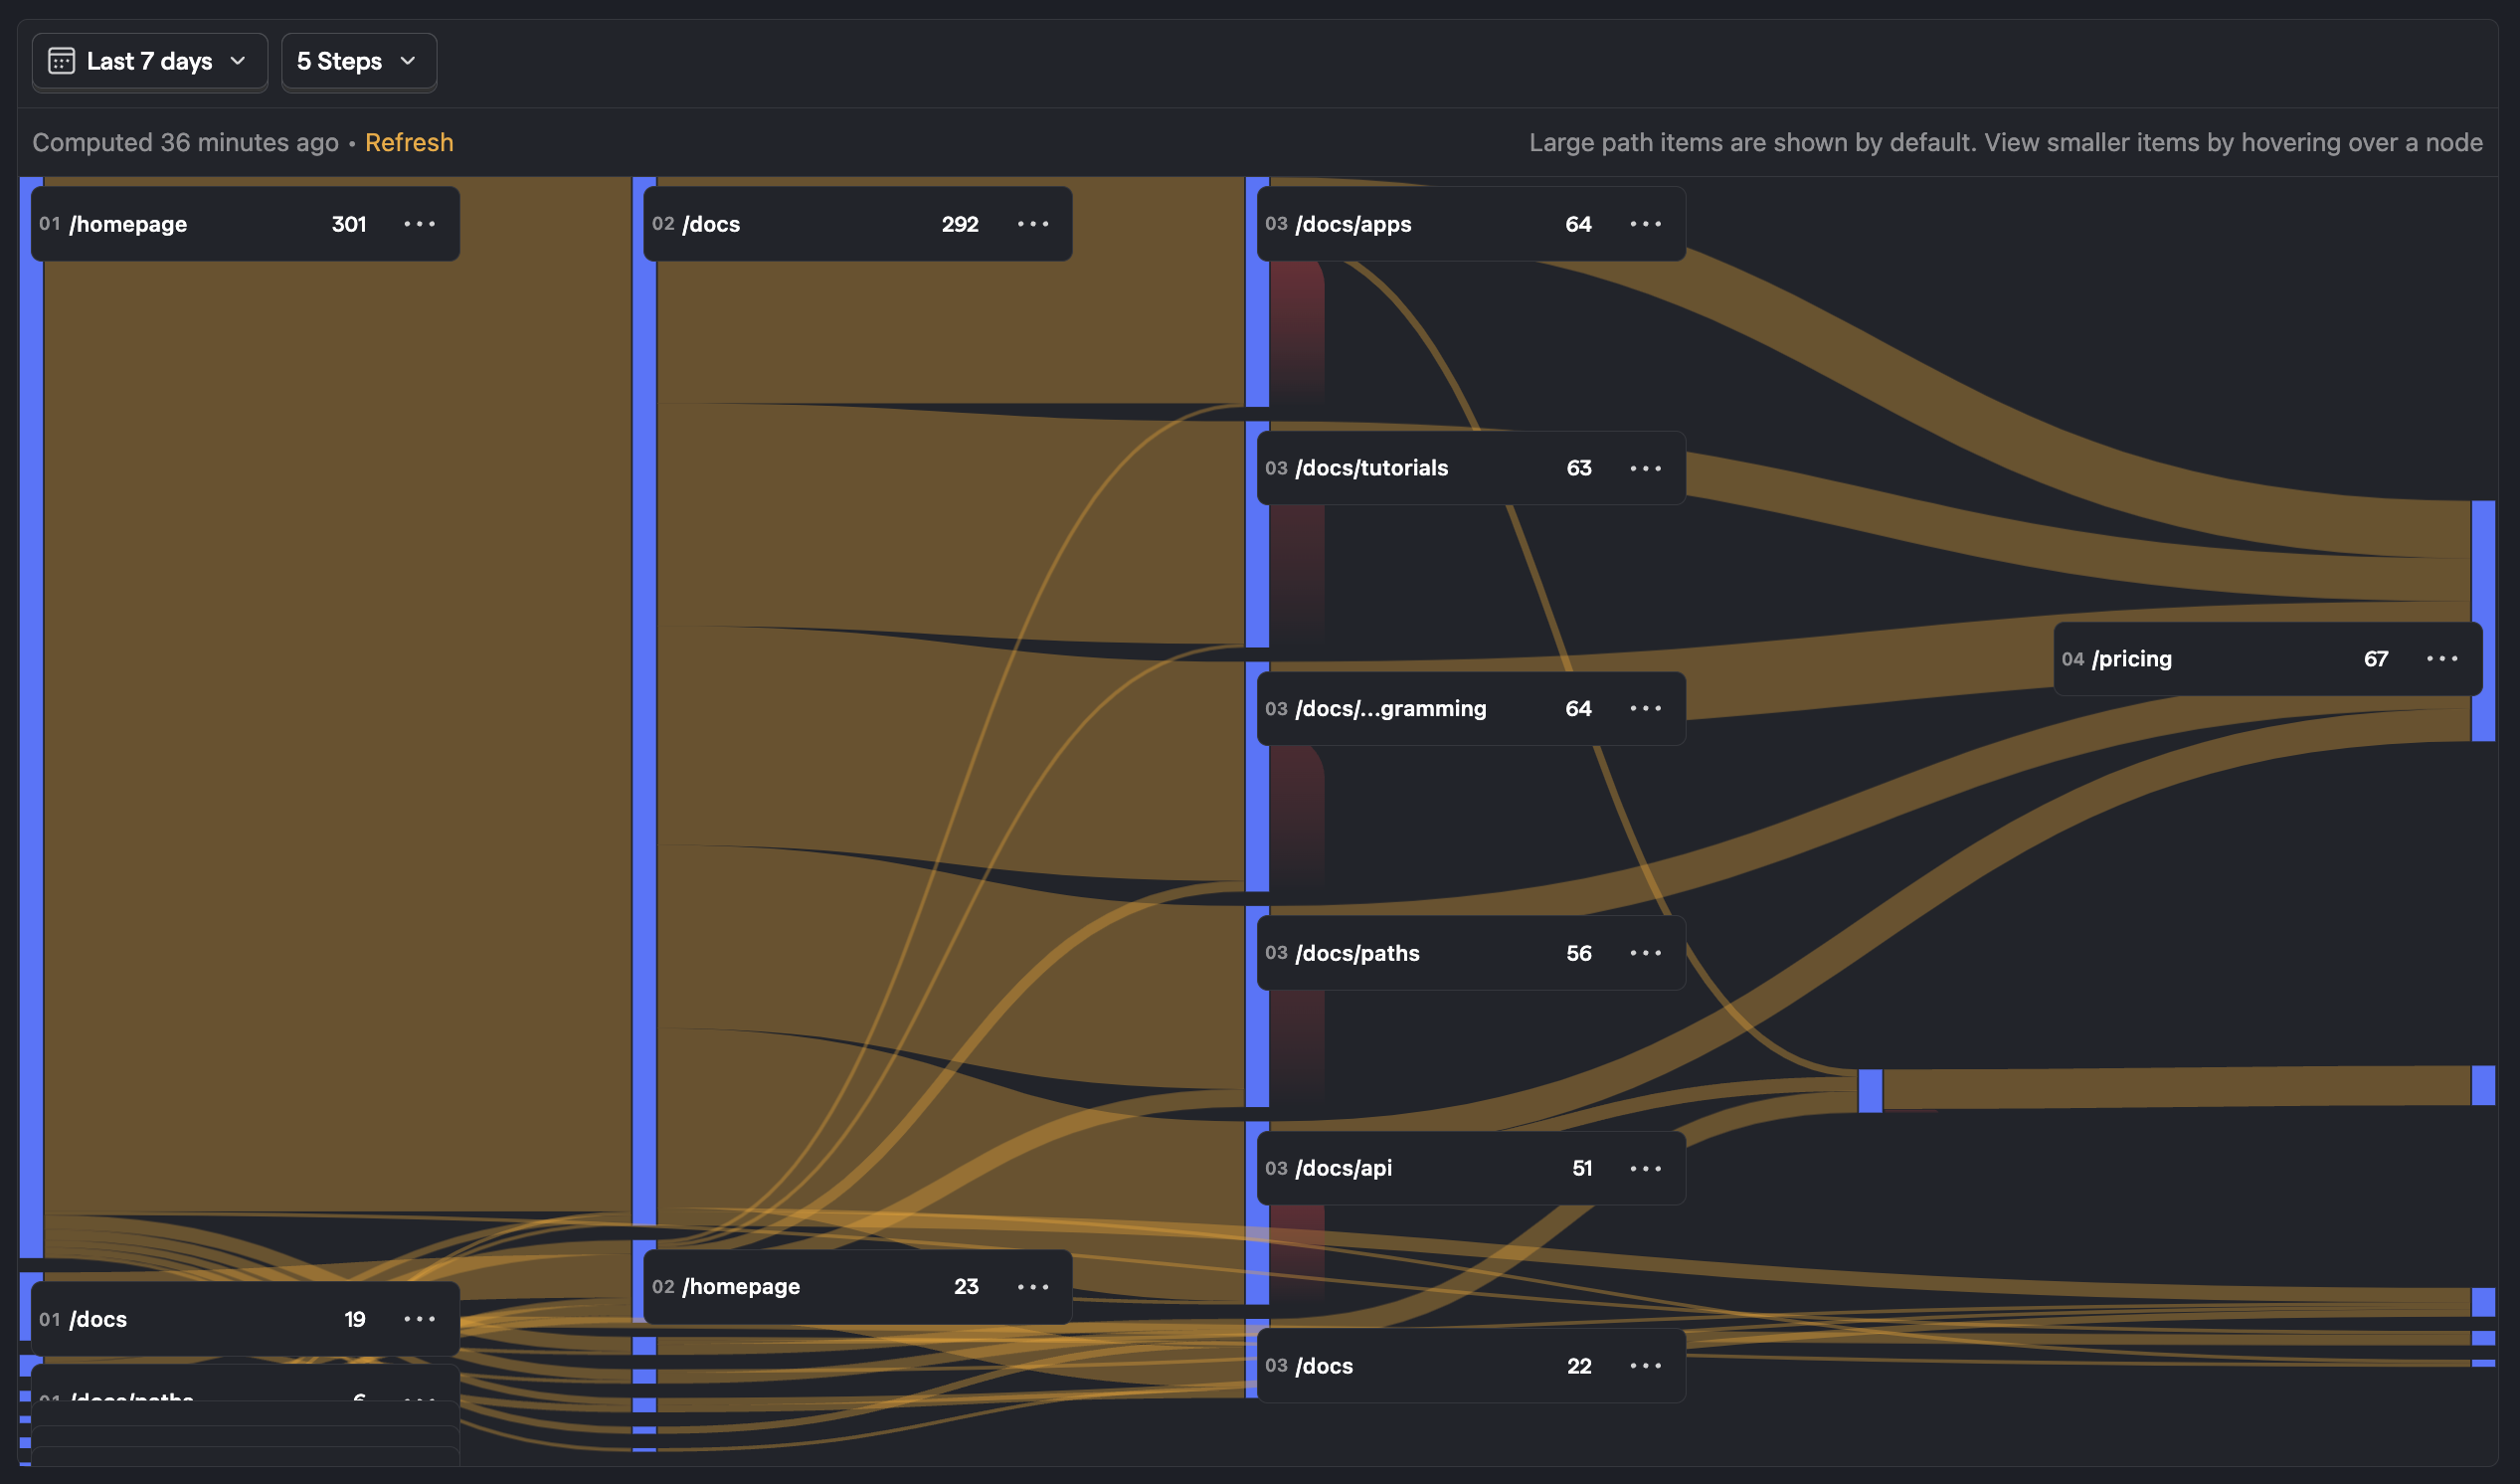
Each step along the path is a page that the user viewed, and the horizontal bars correspond to a user navigating from one page to another. The numbers next to the paths correspond to how many distinct users passed through this specific step along the way.
In the above, the first step shows that 268 people viewed the homepage /homepage. From the homepage, we can see that people either viewed the /docs/tutorials page next, or the /docs/...gramming page next, or the /docs/paths page, and so on.
Exploring a specific step within a path
You can dig deeper into a specific step by hovering your mouse over it:
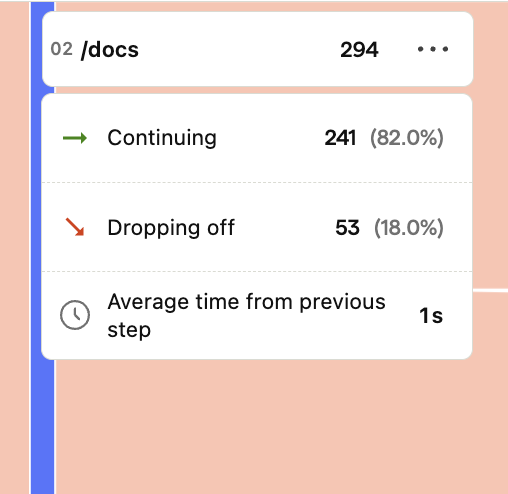
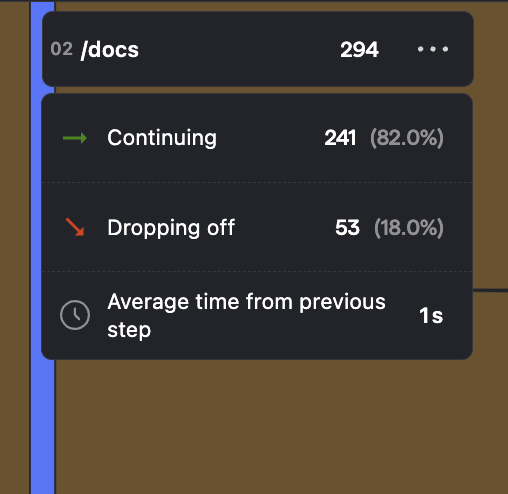
This gives us the exact conversion rate of this step, as well as the average time it took users to get here from the previous step. In addition to this information, you can also click on the ••• icon to bring up a menu with a number of actions for this step:
- Set as path start - Sets this step as the starting point for your path. This is useful for exploring where your users navigate to after a specific step.
- Set as path end - Sets this step as the ending point for your path. This is useful when analyzing the ways a user ends up at a specific step or learning why users dropped off.
- Exclude path item - Adds an exclusion rule for this specific event.
- View funnel - Opens a new funnel insight with this event already set as the first step. This is useful when analyzing drop-off of a specific step.
- Copy path item name - Copies the event name to your clipboard.
Viewing recordings and creating cohorts from a step
One of the most powerful features of paths is the ability to see all the users who passed through a specific step. To do this, click on the number next to the name of step. This brings up a list of all of these users.
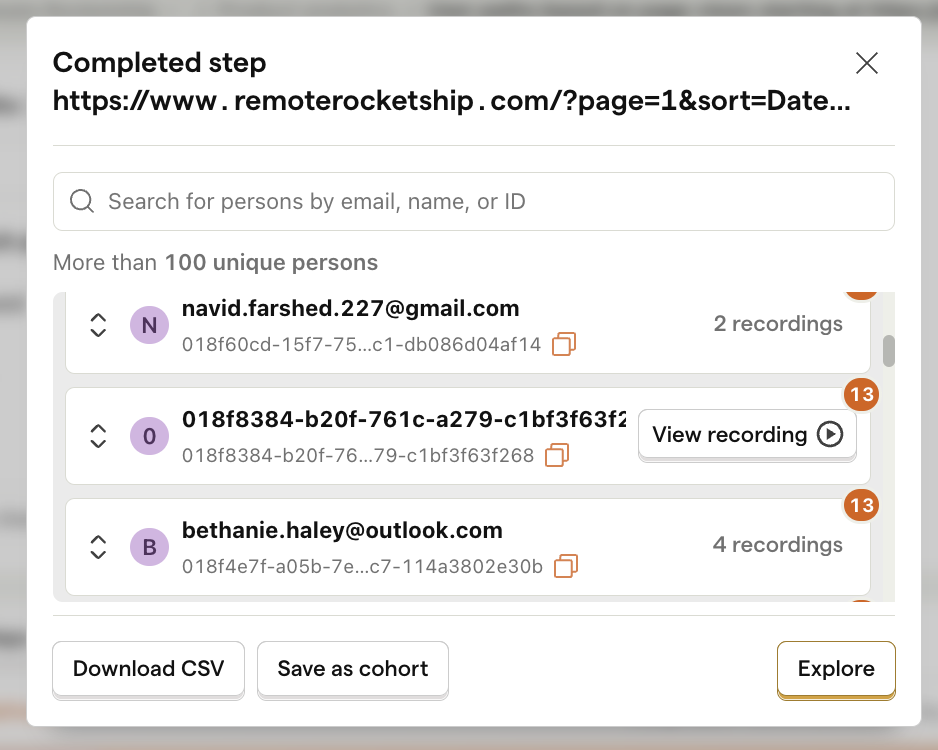
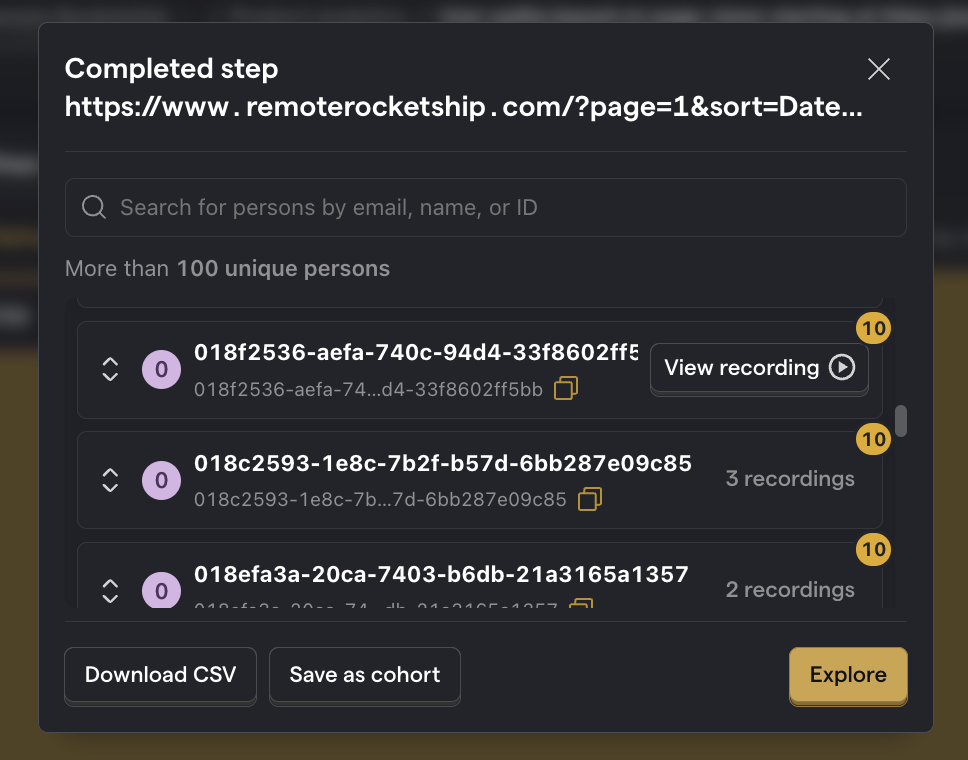
You can then create a cohort of users who passed through the step by clicking the Save as cohort.
If you have enabled session replays, you can also see recordings of a user sessions for this step by clicking the View recording button. This is helpful when diagnosing problems with your funnels.
Configuration options
This next section provides detailed information on the different configuration options of the paths insight.
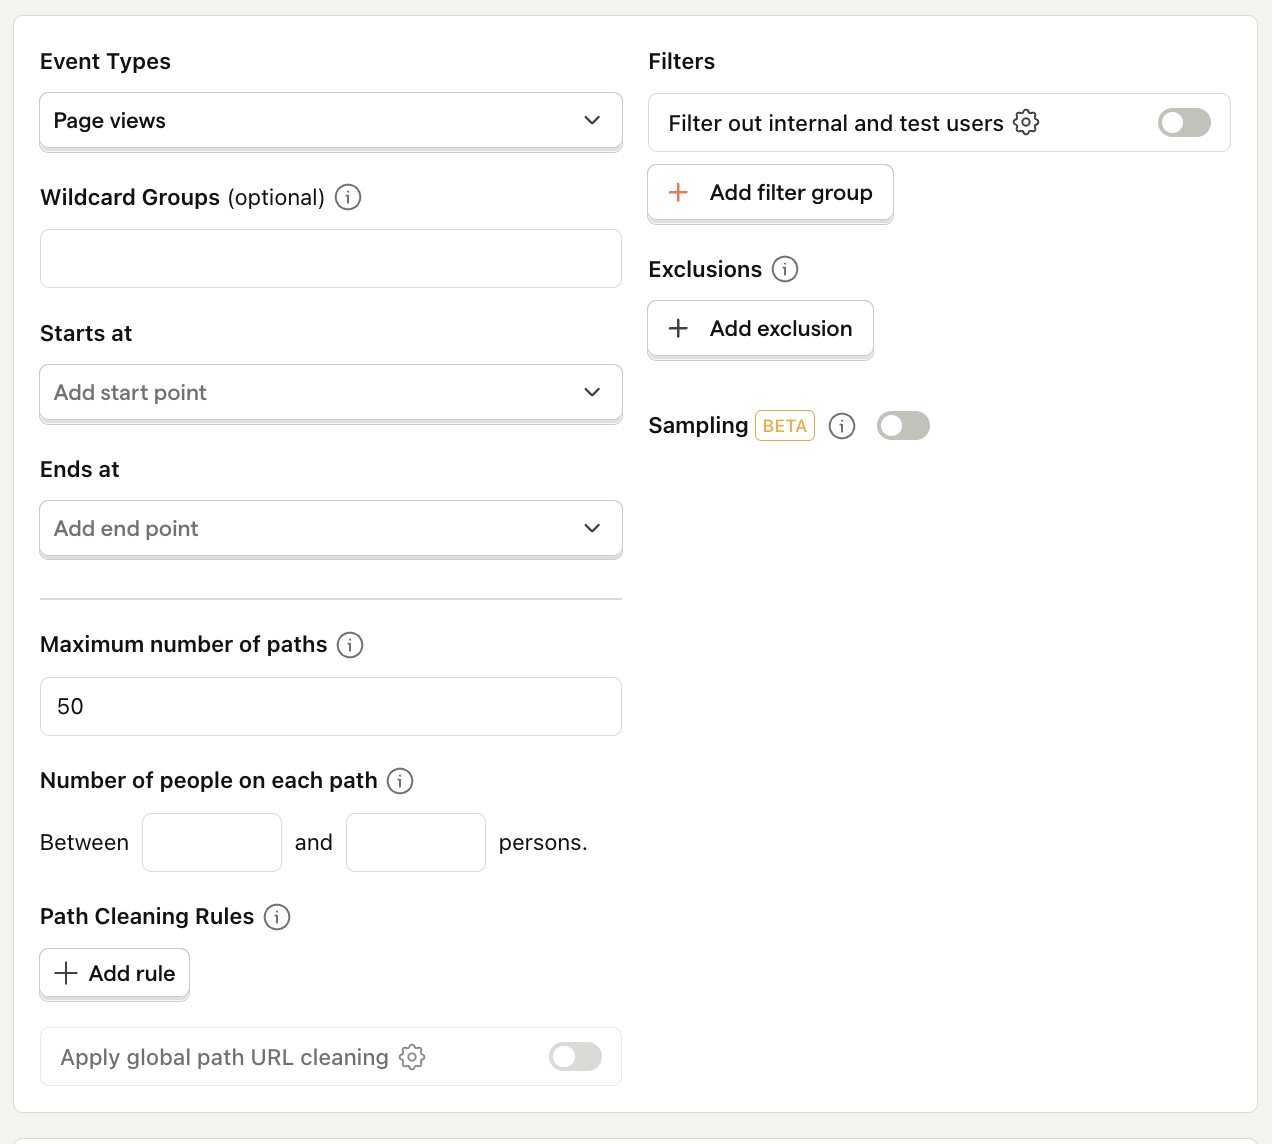
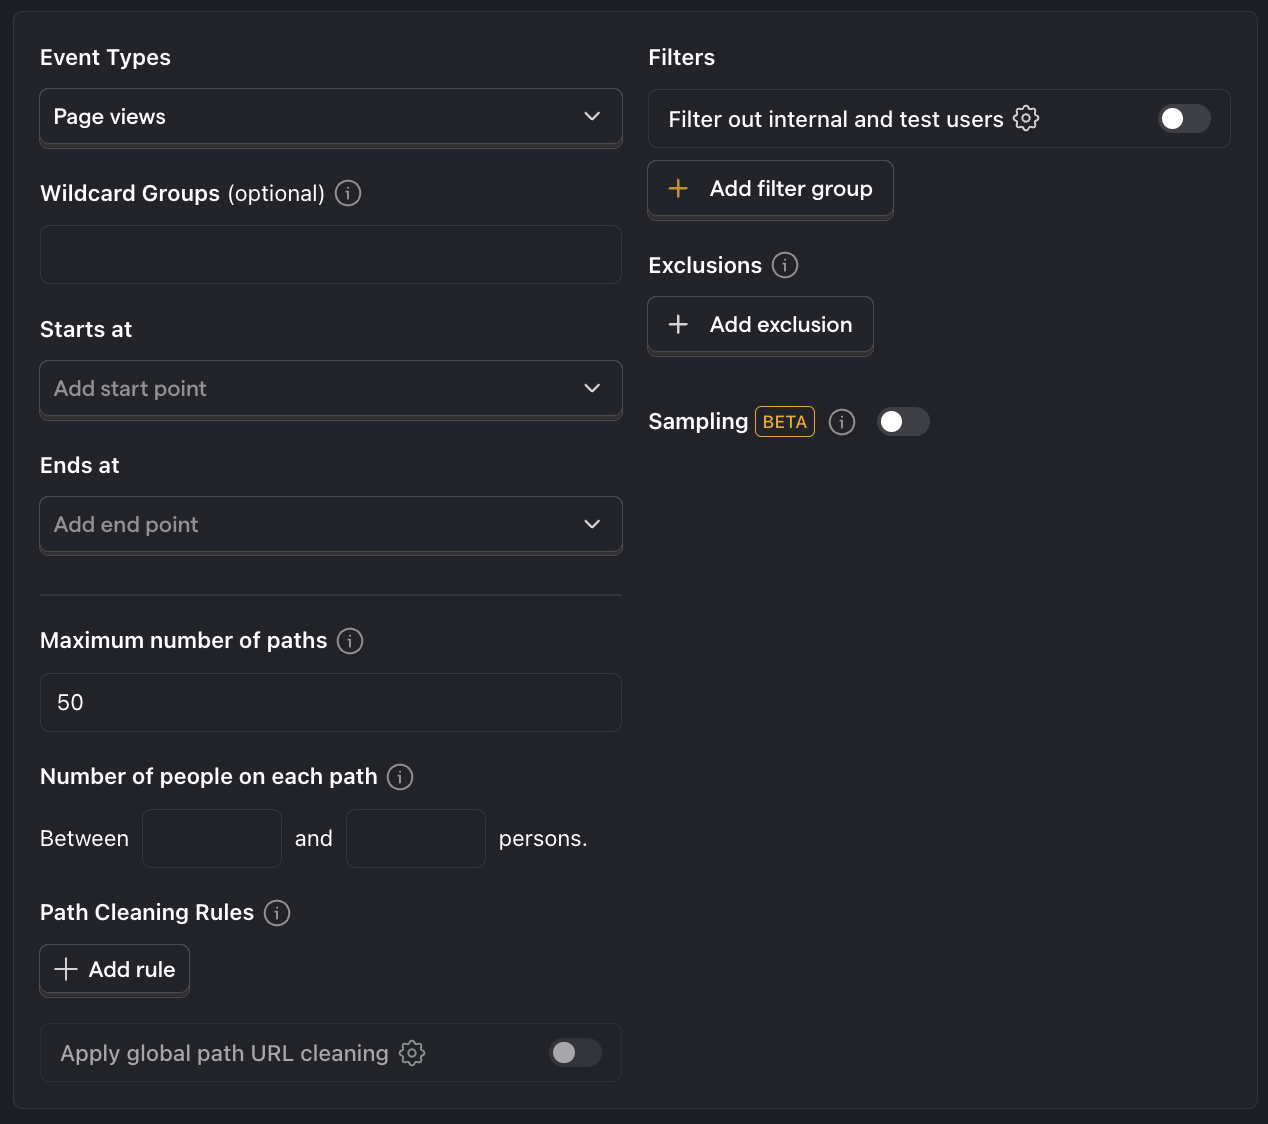
Event types
There are 4 types of events that PostHog can display user paths for. You need to select at least one, and you can select any combination of the four.
Page views
This options shows paths for the $pageview event sent by our web libraries. Each step of the path is broken down by the Current URL property.
This also means that you can see a continuous path of your users even if they navigate across domains.
Screen views
This option shows steps for the $screen events sent by our mobile app libraries. Each step of the path is broken down by the $screen_name property.
Custom events
This contains all events other than the $pageview and $screen event. When displaying paths for these events, they will be broken down by name, with each step corresponding to an event a user performed in succession.
SQL expression
You can also write your own custom queries path steps using SQL expressions.
For example, the following expression will filter to only show pageviews on Chrome:
Wildcard groups
Wildcard groups are an advanced feature that allows you to group multiple events together into a single step based on certain patterns. They work by using the * character to replace a unique pattern in a string.
Wildcard groups are typically used when you're dealing with URLs that contain unique values or IDs, and you want to combine all of these paths into a single step.
For example, if you have URLs with the format /product/{product-id}, you can use the pattern /product/* to group them together.
When using wildcards on custom events, the pattern will be matched against the event name itself. For example,dashboard * will match the events with names such as dashboard created and dashboard viewed.
Path cleaning rules
Path cleaning rules are an advanced version of wildcard groups. They use regex to match instead of the simple * wildcard.
Path cleaning rules consist of two parts:
- Regex – used to match the various URLs you would like to combine.
- Alias – used to replace the portion that matched the regex.
Path cleaning rules can either be added directly to an insight, or you can configure global path cleaning rules in your project settings.
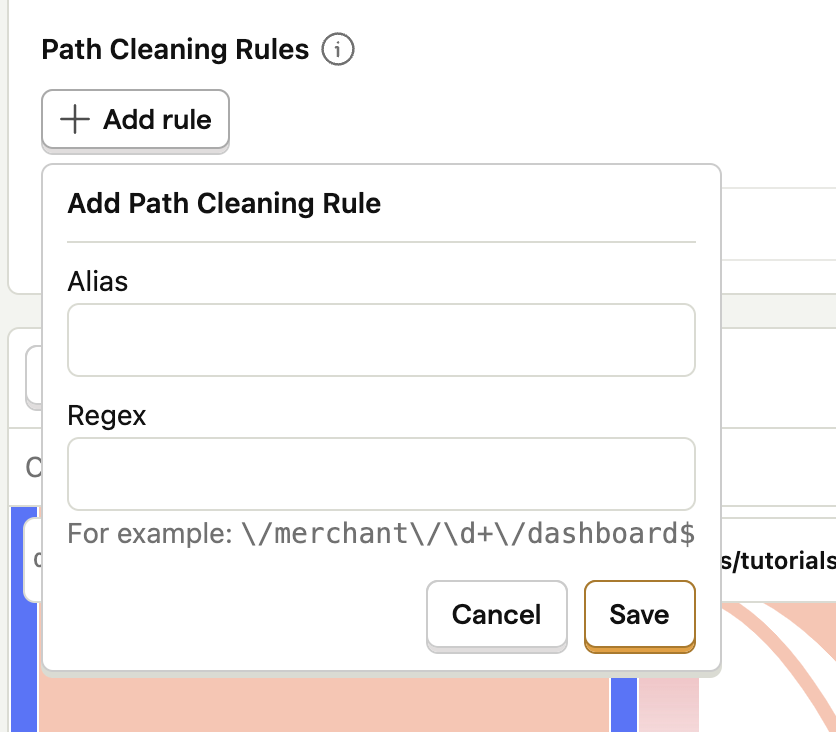
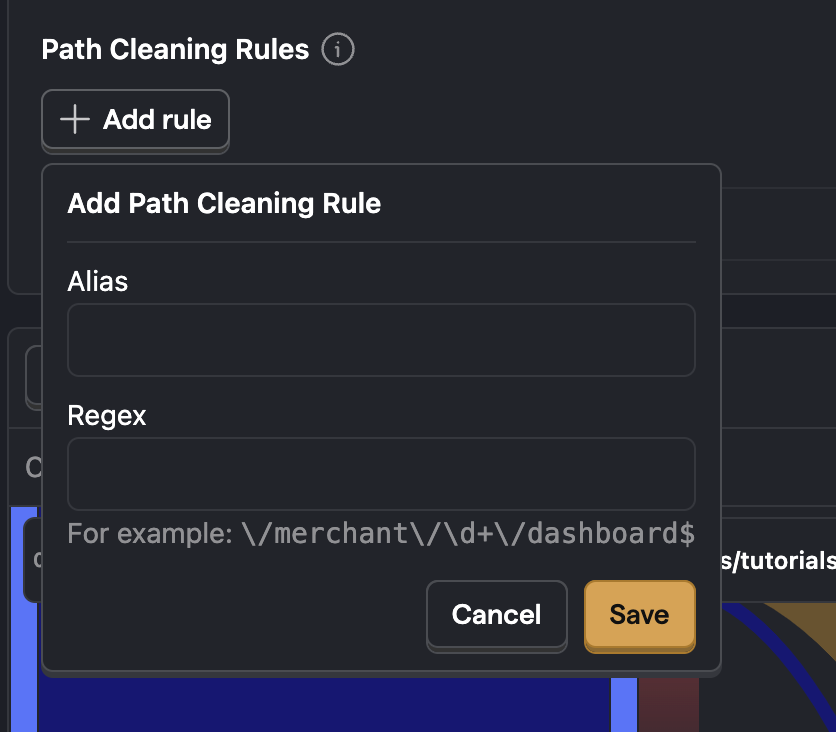
As an example, say your app uses a URL structure of the form /merchant/<merchant_id>/dashboard. Within your paths insight, you don't want to show different URLs for each merchant dashboard.
To combine them all into a single step, use the regex \/merchant\/\d+\/dashboard$ and set /merchant/dashboard as the alias. Now, any pageview events that match the regex will have their path replaced with /merchant/dashboard.
For example, https://example.com/merchant/12345/dashboard https://example.com/merchant/6789/dashboard would both become https://example.com/merchant/dashboard and be shown as a single step.
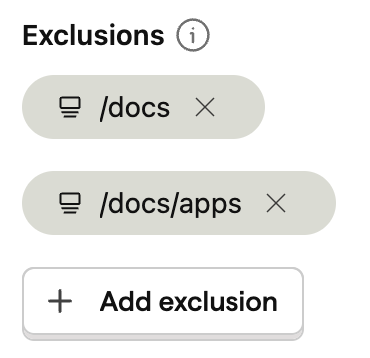
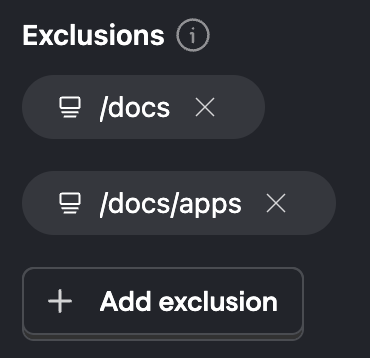
Exclusions
Exclusions enable you to remove events entirely from being displayed in a path.
Number of people on each path
This enables you to set the minimum and/or maximum number of people who performed the path in order for it to be displayed. This is especially helpful in reducing the density of the visualization since it removes paths from the insights.
For example, you can set a minimum of 100 users per path to remove the most uncommon paths users took.
Setting the number of steps
There is an option right above the graph to select the number of steps to display.
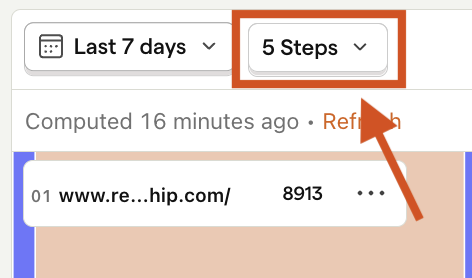
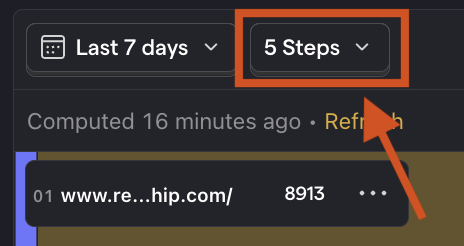
Increasing the number of steps will show a longer portion of a user's journey through your product. The drawback is that too many steps can often show a cluttered view. To fix this, see above on how to exclude certain events.