


Realtime analytics data exports
Contents
As PostHog data arrives, you can export it immediately to other tools. You can use this for things like:
- Conversion tracking
- Monitoring key events with your chat platform
- Enriching customer data in your CRM
- Triggering automations
PostHog enables you to send realtime data to dozens of pre-configured destinations. Check out the data pipeline tab and choose destinations to get started.
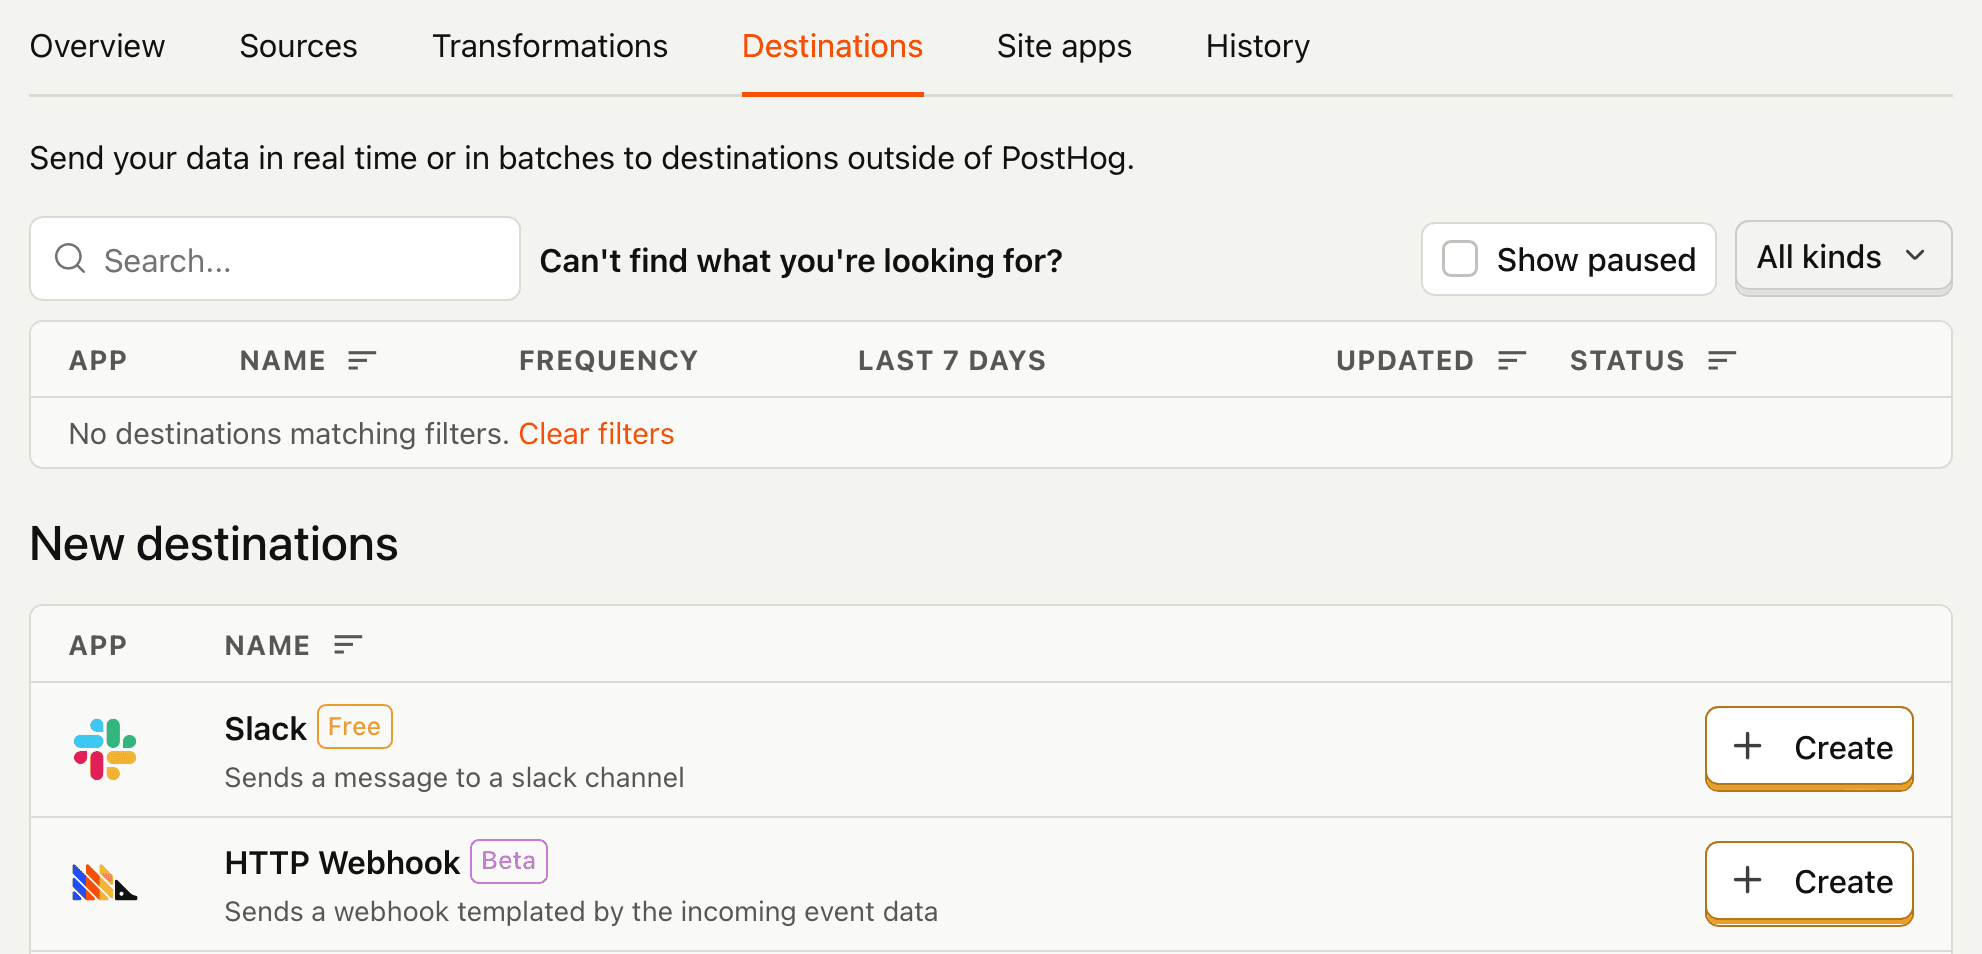
Missing a destination you need? Our webhook destination enables you to send events to any HTTP endpoint, using whatever request method, URL parameter values, and JSON payload structure your application requires. You can mix hard-coded keys and values with any person or event data. This integrates PostHog with yet more tools, or even your own internal services.
Wherever your data is going, we’ve built destinations for many popular tools to get you up and running with just a few minutes of effort.
Filtering
Instead of the firehose of all your PostHog data, you can construct a query that filters by event types, properties, or any SQL statement you can come up with, so that only the information you care about is sent to your destination.

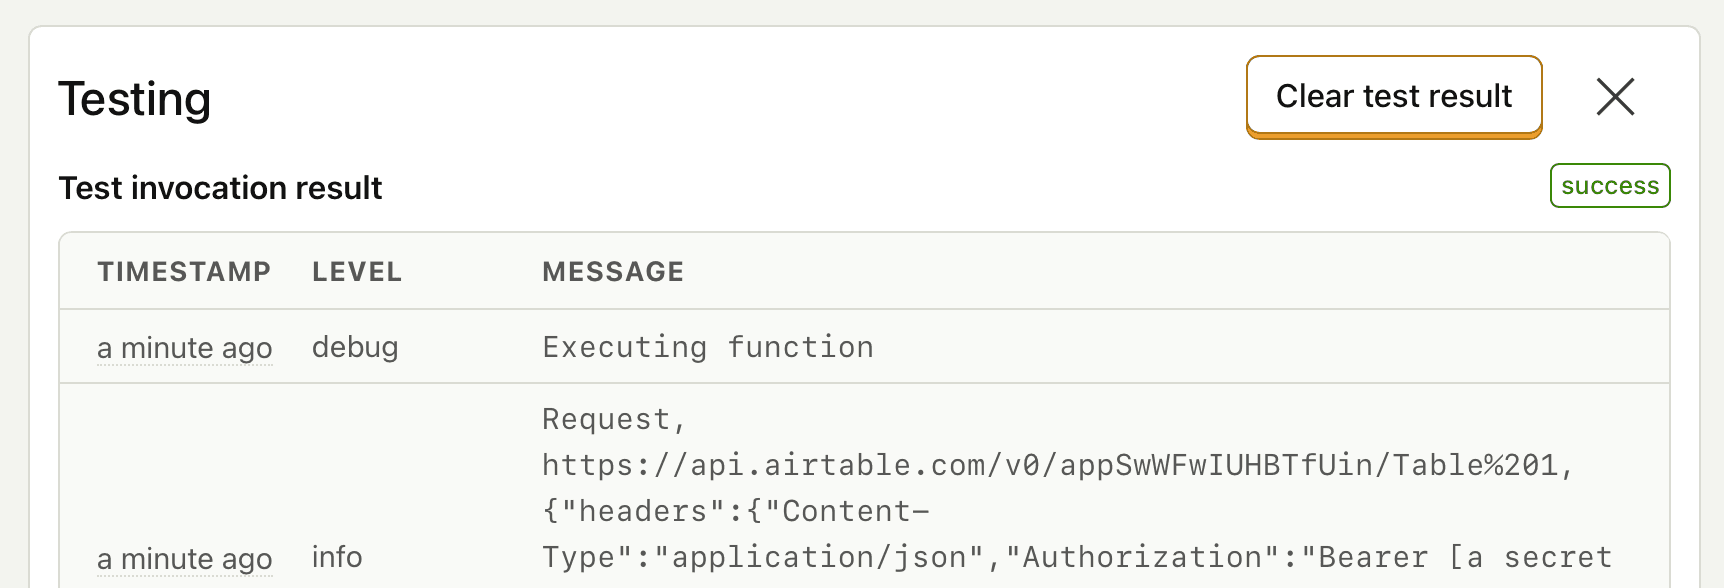
Testing
The hardest part of integrating two services is making sure everything works as you expect. Every destination includes a built-in testing interface, enabling you to send real data from PostHog on-demand to your target service and debug any errors.
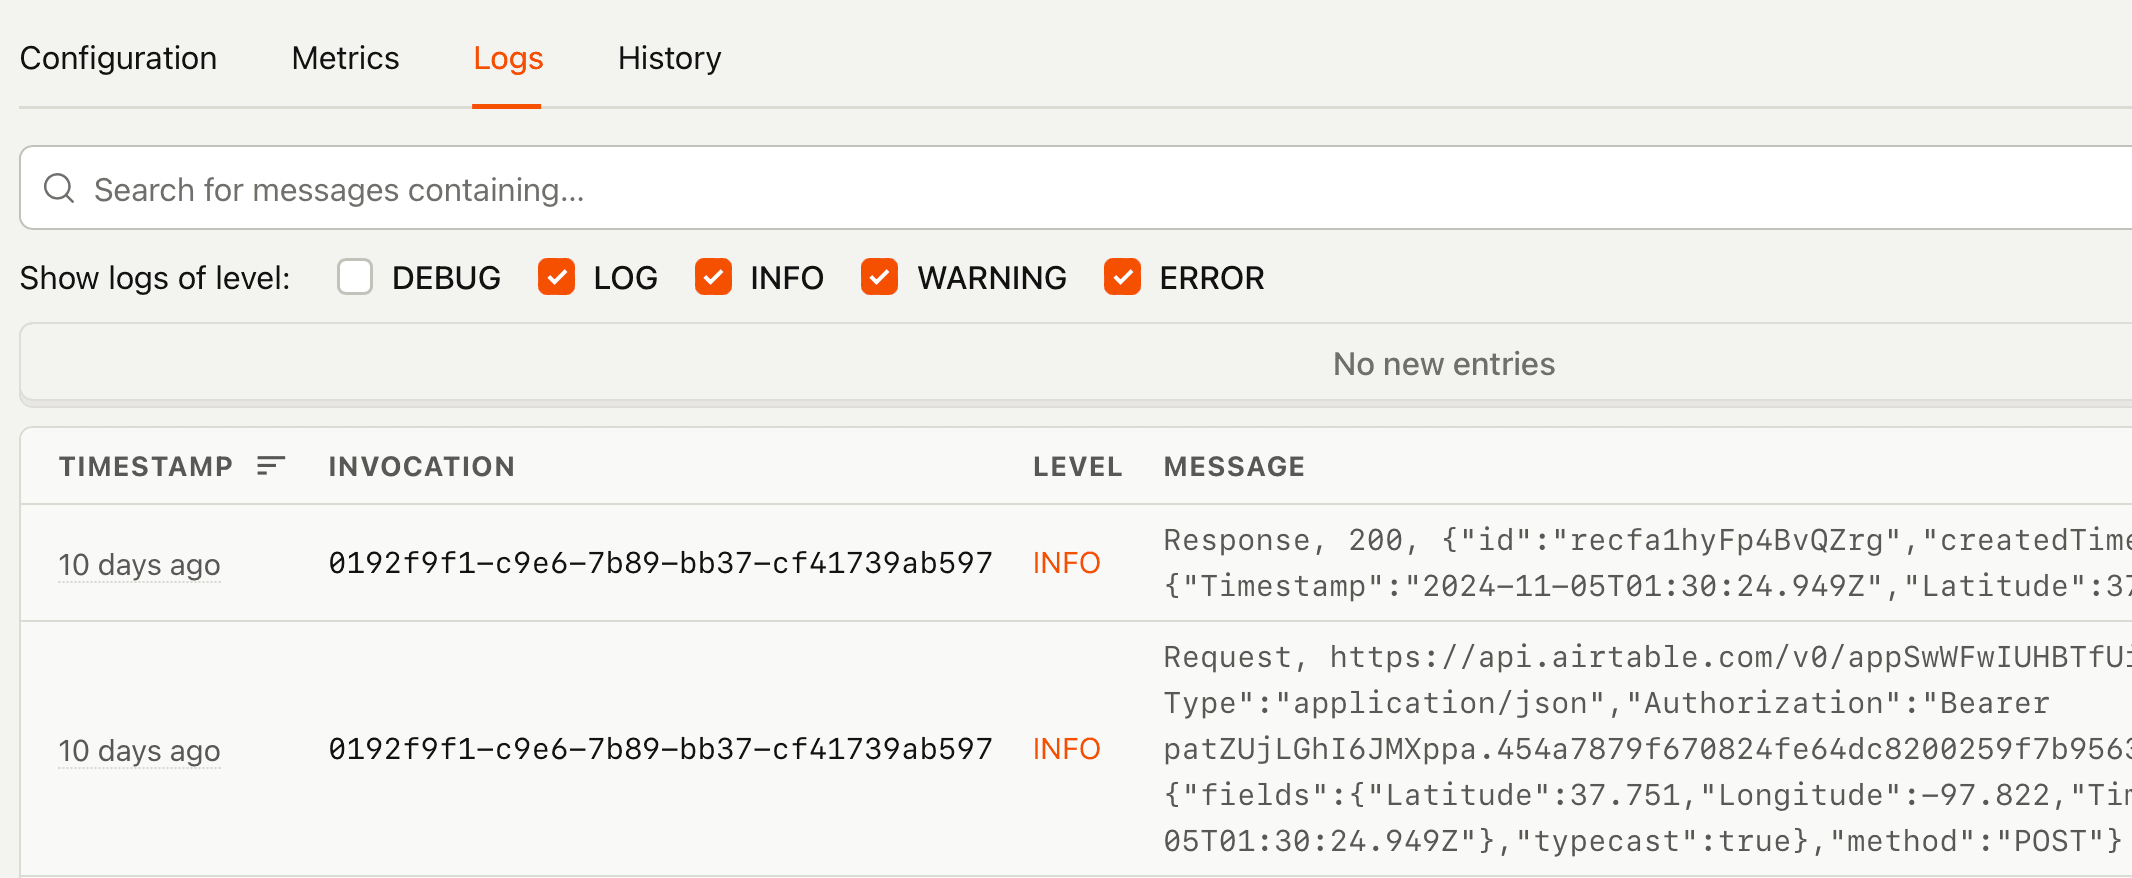
Keep an eye on things
Once your destination is up and running, the metrics and logs tabs will let you monitor usage and inspect errors.
Going deeper
For complete control of your destination’s behavior, you can view and edit the underlying Hog code that drives it. Experiment with rewriting your destination’s implementation to better address your needs, if the pre-built templates don’t quite do the job.
Learn more about this in customizing destinations.
Caveats
How up-to-date is the person information?
The person object contains the latest information for the person profile associated with the distinct_id of the event at the time the event is processed. You should make sure to filter for events that occur on or after person properties would be merged (such as $identify) if you need this information for your event.
How many events can I send to a destination?
There is no limit on the number of events to be processed but the system requires that the destination responds with healthy status codes (non 5xx) and in a timely fashion.
What can cause a destination to be automatically disabled?
If the destination performs poorly (too many errors, too slow) for a prolonged period, your destination will be quarantined and eventually disabled. We will try to re-enable it automatically after a temporary disabled period before stopping it entirely. You then need to modify either the filters or the destination and re-enable it in the UI to try again.
The key metrics that we observe to determine poor performance are:
- Errors thrown within the code (for example if you try to access a property that doesn't exist).
- Repeatedly slow responses from the destination. Some slow HTTP calls are fine but if you send thousands of events and the destination can't keep up, we will eventually disable it to protect ourselves and the destination.
We do not consider 4xx HTTP codes to be poor performance. Some destinations utilize these responses to determine if a follow up HTTP call is required (for example a 409 conflict indicating a record already exists). Non "OK" statuses will however be logged in order to help debugging potential issues.
How do you handle retries?
By default, all HTTP calls (fetch calls in Hog) are expected to return a 2xx response. If we get a non-OK response we will retry up to 3 times depending on the error codes. We may modify this logic as we make improvements to try and balance reliability and speed.