







Linking Snowflake as a source


Let AI connect your sources for you
Skip the manual setup — run this in your project and the wizard auto-detects your databases and APIs and connects them to PostHog.

Contents
The data warehouse can link to data in Snowflake.
Start by going to the Data pipeline page and the sources tab and clicking New source. Choose Snowflake and enter the following data:
- Account identifier: Likely a combination of your organization and the name of the account (e.g.
myorg-account123). You can find this in the sidebar account selector or by executing theCURRENT_ACCOUNT_NAMEandCURRENT_ORGANIZATION_NAMEfunctions in SQL. - Database: Like
tasty_bytes_sample_data - Warehouse: Like
compute_wh - User: Your username like
IANVPH - Password: The password for your user
- Role (optional): The role with necessary privileges to access your context like
accountadmin. - Schema: The schema for your database like
RAW_POS. If it isn't working, trying using all caps. - Table Prefix: The optional prefix for your tables in PostHog. For example, if your table name ended up being
menu, a prefix ofsnow_prod_would create a table in PostHog calledsnow_prod_menu.
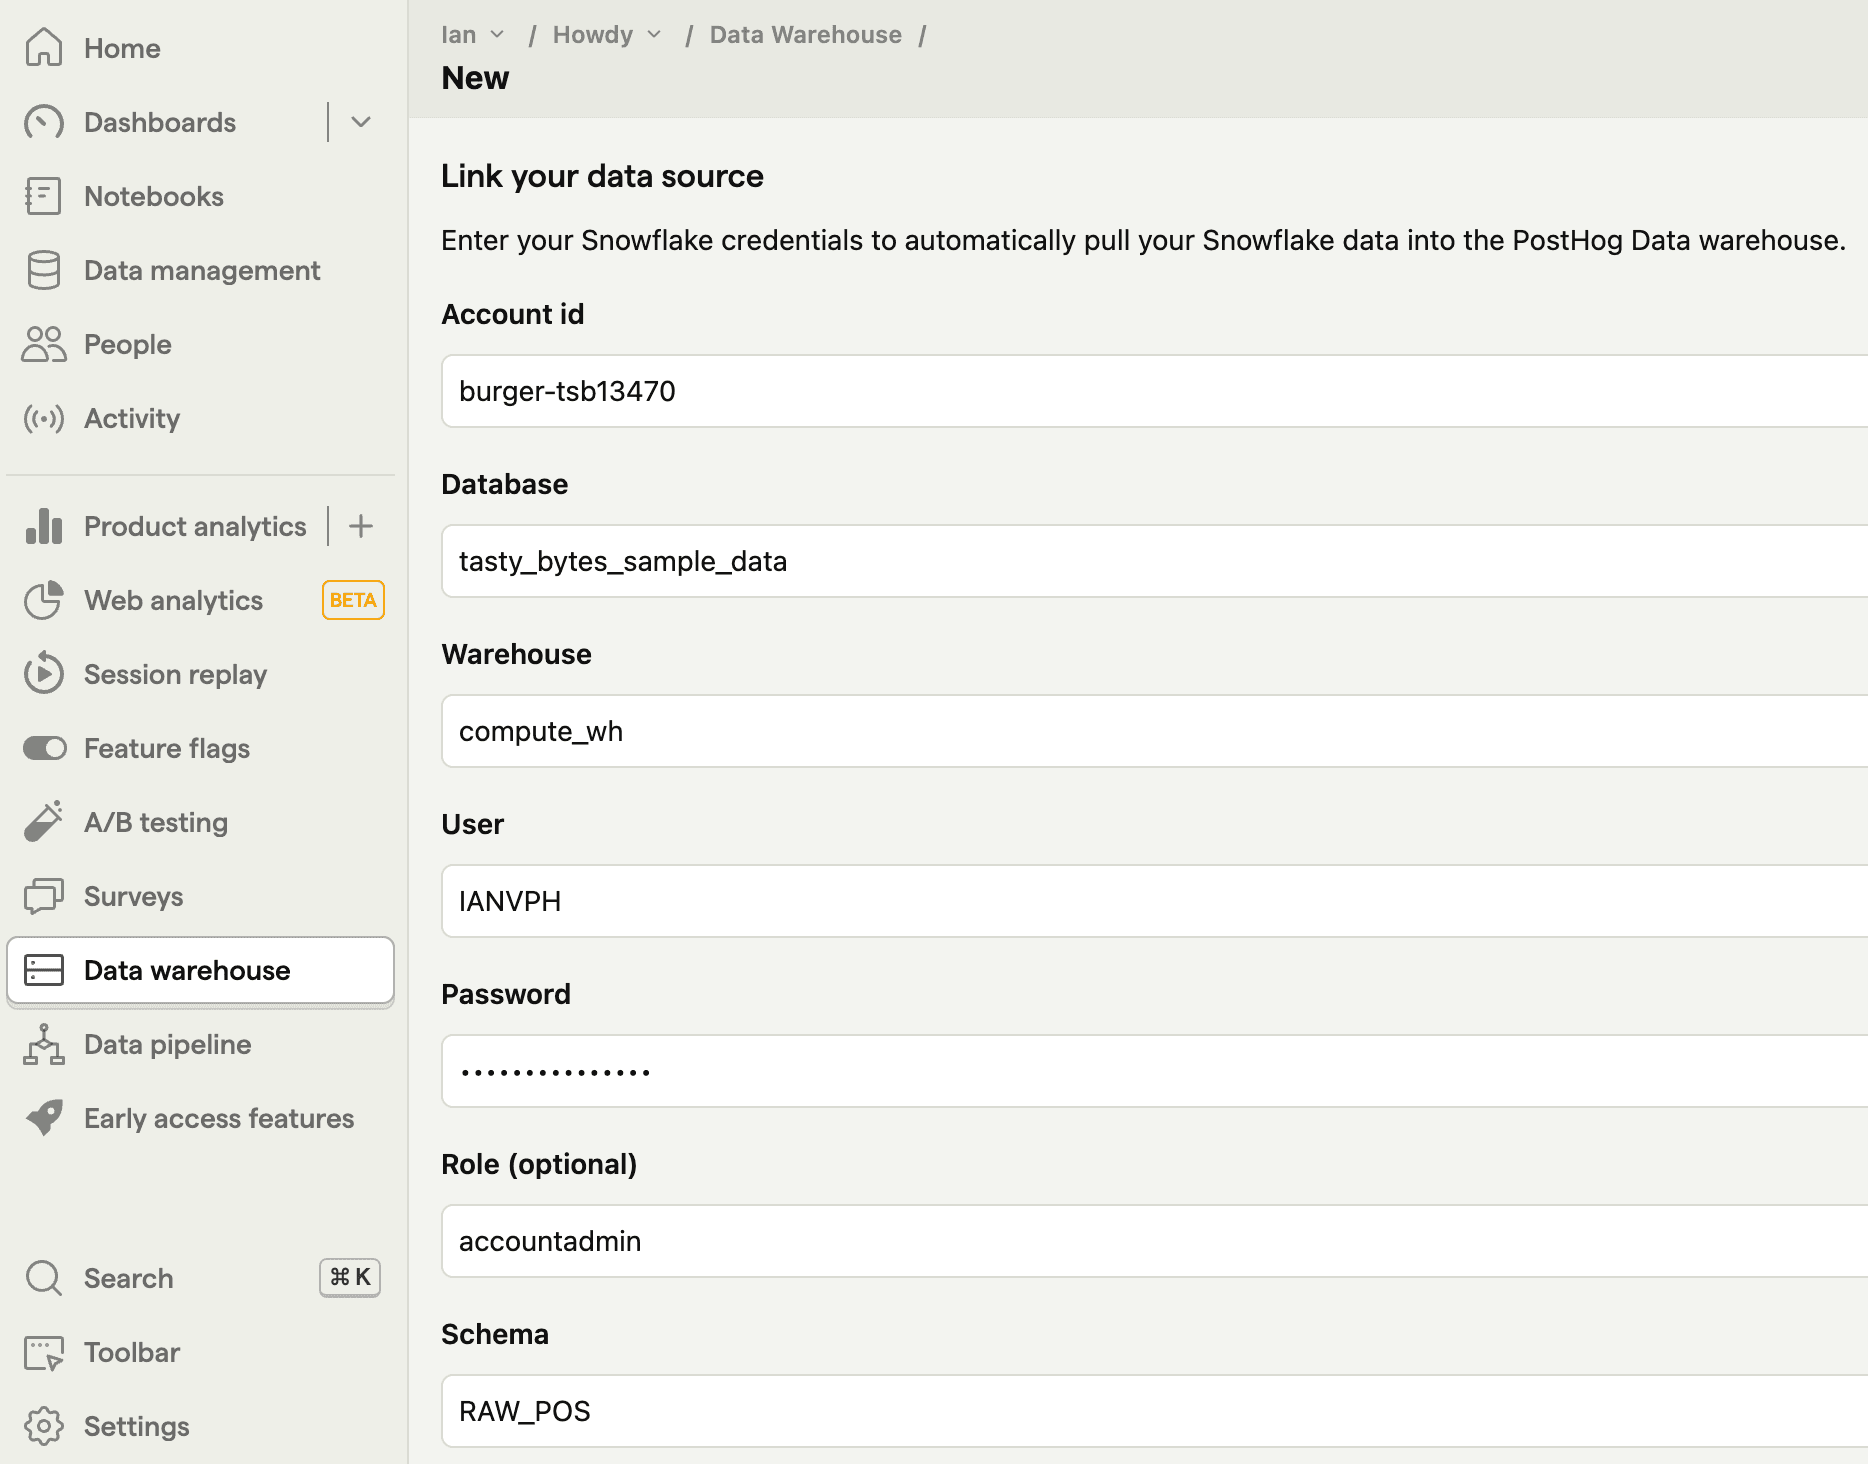
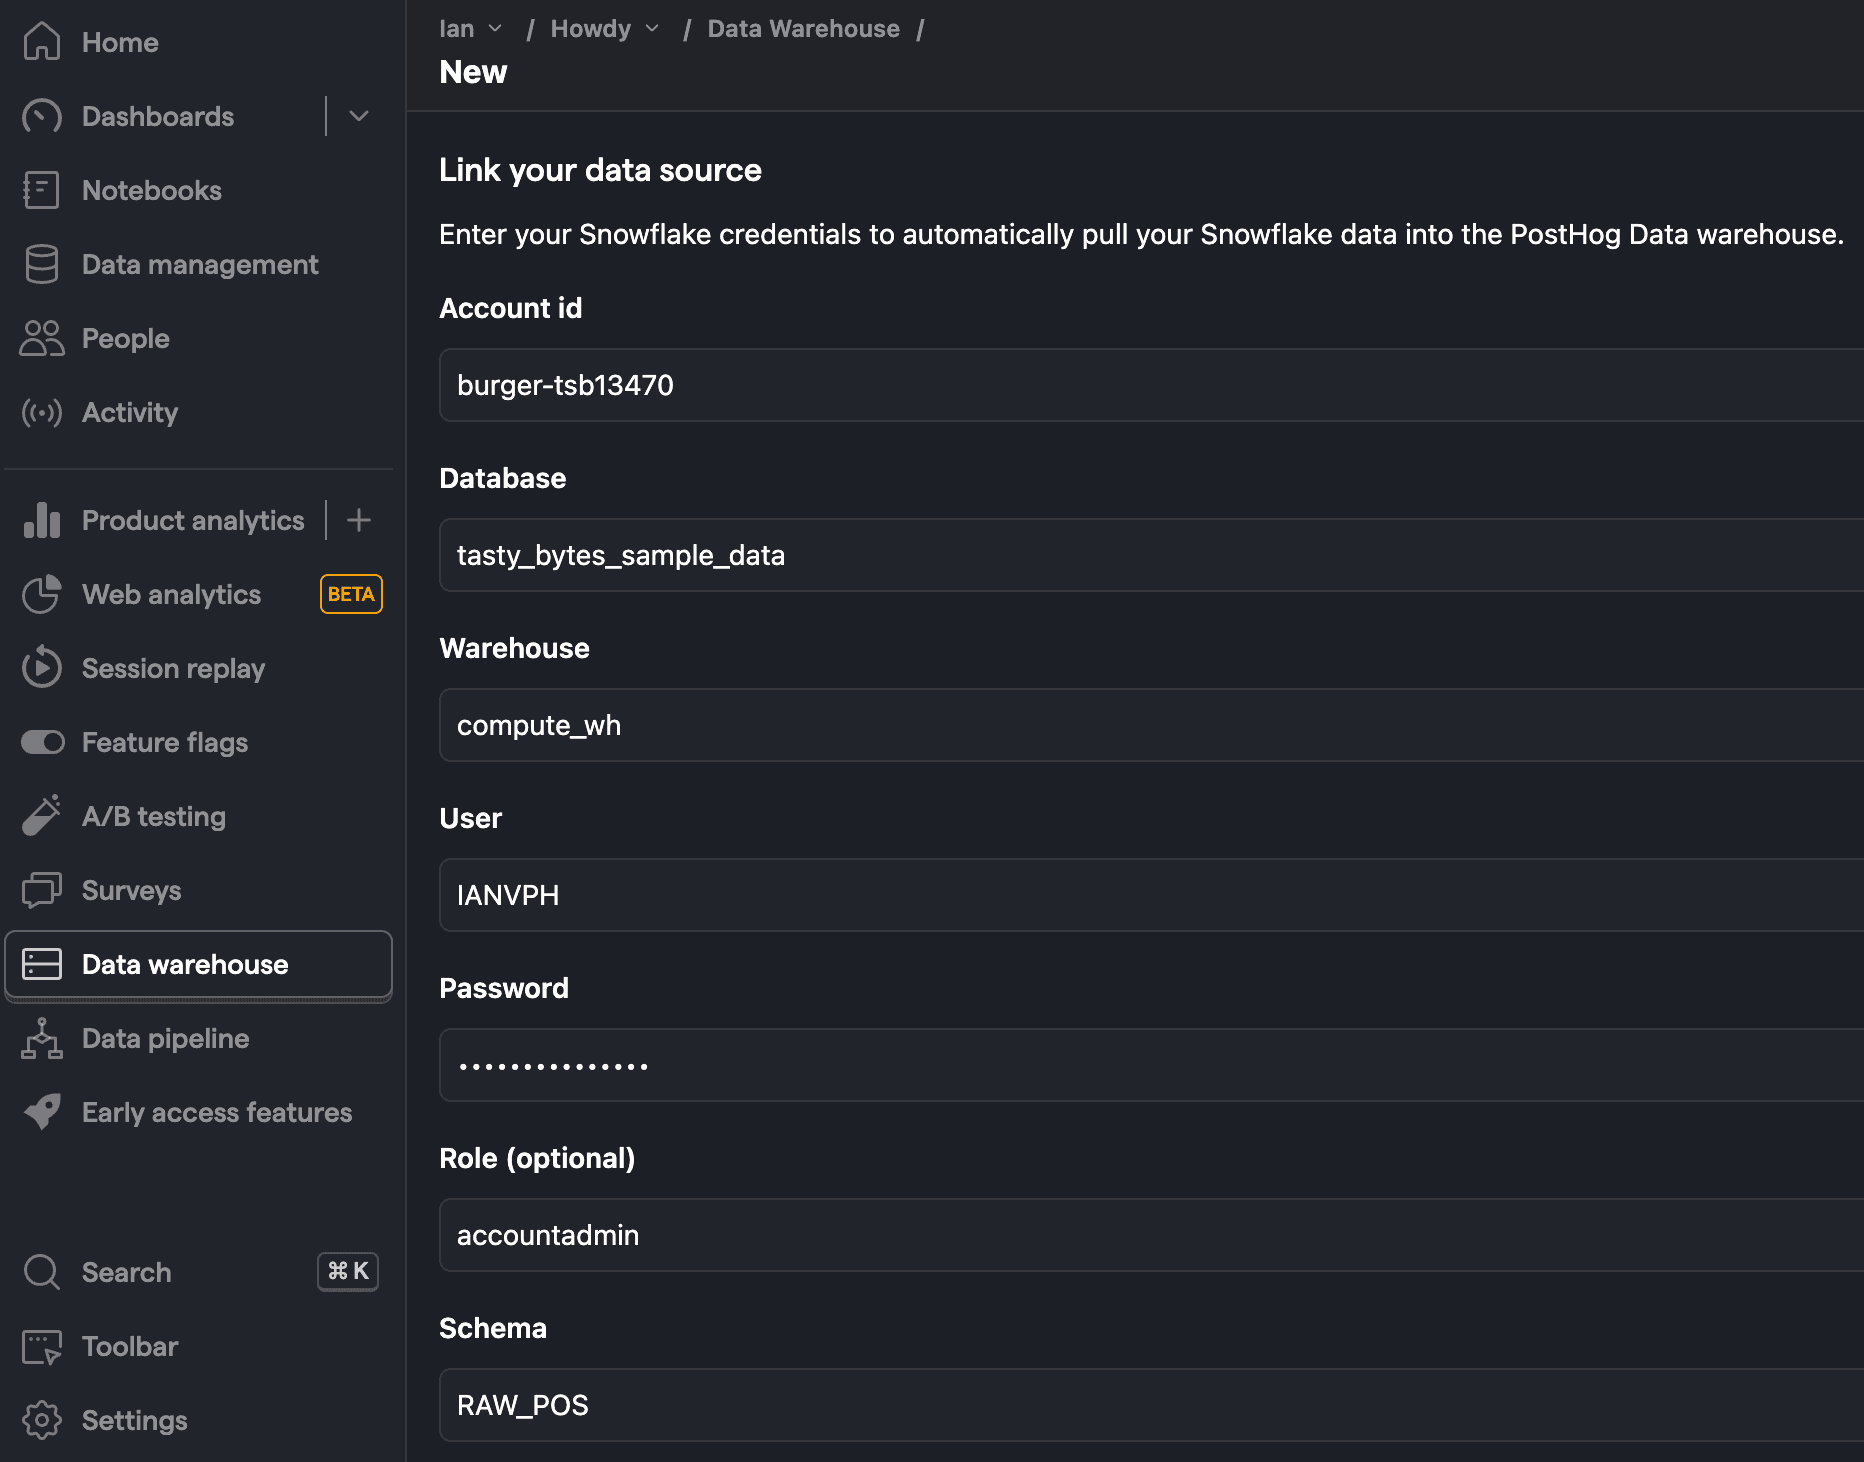
Once added, click Next, select the tables you want to sync, as well as the sync method, and then press Import.
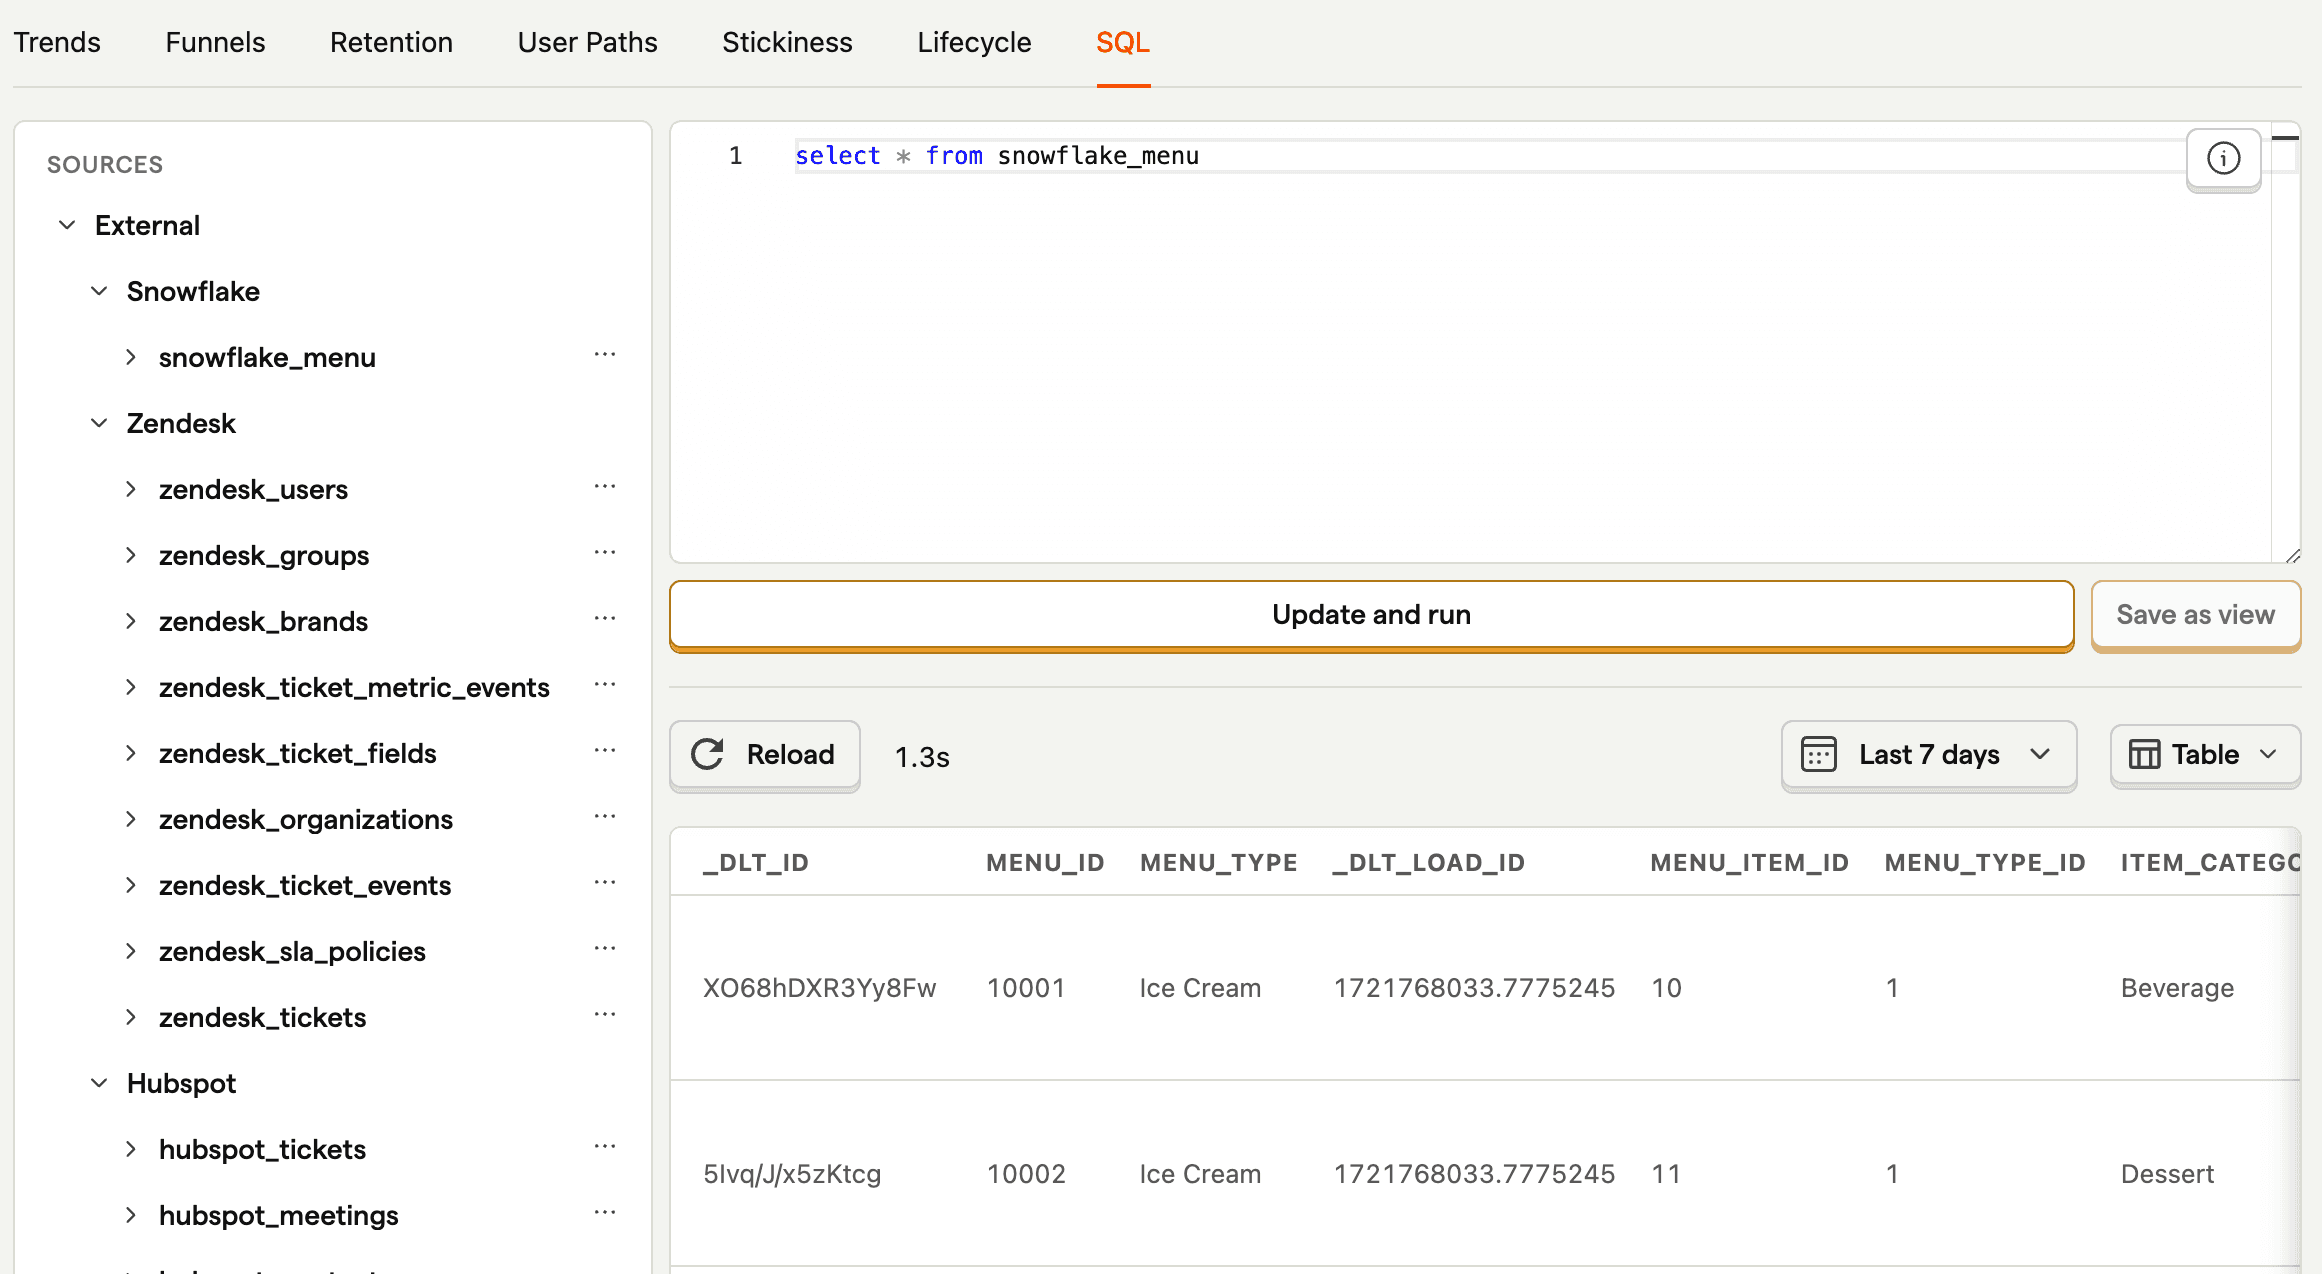
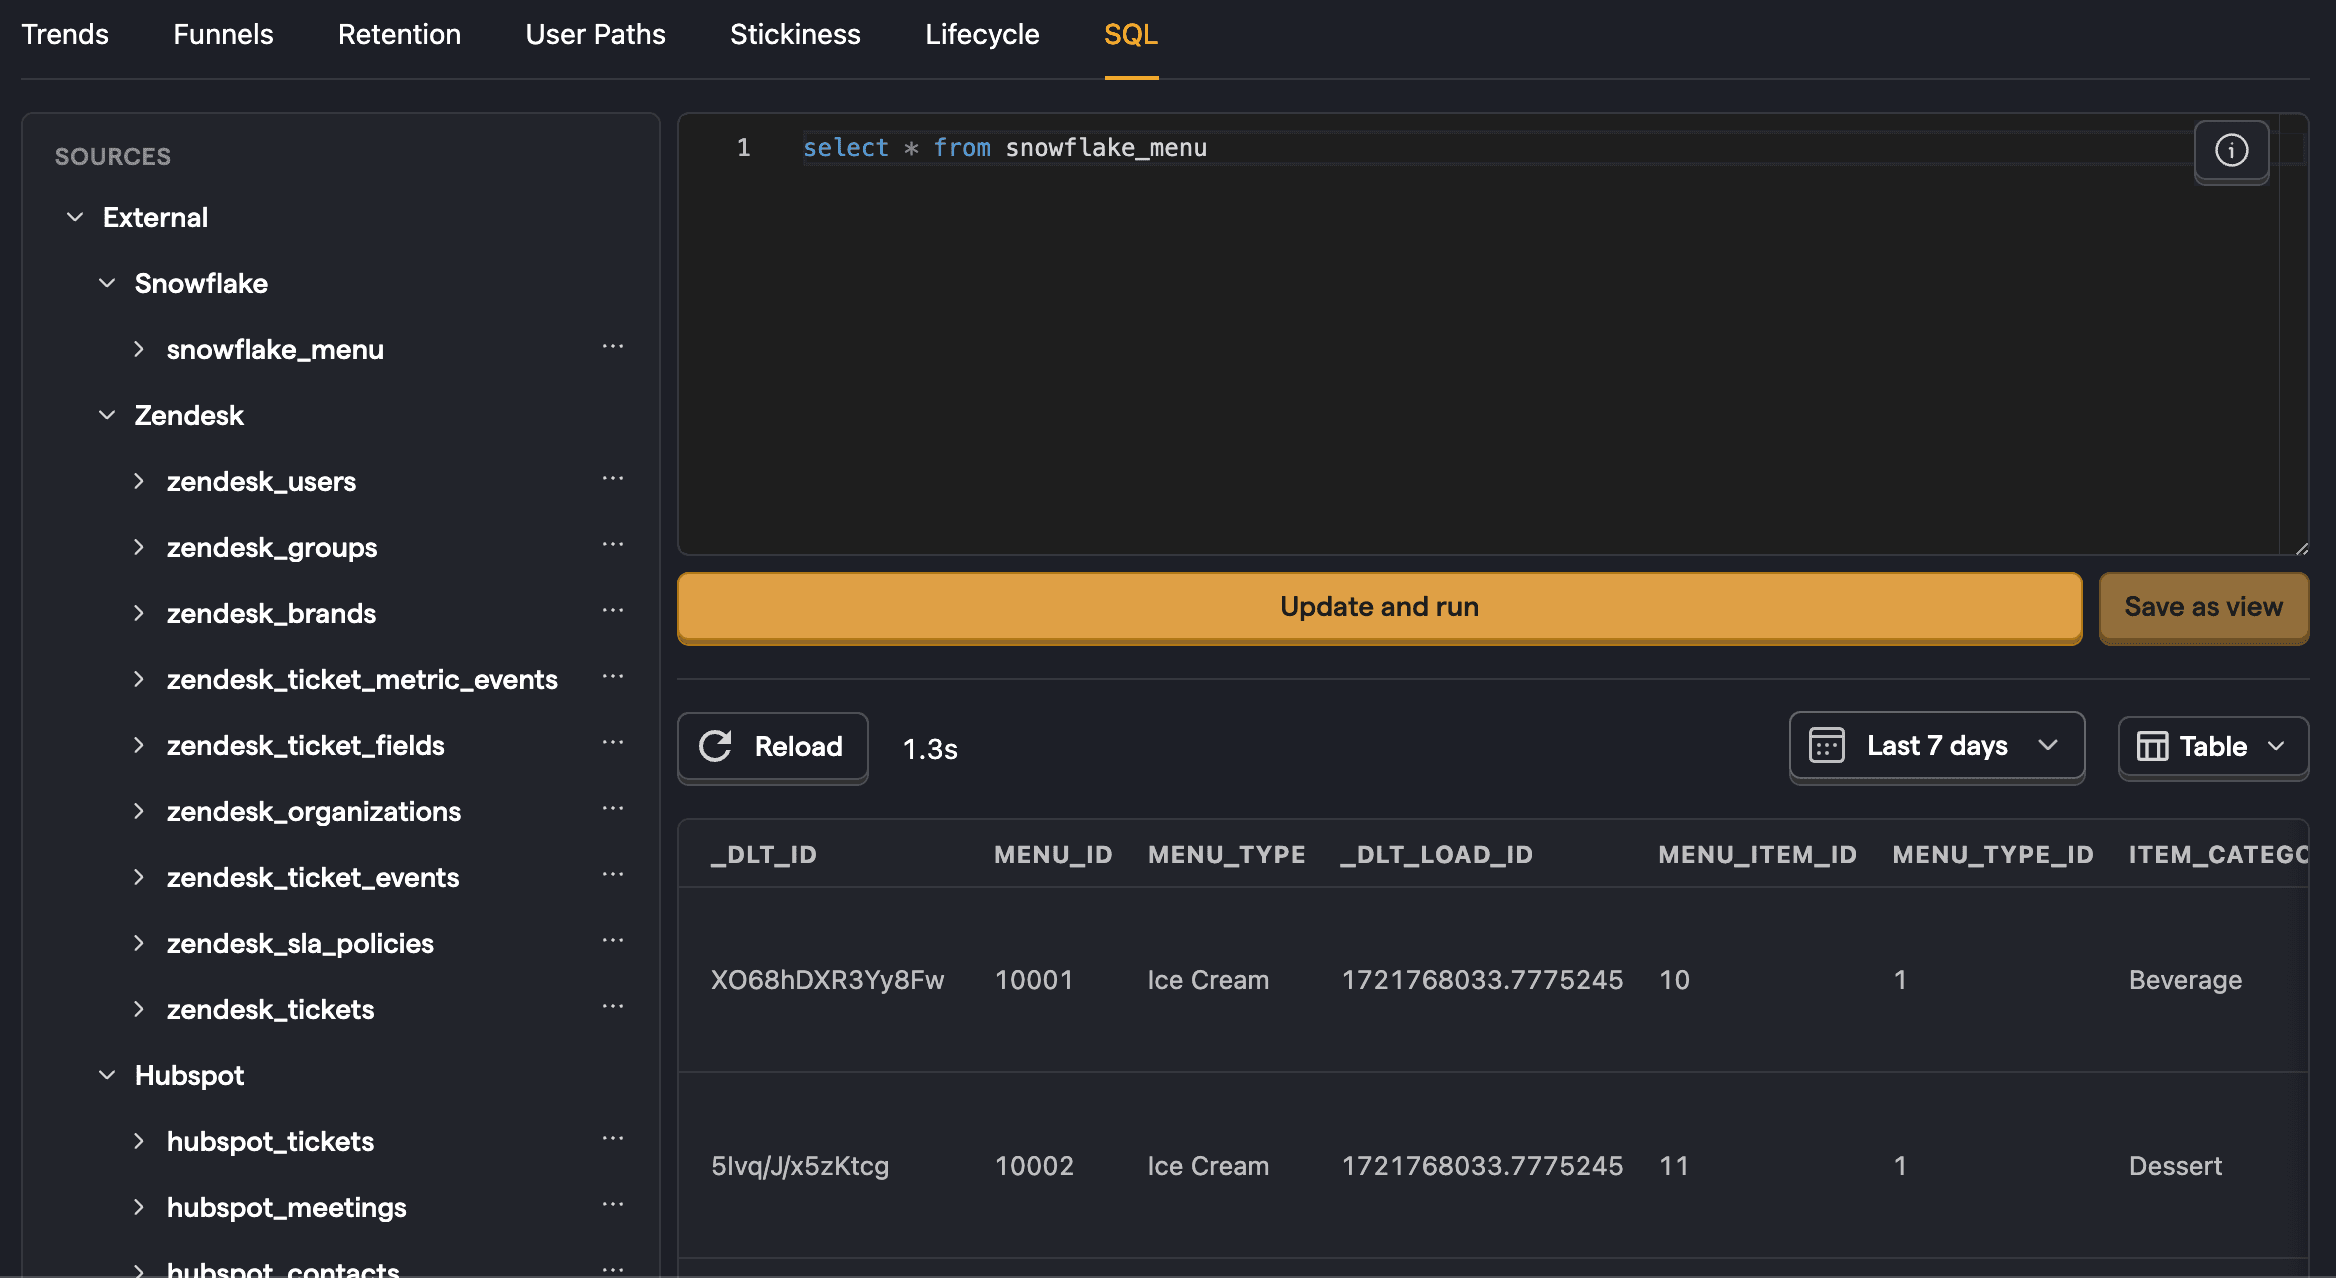
Once done, you can now query your new table using the table name.
Direct Snowflake connections
Instead of syncing data on a schedule, you can query your Snowflake database directly from the SQL editor. Direct connections run queries against your live Snowflake instance in real time — no data is copied into PostHog.
Creating a direct-only connection
To set up a direct connection:
- Open the SQL editor.
- Click the connection picker in the toolbar and select Add direct connection > Snowflake.
- Enter your Snowflake credentials (account identifier, database, warehouse, user, password, and optionally a role and schema) — the same credentials used for scheduled syncs.
- Select the tables you want to make available, then click Link.
Once connected, switch to your Snowflake connection in the SQL editor's connection picker and write queries against your live data.
Enabling live queries on a synced source
You can also enable live queries on a synced Snowflake source, giving you both scheduled syncs and the ability to query your live data from the same source.
When creating a new source: In the source creation wizard, select Sync and query live to enable both scheduled syncs and live queries.
For an existing source:
- Go to the sources tab and click your Snowflake source.
- Open the Configuration tab.
- Enable the Enable live queries toggle.
- Click Save changes.
Once enabled, click Query directly on the Schemas tab to open the SQL editor with your source preselected. In the SQL editor's connection picker, synced sources with live queries show a · synced label to distinguish them from direct-only connections.
When to use direct connections vs scheduled syncs
- Direct connections are best for ad-hoc exploration, querying data that changes frequently, or when you don't want to duplicate data into PostHog.
- Scheduled syncs are better when you need faster query performance, want to join external data with PostHog events in dashboards and insights, or need data available across all PostHog features.
Limitations
Direct Snowflake queries are read-only. Some HogQL constructs are not supported and return a clear error if used:
SAMPLEPREWHEREARRAY JOINLIMIT BY- Tuple expressions
- Array slices
Troubleshooting
Network policy blocking connection
Problem: Your Snowflake sync fails with an error like:
Incoming request with IP/Token is not allowed to access Snowflake. Contact your account administrator.
Solution: Your Snowflake account has a network policy (IP allowlist) that doesn't include PostHog's egress IP addresses. Ask your Snowflake administrator to add the IP addresses listed in the Configuration section below to your network policy allowlist. Once updated, retry the sync.
Invalid JWT token with key-pair authentication
Problem: Your Snowflake sync fails with an error like:
JWT token is invalid
Solution: Snowflake rejected key-pair authentication because the private key you configured doesn't match the public key registered on the Snowflake user. This can happen when:
- The public key was rotated or removed from the Snowflake user
- You pasted the wrong private key
- The private key belongs to a different Snowflake user
To fix this, verify that the public key matching your private key is registered on your Snowflake user. See Snowflake's key-pair authentication documentation for instructions. Either re-register the matching public key on the Snowflake user, or update your PostHog source configuration with the correct private key. Once corrected, resync your data.
Multi-factor authentication enrollment required
Problem: Your Snowflake sync fails with an error like:
Multi-factor authentication is required for this account. Log in to Snowsight to enroll.
Solution: The Snowflake account requires MFA enrollment, but the connecting user hasn't enrolled. PostHog runs unattended syncs that can't complete an MFA enrollment flow, so retrying never succeeds.
To fix this, connect with a service user that uses key-pair authentication (which bypasses MFA), or use a user account that is exempt from your account's MFA requirement. Once updated, resync your data.
Configuration
| Option | Type | Required |
|---|---|---|
Connection string (optional) | text | No |
Account id | text | Yes |
Database | text | Yes |
Warehouse | text | Yes |
Authentication type | select | Yes |
Role (optional) | text | No |
Schema (optional) | text | No |
Selecting columns
By default, PostHog syncs all columns from each table. To sync only specific columns:
- During source setup, click Columns next to any table in the table picker.
- Uncheck columns you don't want to sync.
- Primary key columns and the incremental sync field (if configured) are always synced and cannot be disabled.
You can also change column selection after setup:
- Go to the sources tab and click your Snowflake source.
- Click Configure next to any schema.
- Under Columns, select which columns to sync.
When you add columns to a schema using incremental or append sync, PostHog prompts you to choose:
- Sync forward only - New columns are populated only for future data. Existing rows show
NULLfor the new columns. - Full resync - Triggers a complete resync to backfill the new columns for all rows.
Inbound IP addresses
We use a set of IP addresses to access your instance. To ensure this connector works, add these IPs to your inbound security rules:
| US | EU |
|---|---|
| 44.205.89.55 | 3.75.65.221 |
| 52.4.194.122 | 18.197.246.42 |
| 44.208.188.173 | 3.120.223.253 |