Creating surveys
Contents
To create a new survey, go to the surveys tab in the PostHog app, and click on the "New survey" button in the top right. This presents you with a collection of survey templates or you can click "Create blank survey" in the top right to create your own.
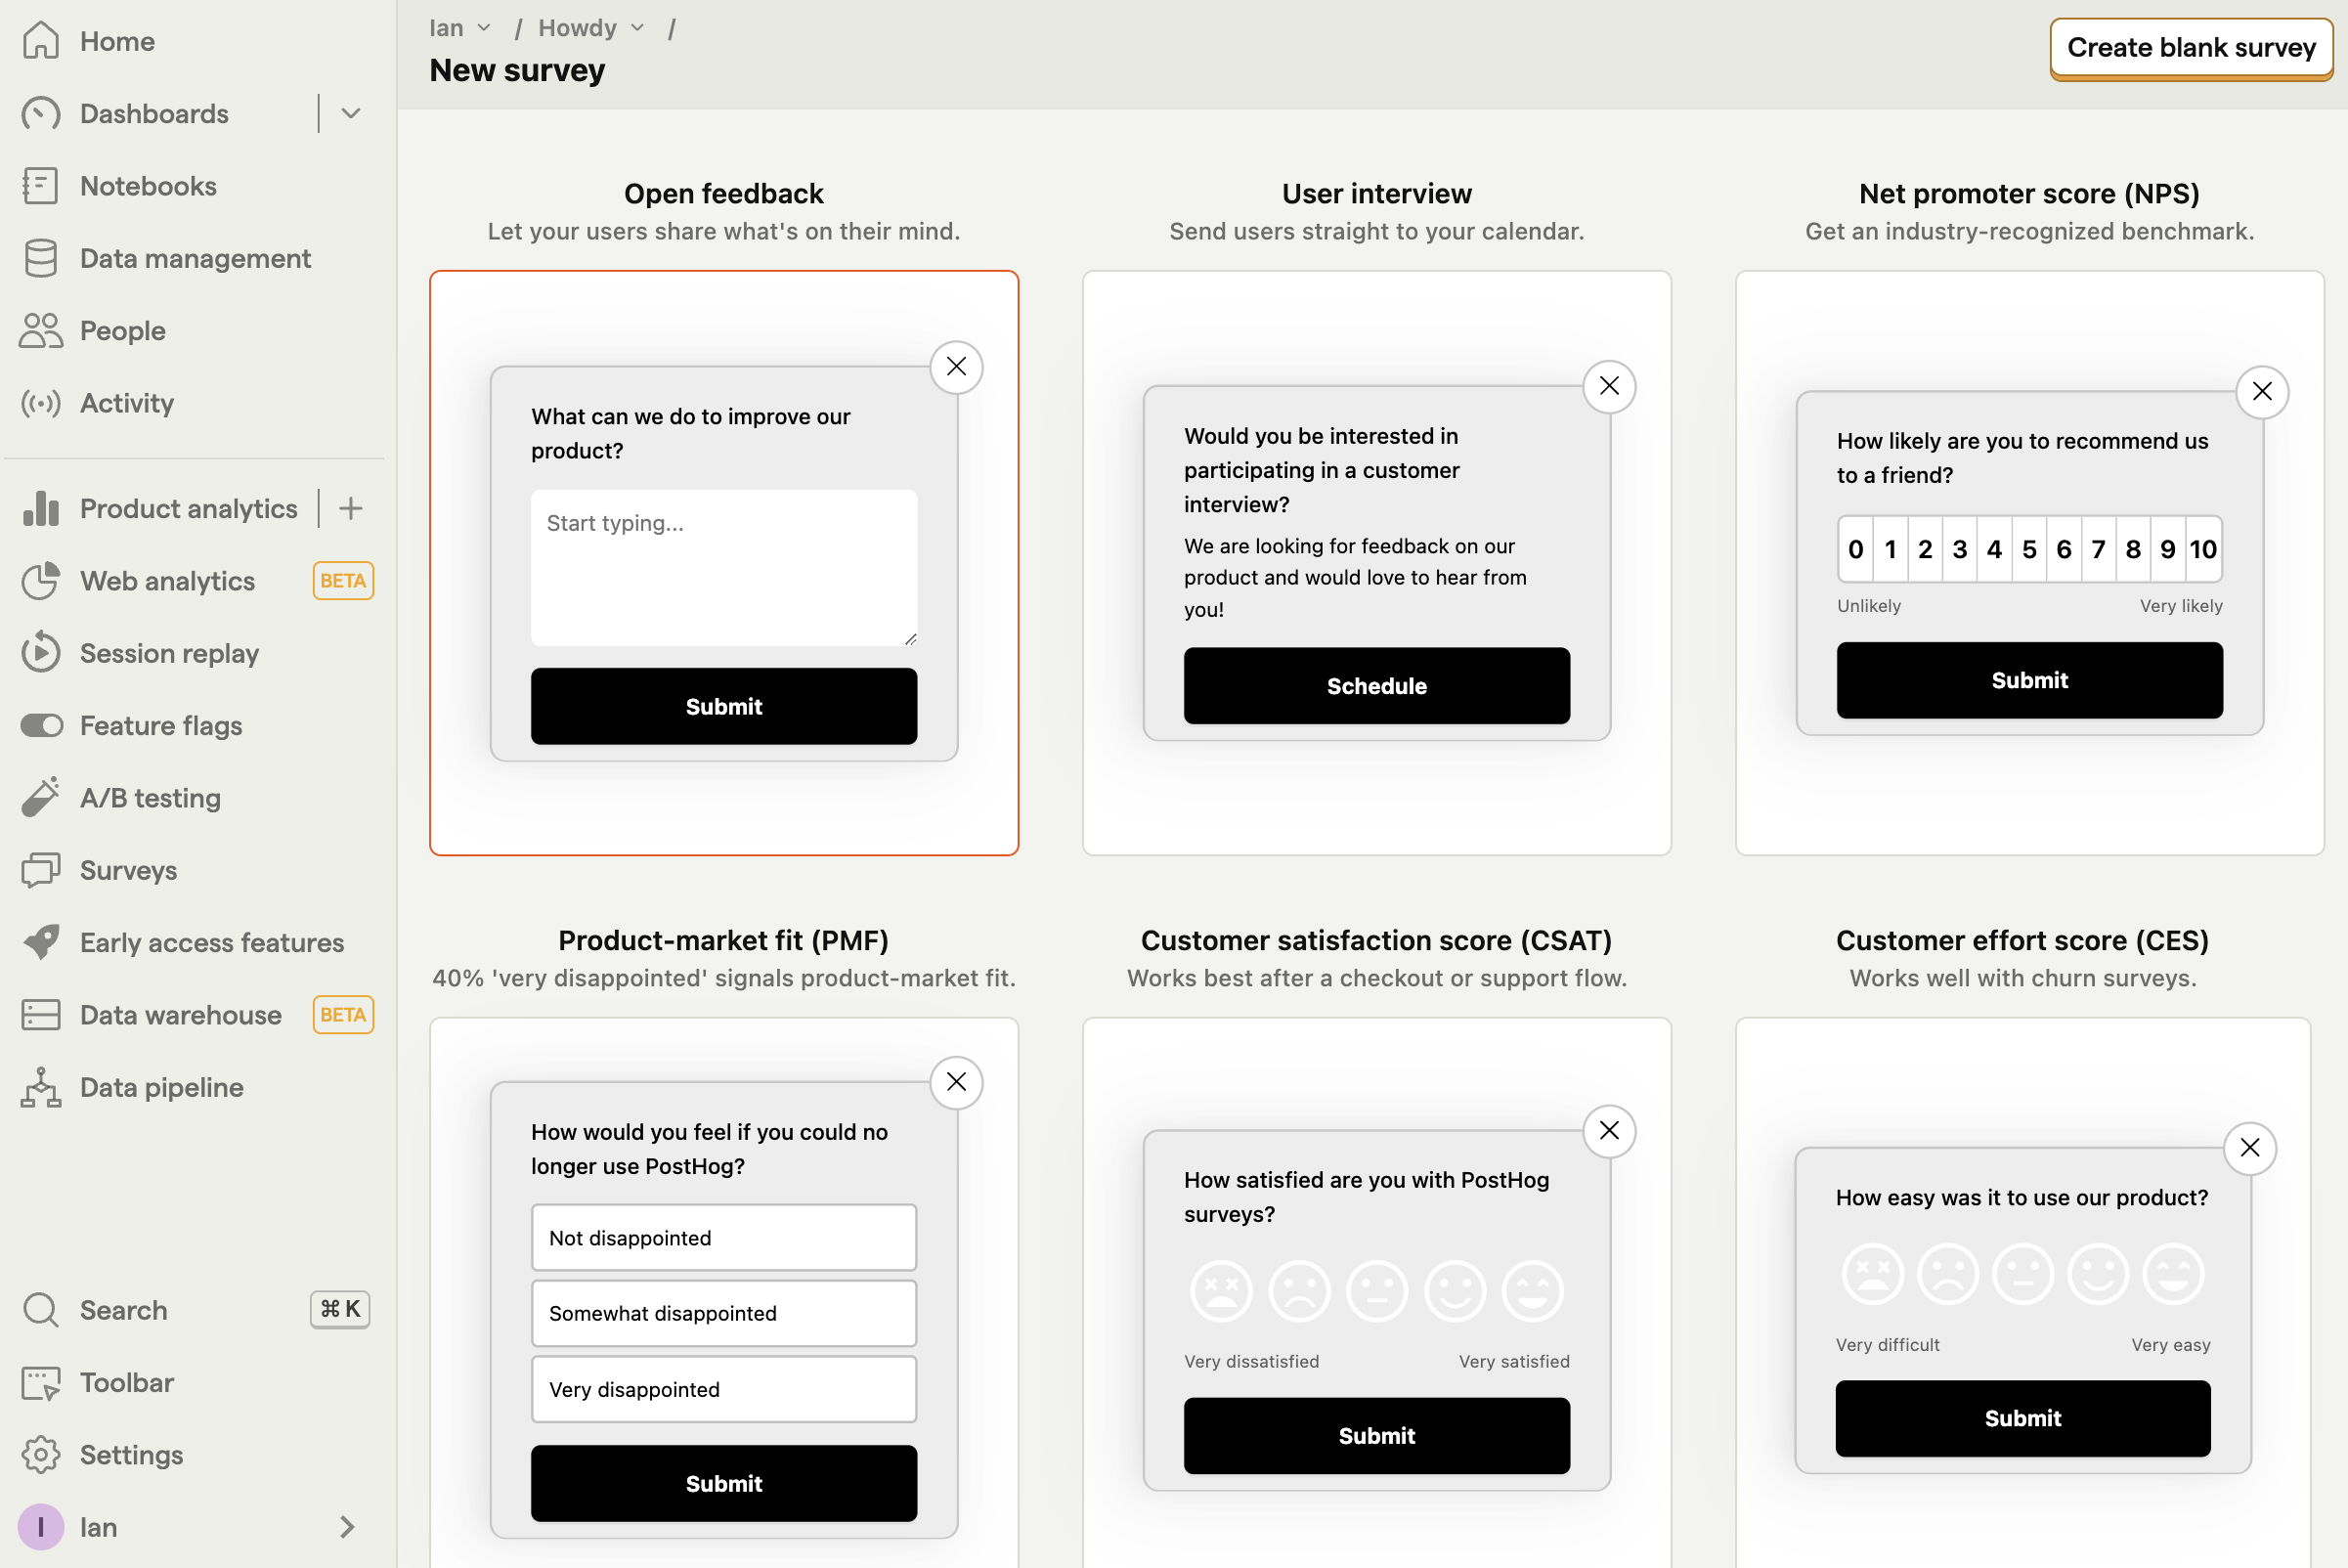
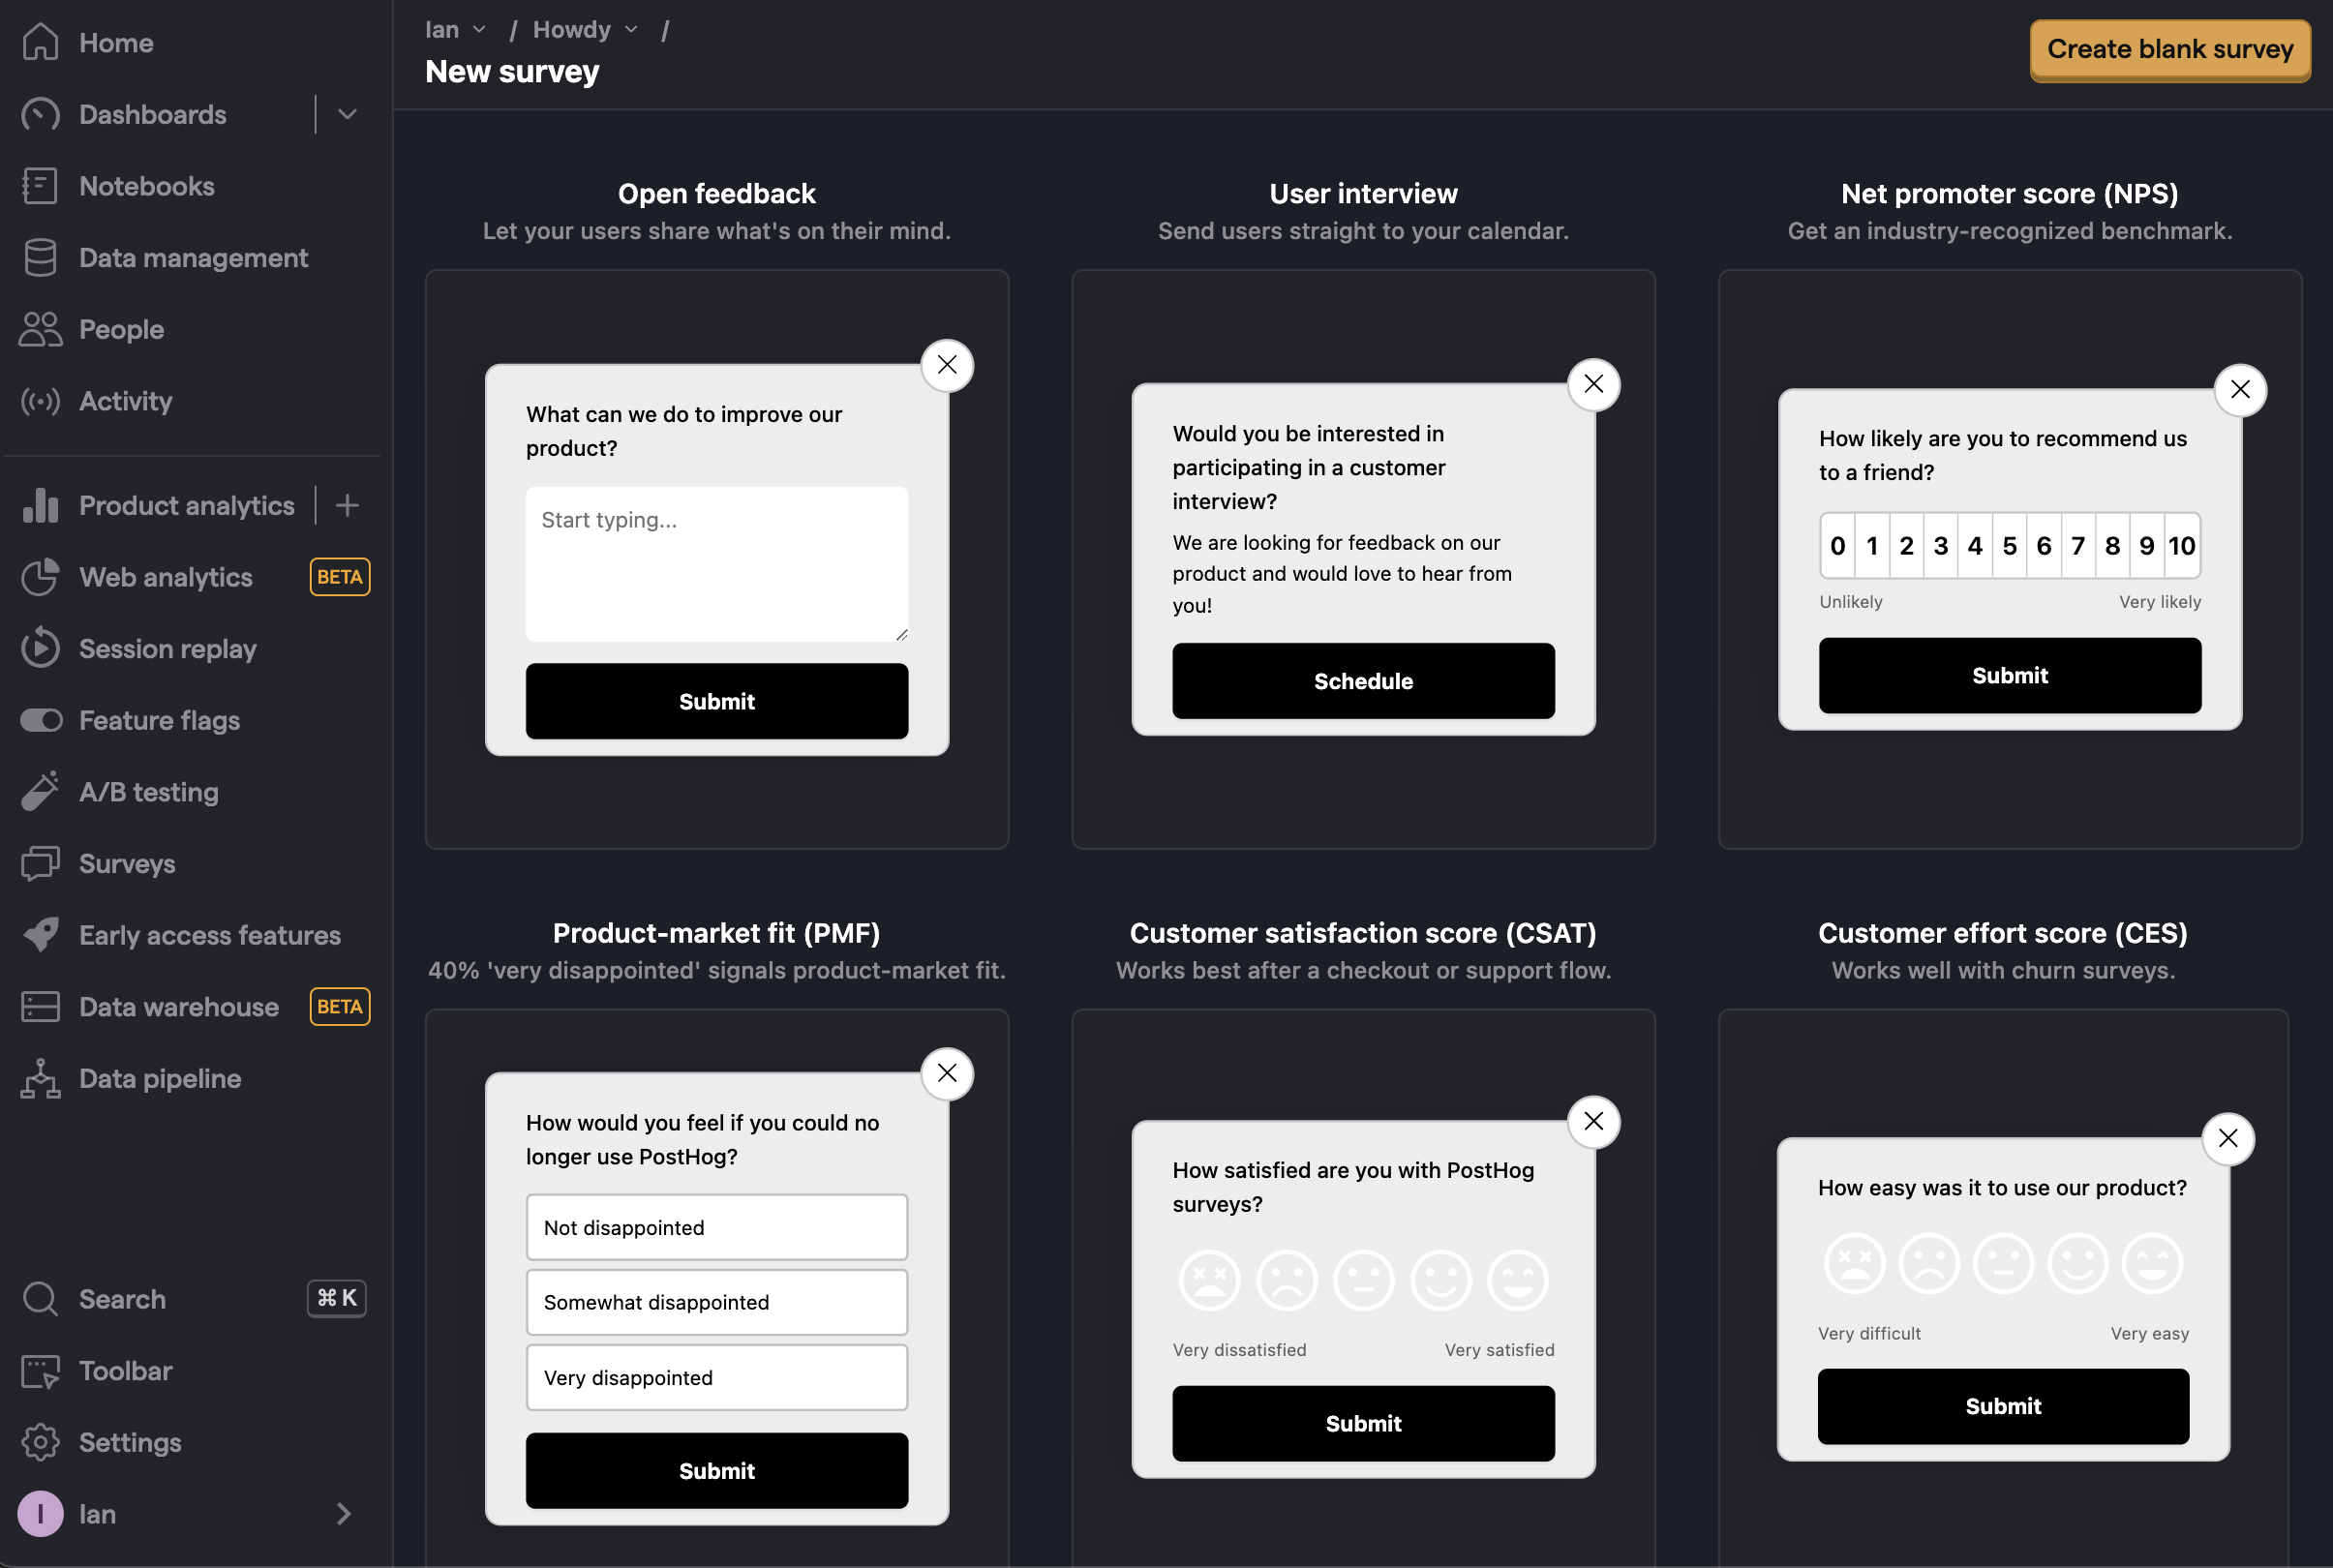
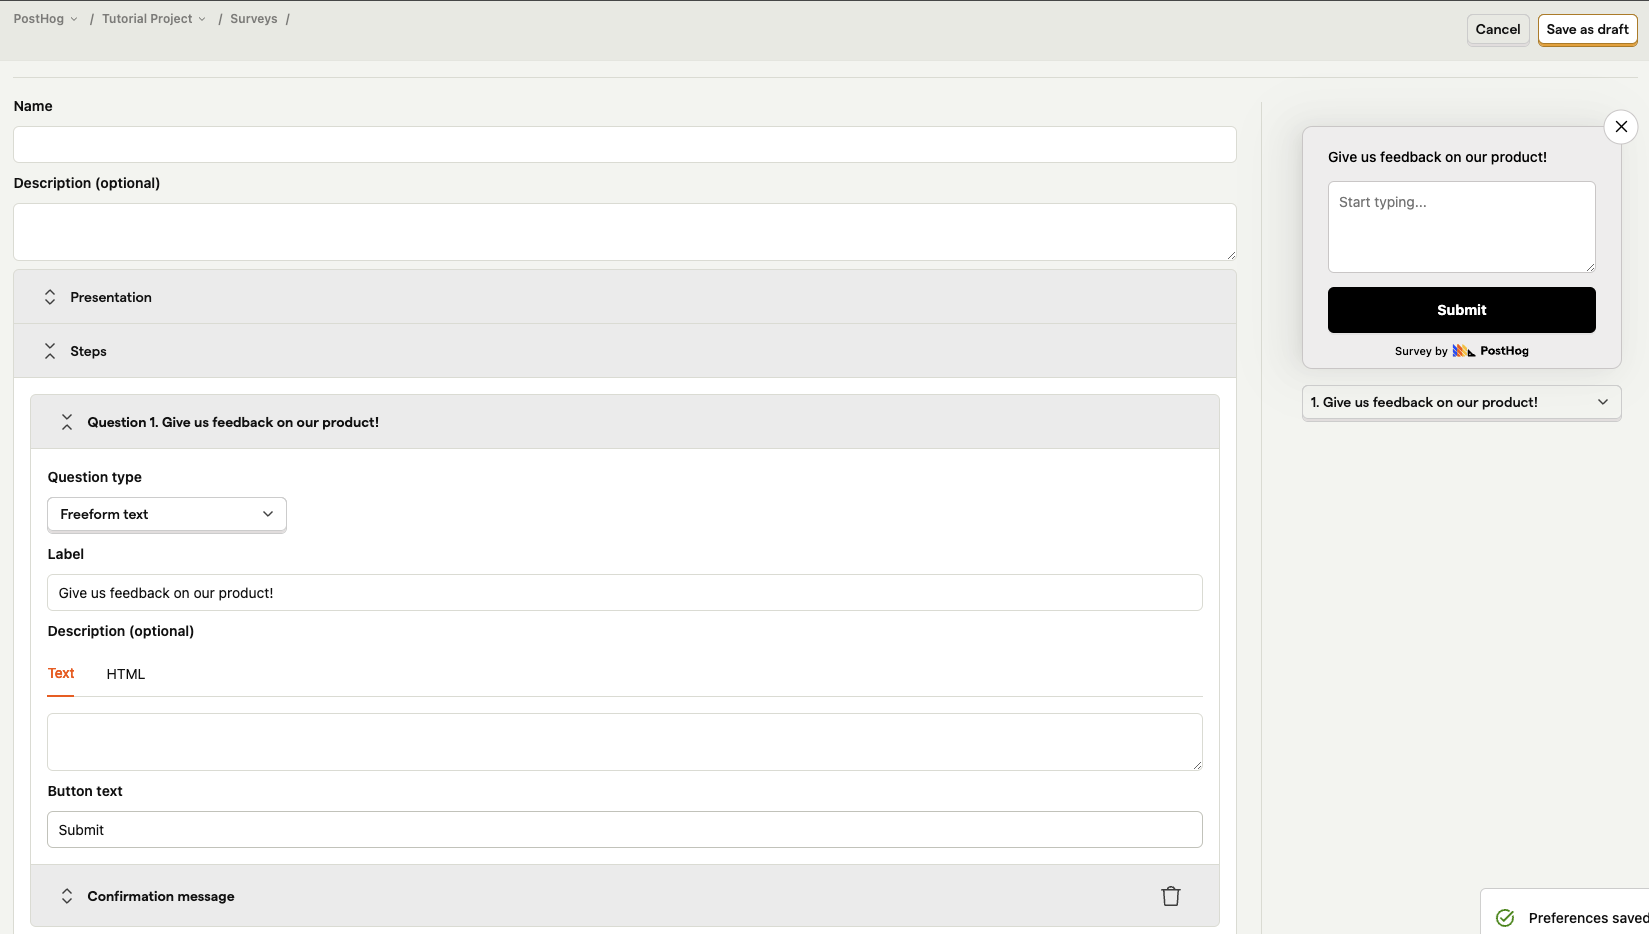
After choosing one, you are brought to a form where you can complete the details of your new survey:
PostHog AI and surveys
PostHog AI, PostHog's AI-powered assistant, can help you create surveys quickly using natural language. PostHog AI understands different question types and can:
- Generate complete surveys based on your research goals
- Suggest appropriate question types (freeform text, rating scales, multiple choice, etc.)
- Help you set up display conditions and targeting
- Recommend survey templates for common use cases
You can ask PostHog AI things like:
- "Create an NPS survey for my mobile app users"
- "Build a product satisfaction survey with rating questions"
- "Help me create a survey to understand why users churn"
- "Generate a post-purchase feedback survey"
To get started, click "PostHog AI" in the top right corner of the PostHog app and describe what kind of survey you want to create.
Note: PostHog AI is currently in beta, so you may encounter occasional issues. We appreciate any feedback you can share to help us improve!
Creating a new survey
Here's a breakdown of each field in the form:
Presentation
There are three options for displaying a survey:
Popover: Use PostHog's prebuilt user interfaces to show surveys as a popover in the bottom corner of the screen.
API: Implement your own survey UI and use PostHog to handle display logic, capturing results, and analytics.
Feedback button: Set up a survey based on your own custom button or our prebuilt feedback tab.
Hosted surveys: Create a survey accessible via an external link or embedded in an iframe, hosted by PostHog. Responses are anonymous by default, unless you use the
distinct_idquery parameter, which enables you to link responses to respondents.
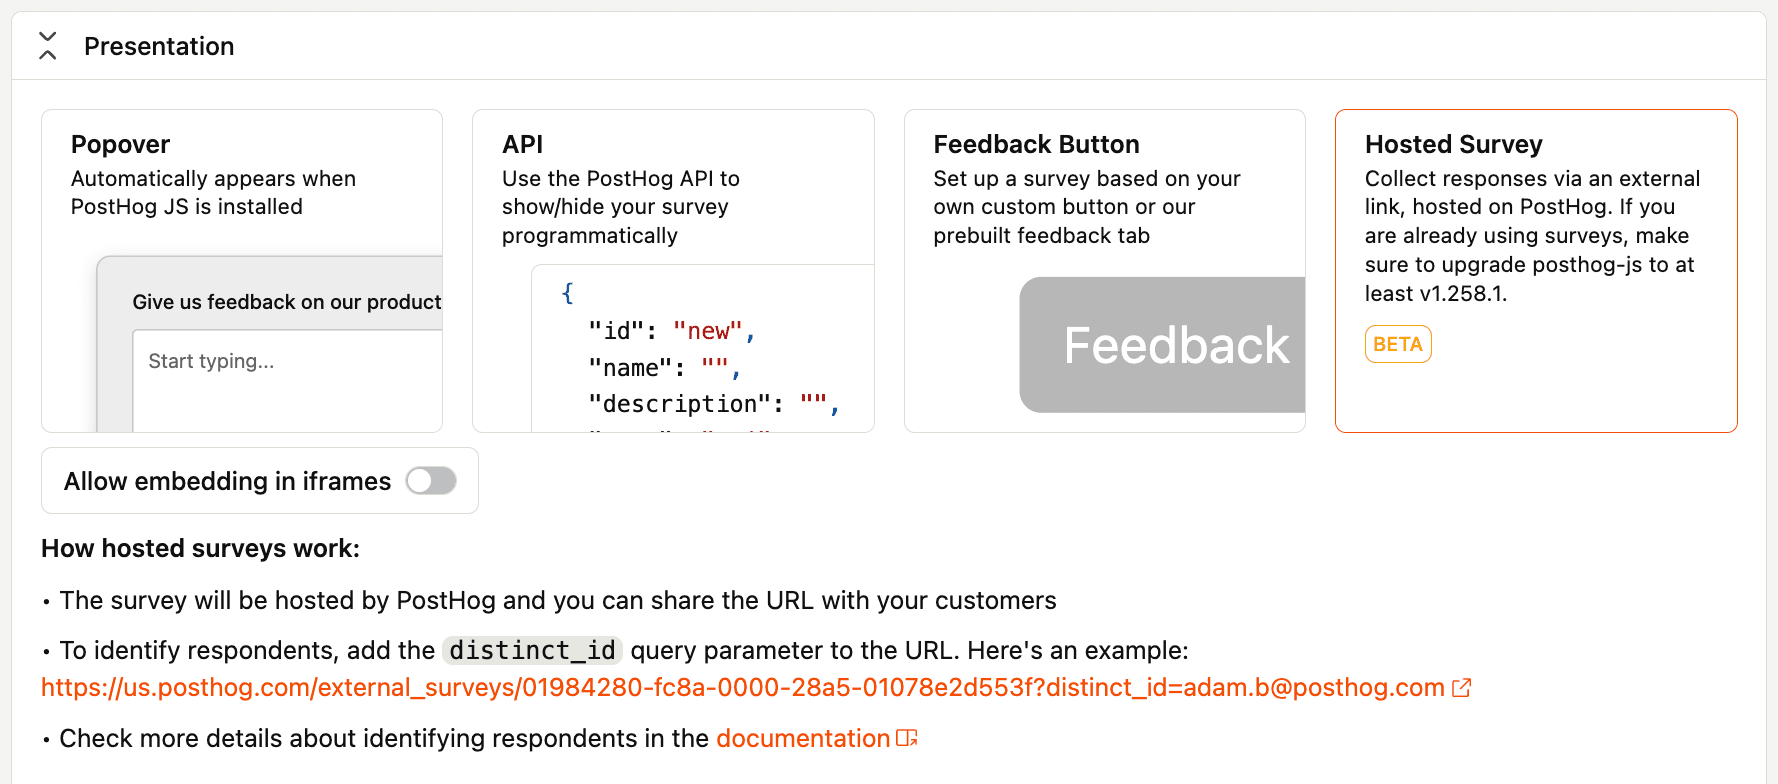
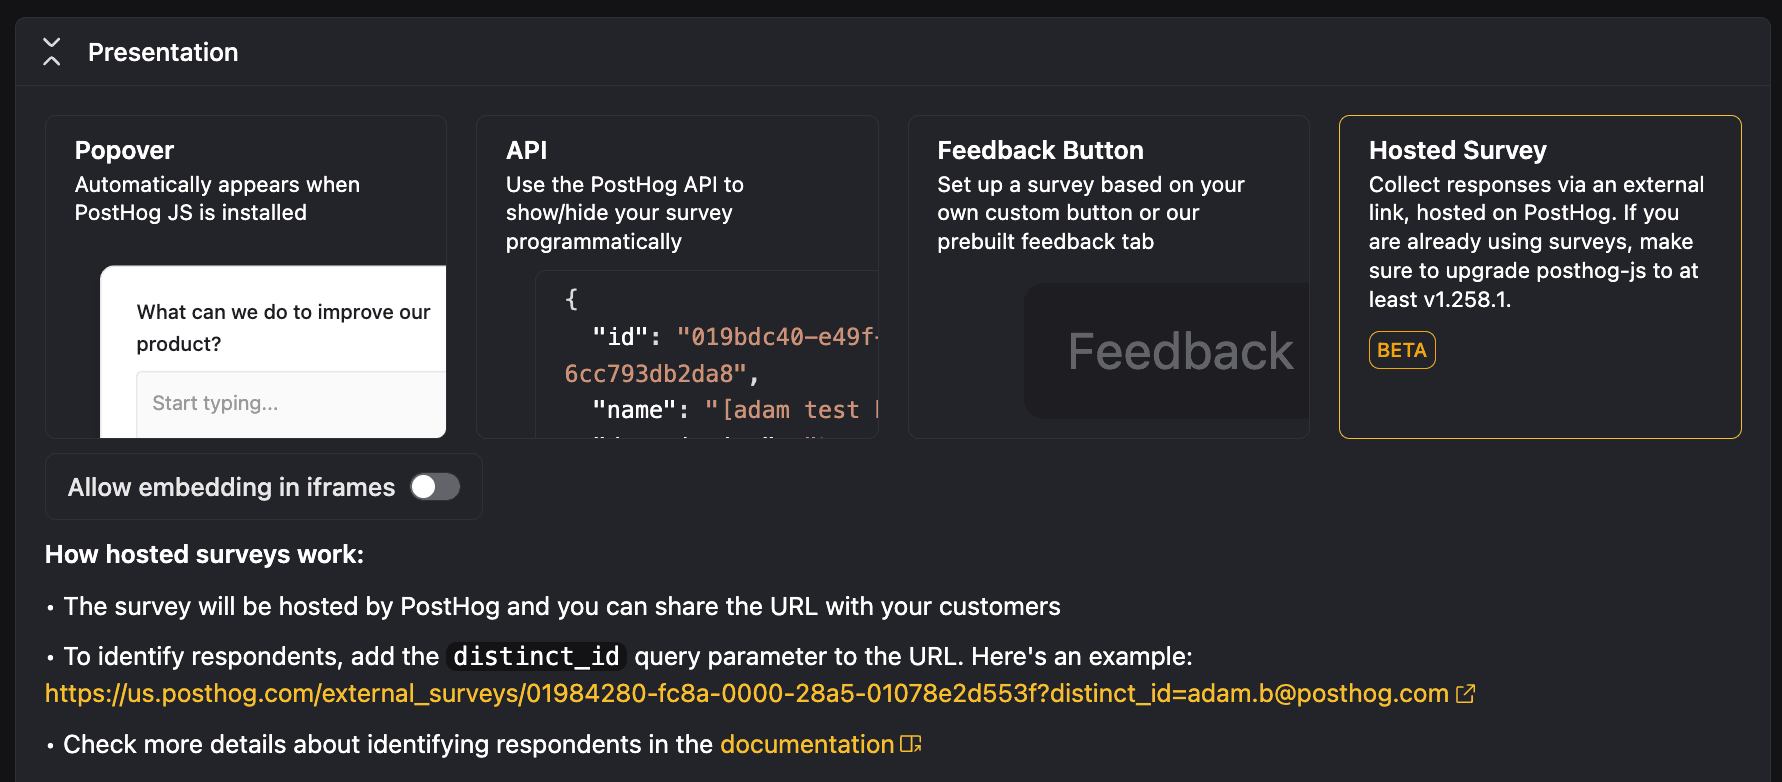
Popover, API, and feedback button surveys are considered in-app surveys, meaning they are displayed directly in your application using our SDKs. Hosted surveys are displayed via an external URLs, hosted by PostHog.
Identifying respondents on hosted surveys
In-app surveys automatically link responses to users when you identify users in your app.
Hosted surveys require manual user linking since they're accessed via external URLs. To connect survey responses to specific users, add the distinct_id query parameter to your survey URL:
Important: Use the exact same distinct_id value that you pass to posthog.identify() in your application. This ensures survey responses appear in the correct user's profile.
Without the parameter, responses are collected anonymously and cannot be linked to users. With the parameter, responses are attributed to the specified user, enabling you to see survey data alongside other user events and properties.
Adding event properties to hosted survey responses
When directing users to a hosted survey, you can add event properties using URL parameters. These parameters are automatically captured on the survey sent event.
The types for custom properties are automatically inferred with this logic, in this order:
Numeric: matches regex/^-?\d+(\.\d+)?$/(integer or decimal)Boolean: exact strings"true"and"false"String: everything else
Pre-filling survey responses via URL
You can pre-fill survey answers using URL parameters, which is especially useful for creating one-click survey links in emails. This feature works with single choice, multiple choice, and rating questions.
Basic syntax:
q{N}= question index (0-based, e.g.,q0for the first question,q1for the second)- Value = choice index (for single/multiple choice) or rating number
Examples:
Single choice question:
Rating question:
Multiple choice question:
Multiple questions:
Auto-submit (one-click surveys):
Note: As of
posthog-js@1.302.0, theauto_submitURL param, along with theautoSubmitIfCompleteandautoSubmitDelaySDK configuration params, have been deprecated.
Survey questions that are pre-filled will be skipped (not shown to the user) if they are set to "Automatically submit on selection". Additionally, if partial responses are enabled for your survey, these responses will be recorded automatically on page load.
Here's how it works:
- User clicks link to open survey page
- Starting at the first question, we automatically advance through questions which are both prefilled and set to automatically submit on selection
- If partial responses are enabled for your survey, responses are immediately stored for the questions we skipped
- We always start the survey at the first non-prefilled question, regardless of whether some questions in the middle are pre-filled
Additional notes:
- If all questions are pre-filled, the user will only see a confirmation message ("Thanks! Your response was recorded")
- If some questions in the middle of your survey are pre-filled, regardless of whether the question is set to auto-submit on selection, the user will still see the pre-selected response, and may change it
Example: one-click NPS with optional follow-up Say you want to send an email with a "one-click" NPS survey that includes an optional follow-up question.
Create your survey with the following configuration:
- Create your first question as a Rating question, with "Automatically submit on selection" enabled
- Create a second question as Freeform text
- Ensure partial responses are enabled (Completion conditions > Response collection > Any question)
Now you can send your survey link with the NPS question pre-filled, like this:
Important notes:
- Question indices are 0-based (first question is
q0, second isq1, etc.) - Choice indices are also 0-based (first choice is
0, second is1, etc.) - Invalid indices are silently ignored
- Pre-filling only works with choice and rating questions (not open text)
Embedding hosted surveys in iframes
You can embed hosted surveys directly on a page using an iframe. This is useful if you're working in a no-code site builder, or otherwise want to display a survey inline without creating an API survey.
To create an embedded survey:
- Create a hosted survey - select Hosted Survey as the presentation type
- Enable Allow embedding in iframes in the survey settings
- Save and launch your survey
- On the overview page, click Copy embed code to get the HTML snippet
- Paste the code snippet wherever you like - done!
Here's an example with Framer:
Notes:
- Person identification: If the PostHog SDK is enabled on your site, the default embed code will automatically attach the Person's distinct ID (via
window.posthog.get_distinct_id()) to all embedded survey responses. Otherwise, the responses will be anonymous. - URL pre-fill: URL pre-filling is supported with embedded surveys, you'll just need to update your embed code to include the pre-fill query params.
- Embed customization: The default embed code provides automatic height adjustment and minimal styling. For more control, you can create your own iframe using the hosted survey's URL +
?embed=true. Example:
Steps
Steps is where you set up your question(s), label, choice(s), description, button text, and confirmation message. You must subscribe to surveys to add multiple questions.
You can also add conditional logic to display certain questions.
Tip: The description supports HTML, so you can do things like add images with an
<img>tag.
PostHog supports multiple question types which are all available for both popover and API display modes.
| Type | Preview |
|---|---|
| Freeform text |  |
| Link/Notification |  |
| Rating emoji | 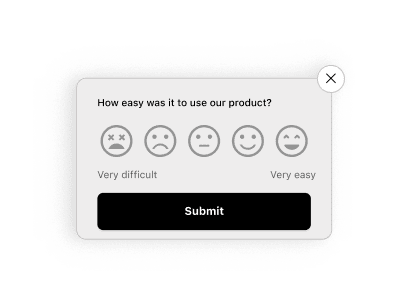 |
| Rating - number | 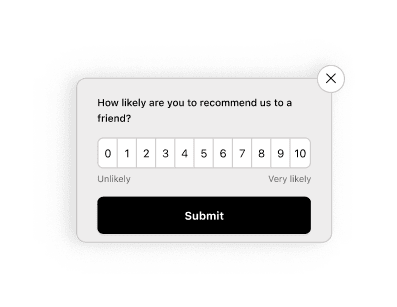 |
| Single choice select |  |
| Multiple choice select | 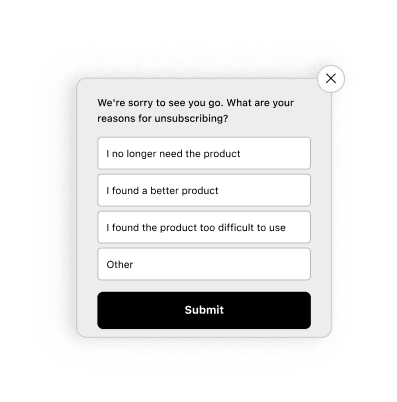 |
Customization
Customization enables you to change the look, feel, and timing of your popover survey:
- The color of the background, border, and buttons.
- The position of the popover at the bottom of the screen.
- The placeholder text.
- The visibility of the PostHog branding.
- Whether to shuffle the order of the choices and questions.
- The delay (in seconds) before the survey appears on the page.
- Whether the confirmation message auto disappears after 5 seconds.
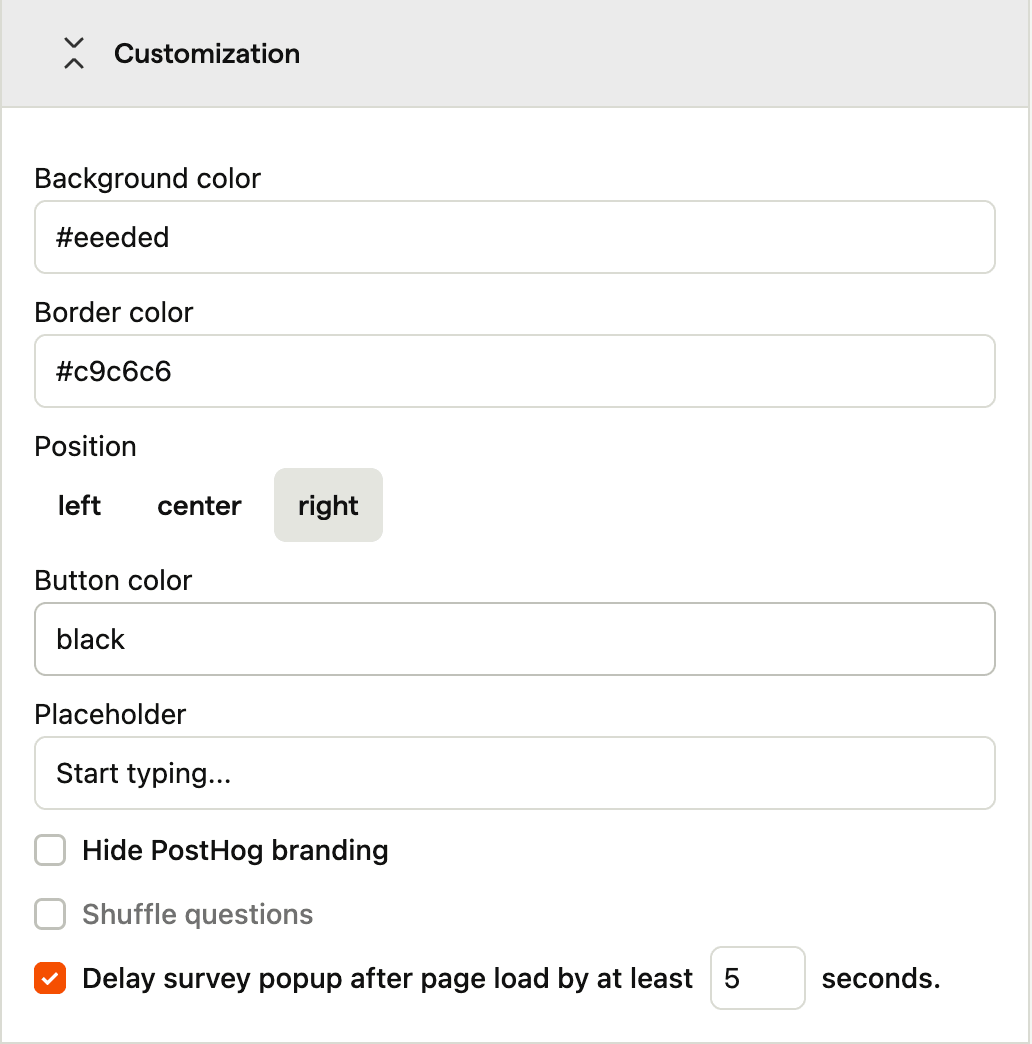
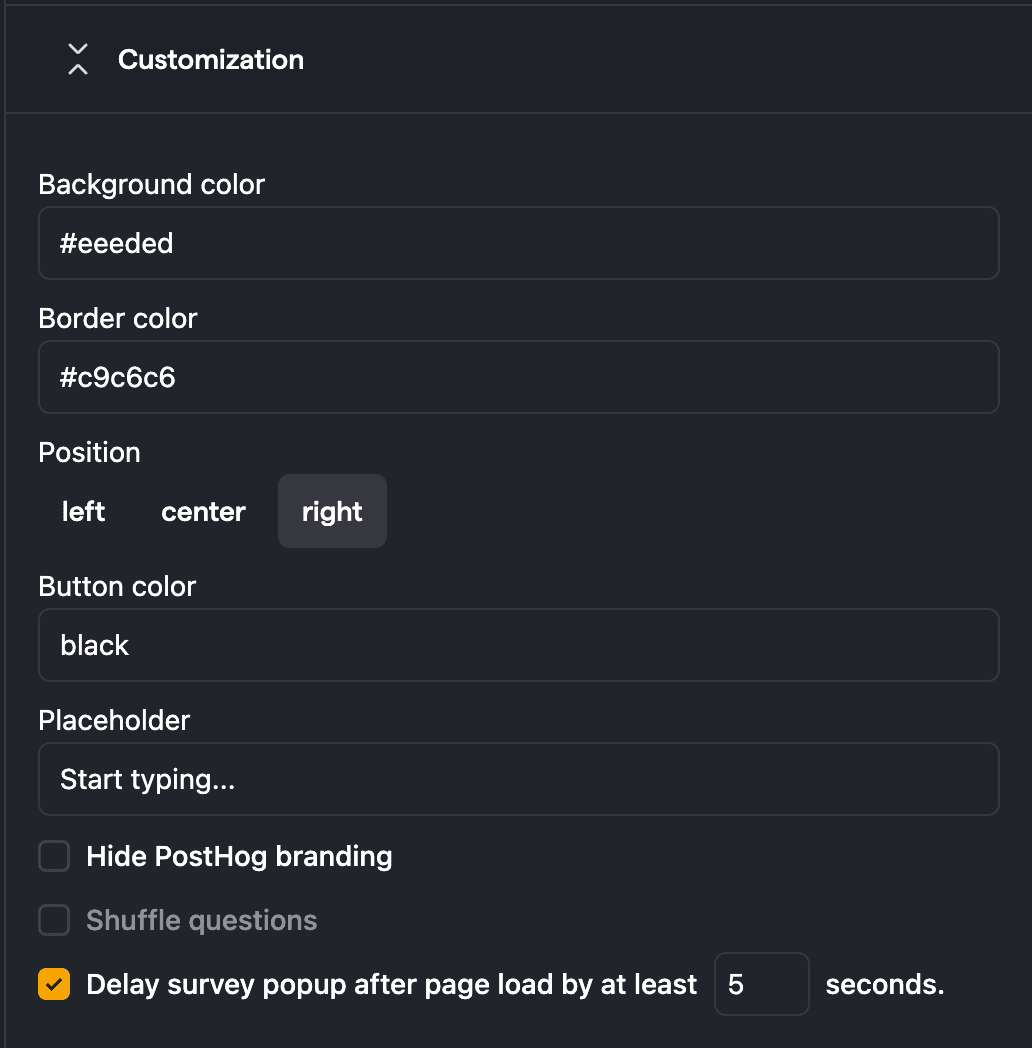
For hosted surveys, you can only customize colors and placeholders.
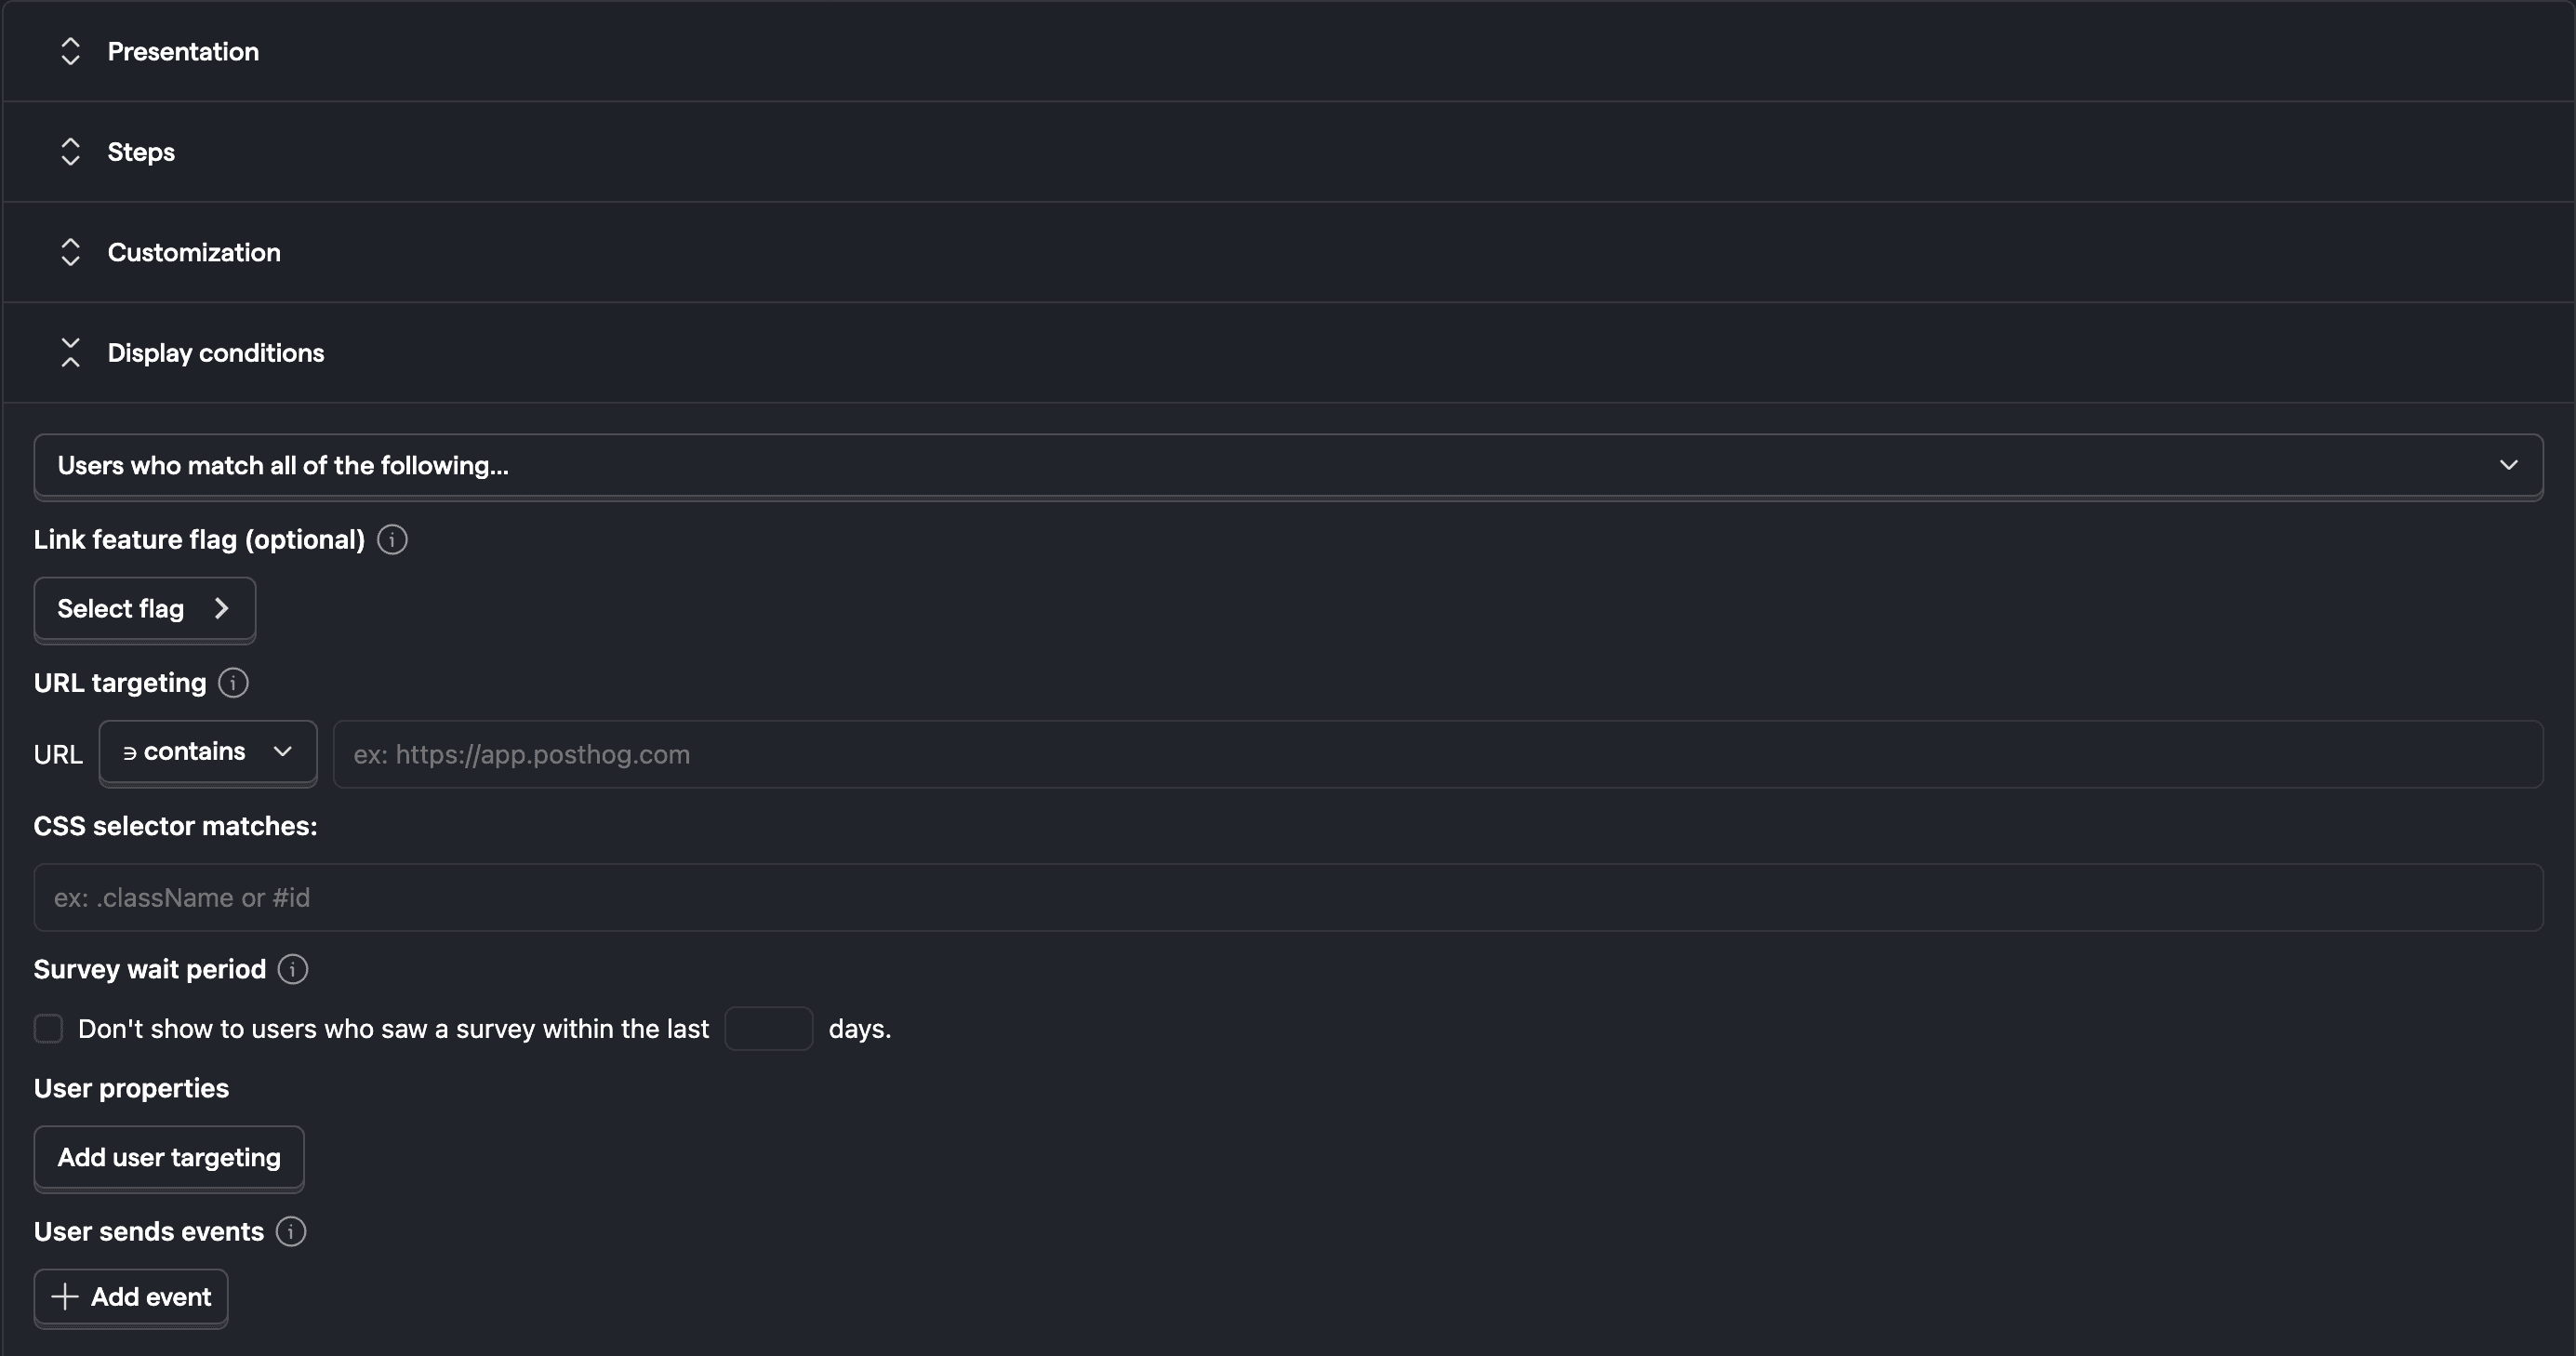
Display conditions
Display conditions are not available for hosted surveys. Any user who visits the link is shown the survey, as long as it is launched and still collecting responses.
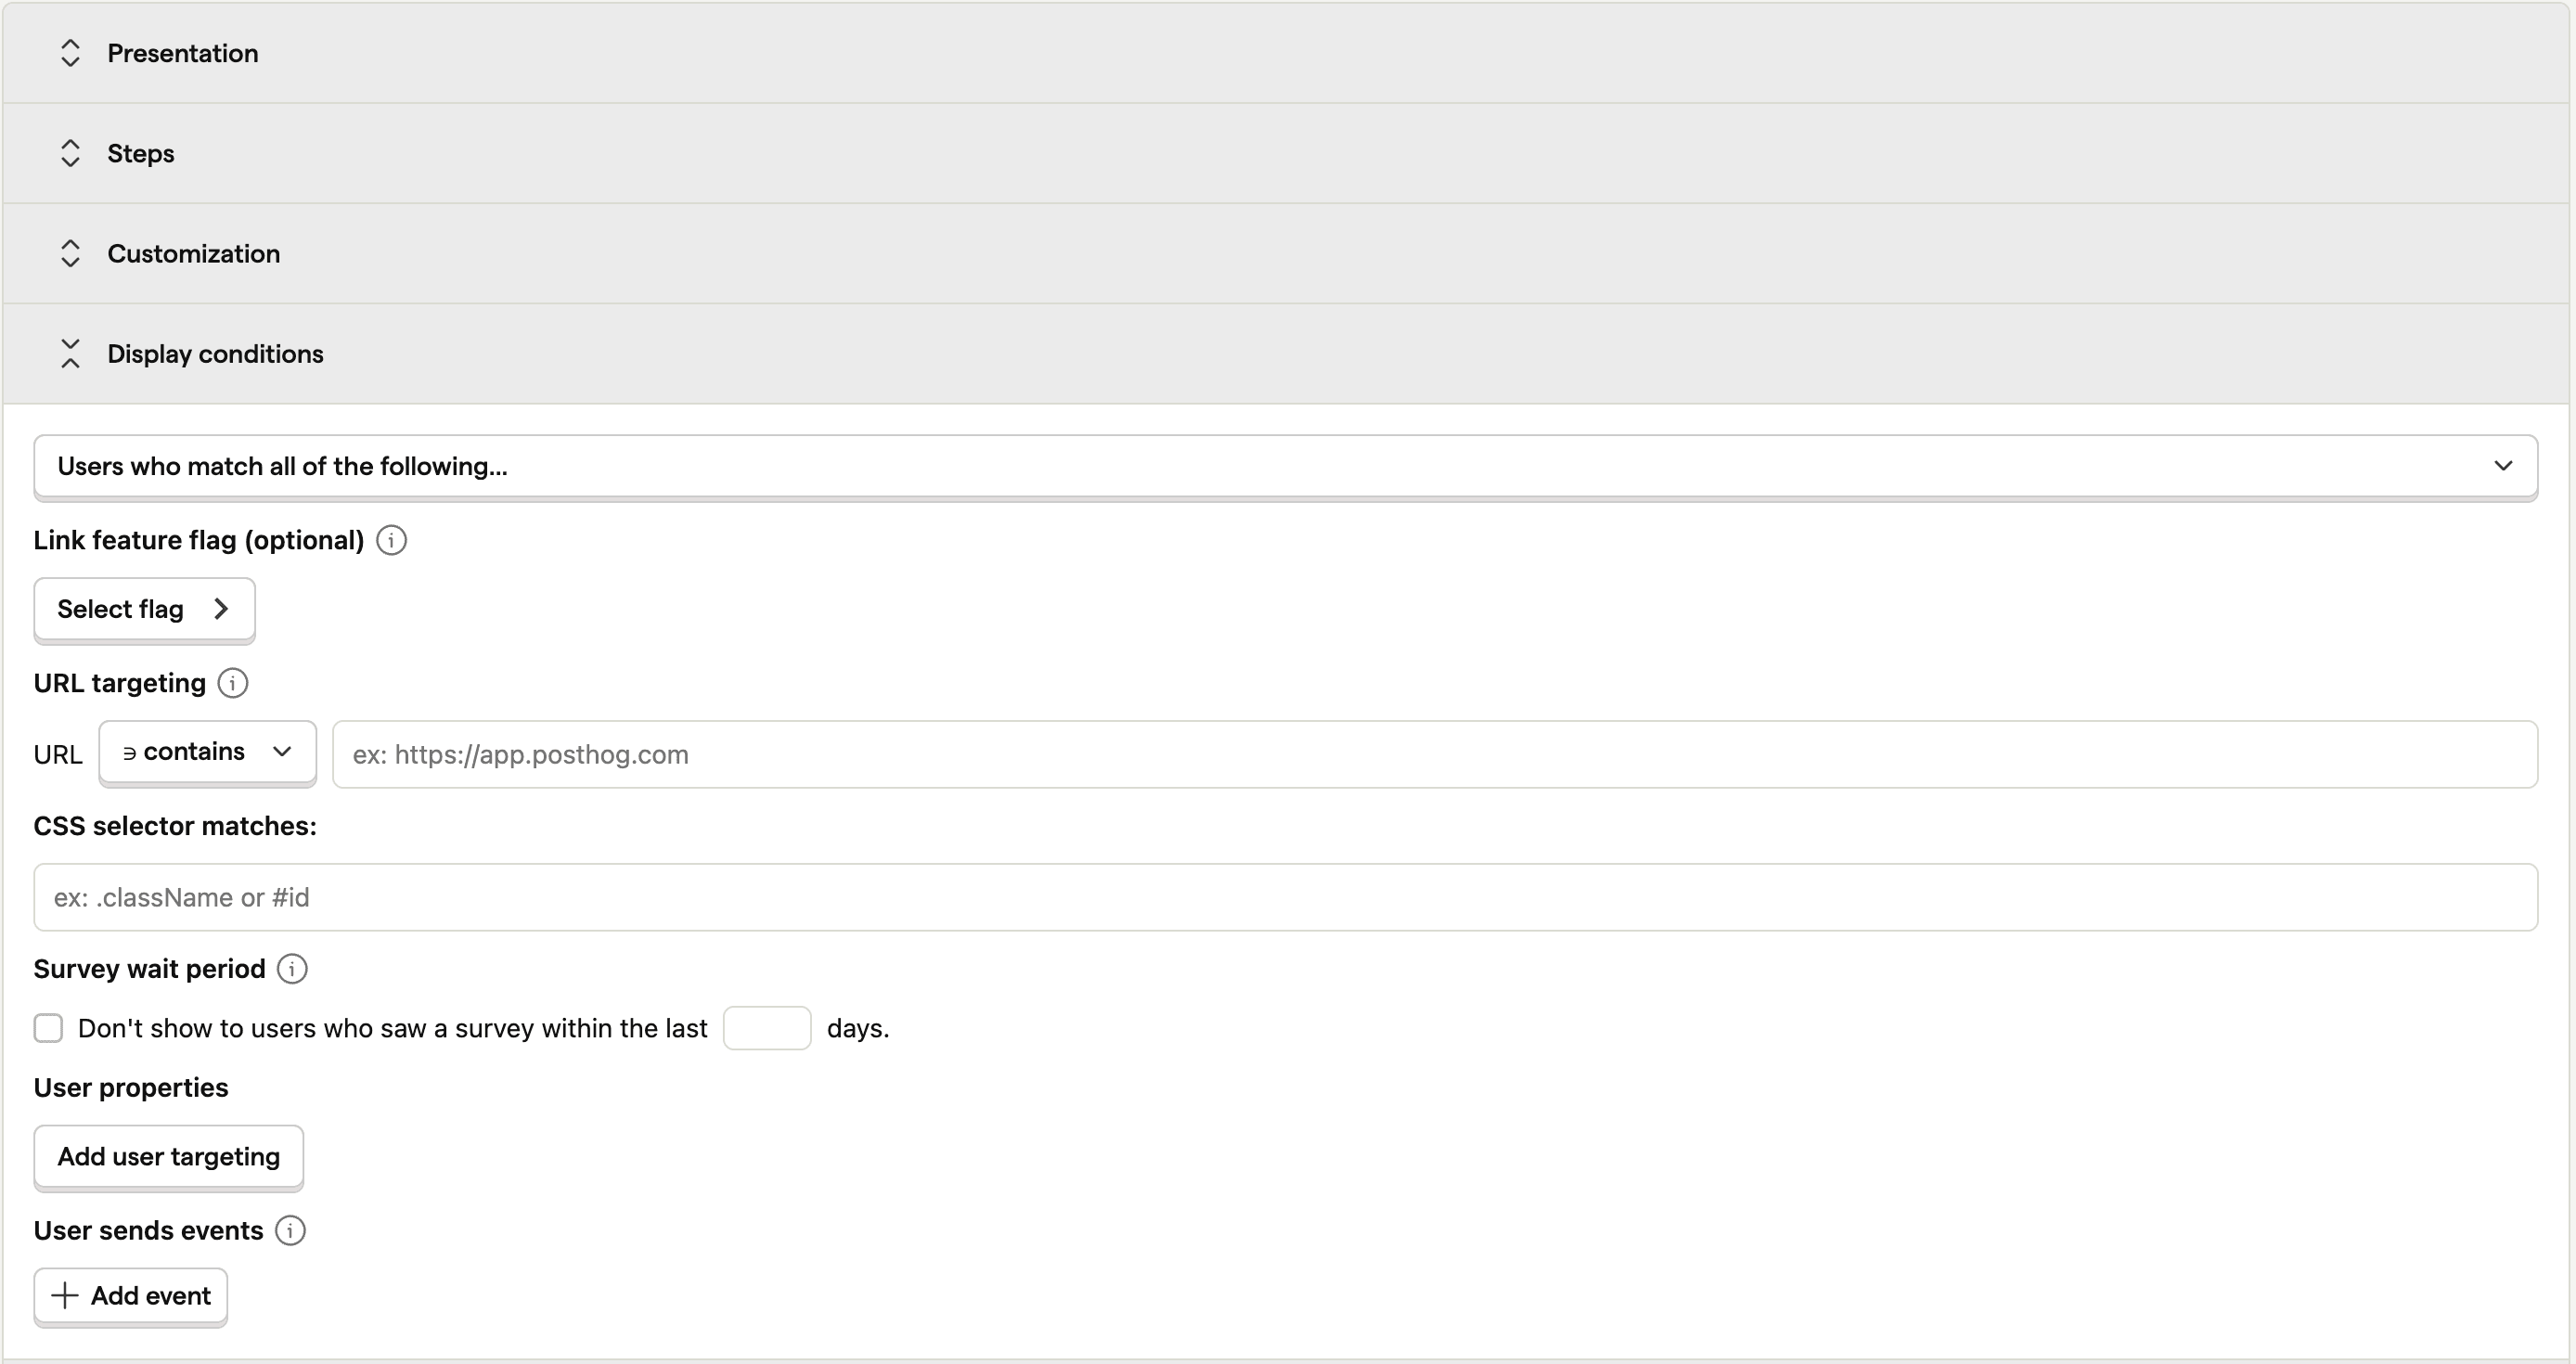
This specifies the conditions a user must meet to be shown an in-app survey. A user must meet ALL the conditions to be eligible.
You can display your survey to specific users based on:
Linked feature flag: Whether a user has a specific feature flag enabled. For example, if you're rolling out a new landing page using a feature flag
new-landing-page, you can gather feedback only from users who have that flag enabled. This is also a way to show surveys to cohorts (but it must be a non-behavioral one).URL targeting: Show when URL either contains a string, exactly matches a string, matches a regex. The URL targeting is evaluated against
window.location.href.Device types targeting: Show when the device type either contains a string, exactly matches a string or matches a regex. The device type targeting is evaluated by parsing the userAgent on the client-side, possible values are: Desktop, Mobile, Tablet, Console, and Wearable. You can also target device types using Person and group properties (Latest or Initial Device type), but these properties aren't immediately available on the first page load for unidentified persons. Only available from posthog-js version 1.214.0 forward.
Selector matches: Whether a specific element exists or appears on the page with the specified class name or ID. For example, you can display a survey with
#my-buttonor.my-buttonselector. This is useful for showing a survey after a user action.Wait period: Hide surveys from users who have seen any survey in the last X days. A user who completes a survey are never shown the same survey again, even if no wait period is set (but there are exceptions to this rule).
Person and group properties: If you are capturing identified events, you can display a survey to users who have specific person or group properties. For example, you can target a survey to users who have a property
is_paying=true. This also includes a percentage rollout option. The person and group properties are evaluated with internal feature flags.User sends events: Display a survey to users who have sent a specific event during their session.
Completion conditions
This enables you to stop your survey once you receive a specific number of responses. Note that because it takes time for PostHog to process responses, this is a rough guideline. Your survey might receive slightly more responses than you set. The completion conditions properties are evaluated with internal feature flags.
Repeating surveys
By default, surveys are shown once to each user until they either dismiss it or complete it. After that, they won't see the survey again. However, there are a few exceptions.
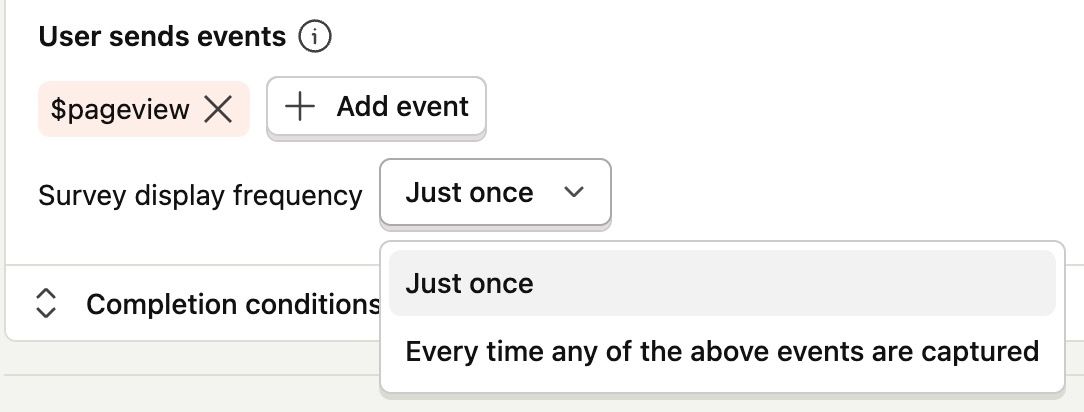
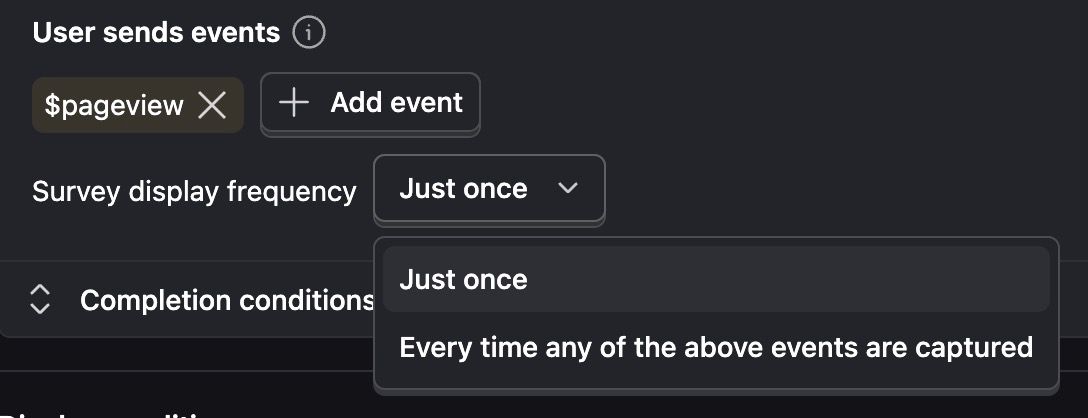
Event-triggered surveys
For surveys triggered by a specific event, you can configure the survey to repeat if the event is sent again. If you select the option Every time the event is sent, the survey is shown again for each event.
If you want to trigger a survey on a specific event, but only show it once per user, select the Just once option.
Complete conditions
Under complete conditions, there's two options that can be configured so the survey is shown again:
Repeat on a scheduleEvery time the display conditions are met
Repeat on a schedule
You can also configure in-app surveys to repeat at specific intervals, which is useful for gathering feedback from users on a regular basis.
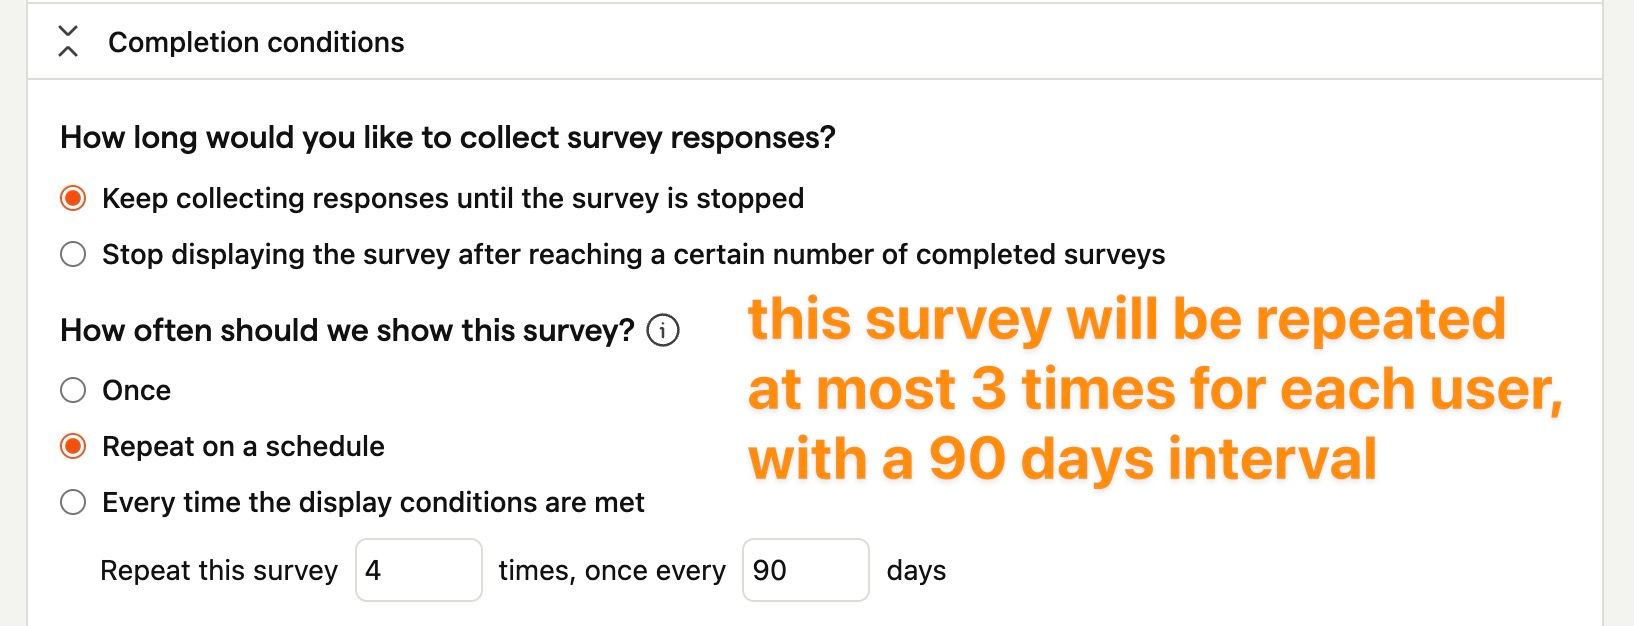
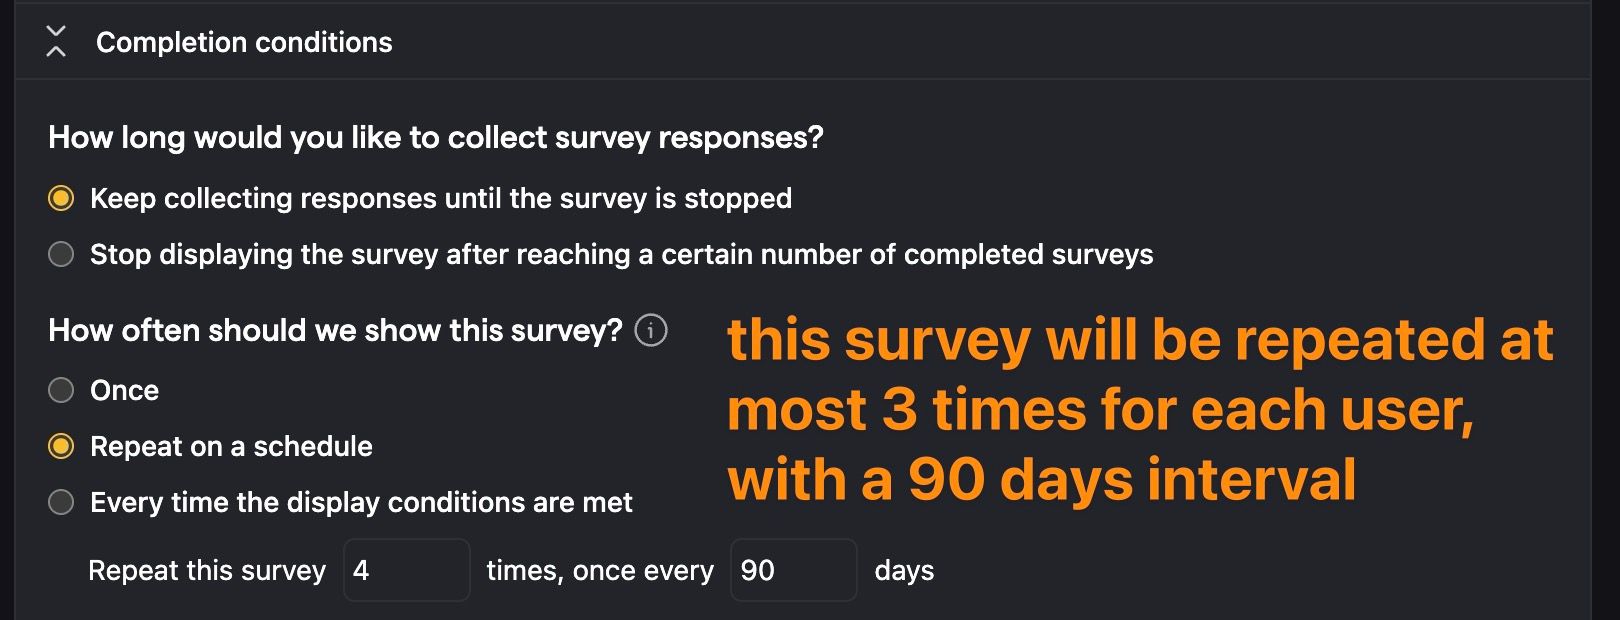
For example, you can configure settings like:
- Repeat this survey
3times, once every30days: The survey will be shown to a user up to 3 times total, with a 30-day gap between each showing.
| Date | Event | Explanation |
|---|---|---|
| Jan 1 | Survey shown and completed | First showing of the survey. User completes it, starting the 30-day timer |
| Jan 2-30 | No survey shown | Within 30-day waiting period after first completion |
| Jan 31 | Survey becomes eligible | 30 days have passed since first completion |
| Feb 15 | Survey shown and completed | User visits site and completes survey for the second time |
| Feb 16-Mar 16 | No survey shown | Within 30-day waiting period after second completion |
| Mar 17 | Survey becomes eligible | 30 days have passed since second completion |
| Apr 1 | Survey shown and completed | User completes survey for the third and final time |
| After Apr 1 | Survey never shown again for this user | Maximum number of repetitions (3) reached |
A survey is considered "shown" when a user either completes or dismisses it. The repeat interval timer starts from that moment. For example, if you set a survey to repeat every 90 days and a user completes it on January 1st, they won't see it again until April 1st, regardless of how many times they visit your site in between.
Note: Users must still match any display conditions you've set each time the survey becomes eligible to show again.
Every time the display conditions are met
For this option, the survey is shown again every time the display conditions are met.
The main use case for this is for Feedback button surveys. This enables the survey to show up every time the user clicks the feedback button.
This can also be combined with the Wait time option. If you select this option and set a Wait time of 30 days, the survey is only shown again if they haven't seen any surveys in the last 30 days. This is useful for getting regular feature feedback or asking about an error.
Launching your survey
Once you've set up your survey, click "Save as draft" to save your survey. This enables you to review any changes before launching. Then, when you're ready to launch, click the "Launch" button.
If you've created a popover survey, your survey will begin showing immediately to users matching your display conditions.
If you've created an API survey, you'll need to add your custom survey code before launching.
When you launch a hosted survey, you'll get a link you can share with your users. You can also copy it by clicking Copy URL.


How PostHog handles partial survey responses
You can enable partial responses in the "Completion conditions" section of the survey. This option is enabled by default for all new surveys. Please note that partial responses require posthog-js version 1.240.0 or higher and are currently only supported in posthog-js library.
If partial responses are disabled, PostHog sends a single survey sent event. This event is triggered once the user answers the last question of the survey. It contains all the user's responses. The $survey_completed property in this event will be true.
When partial responses are enabled (default behavior for new surveys): If partial responses are enabled, PostHog tracks user progress as follows:
- Initial Response: The first
survey sentevent is triggered as soon as the user answers at least one question. This initial event includes the answer(s) provided up to that point. The$survey_completedproperty in this event will befalse. - Subsequent Responses: For each additional question the user answers, another
survey sentevent is captured. Each of these events will contain all responses submitted by the user for that survey instance up to that point, and$survey_completedwill remainfalse. - Full Completion: When the user fully completes and submits the survey, a final
survey sentevent is sent. This event will again include all their answers, and the$survey_completedproperty will now betrue.
The $survey_submission_id:
All survey sent events triggered during a single user's attempt to complete a survey (whether partial or complete) share the same unique $survey_submission_id.
Billing for partial responses:
We charge based on unique survey submissions, not individual survey sent events. Therefore, you are charged only once per unique $survey_submission_id. For example, if your survey has 5 questions and a user answers 3 of them (triggering multiple survey sent events with $survey_completed: false), you will still be charged for only one survey response, as all those events will share the same $survey_submission_id.


