


How to send survey responses to Zapier

Contents
It can be useful to send survey responses to Zapier. This way you can automatically trigger workflows in thousands of other apps, such as creating tickets in your help desk or updating your CRM with customer feedback.
To show you how, in this tutorial we set up an example Zap to add survey responses to a Google Sheet.
Step 1: Create a survey
First, you'll need to create a survey. Our docs cover how to do this, so we won't go into detail here. We also have framework-specific tutorials.
Once your survey is created, submit a few sample responses.
Step 2: Set your Zap trigger
You have two options for creating your Zap and setting its trigger:
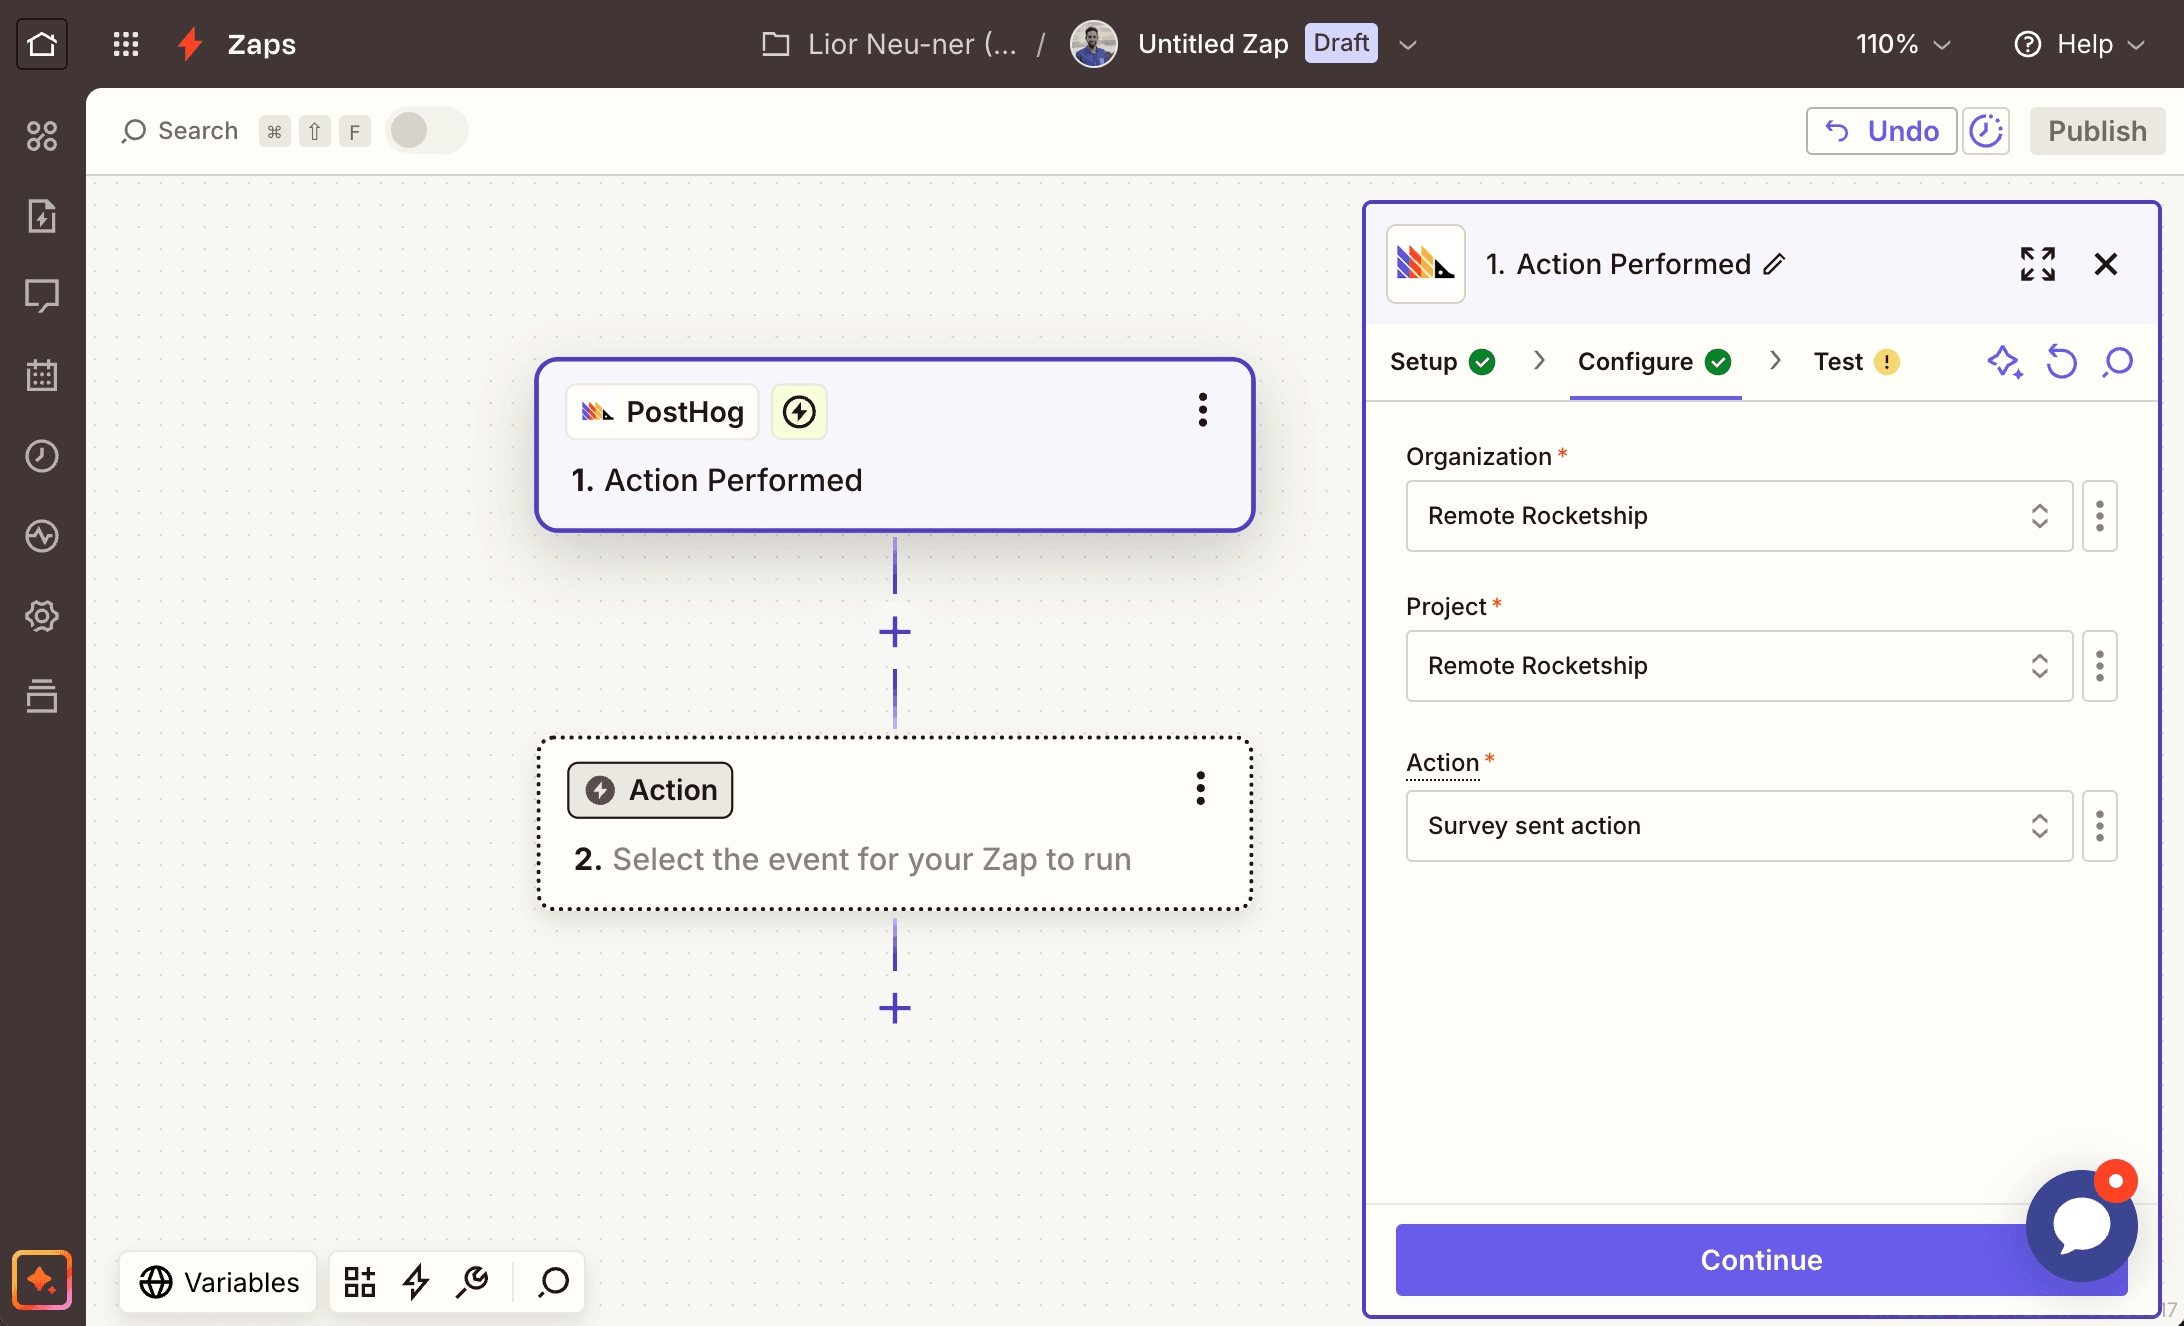
Option 1: Via the PostHog app in Zapier recommended
- In PostHog, go to the actions tab.
- Click New action and then From event or pageview.
- Select the Other events tab and select for the
survey sentevent. - Name your action
Survey sent actionand click Save. - Then in your Zapier dashboard, go to your zaps and create a new zap.
- Add the PostHog app as a trigger.
- Configure the PostHog app by setting the Trigger event to
Action Performed. - Click Continue and select the relevant organization and project. In the Action section, select the Survey sent action you created in the previous steps.
- Click Continue and test your trigger.
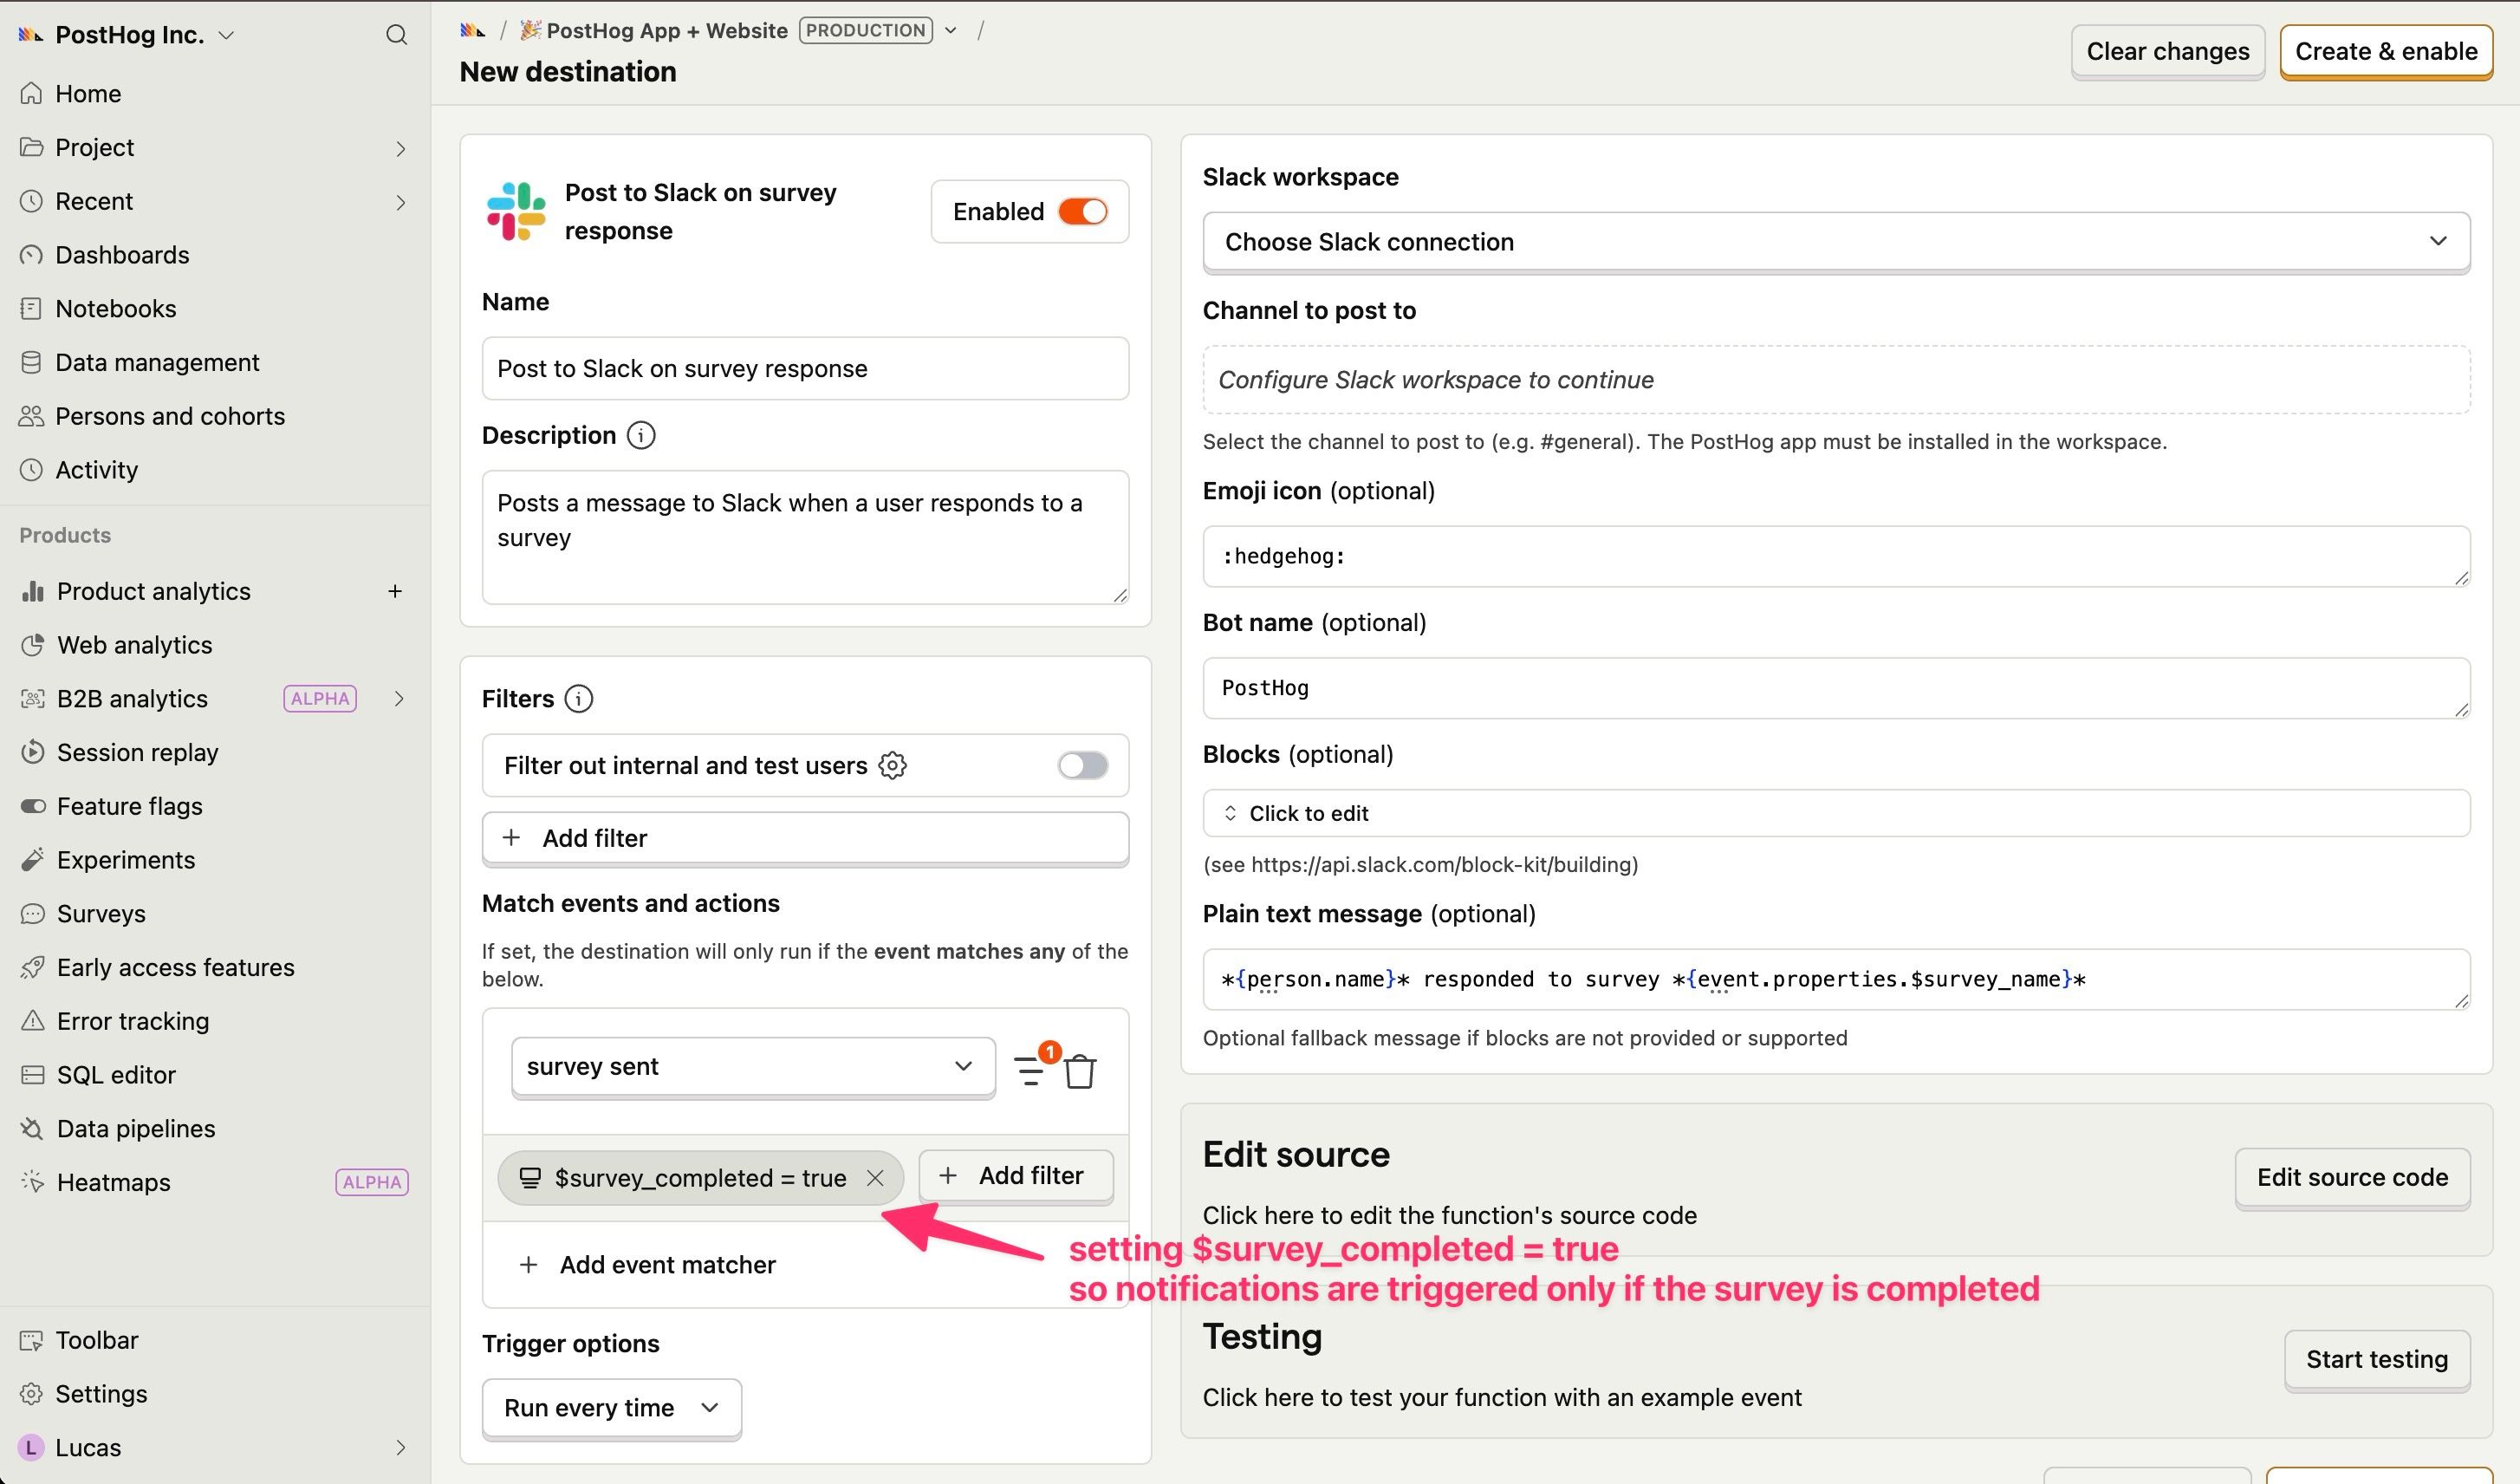
Option 2: Via PostHog's Data pipelines
- In PostHog, click the Data pipeline tab in the left sidebar.
- Click the Destinations tab.
- Search for Zapier and click + Create.
- In the Match events and actions section, search for and select
survey sent.
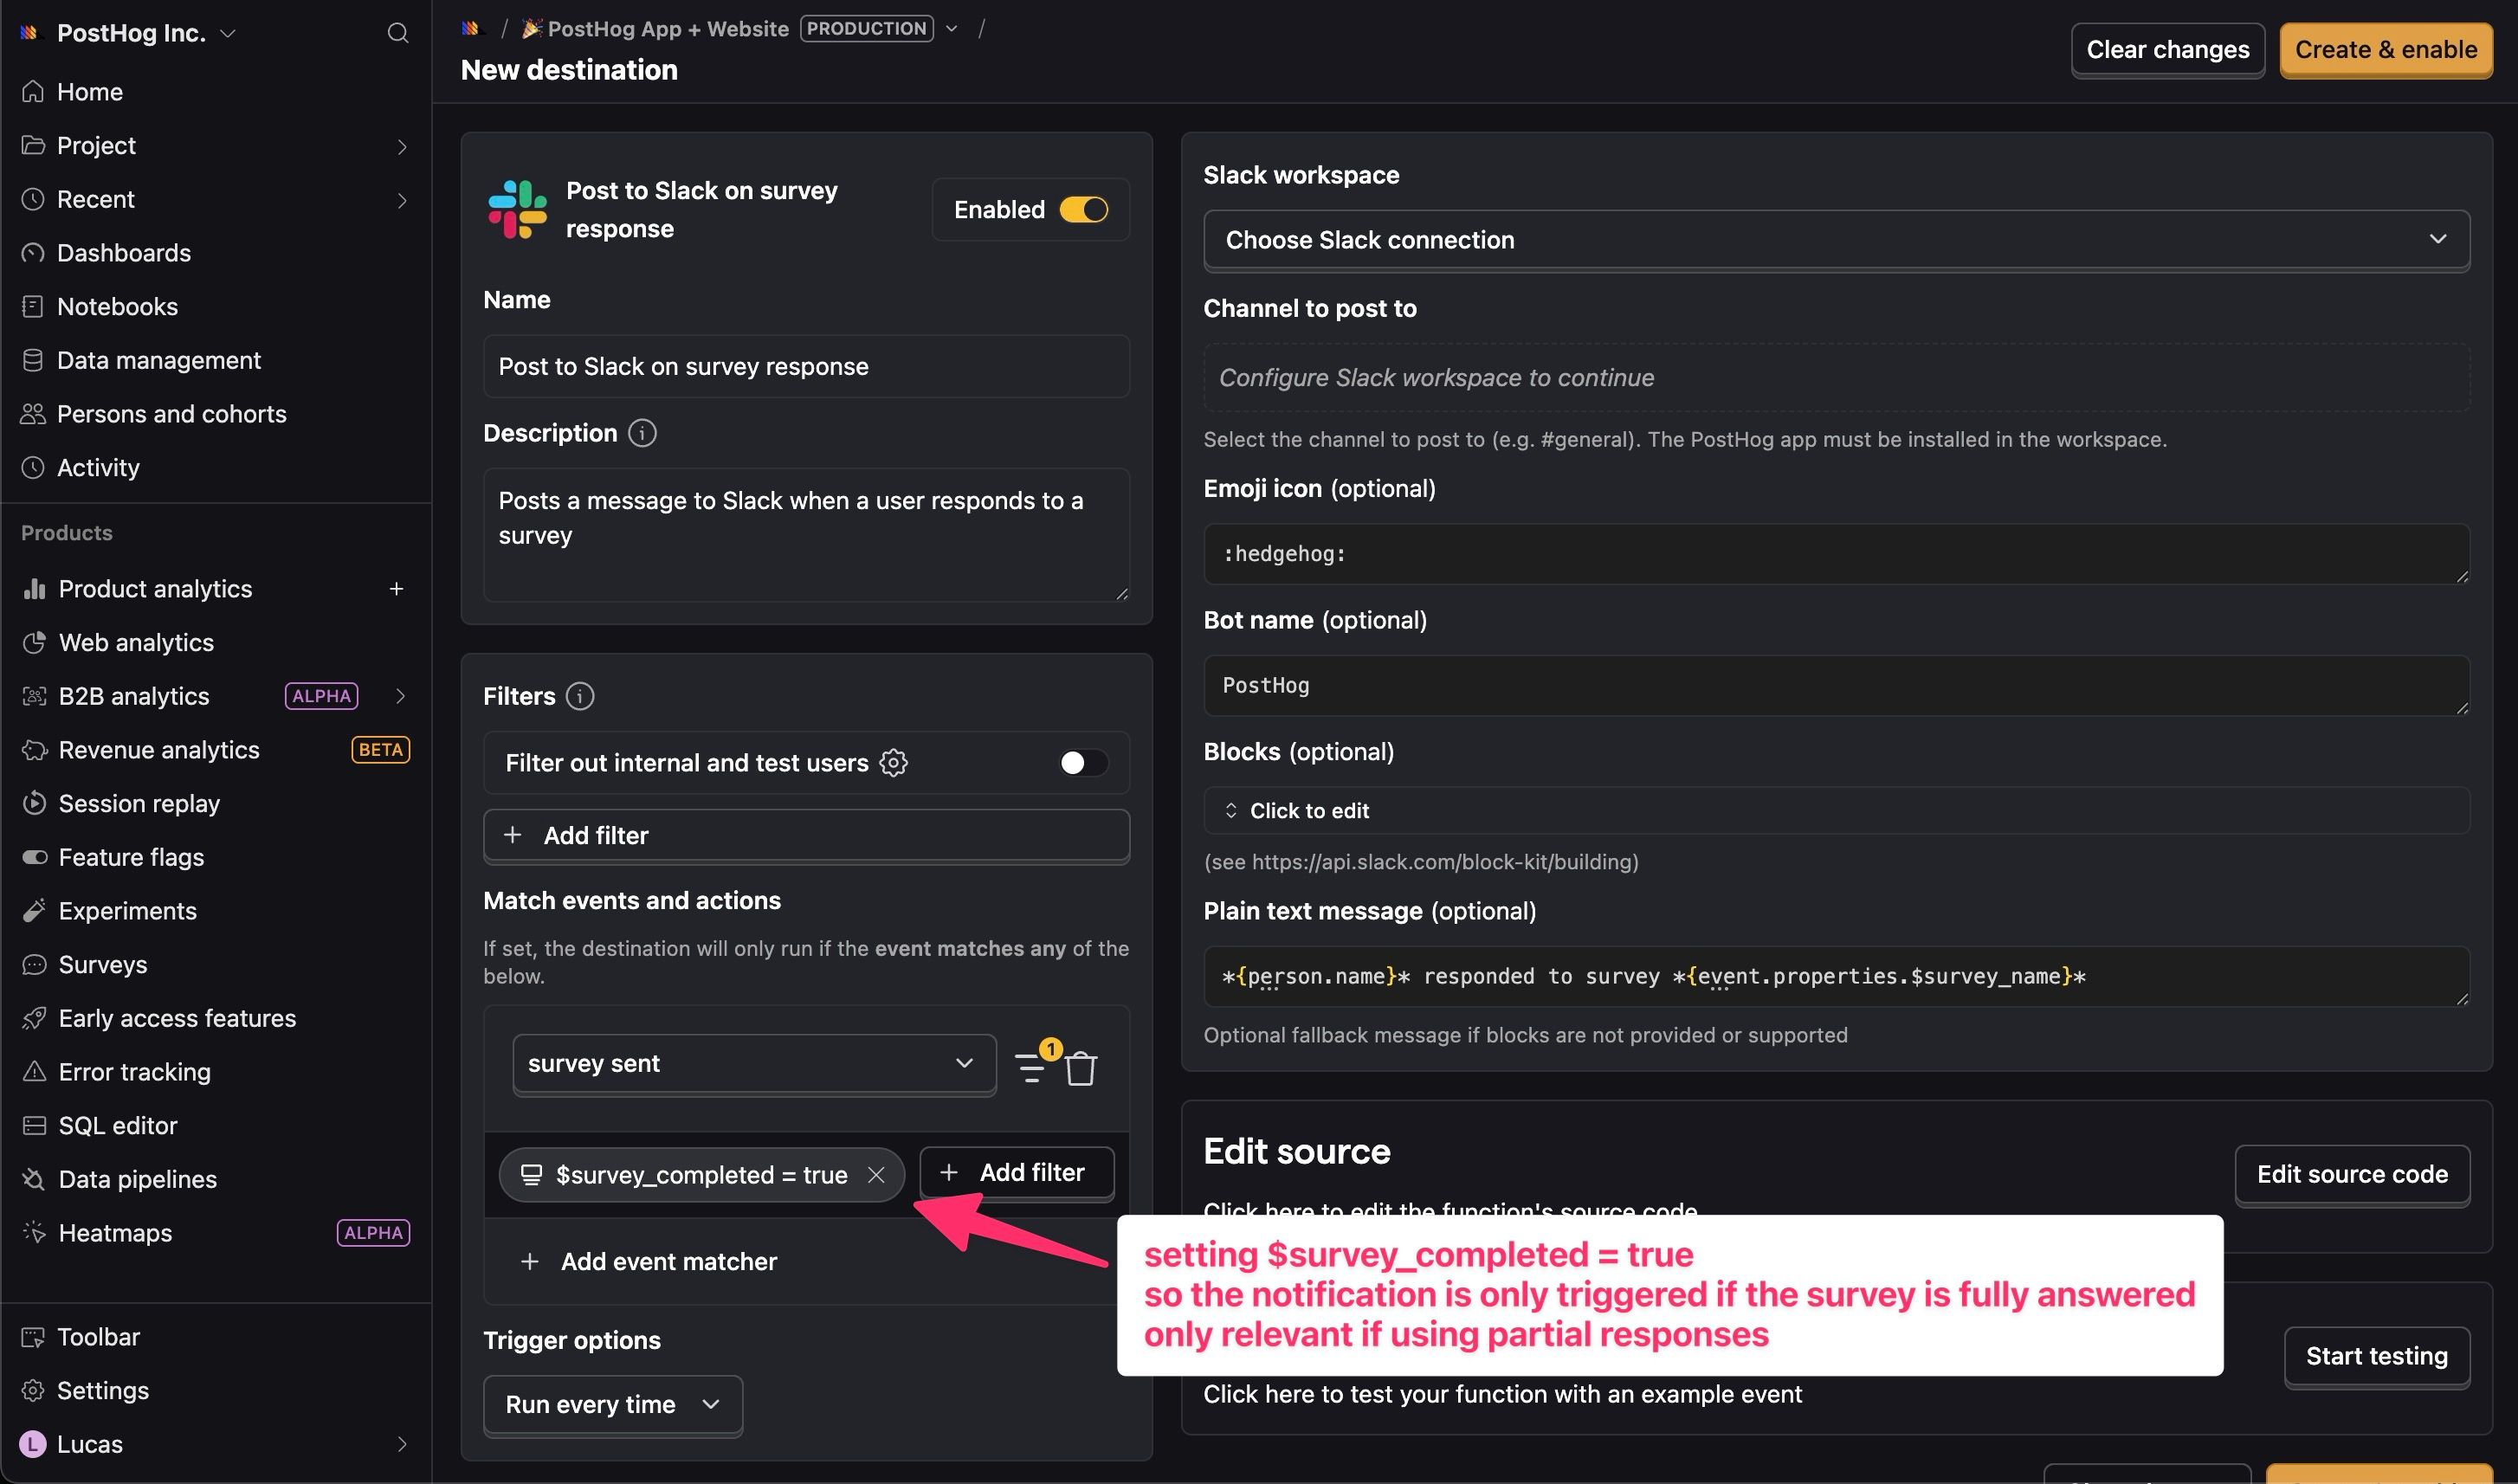
Note: If you're using partial responses, you'll need to add the
$survey_completed = trueproperty to the event filters. Otherwise, the destination will trigger for every question answered, and not only when the survey is completed. See more details here.
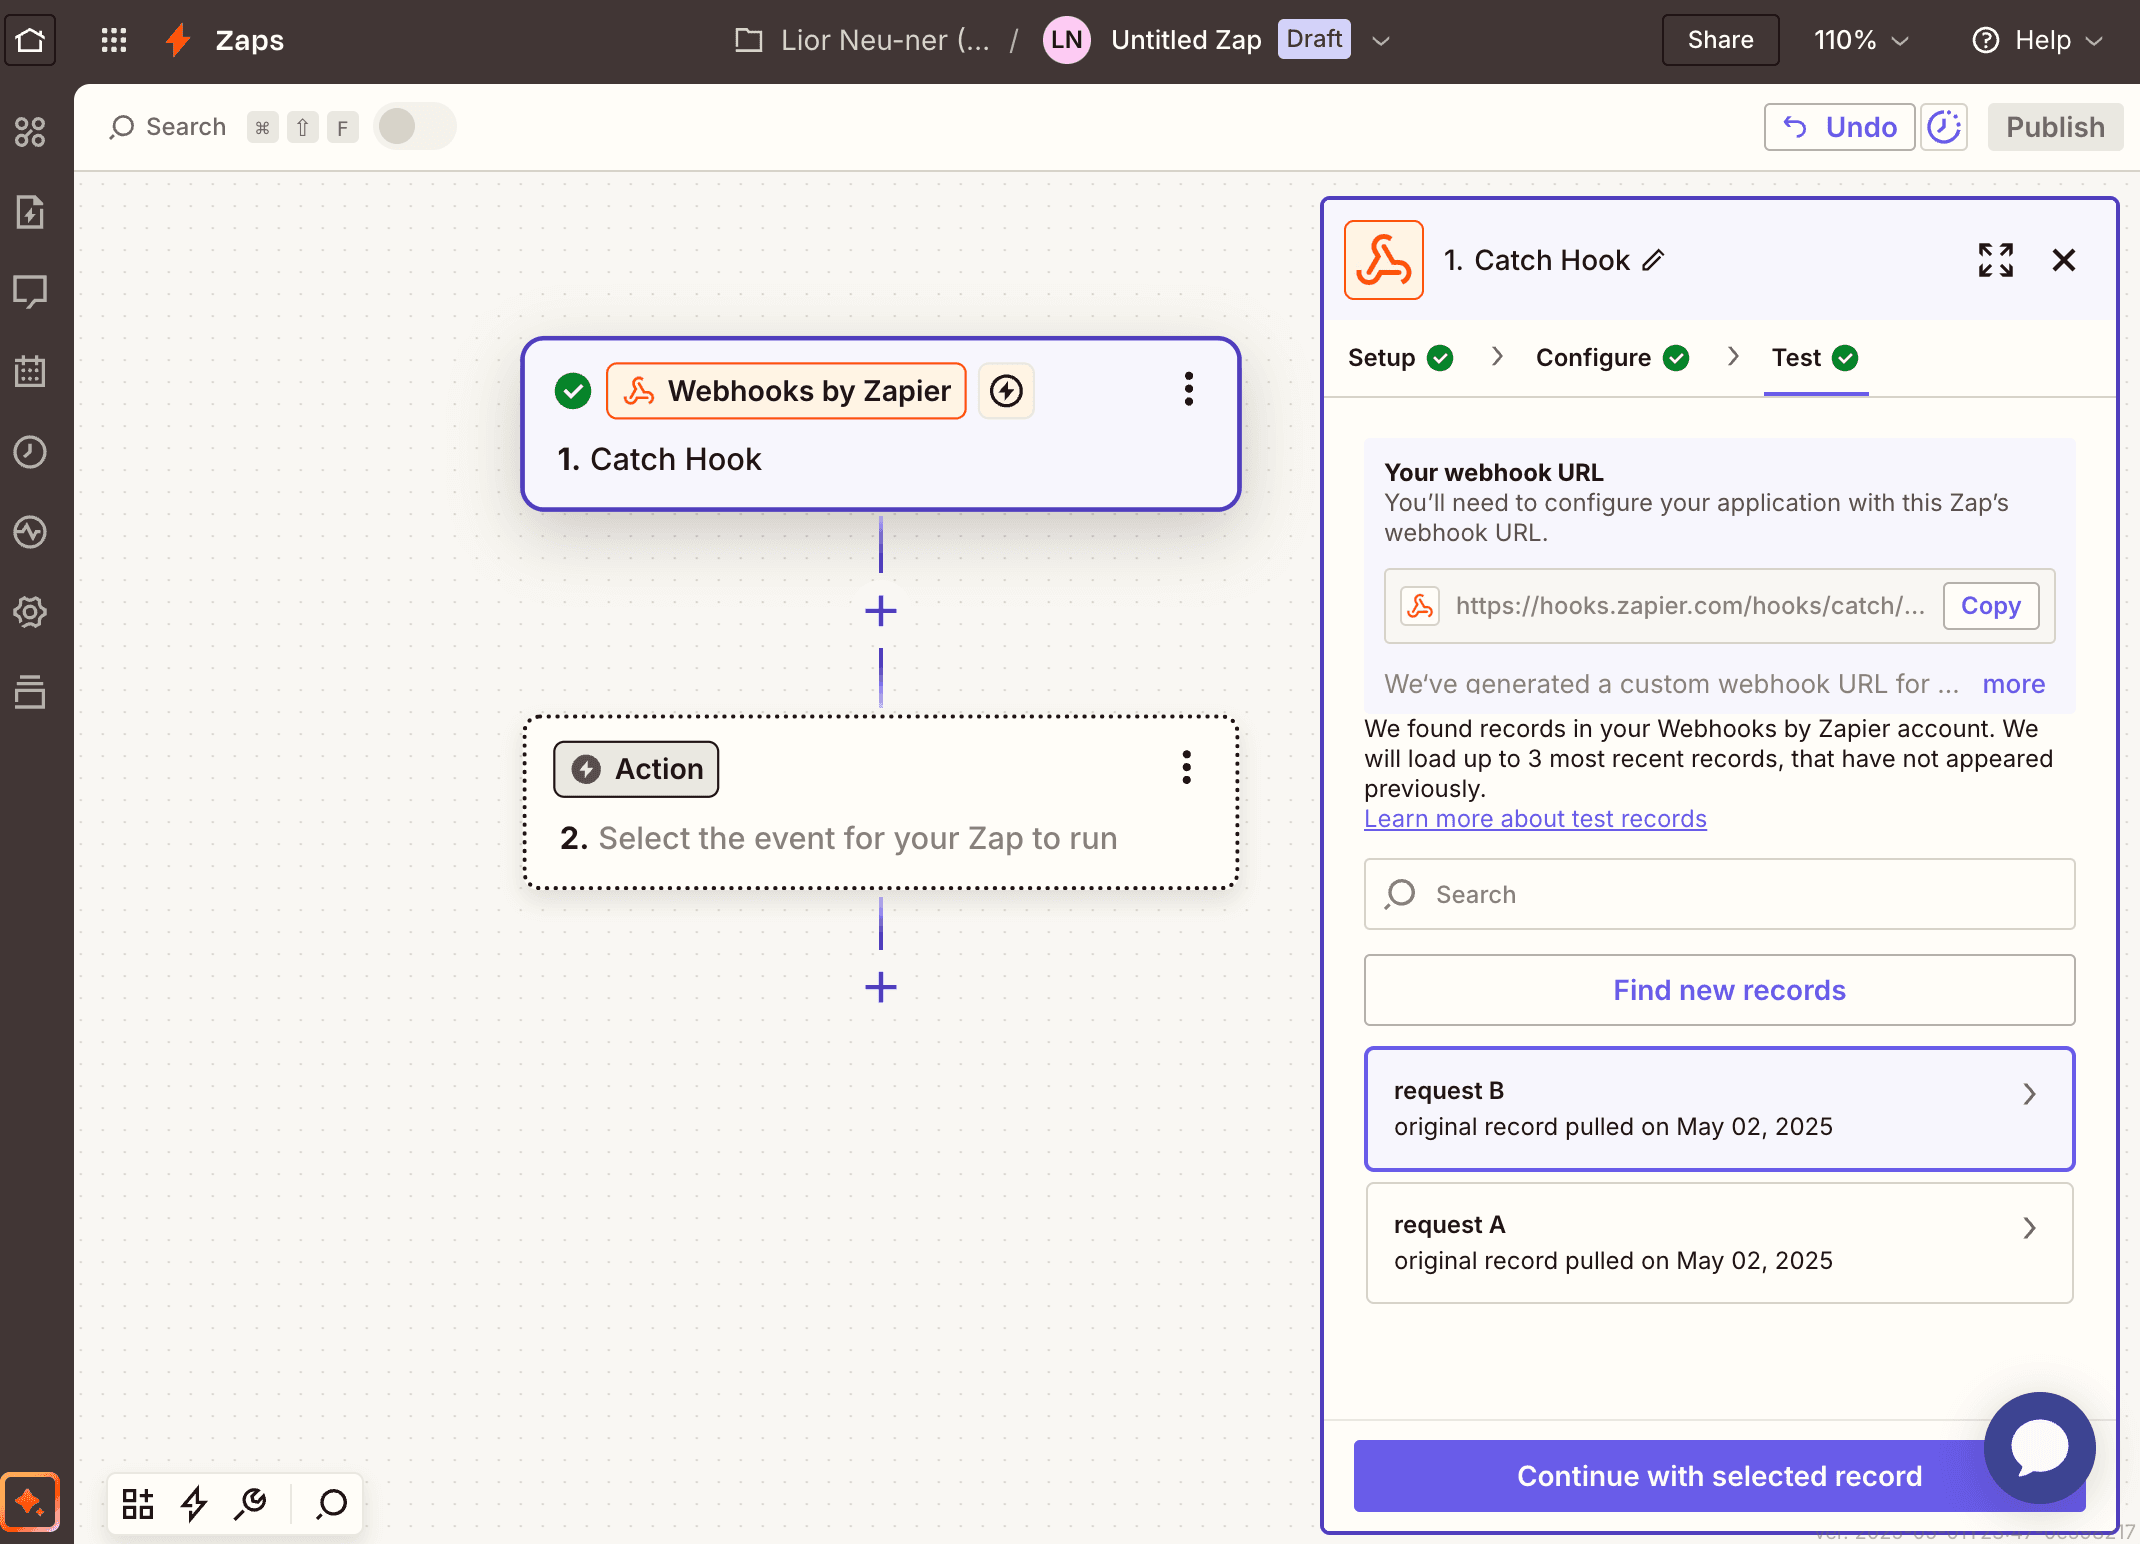
- Then in your Zapier dashboard, create a new Zap with a webhook trigger
- Set the Trigger event in the webhook to
Catch Hookand press Continue. - Leave Pick off a Child key as blank and click Continue. Do not test your Zap just yet.
- Go back to your PostHog app then add your webhook URL in PostHog under Zapier hook path.
- Press Create & Enable and then click Start testing.
- In the test JSON, replace the
eventandpersonkeys with the below (leave the rest of the JSON as is, as Zapier needs theprojectkey):
- Click Test function. You should see a
Successbanner. - Go back to Zapier and press Test trigger. You should see the test request appear.
Step 3: Add the Google Sheet action
- Create a new spreadsheet and name it something like
PostHog survey tutorial. - In the first row, add these headers to your columns:
email,question,response - Go to Zapier and add Google Sheet as an action.
- Under Action event, select
Create Spreadsheet Row. - Connect your Google account if you haven't already.
- Fill out the rest of the action as needed.
Note that to select the correct key for the survey responses in Zapier, you'll need to go to your survey's Results tab in PostHog and click Copy response key on the question card for each question. Each key has a format of $survey_response_{response_key} and you can paste this into Zapier.
Once you've completed this step, you can publish your Zap and survey responses should begin to populate the sheet.
Available properties
You can extract the following properties from surveys:
| Property | Description |
|---|---|
event.properties.$survey_name | The name of the survey |
event.properties.$survey_questions | An array of objects containing the following survey question properties: id, question, and response |
event.properties.$survey_response_{response_key} | The response to a specific question. To find response_key, go to your survey's Results tab and click Copy response key on the question card. There's one for each question in your survey. response_key is identical to the corresponding survey question ID |
event.properties.$survey_completed | Whether the survey was completed. Relevant if you're using partial responses. |
person.name or other person properties | The name of the person who responded or other properties |
Further reading
- How to set up surveys in Next.js
- How to show a survey after a delay
- How to analyze surveys with ChatGPT
Subscribe to our newsletter
build mode
Read by 75,000+ founders and builders
We'll share your email with Substack
PostHog is the leading platform for building self-driving products. With a full suite of developer tools – AI observability, product analytics, session replay, feature flags, experiments, error tracking, logs, and more – PostHog captures all the context agents need to diagnose problems, uncover opportunities, and ship fixes. A data warehouse and CDP tie it all together, unifying that context into one source agents can read across. You can steer it all from Slack, the web app, the desktop (PostHog Desktop), or your own editor via the MCP.