How to add session replays to Zendesk
Contents
Session replays can be a useful support tool for debugging and recreating issues. The errors, console, and network data along with the rest of PostHog's tools make PostHog a powerful support platform.
To get easy access to session replays in Zendesk, you can link to them when users submit tickets. To show you how to do this, we build a basic Next.js app with a form, add PostHog, connect the form to Zendesk, and setup the session replay link in the submitted ticket.
1. Create a basic Next.js app with a form
First, make sure Node is installed (18.17 or newer), and then create a Next.js app:
Select No for TypeScript, Yes for use app router, and the defaults for every other option. Once created, go into your app/page.js file and set up a basic form for users to submit.
Once done, run npm run dev and go http://localhost:3000 to see your app.

2. Add PostHog
To set up session replays, we need to install PostHog in our app. If you don't have a PostHog instance, you can sign up for free.
Important: Make sure to enable "Record user sessions" in your project settings.
After doing this, install the posthog-js SDK:
Next, create a providers.js file in your app folder. In it, initialize PostHog with your project API key and instance address and export a provider component. If you have a US Cloud instance, also make sure your ui_host config option is set to https://us.posthog.com.
Once created, you can import PHProvider into your layout.js file and wrap your app in it:
3. Connect the form to Zendesk
Connecting the form to Zendesk requires you to have access to your admin center at your-subdomain.zendesk.com/admin/home. Once here, click "Apps and integrations" in the sidebar and then select "Zendesk API." Enable token access, add a new API token, copy its value, and head back to your app.

In app/pages.js, we set up a server-side function to submit a ticket to Zendesk. In it, we set up a POST request with a subject, body content, requester, and authorization. Ideally, you would have their real name and email, but we will use my own as a placeholder for now.
After adding this, we have handleSubmit trigger it with the content like this:
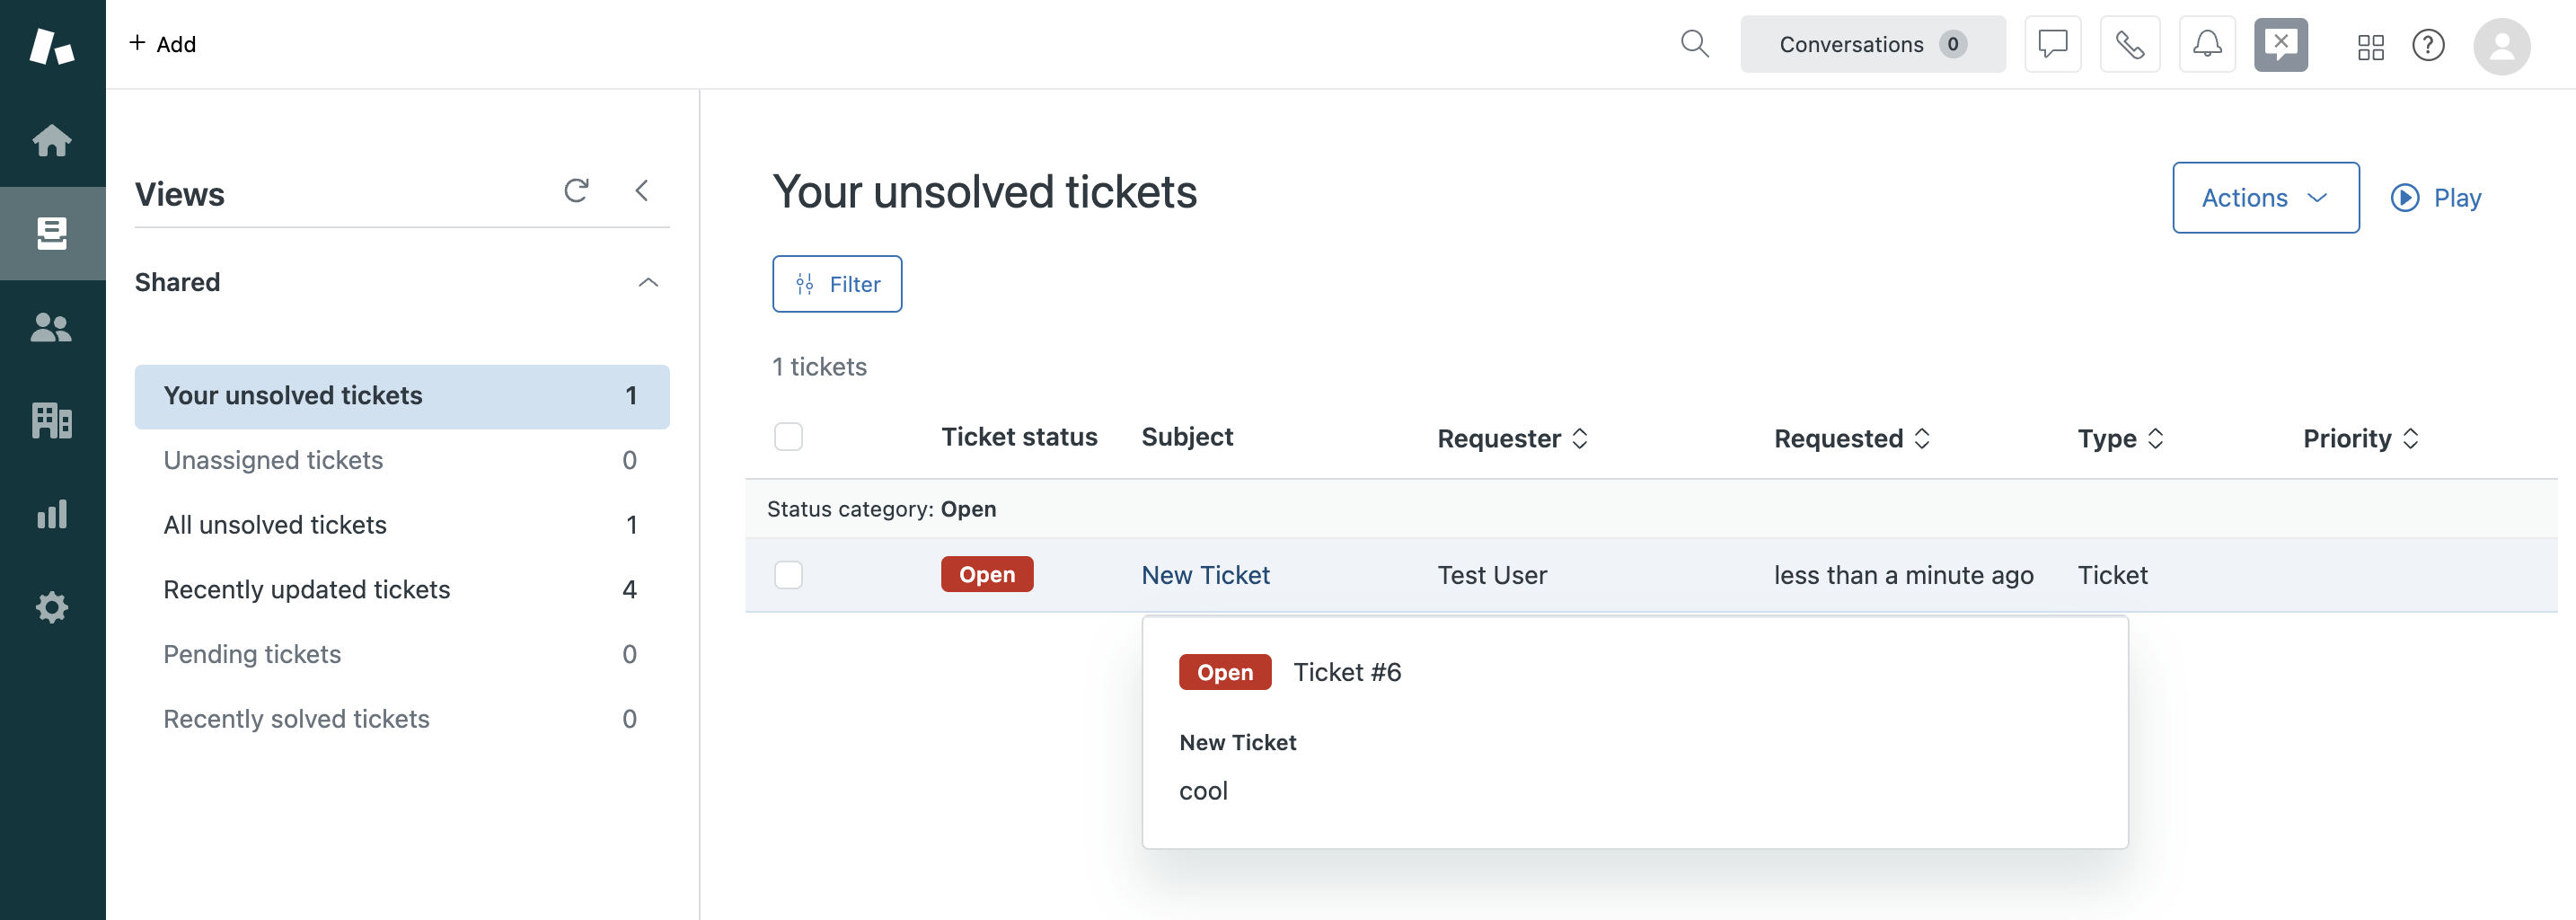
Now when we go to our app and submit a value, it creates a ticket in Zendesk.

4. Add the session replay link to the ticket
The final piece is including a link to the session replay in the ticket. The JavaScript SDK makes this easy with the get_session_replay_url() method. We just add PostHog and then modify the content value we pass to submitTicket .
Now, when you check your ticket in Zendesk, you'll see a session replay link to watch the replay in PostHog.
Bonus: Beyond a session replay link, you can customize the content for the ticket with information like:
- User ID
- Report event ID
- Admin links
- Target area
As an example, you can see what we do in GitHub.
Further reading
- How to use session replays to improve your support experience
- How to use filters + session replays to understand user friction
- How to add session replays to Intercom

Subscribe to our newsletter
Product for Engineers
Read by 100,000+ founders and builders
We'll share your email with Substack
PostHog is an all-in-one developer platform for building successful products. We provide product analytics, web analytics, session replay, error tracking, feature flags, experiments, surveys, LLM analytics, data warehouse, CDP, and an AI product assistant to help debug your code, ship features faster, and keep all your usage and customer data in one stack.


