


How to set up Python feature flags in Flask

Contents
Feature flags make it easy to conditionally run code and show content based on users or conditions. In this tutorial, we show how to create a basic Python Flask app, add PostHog, and set up feature flags to conditionally show content in the app.
Creating a Flask app and adding PostHog
To showcase feature flags, we use Flask, a Python web framework, to create an app. To start, we create a folder for our app named flag-demo and create a file named hello.py in that folder.
Next, create a virtual environment named venv for our app, activate the virtual environment, and install Flask.
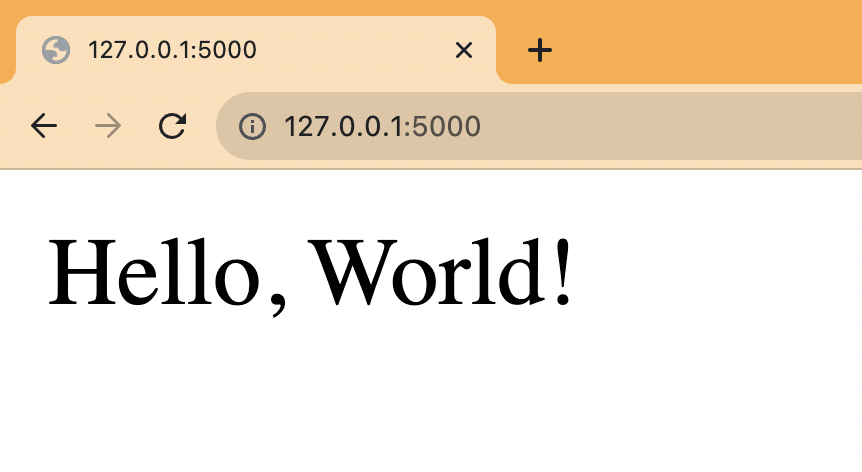
In hello.py, create a home route that returns a basic "Hello, World!" and a /user/<string:user> route that returns the user string:
Finally run flask --app hello run and go to http://127.0.0.1:5000 to see your basic app running.
Adding PostHog
Next, we install and set up PostHog using the Python SDK.
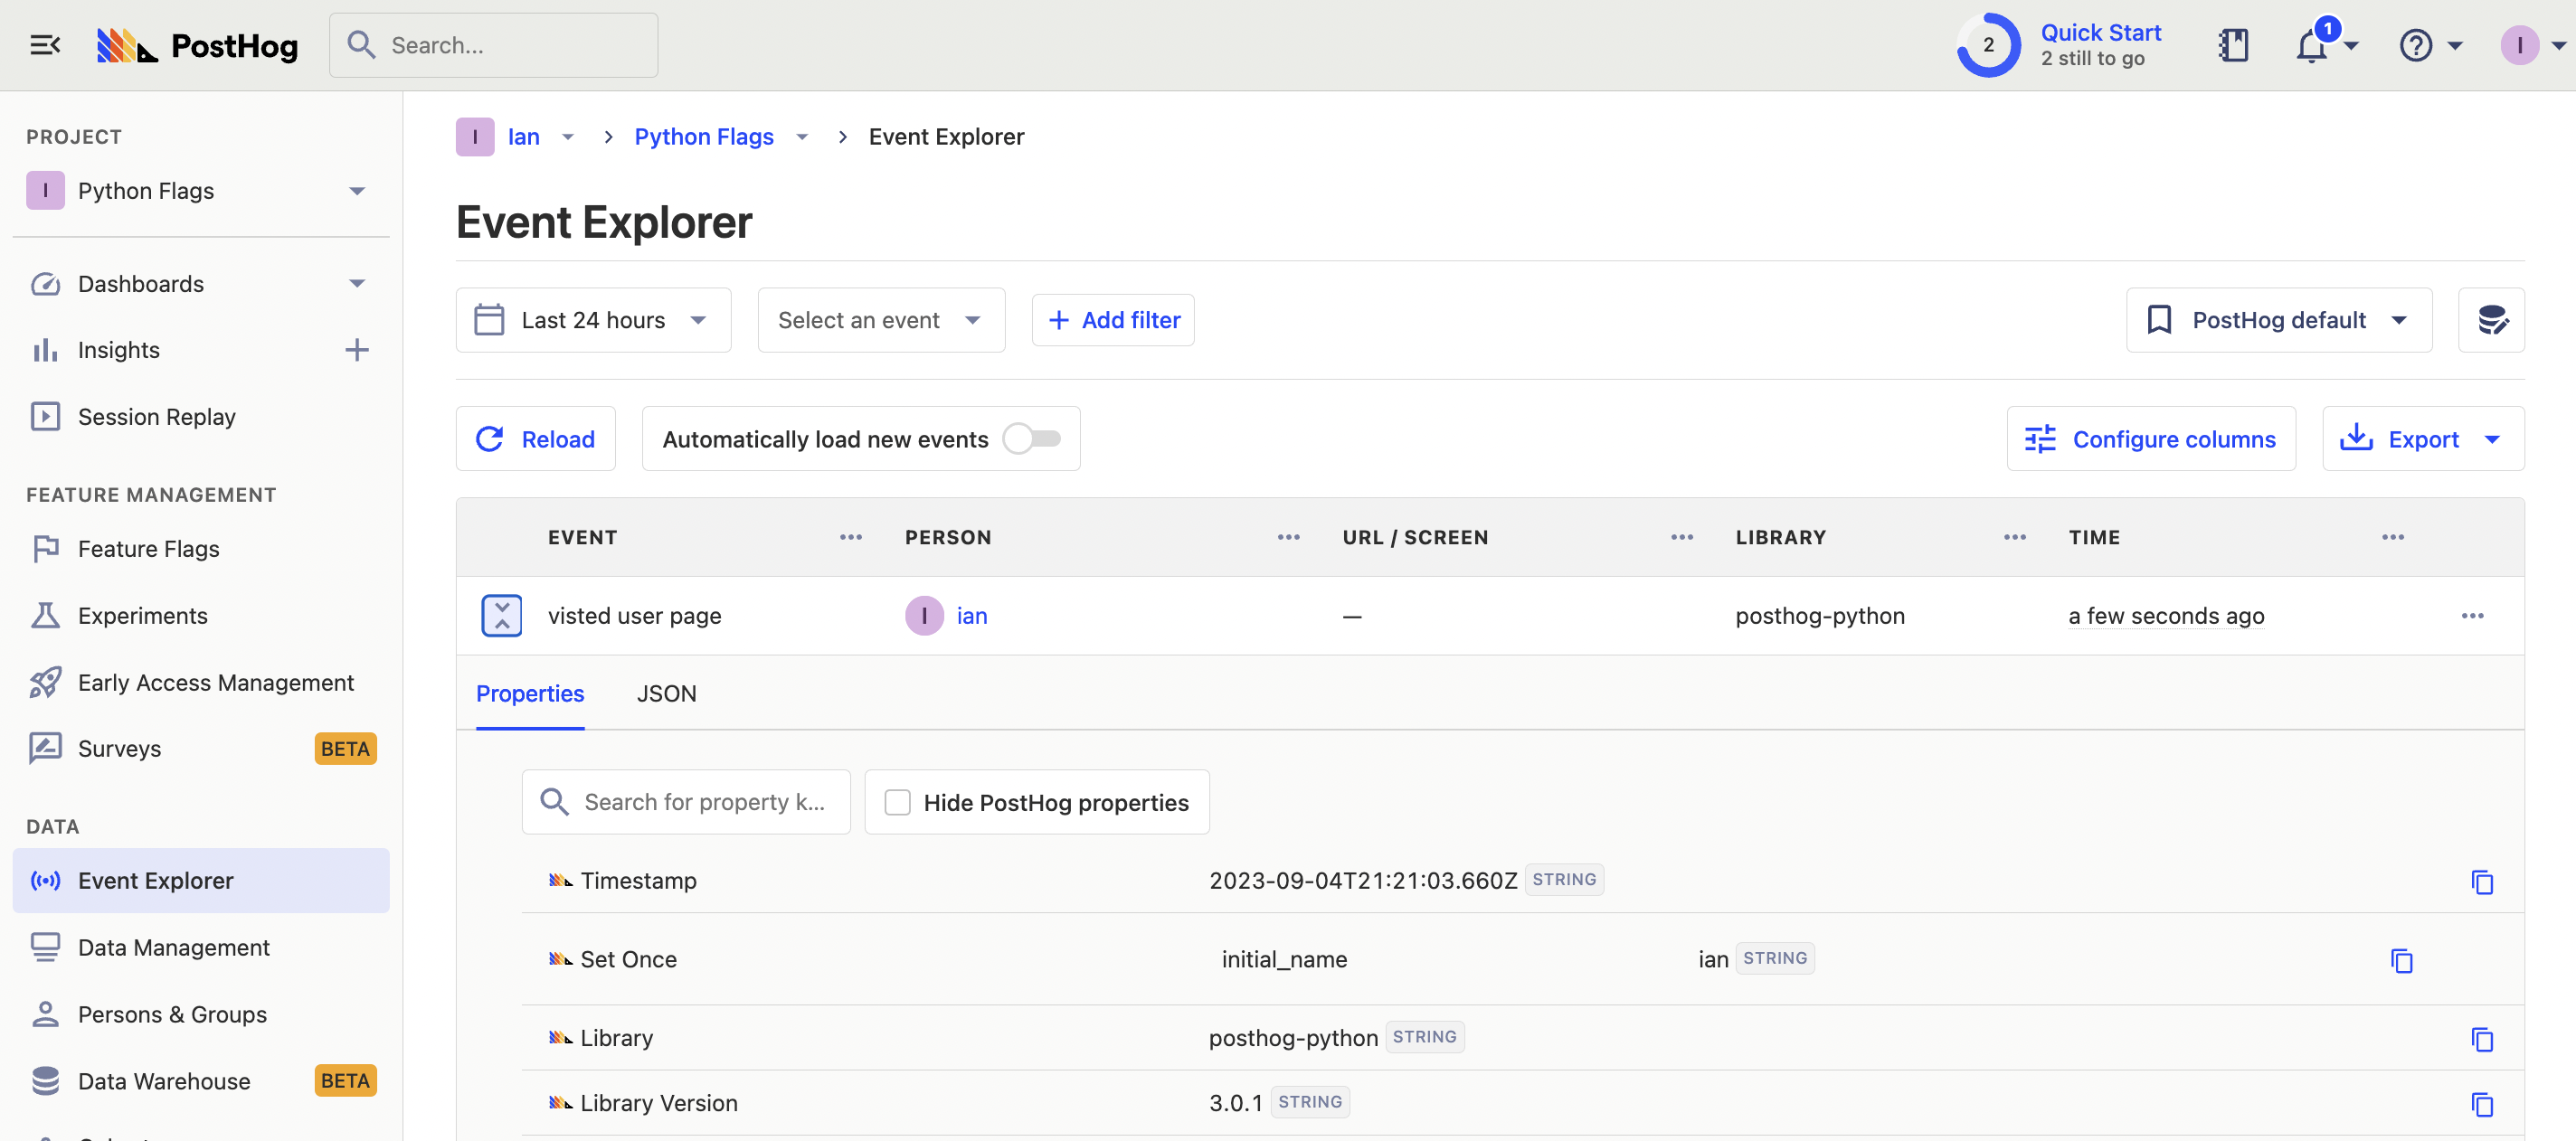
We initialize PostHog to our hello.py file using our project token and instance address from your project settings. In our user route, we use PostHog to capture an event using the user string and set a person property of initial_name on that user.
When we rerun flask --app hello run and go to the user route such as http://127.0.0.1:5000/user/ian, it captures an event in PostHog.
Creating a feature flag
We are now ready to create and set up our flag. To do this, go to the feature flag tab in PostHog and click "New feature flag." Add a key (we use new-cool-feature), set the release condition to 50% of users, and add another condition set where initial_name is ian (or whatever URL you just visited). Add any other details and press "Save."

The second release condition enables us to test the active flag state by going to the /user/ian route first but is optional.
Adding our feature flag
With our feature flag created in PostHog, it is time to implement it in our Flask app.
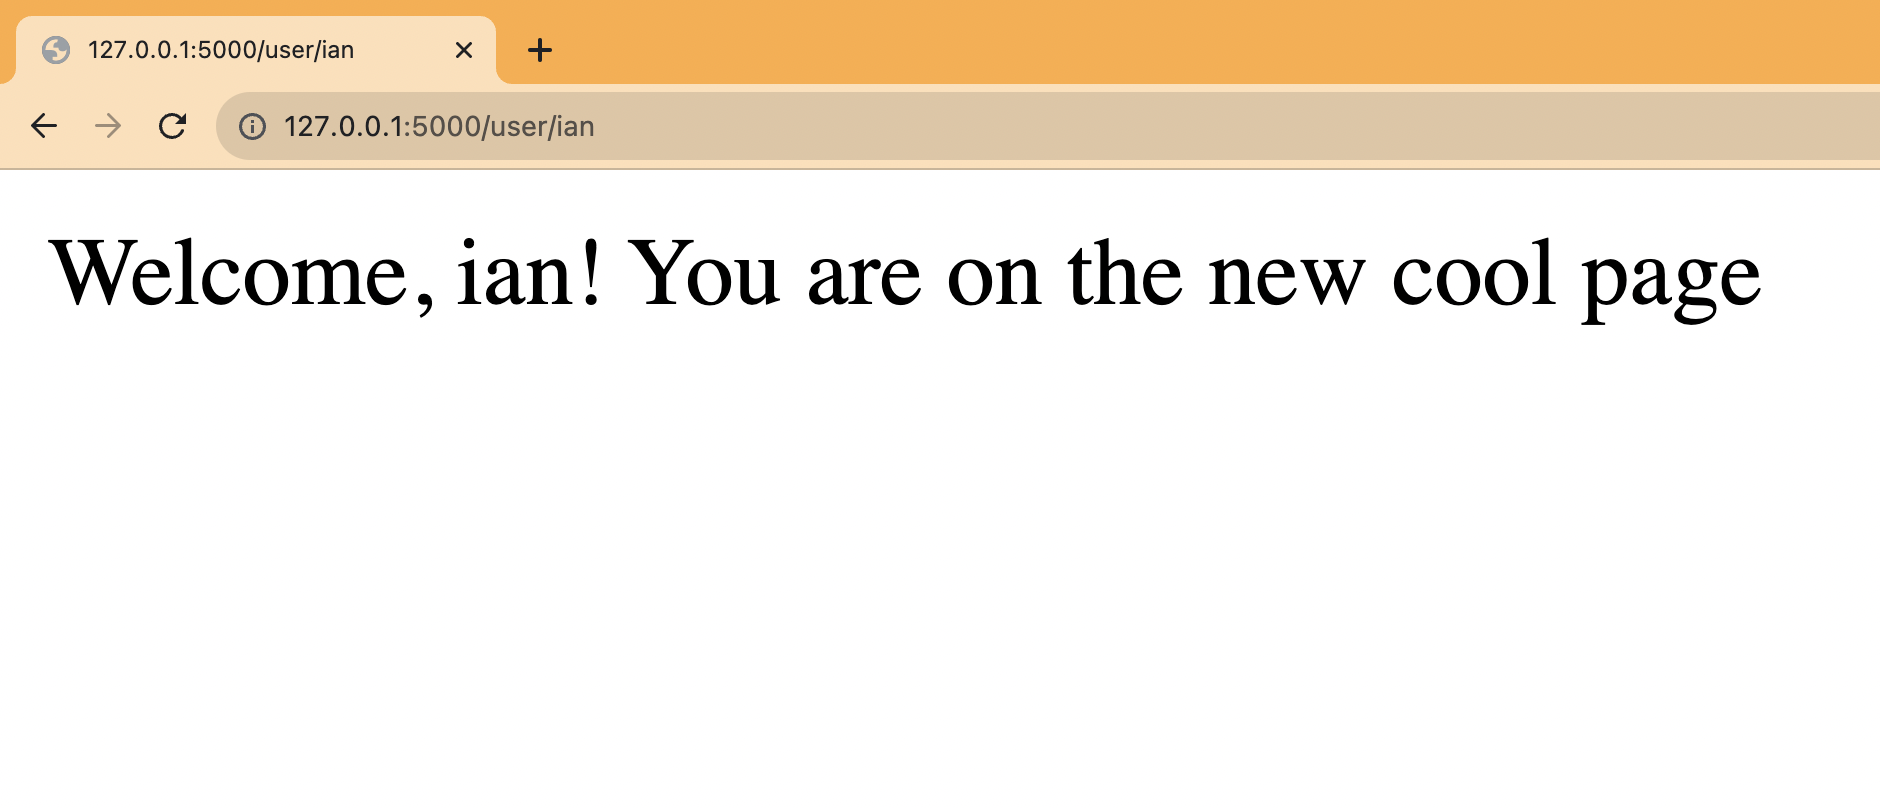
Back in our user route, we add a check with PostHog of our new-cool-feature flag. If it is true, we return a different <p> tag. If it isn’t, we return the same value as before.
Since we visited /user/ian first, we get the new variant while 50% of the rest of the pages get it as well. If you want to customize this, edit your feature flag to add more conditions.
Lastly, we must capture the feature flag details in our event. This enables us to do usage analysis related to the flag later.
This is the basic implementation of Python feature flags in Flask set up. From here, we can set up A/B tests, a public beta program, or canary releases.
Further reading
- How to set up analytics in Python and Flask
- How to set up A/B tests in Python and Flask
- How to do holdout testing
Subscribe to our newsletter
build mode
Read by 75,000+ founders and builders
We'll share your email with Substack
PostHog is the leading platform for building self-driving products. With a full suite of developer tools – AI observability, product analytics, session replay, feature flags, experiments, error tracking, logs, and more – PostHog captures all the context agents need to diagnose problems, uncover opportunities, and ship fixes. A data warehouse and CDP tie it all together, unifying that context into one source agents can read across. You can steer it all from Slack, the web app, the desktop (PostHog Desktop), or your own editor via the MCP.