How to set up Python A/B testing
Contents
A/B testing enables you to experiment with how changes to your app affect metrics you care about. PostHog makes it easy to set up A/B tests in Python. This tutorial shows you how to create a basic Python app with Flask, add PostHog to it, and then set up an A/B test to compare button variants.
Creating a basic Flask app
To demonstrate how to implement A/B testing, we'll create an app using Flask, a Python web framework.
To start, create a folder for our app named ab-test-demo and a file named hello.py in that folder.
Next, create a virtual environment named venv for our app, activate the virtual environment, and install Flask.
In hello.py, create a home route returning a basic "Hello, World!"
Afterward, create a /blog/<string:slug> route that returns a response with a "Like" button. Add POST handler to the route that returns a confirmation when clicked.
Finally run flask --app hello run and go to http://127.0.0.1:5000 to see your basic app running.

Setting up PostHog
Next, we install PostHog Python SDK and the uuid package to generate user IDs.
We import both into our hello.py file then use your project API key and instance address from your project settings to initialize a PostHog client.
In our blog route, set up a UUID user ID using a cookie. If the user ID doesn't exist, we generate a new one and set it as a cookie. If it does, we get it from the cookie. We use this UUID from the cookie for targeting our A/B test.
With this user_id value, we then use PostHog to capture a "liked post" event with a slug property.
Rerun your app with flask --app hello run, go to a blog route like http://127.0.0.1:5000/cool, click the like button, and you see an event captured in PostHog.

Creating an A/B test
We are now ready to create and set up our A/B test. To do this, go to the experiments tab in PostHog and click "New experiment."
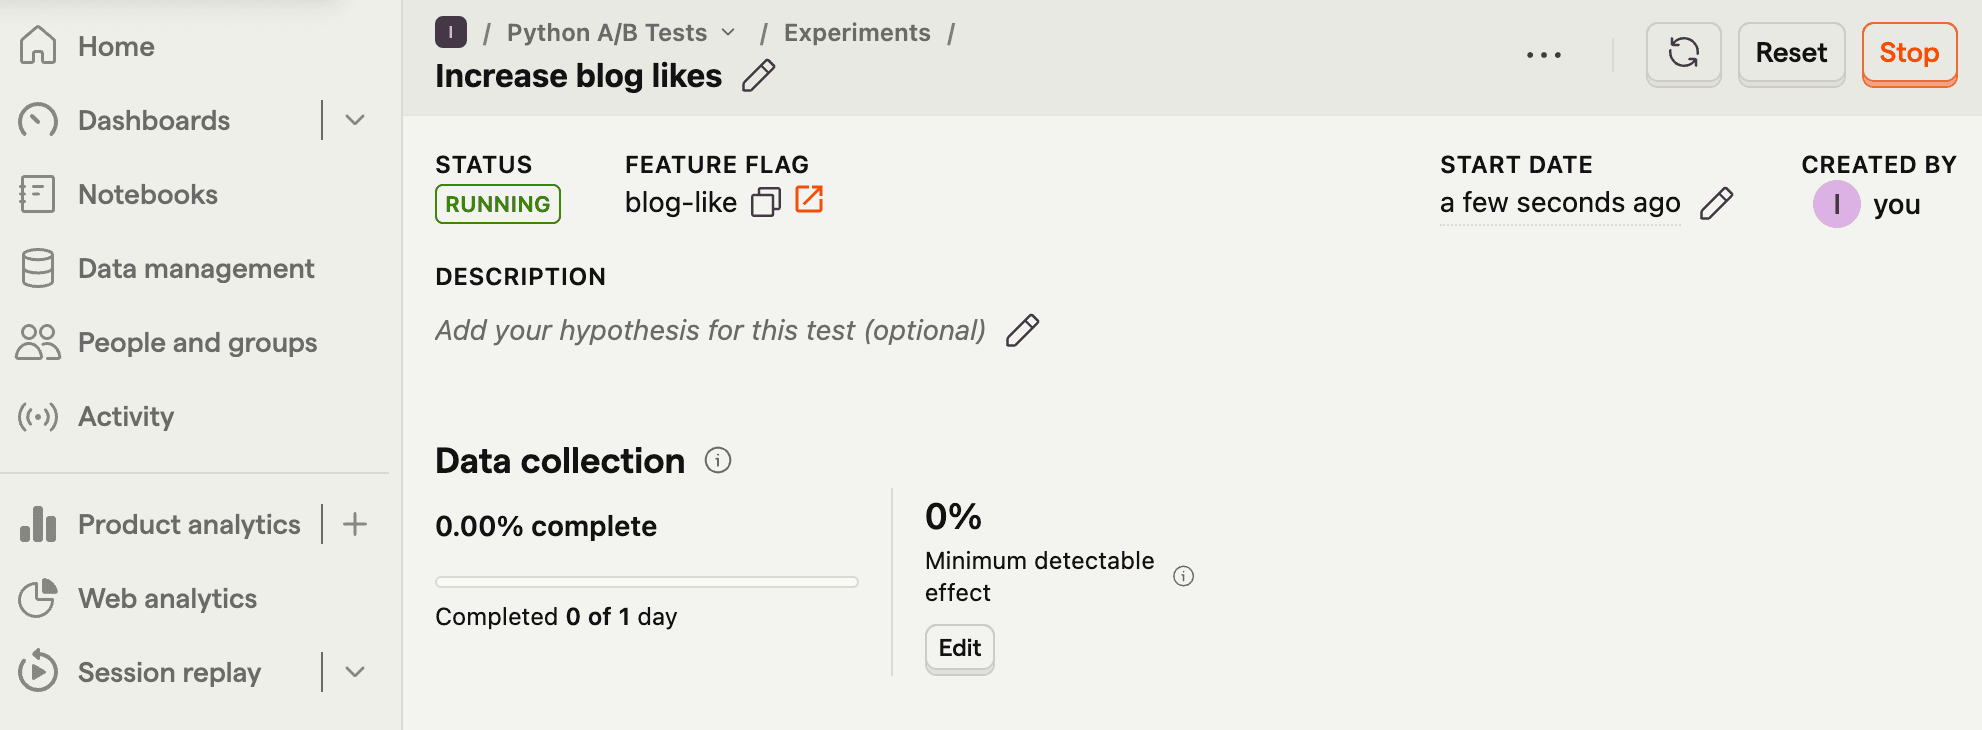
Enter a name, feature flag key (we use blog-like), edit any more details, and click Save as draft. Set the primary metric to a trend of the "liked post" event and then click Launch.


Implementing our A/B test
With the A/B test created, we can now implement it in our Flask app.
Back in our blog route, add a check with PostHog of the blog-like flag using the user_id. If it returns test, we return a new button component. If not, return the same component as before.
Restart your app and check a few pages for the new component. You can also add an optional override to your feature flag to show a value to users with specific properties (like intial_slug if you set that up).

Lastly, we must capture the experiment details in our event. Do this by adding $feature/blog-like with the variant key to the liked post event’s properties. This enables us to track and analyze our new button’s impact on our goal metric.
This is a basic implementation of Python A/B testing in Flask set up. From here, you can customize your implementation to your needs and do experiments without flags, A/B/n tests, or holdout tests.
Further reading
- A software engineer's guide to A/B testing
- How to set up analytics in Python and Flask
- How to set up feature flags in Python and Flask

Subscribe to our newsletter
Product for Engineers
Read by 100,000+ founders and builders
We'll share your email with Substack
PostHog is an all-in-one developer platform for building successful products. We provide product analytics, web analytics, session replay, error tracking, feature flags, experiments, surveys, LLM analytics, data warehouse, CDP, and an AI product assistant to help debug your code, ship features faster, and keep all your usage and customer data in one stack.


