How to set up A/B tests in Vue
Contents
A/B tests help you make your Vue app better by enabling you to compare the impact of changes on key metrics. To show you how to set one up, in this tutorial we create a basic Vue app, add PostHog, create an A/B test, and implement the code for it.
Creating a Vue app
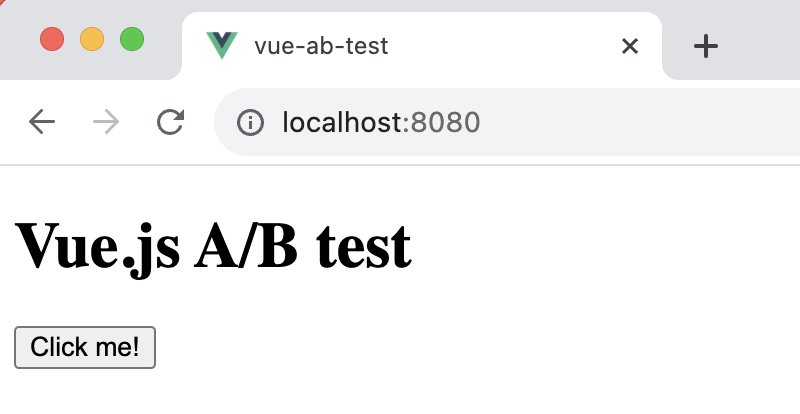
For this tutorial, we create a basic Vue 3 app with a simple button to run our test on.
First, ensure Node.js is installed (version 18.0 or newer). Then install @vue/cli and create a new Vue app:
Make sure to select [Vue 3] babel, eslint as the Vue version.
Next, replace the code in src/App.vue with a simple heading and button:
Run npm run serve to start your app.

Adding PostHog
This tutorial shows how to integrate PostHog with
Vue 3. If you're usingVue 2, see our Vue docs for how to integrate PostHog.
Next, we add PostHog (if you don't have a PostHog instance, you can sign up for free). To do this, first install posthog-js .
Create a new plugin by first creating a new folder in your base directory called plugins and then a new file posthog.js:
Add the following code to your posthog.js file:
Replace <ph_project_api_key> and <ph_client_api_host> with your your PostHog API key and host. You can find these in your project settings.
Finally, activate your plugin in main.js:
Once you’ve done this, reload your app and click the button a few times. You should see events appearing in the PostHog events explorer.

Creating a custom event for our A/B test goal
The first part of setting up our A/B test in PostHog is setting up the goal. We'll use the number of clicks on the button as our goal.
To measure this, we capture a custom event home_button_clicked when the button is clicked. To do this, update handleClick function in App.vue with the following:
With this set up, refresh your app and click the button a few times to capture the event in PostHog.
Creating an A/B test in PostHog
The next step is to set up an A/B test (we call them experiments in PostHog).
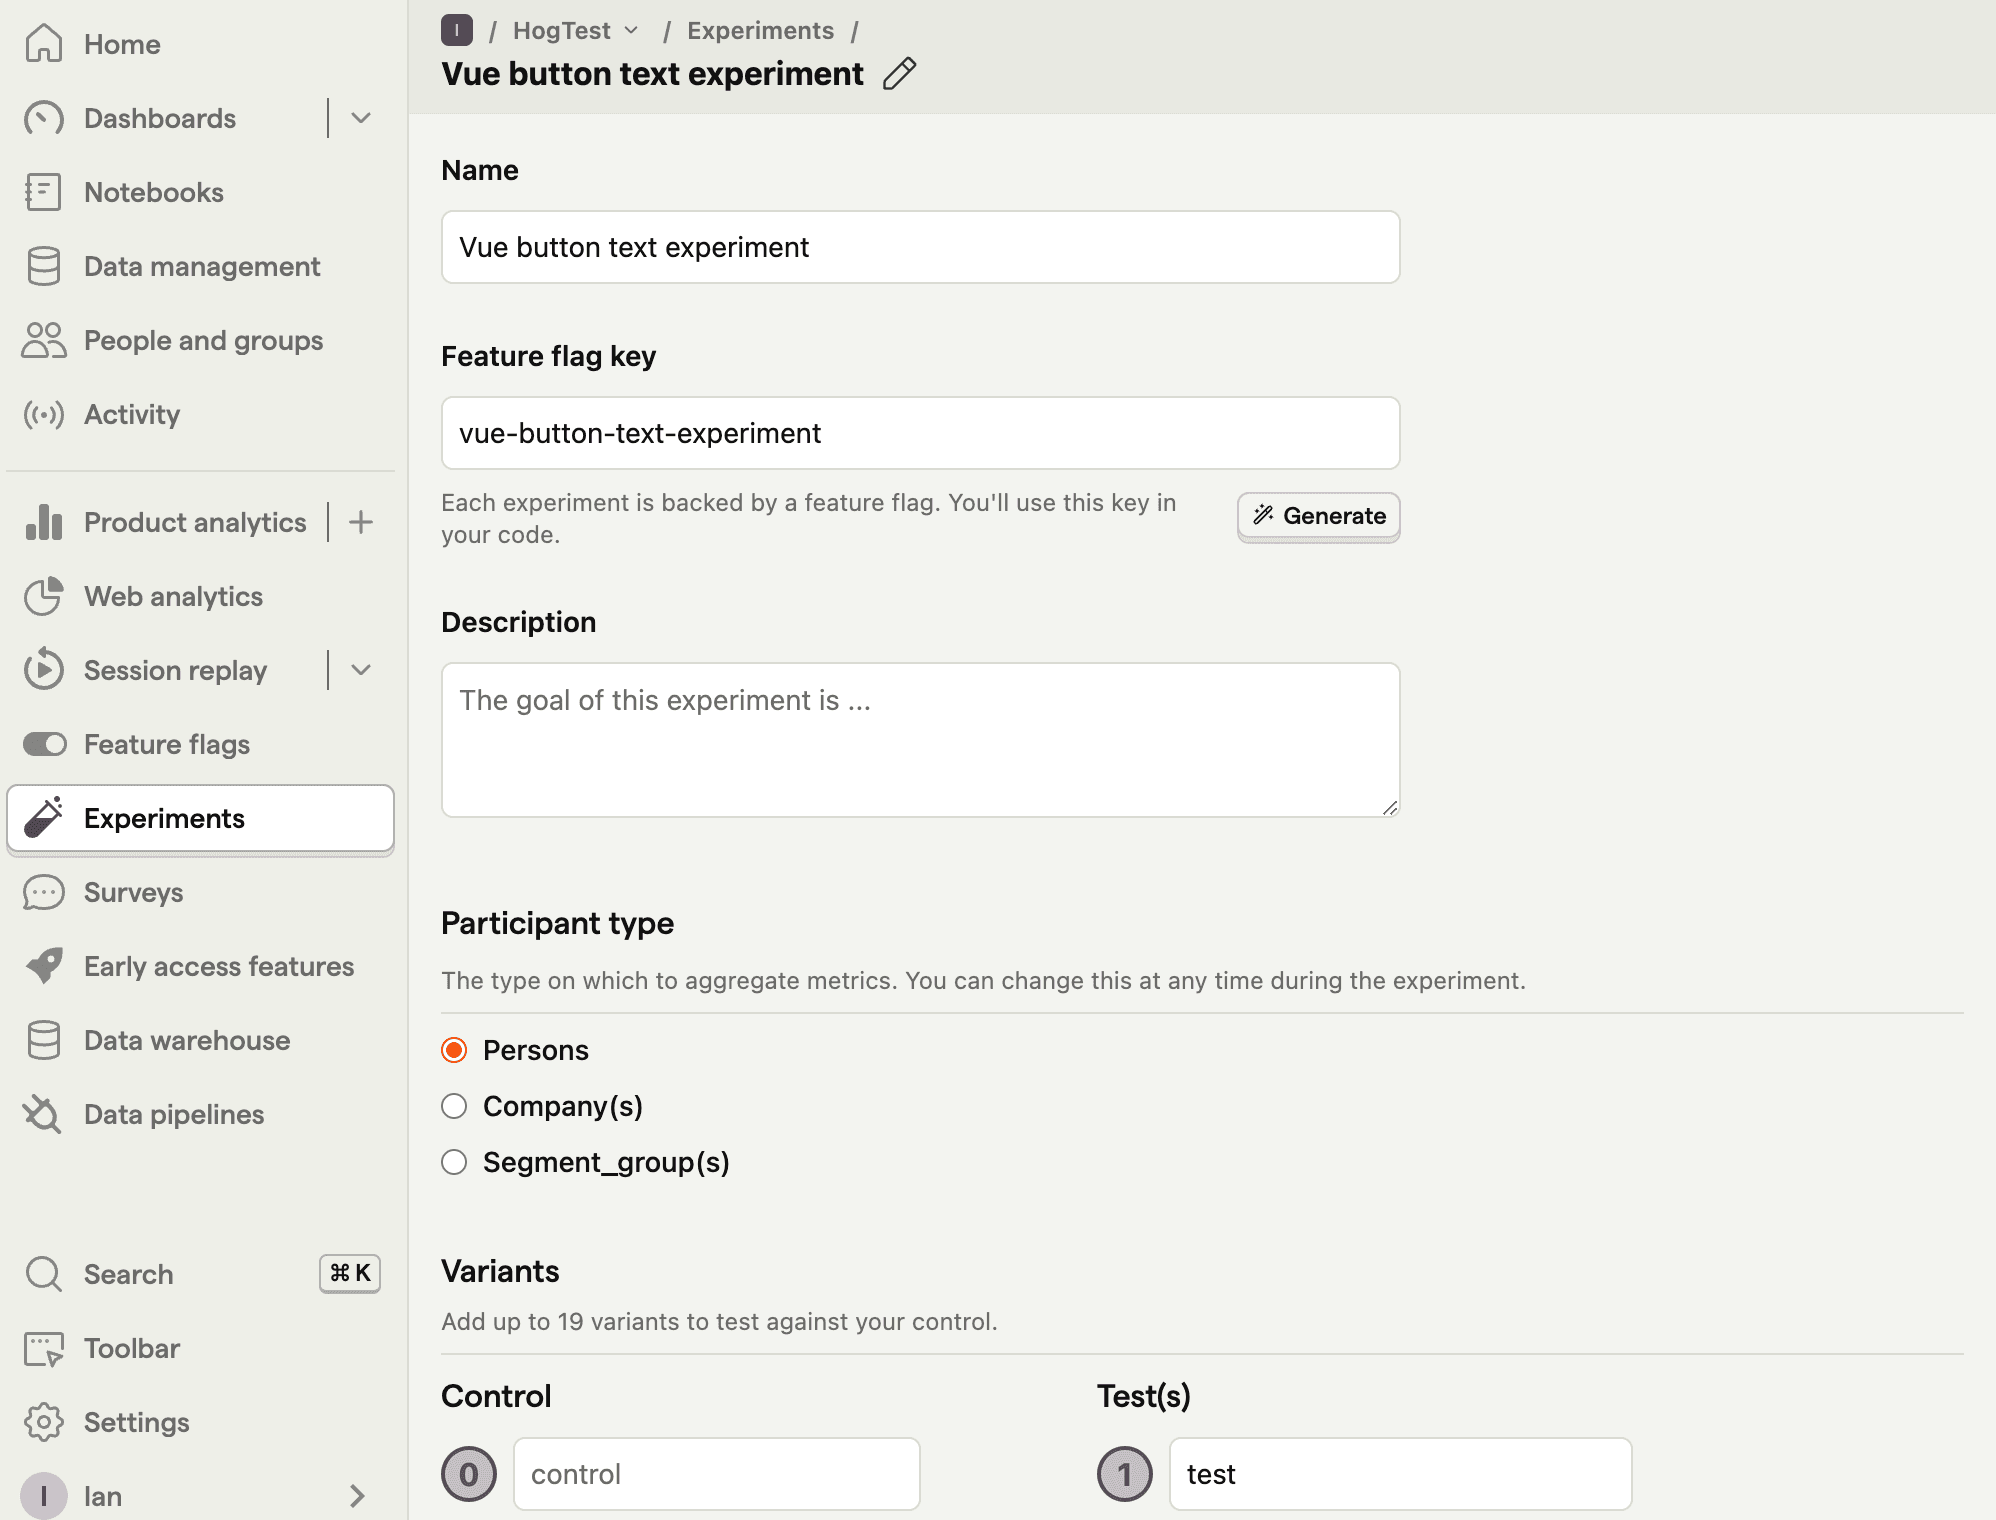
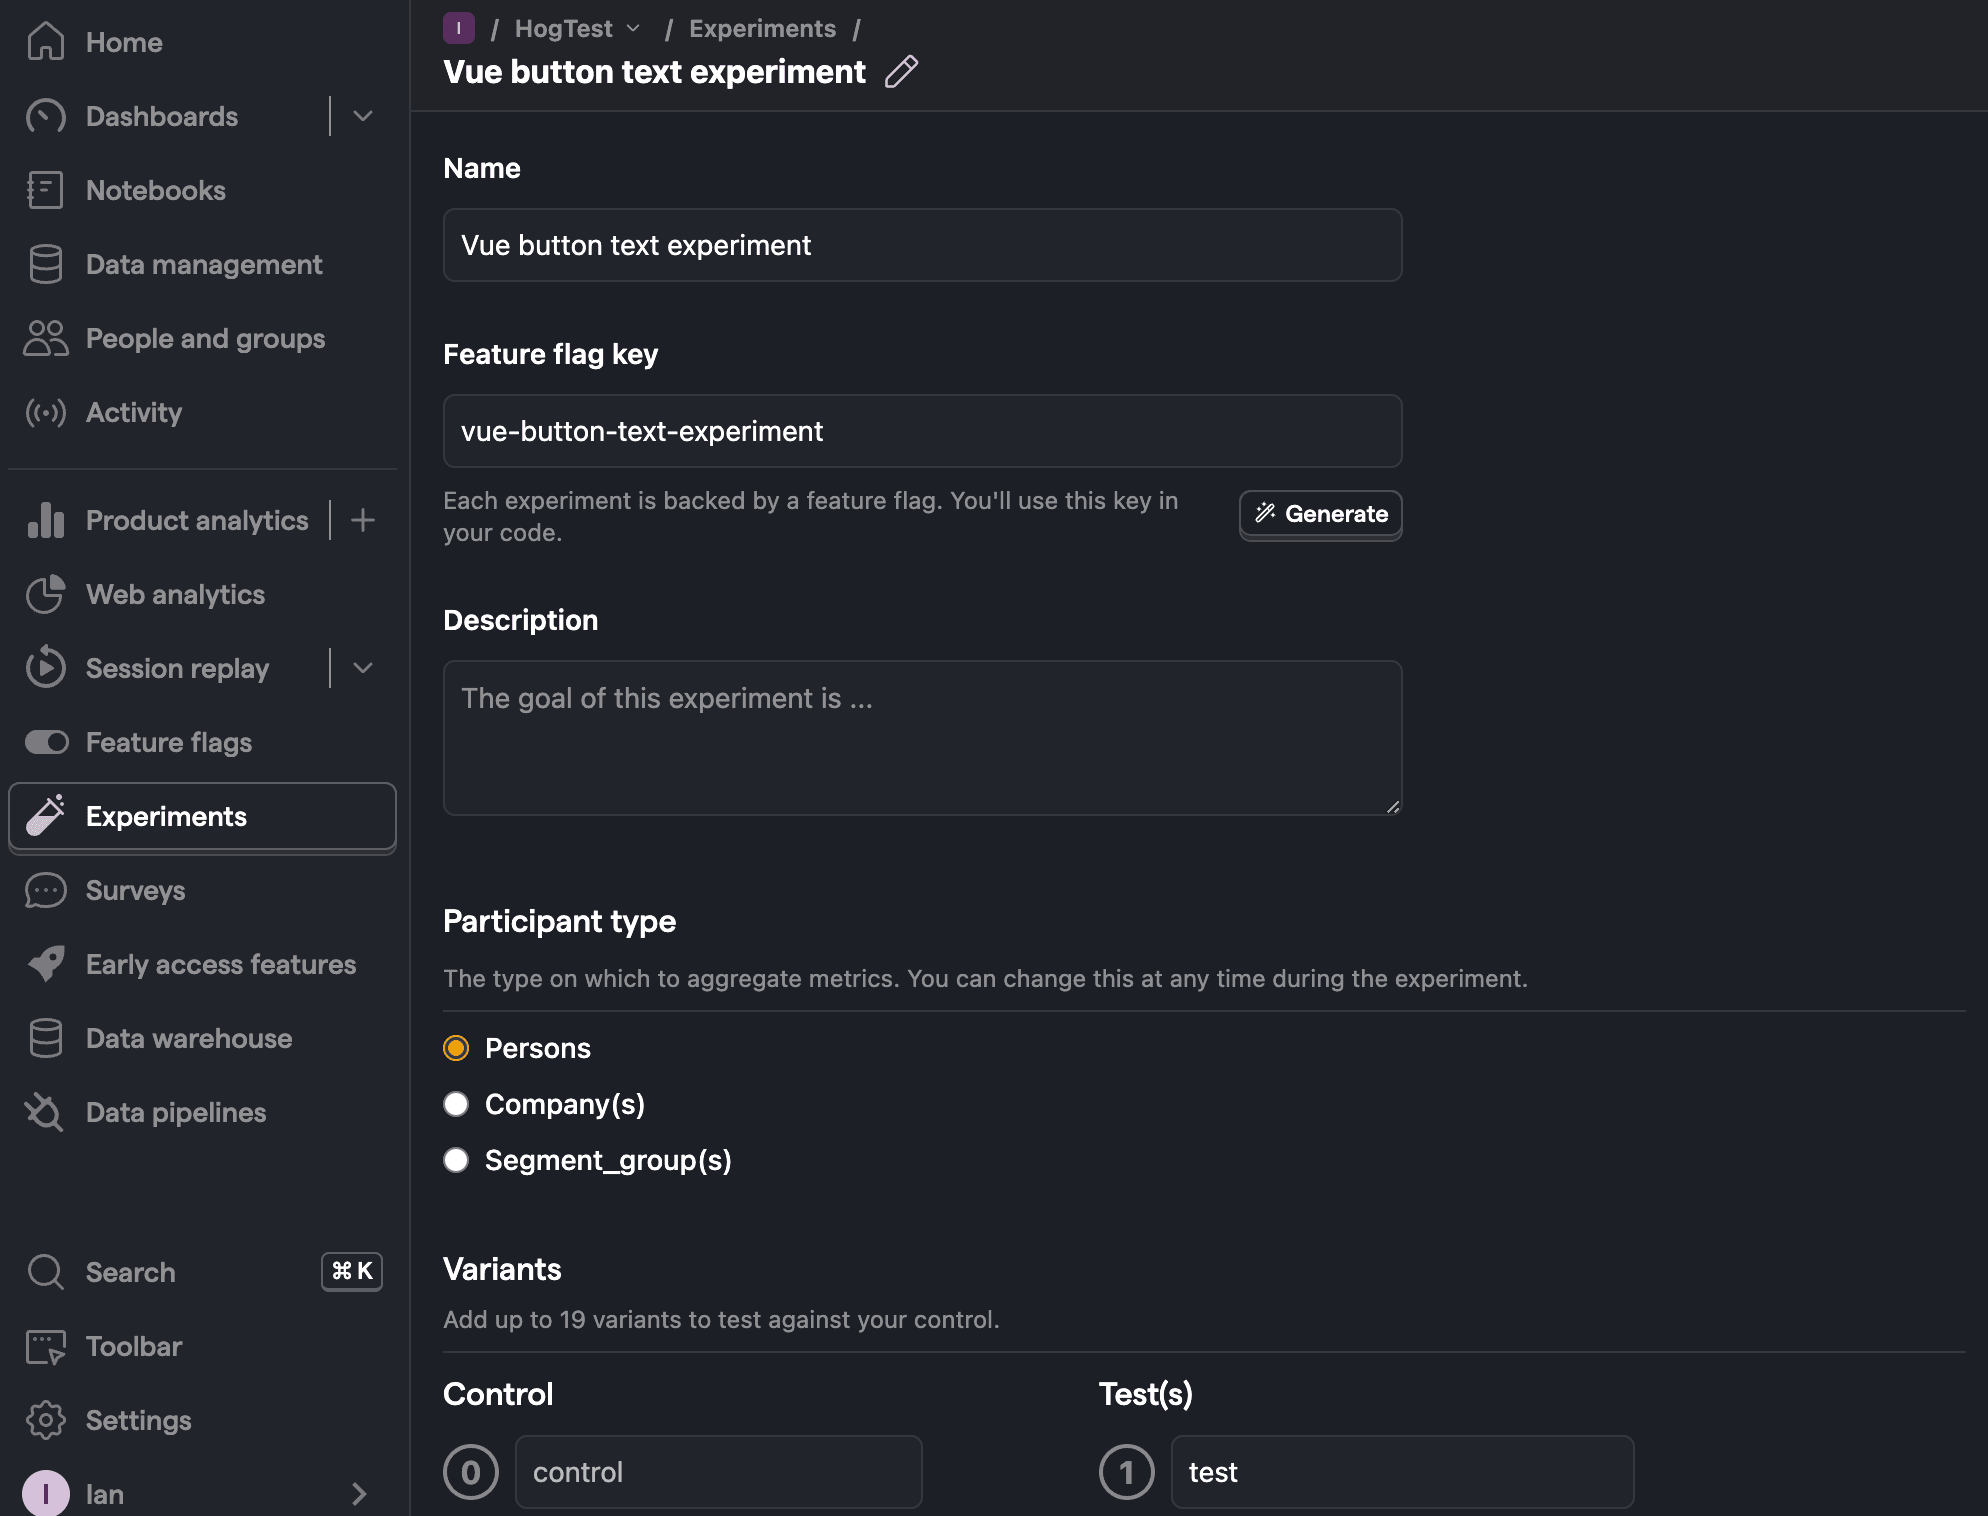
Go to the experiments tab in PostHog and click "New experiment". Add the following details to your experiment:
- Name it "Vue button text experiment".
- Set "Feature flag key" to
vue-button-text-experiment. - Use the default values for all other fields.
- Click Save as draft.
Click "Save as draft" and then click "Launch".


Once created, set the primary metric to a trend of home_button_clicked and then click Launch.
Implementing the A/B test code
To implement the A/B test, we fetch the vue-button-text-experiment feature flag and update the button text based on whether the user is in the control or test variant of the experiment.
Update your code in App.vue to the following:
Now if you refresh your app, you should see the button text updated to either Control variant or Test variant.
With this, you’re ready to launch your experiment!
Further reading

Subscribe to our newsletter
Product for Engineers
Read by 100,000+ founders and builders
We'll share your email with Substack
PostHog is an all-in-one developer platform for building successful products. We provide product analytics, web analytics, session replay, error tracking, feature flags, experiments, surveys, LLM analytics, data warehouse, CDP, and an AI product assistant to help debug your code, ship features faster, and keep all your usage and customer data in one stack.


