


How to set up feature flags in Vue

Contents
Feature flags help you release features and conditionally show content. This tutorial shows you how integrate them in your Vue.js app using PostHog.
We'll create a basic Vue app, add PostHog, create a feature flag, and then implement the flag to control content in your app.
Create your Vue app
For this tutorial, we create a basic Vue 3 app. First, ensure Node.js is installed (version 18.0 or newer). Then install @vue/cli and create a new Vue app:
Make sure to select [Vue 3] babel, eslint as the Vue version.
Next, replace the code in src/App.vue with the following:
Run npm run serve to start your app.
Adding PostHog
This tutorial shows how to integrate PostHog with
Vue 3. If you're usingVue 2, see our Vue docs for how to integrate PostHog.
Since PostHog handles the management and evaluation of feature flags, we must set it up in our app. If you don't have a PostHog instance, you can sign up for free here.
Start by installing the posthog-js library to get access to the JavaScript Web SDK.
Create a new plugin by creating a new folder in your base directory called plugins and then a new file posthog.js:
Add the following code to your posthog.js file:
Replace <ph_project_token> and <ph_client_api_host> with your your PostHog API key and host. You can find these in your project settings.
Finally, activate your plugin in main.js:
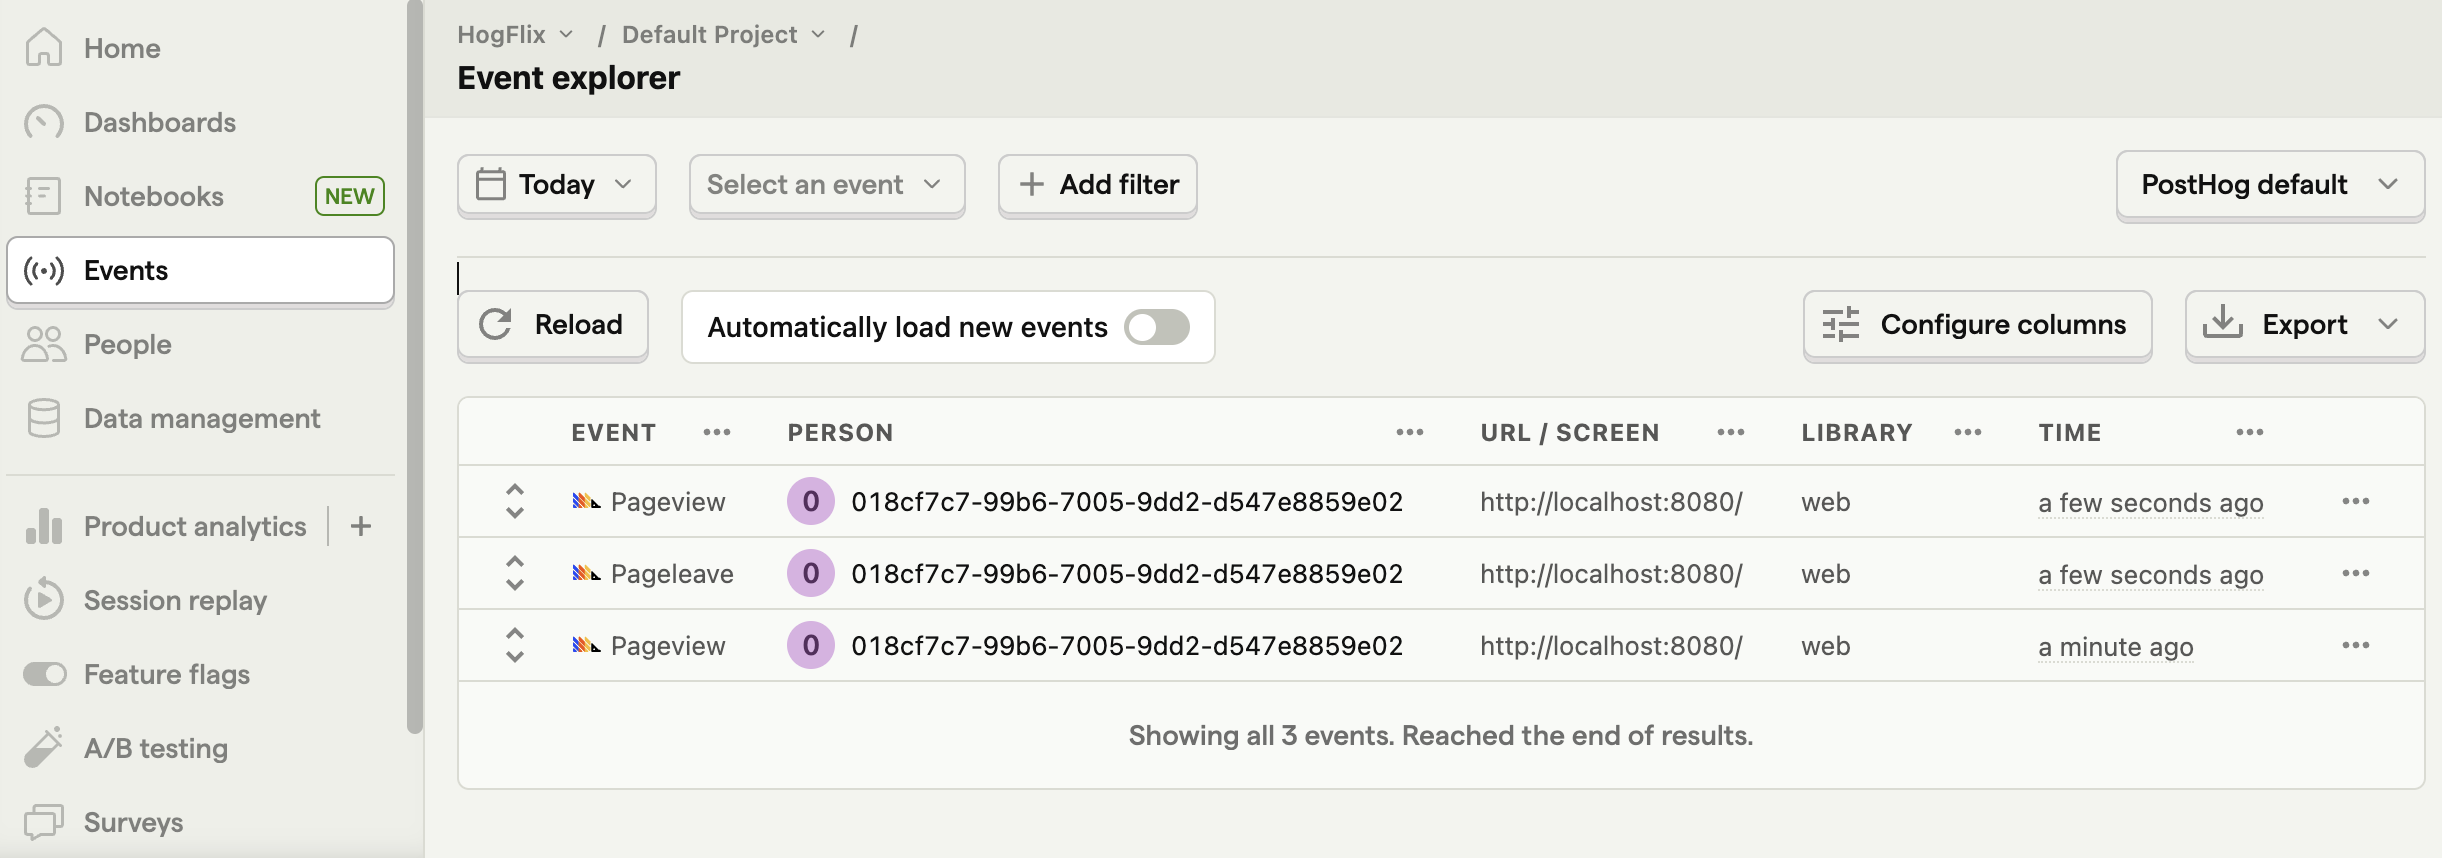
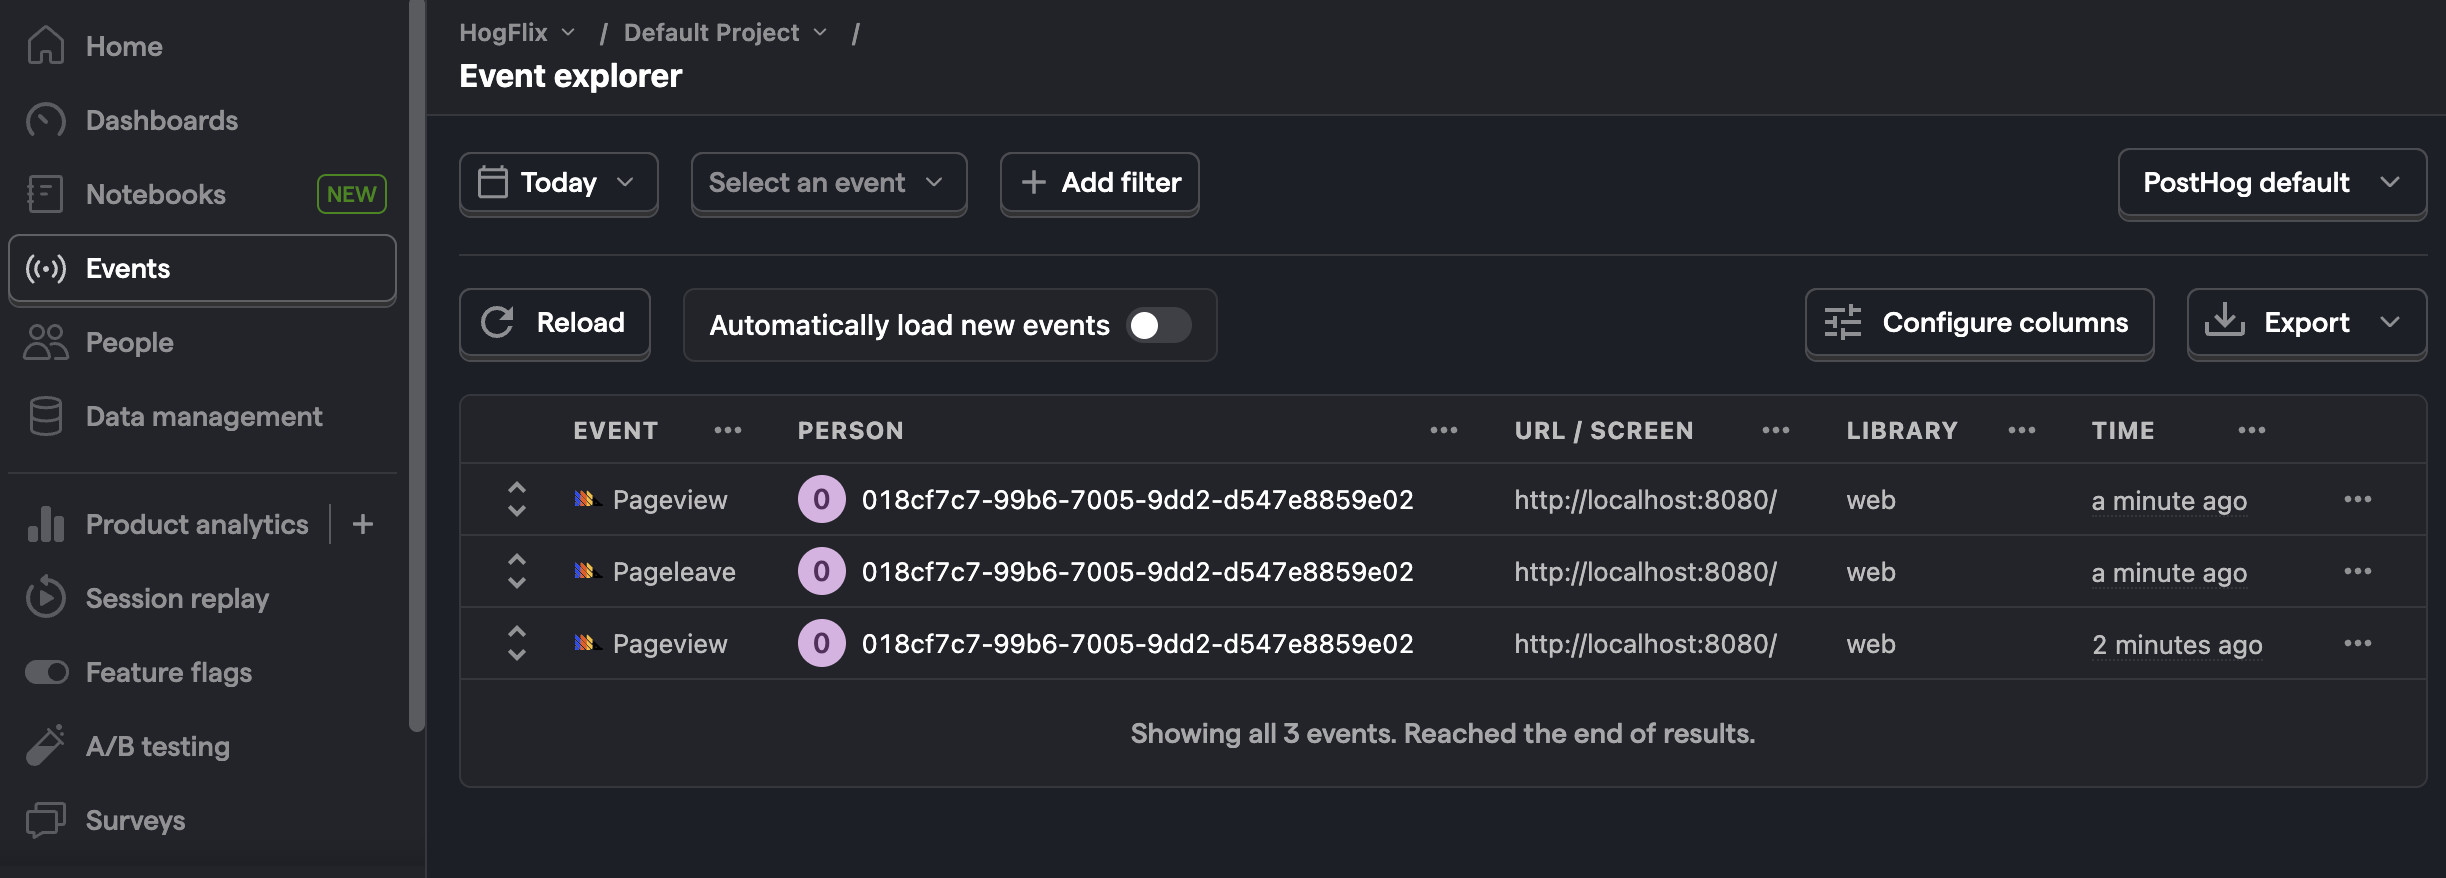
Once you’ve done this, reload your app. You should begin seeing events in the PostHog events explorer.
Creating a feature flag
With PostHog set up, your app is ready for feature flags. To create one, go to the feature flags tab in PostHog and click "New feature flag." Enter a flag key (like my-cool-flag), set the release condition to roll out to 100% of users, and press "Save."
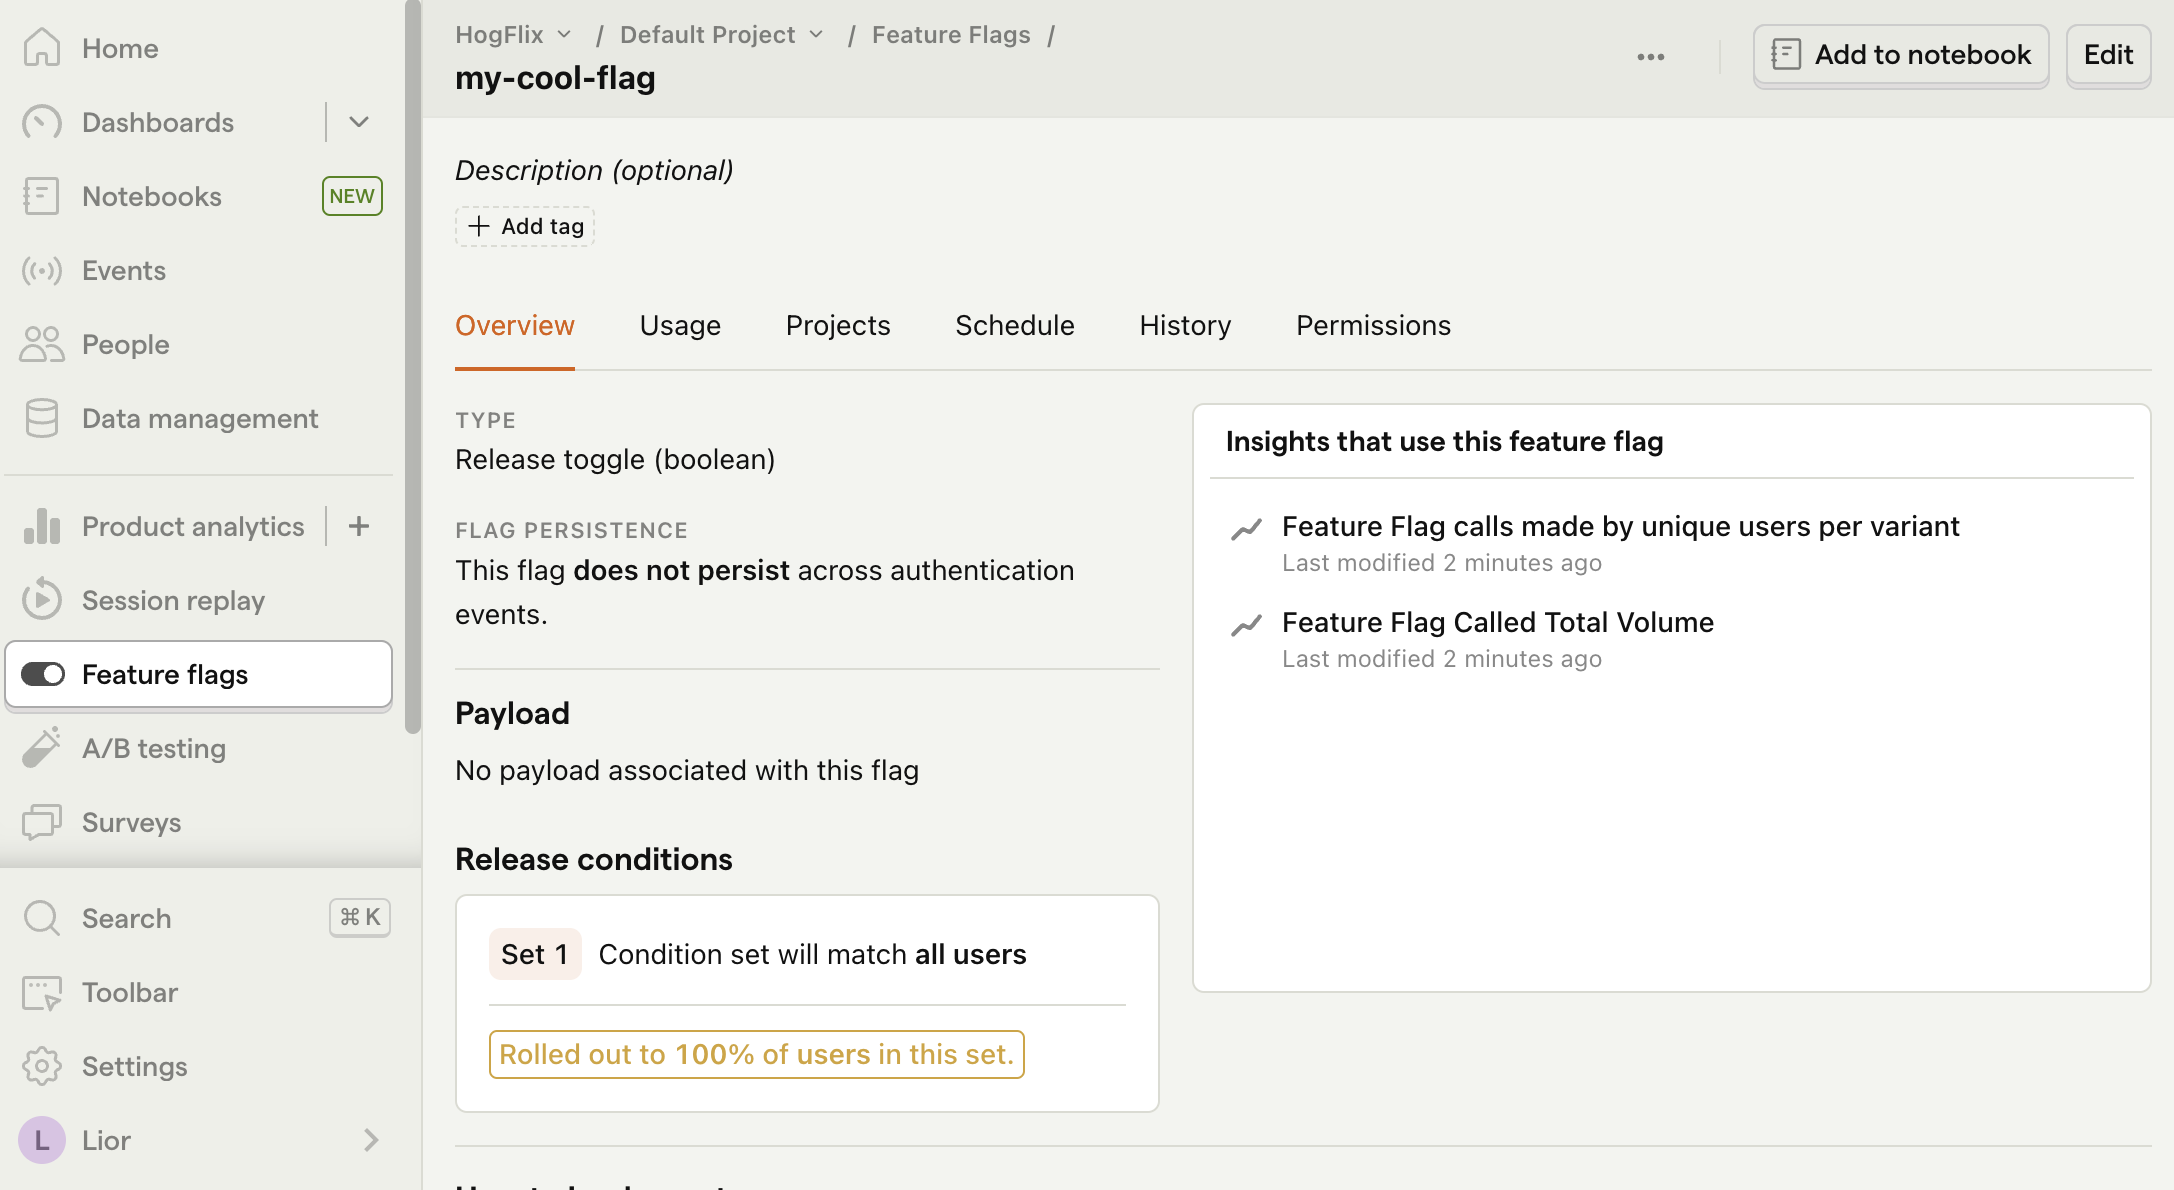
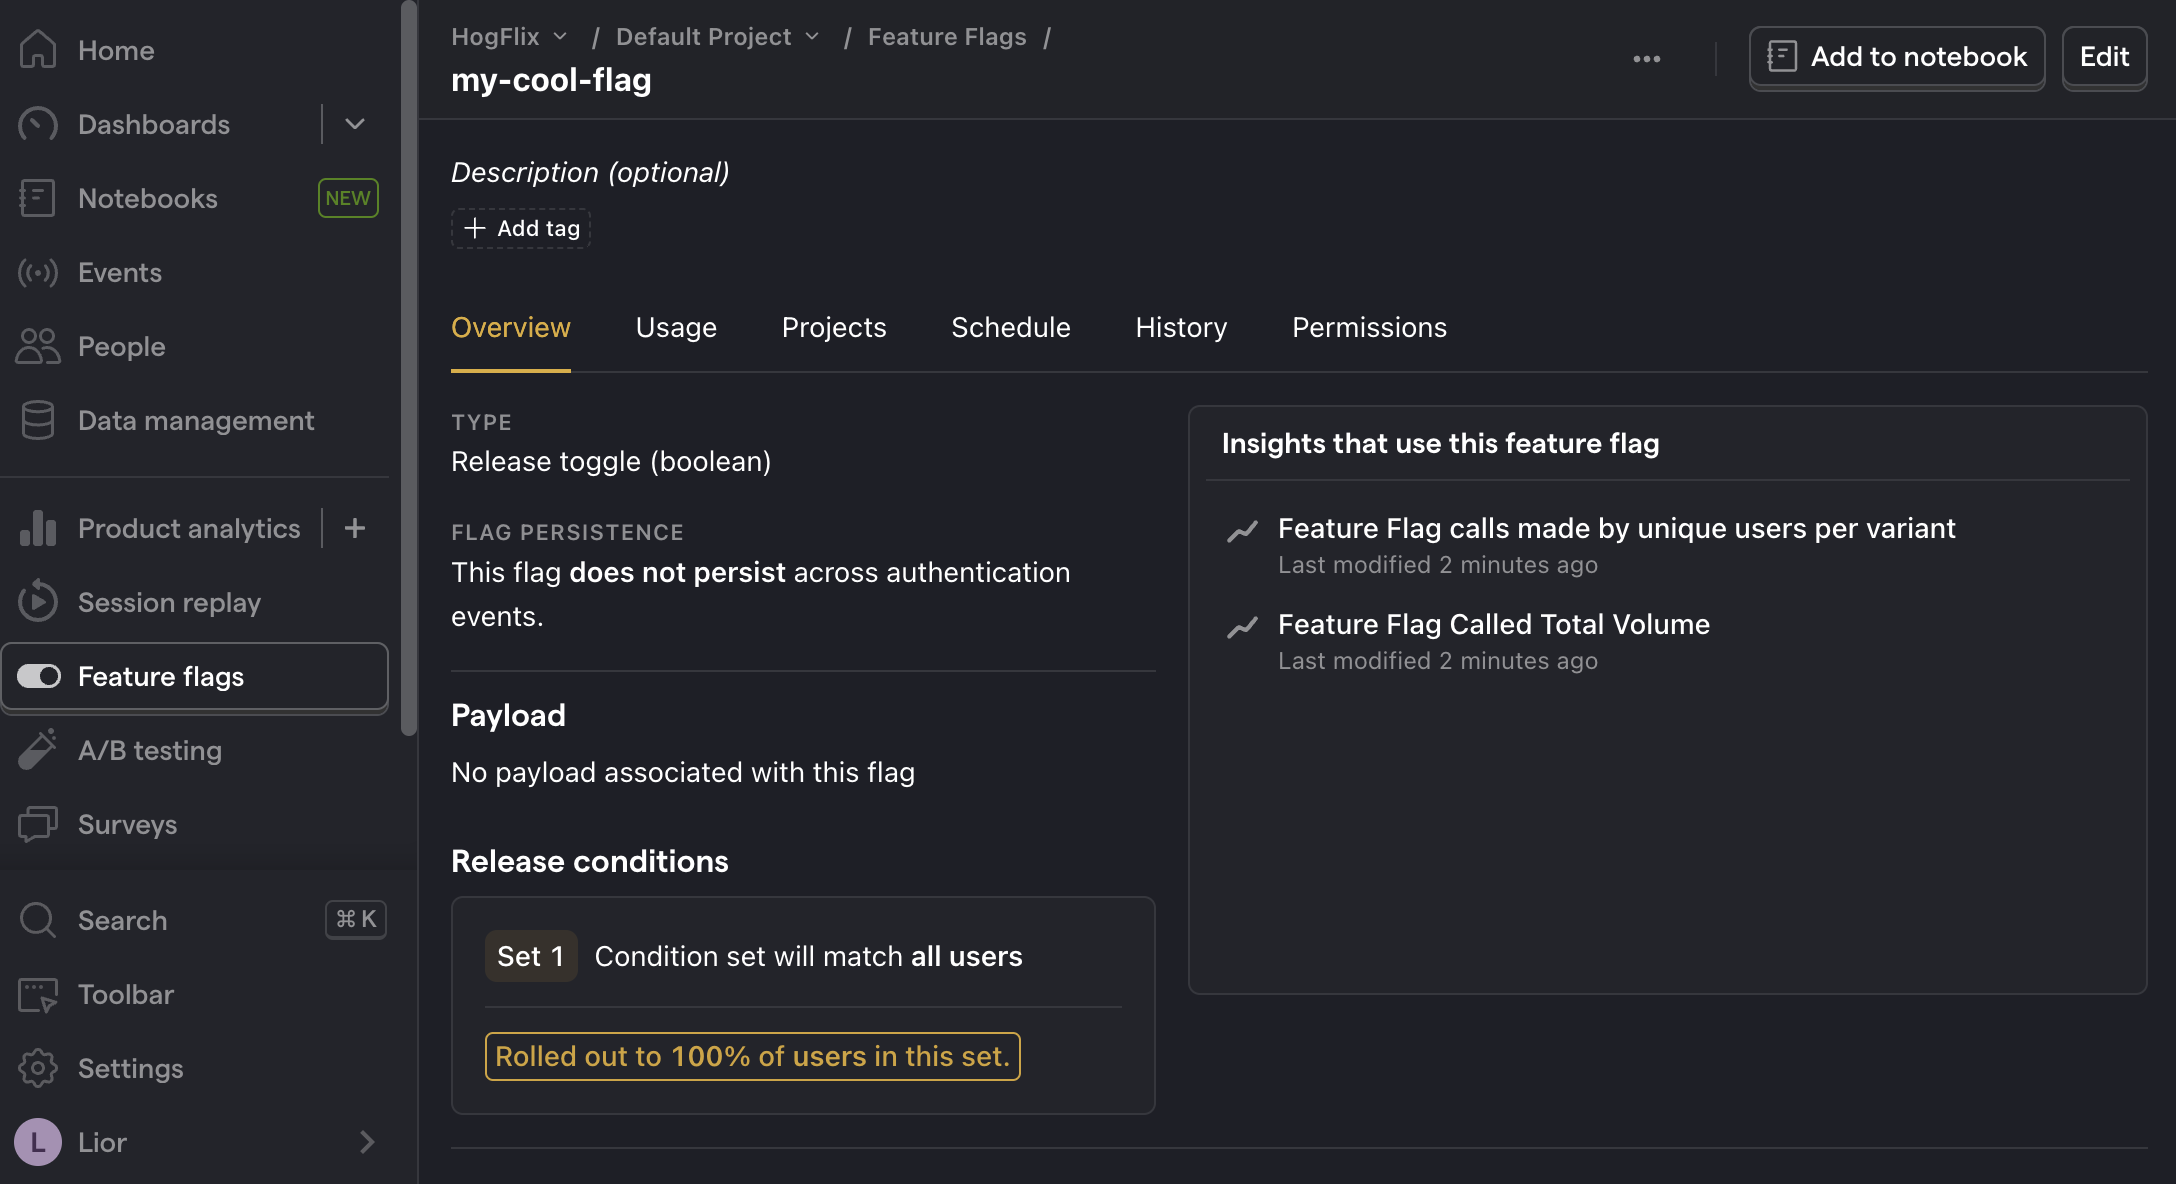
You can customize your release conditions with rollout percentages, and user or group properties to fit your needs.
Implementing our flag code
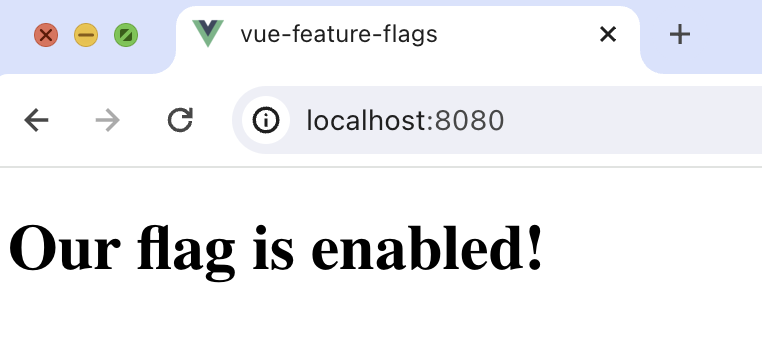
Once created, we can add our feature flag to our app. We do this using the this.$posthog.onFeatureFlags callback.
In our example, we fetch our feature flag and update the text on the page based on its value:
When you run your app now, you should see the updated text.
Bootstrapping feature flags
You may notice the text flickers when you load your app while PostHog makes a request to fetch the flag value. To prevent this and have your feature flags available immediately, you can initialize PostHog with precomputed flag values to use until it has a chance to fetch them. This is called bootstrapping.
To do this, use the bootstrap key in PostHog's initialization config and add feature flag values to it:
Now when you reload your app, the flicker is gone.
To ensure you are bootstrapping PostHog with the correct flag values, we recommend fetching the flags values from your server alongside the page load request, and then passing them to your frontend. See our docs for more information on how to do this.
Further reading

Subscribe to our newsletter
Product for Engineers
Read by 100,000+ founders and builders
We'll share your email with Substack
PostHog is the leading platform for building self-driving products. With a full suite of developer tools – AI observability, product analytics, session replay, feature flags, experiments, error tracking, logs, and more – PostHog captures all the context agents need to diagnose problems, uncover opportunities, and ship fixes. A data warehouse and CDP tie it all together, unifying that context into one source agents can read across. You can steer it all from Slack, the web app, the desktop (PostHog Code), or your own editor via the MCP.