


How to set up Svelte analytics, feature flags, and more

Contents
Svelte is a popular frontend JavaScript framework, similar to Next.js and Vue. Svelte shifts much of the work for processing the app from the browser, to a compile step when you build your app.
In this tutorial, we'll build a basic Svelte blog app with user authentication, add PostHog, and set up the features of PostHog including custom event capture, session recordings, user identification, feature flags, and more.
Already built a Svelte app you want to add PostHog to? Skip the app creation and go straight to the PostHog setup.
Creating our Svelte app
First, we need to create a Svelte app using the npx sv create command. When prompted in the command line, choose SvelteKit minimal, no type checking, none of the additional options, and npm as the package manager (but feel free to modify this).
Once created, go into your newly created my-app folder, install the packages, and run the server.
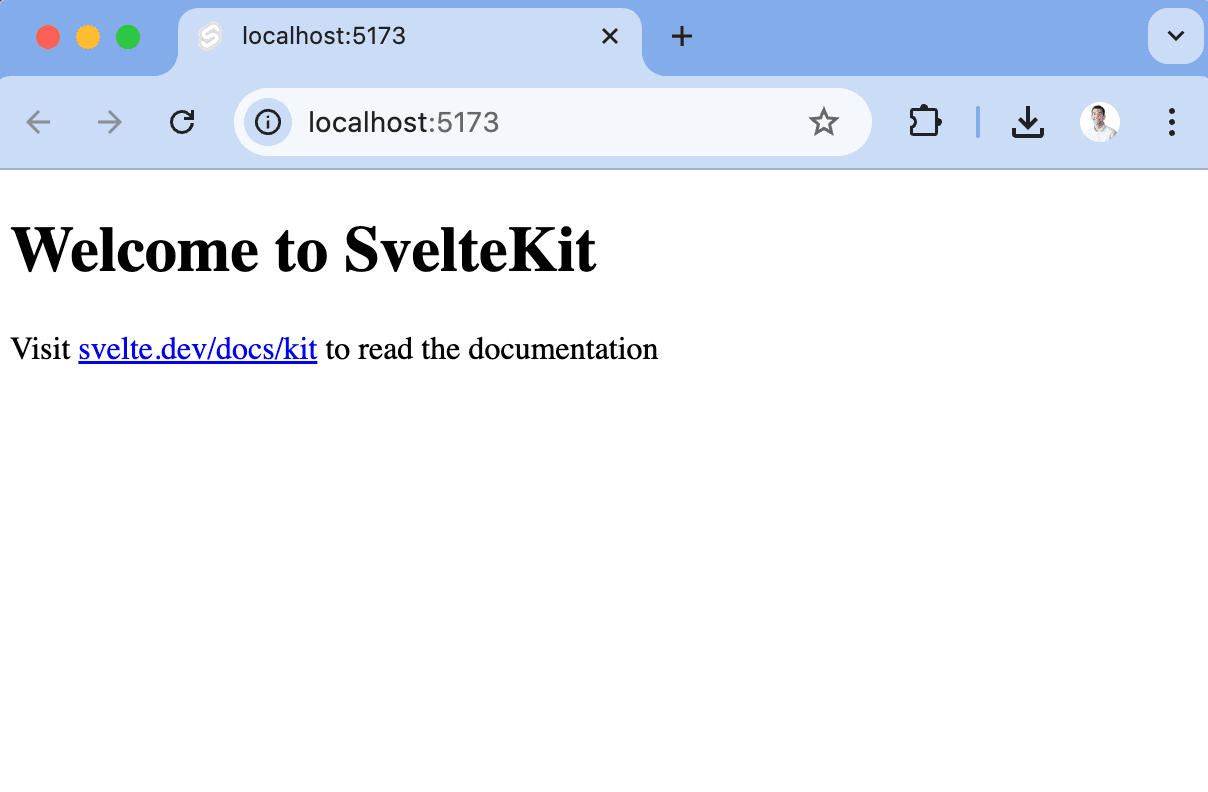
This runs a basic Svelte app that we can start to turn into our blog.
Adding the blog functionality
To start creating our blog, create a blog folder in the src/routes folder. In this folder, we add a blog.js file that is a list of blog objects with a slug, title, and content. This acts as the source of our content for the entire blog.
Next, create another file in the blog folder named +page.server.js. We use this file to load the blog posts listing page. This file returns a map of the posts.
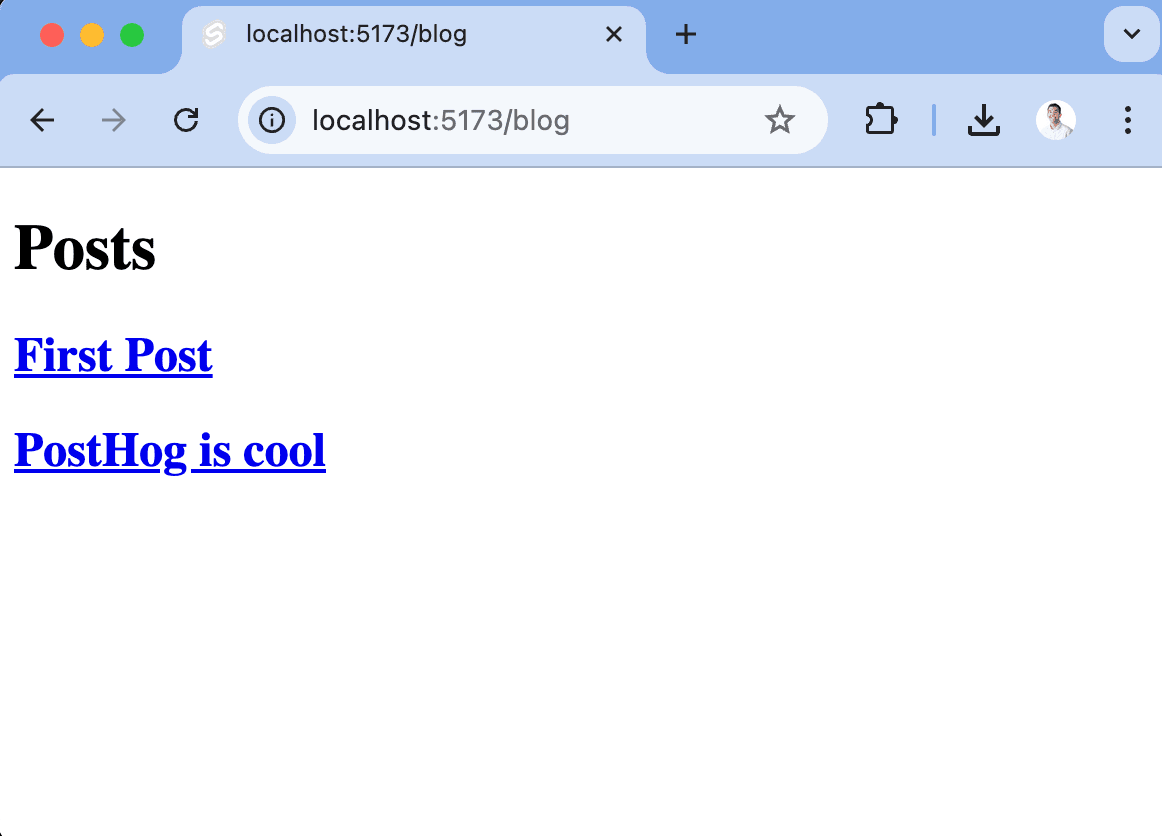
Finally, create the actual page by creating a +page.svelte file. This file loads the posts and loops through them to display their title and link.
Creating the individual post pages
Next, we create the pages for those posts. To do this, we create a [slug] folder in the blog folder. In this folder, create another +page.server.js file that finds the individual page matching the URL params, and passes it to the page. If the slug doesn’t exist, we throw a 404 error.
Again, we create a +page.svelte file in the [slug] folder to display the individual posts.
Finally, back in the +page.svelte in our base routes folder, we add a link to the blog index page.
Our blog now has everything it needs.
Setting up user authentication
Next, we want to set up user authentication in our app so we can showcase user identification and feature flags later. This is relatively easy to set up thanks to SvelteKit Auth. To get started, install the required @auth/sveltekit and @auth/core packages.
Next, in the src folder, create a hooks.server.js file to set up SvelteKitAuth. We'll use the GitHub authentication provider, but Auth.js comes with many options.
To fill out all the secrets we use in this file, we need a GitHub OAuth app. To do this, go to your developer settings in GitHub and create a "New OAuth app." Choose a name, set your homepage URL to http://127.0.0.1:5173/, set your callback URL to http://127.0.0.1:5173/auth/callback/github, and click register application.
Keep the application creation page open and head back to your app. In the base my-app folder, create a .env file. In this file, add the Client ID and Client secret you generated from GitHub as well as an Auth secret (a 32-character string, you can generate one here). Once done, your .env file should look like this:
Setting up sign in and out
Now, we can implement the user session and sign in and out. We need a store for our user session, and can create one by creating a +layout.server.js file in src/routes.
Next, we set up signing in and out. To do this, go back to our home page at src/routes/+page.svelte. Here we import the signIn and signOut functions from @auth/sveltekit/client as well as use the page store from $apps/stores to get data on the session.
Now, you can click sign in, authorized with GitHub, and your basic details show in our app. With this, we are ready to add PostHog.
Adding PostHog
To add PostHog to our Svelte app, we need a PostHog instance (sign up for free). Get your project token from either the getting started flow or your project settings, along with your instance address from the URL.
Next, install posthog-js.
In the src/routes folder, create a +layout.js (different from the +layout.server.js file you created earlier). In this file, check the environment is the browser, and initialize PostHog with your project token and host. You can find these in your project settings.
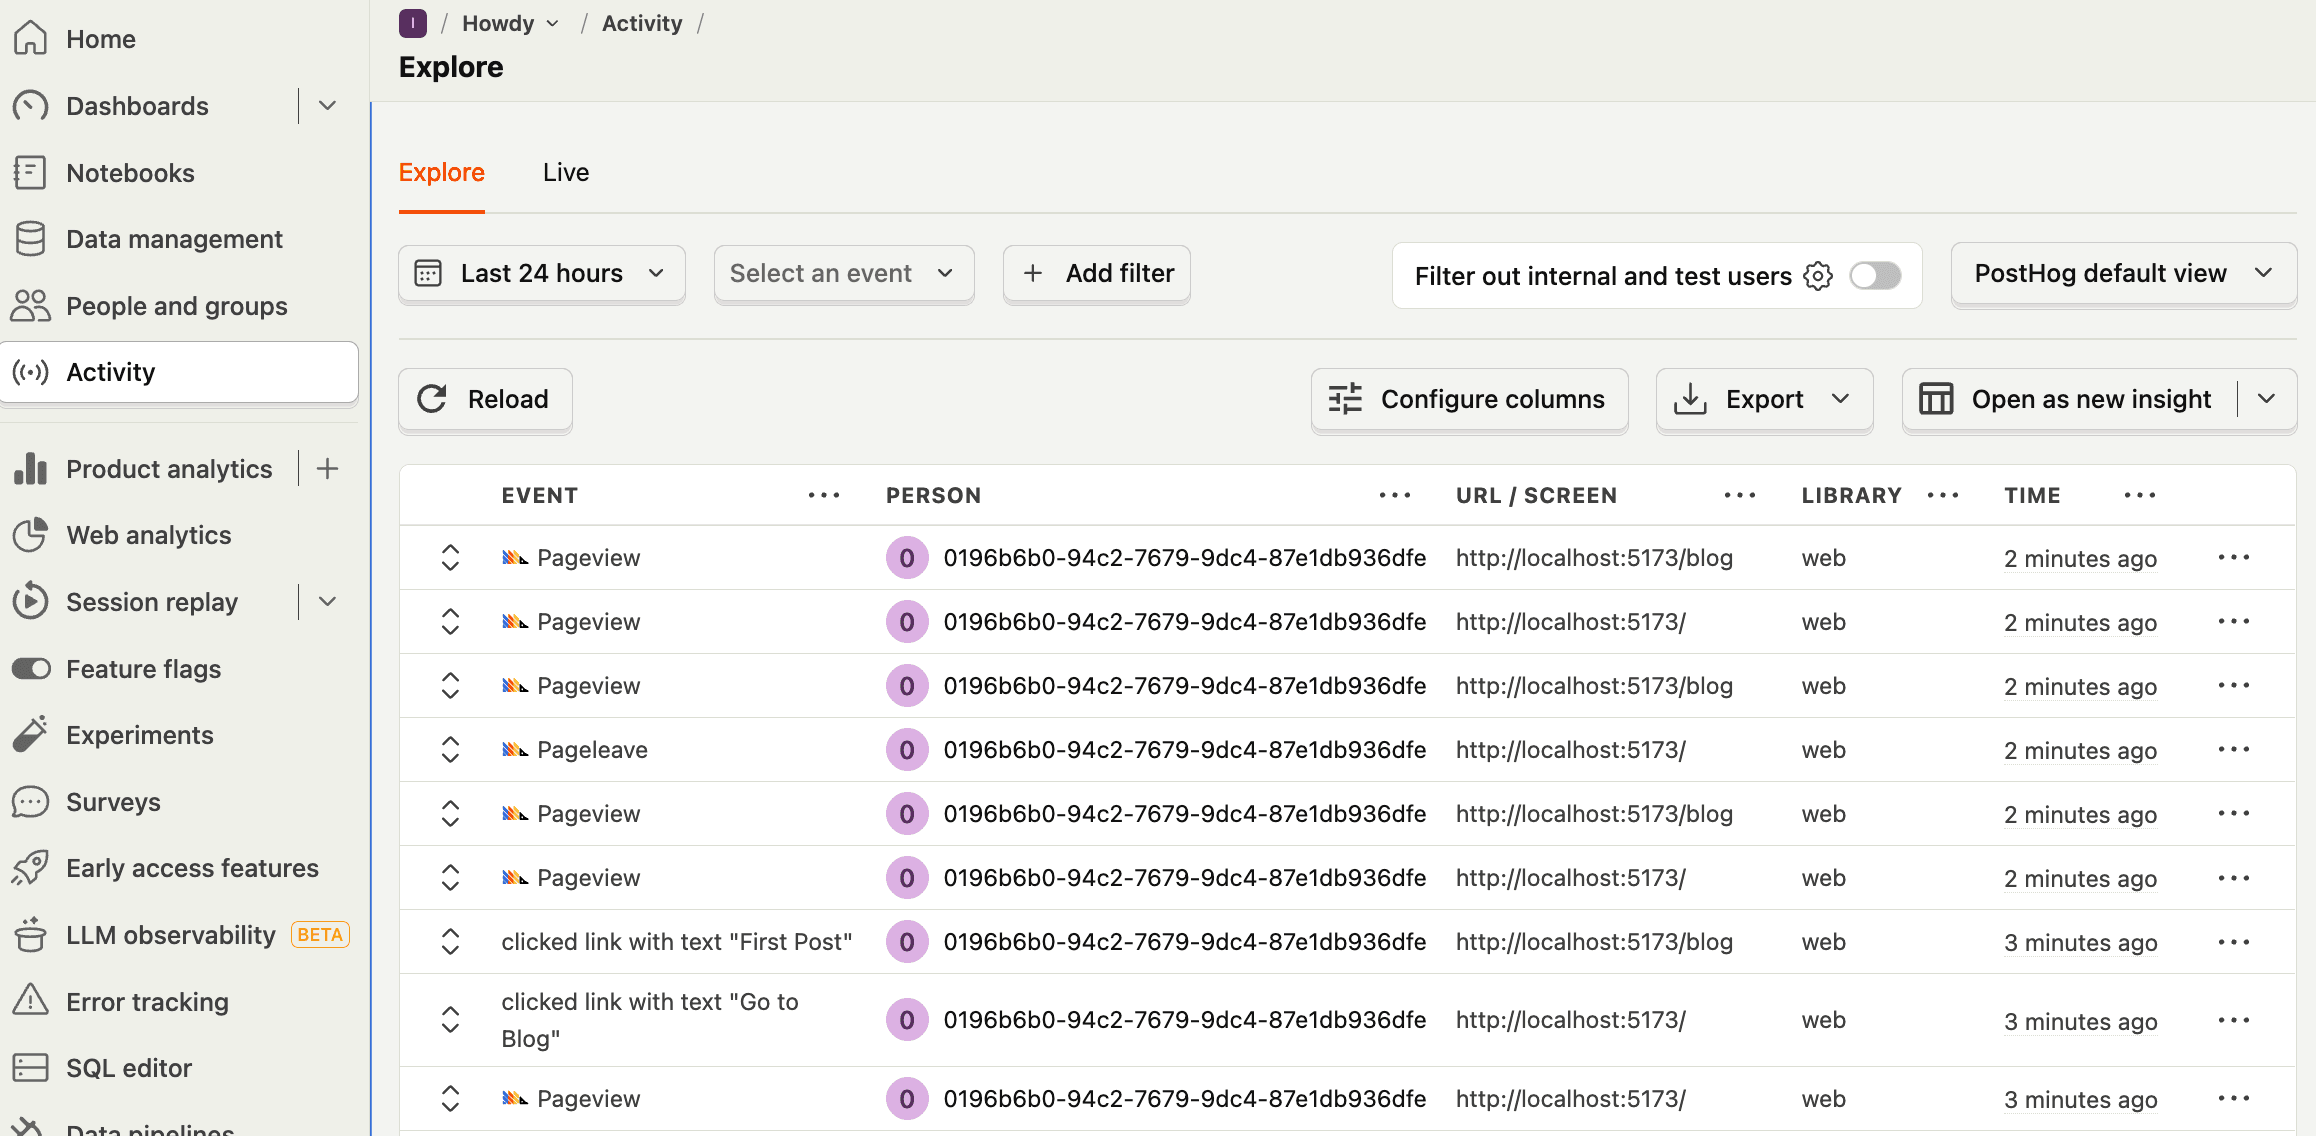
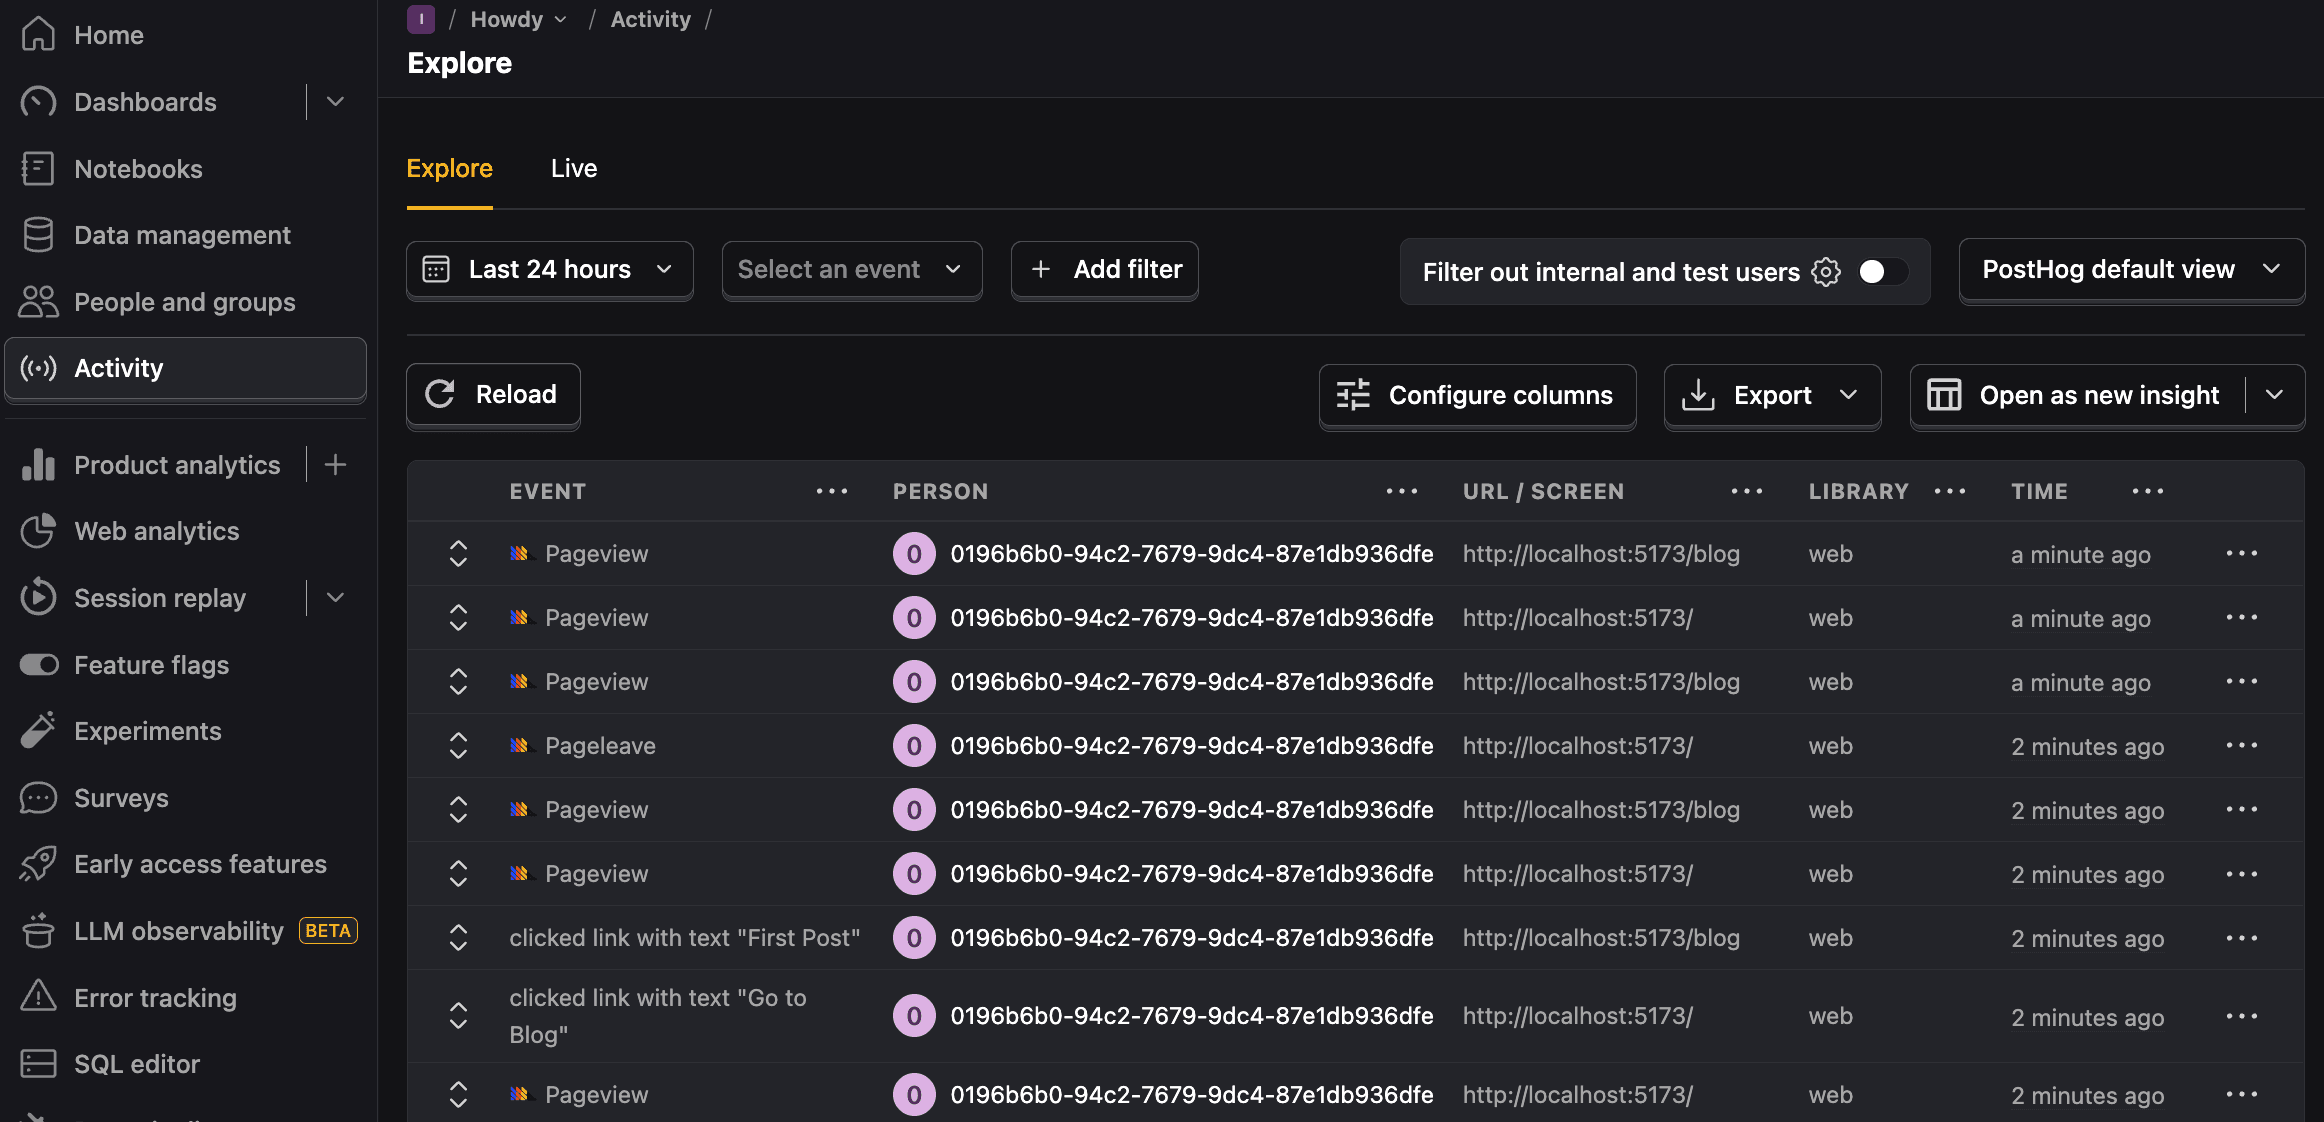
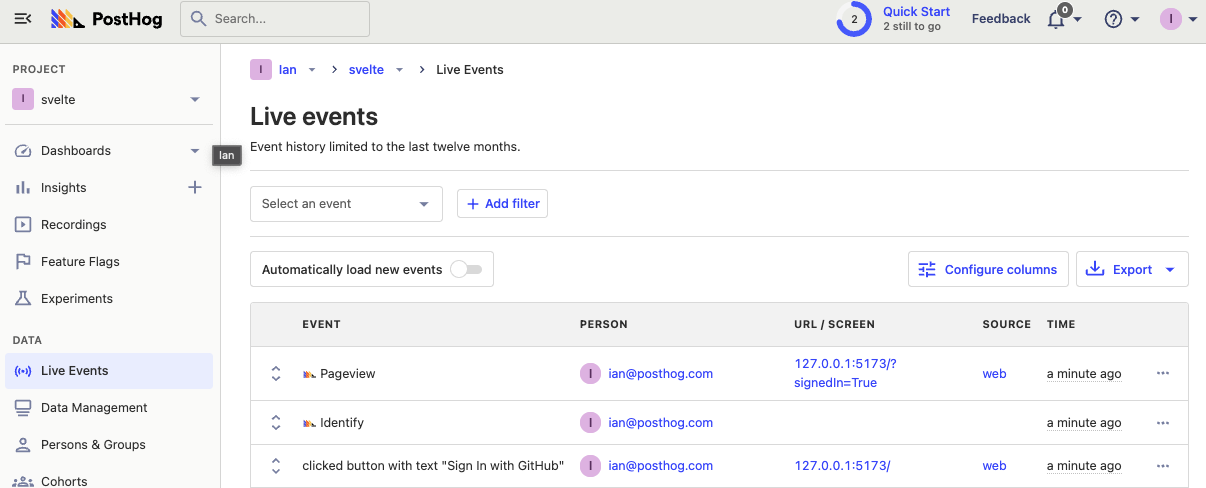
After restarting your app and going back to your site, you should start to see events and pageviews autocaptured into your PostHog instance as well as sessions recorded if you turned them on.
Identifying users
You might notice even though you are logged in, your events are still captured from an anonymous person in PostHog. This is because users aren’t identified by PostHog. We can fix this by using posthog.identify() when users redirect back to our app from GitHub. We set a param in the call back URL, then check for that param, and use the email from GitHub to identify the user. We can add this to our home src/routes/+page.svelte file.
Now, when we sign in again, we are identified with the email we use with GitHub.
Note: You can also call
posthog.identify()in+layout.svelte, but not+layout.js. This is because+layout.jsis run on the server, andposthog.identify()needs access to information from the client.
Resetting identification
To avoid having multiple users identified as one, make sure to call posthog.reset() when a user signs out. We can use the same callback URL check as signing in, but for signing out.
This ensures when a user logs out, the events after they do aren’t connected to them, and future users who log in aren’t also connected.
Note: Be careful to only reset when a user logs out, not on every request. If you reset on every request, you create an excess of new anonymous users and new session recordings.
Using feature flags
The last feature of PostHog to set up is feature flags. Feature flags enable you to conditionally run code based on users, properties, and more. To showcase them, we are going to set up a flag that conditionally shows a call-to-action in our blog posts.
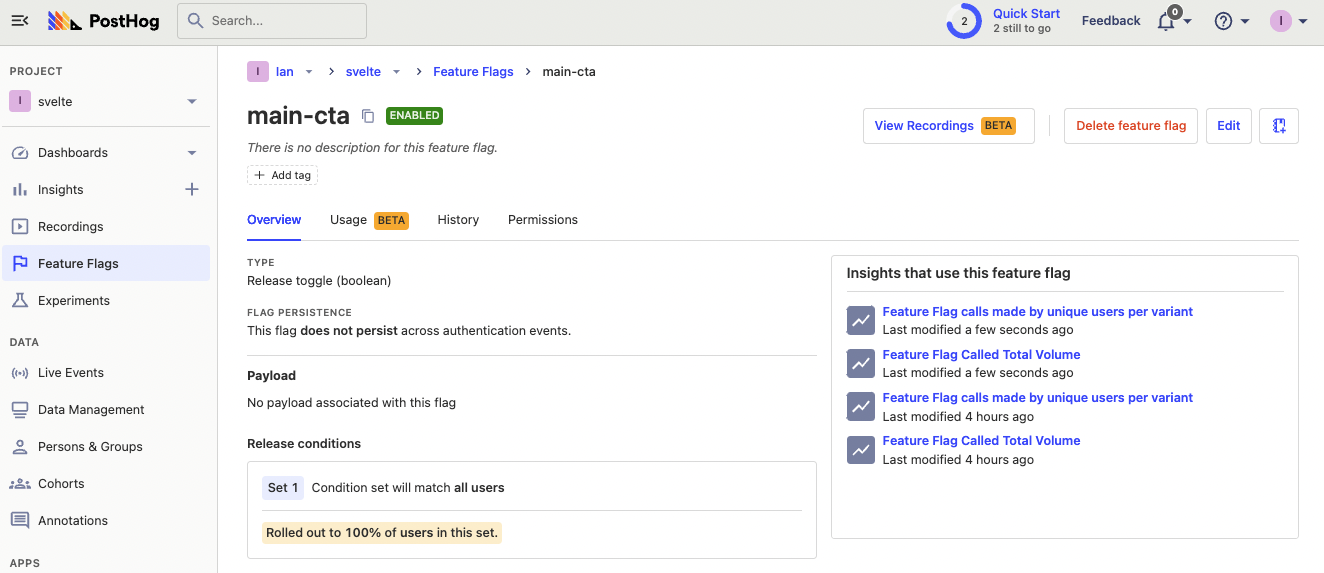
To set this up, create the feature flag. In PostHog, go to the feature flags tab, click "New feature flag," add a key (like main-cta), roll out to 100% of users, and click save.
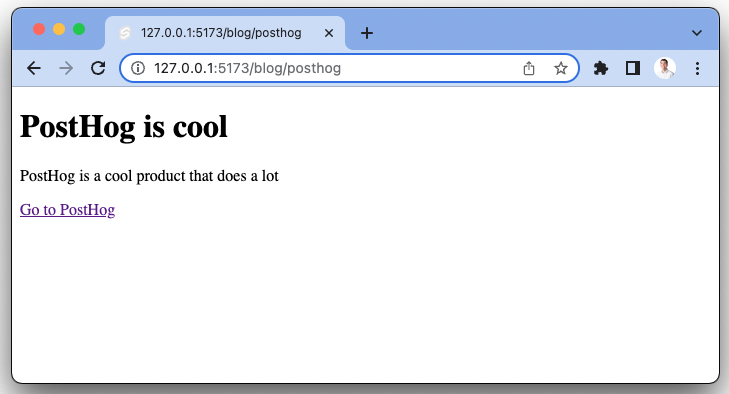
Next, in the src/routes/blog/[slug] folder, go to the +page.svelte file. Add the posthog.onFeatureFlags() function to check the main-cta flag once they load. The posthog.isFeatureEnabled() controls a variable to display a call-to-action link below our post.
Once saved, back on your site, the CTA added to your blog post.
You can test it works by going back to PostHog, disabling your flag, and seeing the call to action disappear.
With this done, you built a Svelte app with all the basics of PostHog set up. To go further, check out group analytics, experimentation, and our configuration options.
Further reading
- How to set up A/B tests in Svelte
- How to set up surveys in Svelte
- An introductory guide to identifying users in PostHog
Subscribe to our newsletter
build mode
Read by 75,000+ founders and builders
We'll share your email with Substack
PostHog is the leading platform for building self-driving products. With a full suite of developer tools – AI observability, product analytics, session replay, feature flags, experiments, error tracking, logs, and more – PostHog captures all the context agents need to diagnose problems, uncover opportunities, and ship fixes. A data warehouse and CDP tie it all together, unifying that context into one source agents can read across. You can steer it all from Slack, the web app, the desktop (PostHog Desktop), or your own editor via the MCP.