


How to set up A/B tests in Svelte

Contents
A/B tests help you make your Svelte app better by enabling you to compare the impact of changes on key metrics. To show you how to set one up, we create a basic SvelteKit app, add PostHog, create an A/B test, and implement the code for it.
1. Create a Svelte app
First, ensure Node.js is installed (version 16.0 or newer). Then, create a new Svelte app:
When prompted in the command line, choose Skeleton project, No to TypeScript, and none of the additional options.
Once created, go into your newly created my-svelte-ab-testing-app folder and install the packages:
Next, replace the code in src/routes/+page.svelte with a simple heading and button:
Run npm run dev and navigate to http://localhost:5173 to see your app in action.

2. Add PostHog to your app
With our app set up, it’s time to install and set up PostHog. If you don't have a PostHog instance, you can sign up for free.
To start, install the JavaScript web SDK:
In the src/routes folder, create a +layout.js. In this file, check the environment is the browser, and initialize PostHog if so. You can get both your API key and instance address in your project settings.
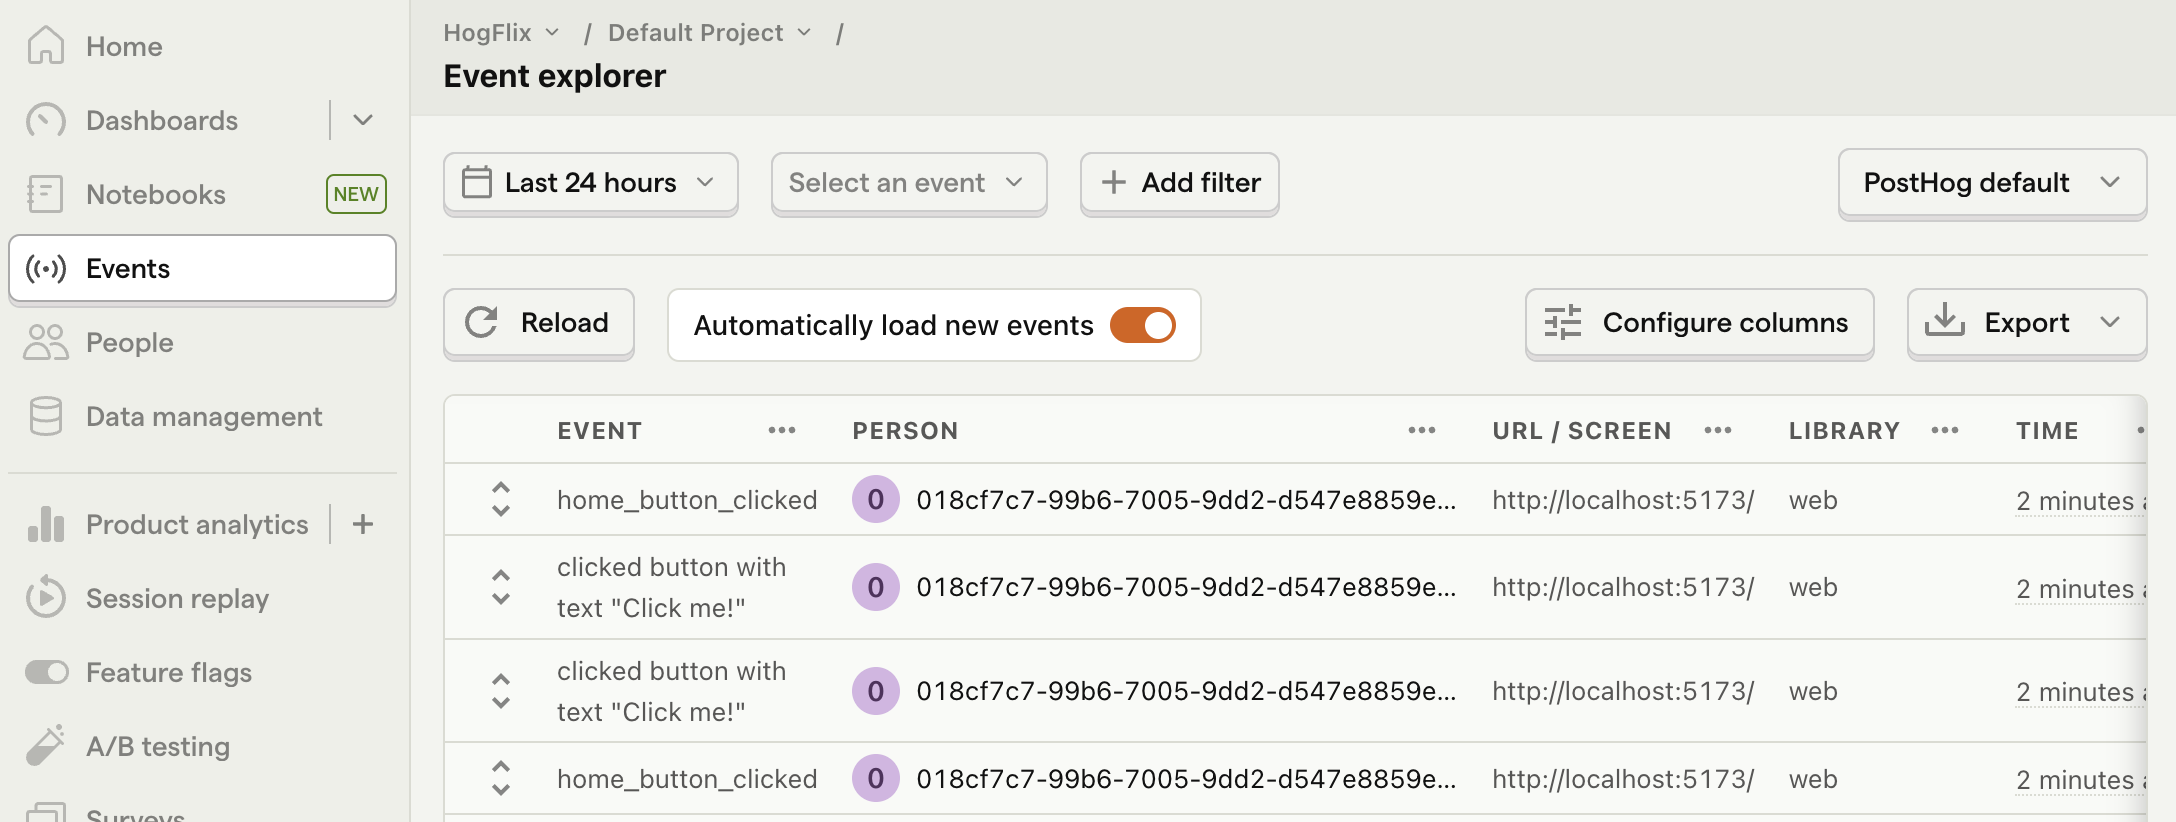
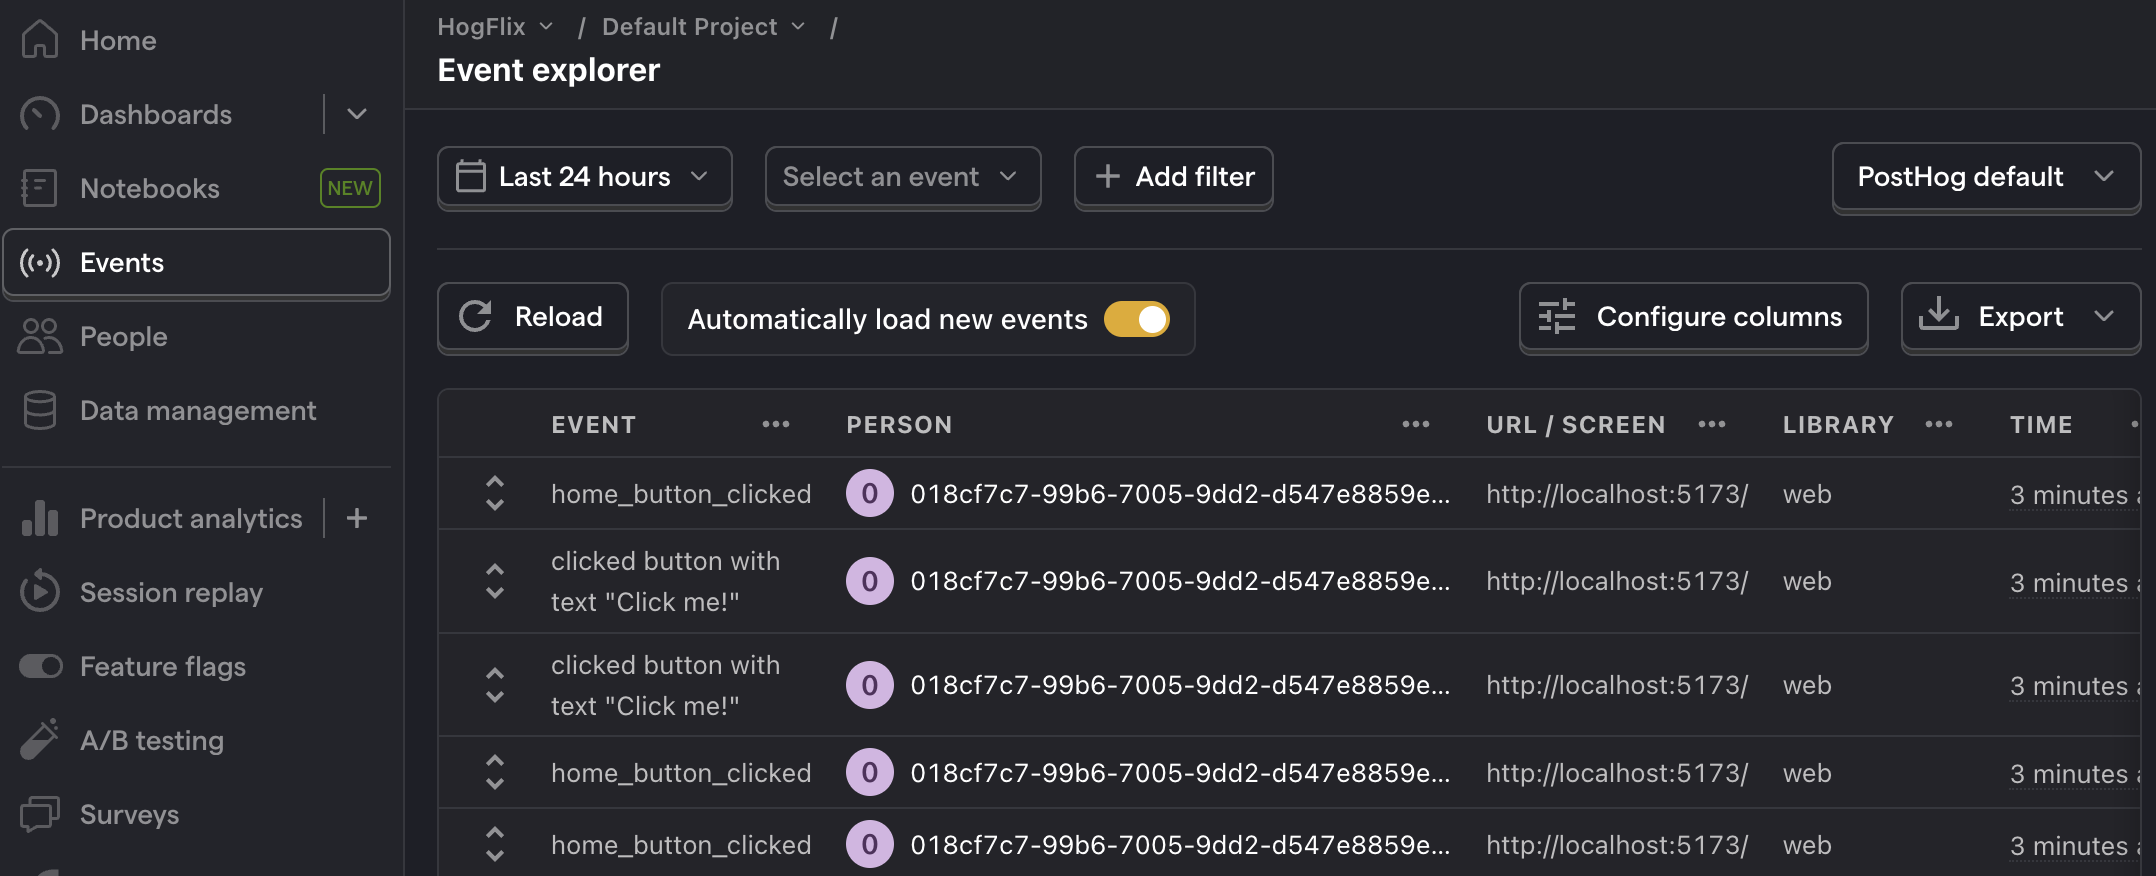
Once you’ve done this, reload your app and click the button a few times. You should see events appearing in the PostHog events explorer.
3. Capture a custom event
The first part of setting up our A/B test in PostHog is setting up the goal metric. We'll use the number of clicks on the button as our goal.
To measure this, we capture a custom event called home_button_clicked when the button is clicked. To do this, update the script in your +page.svelte file:
With this set up, refresh your app and click the button a few times to see the event captured in PostHog.
4. Create an A/B test in PostHog
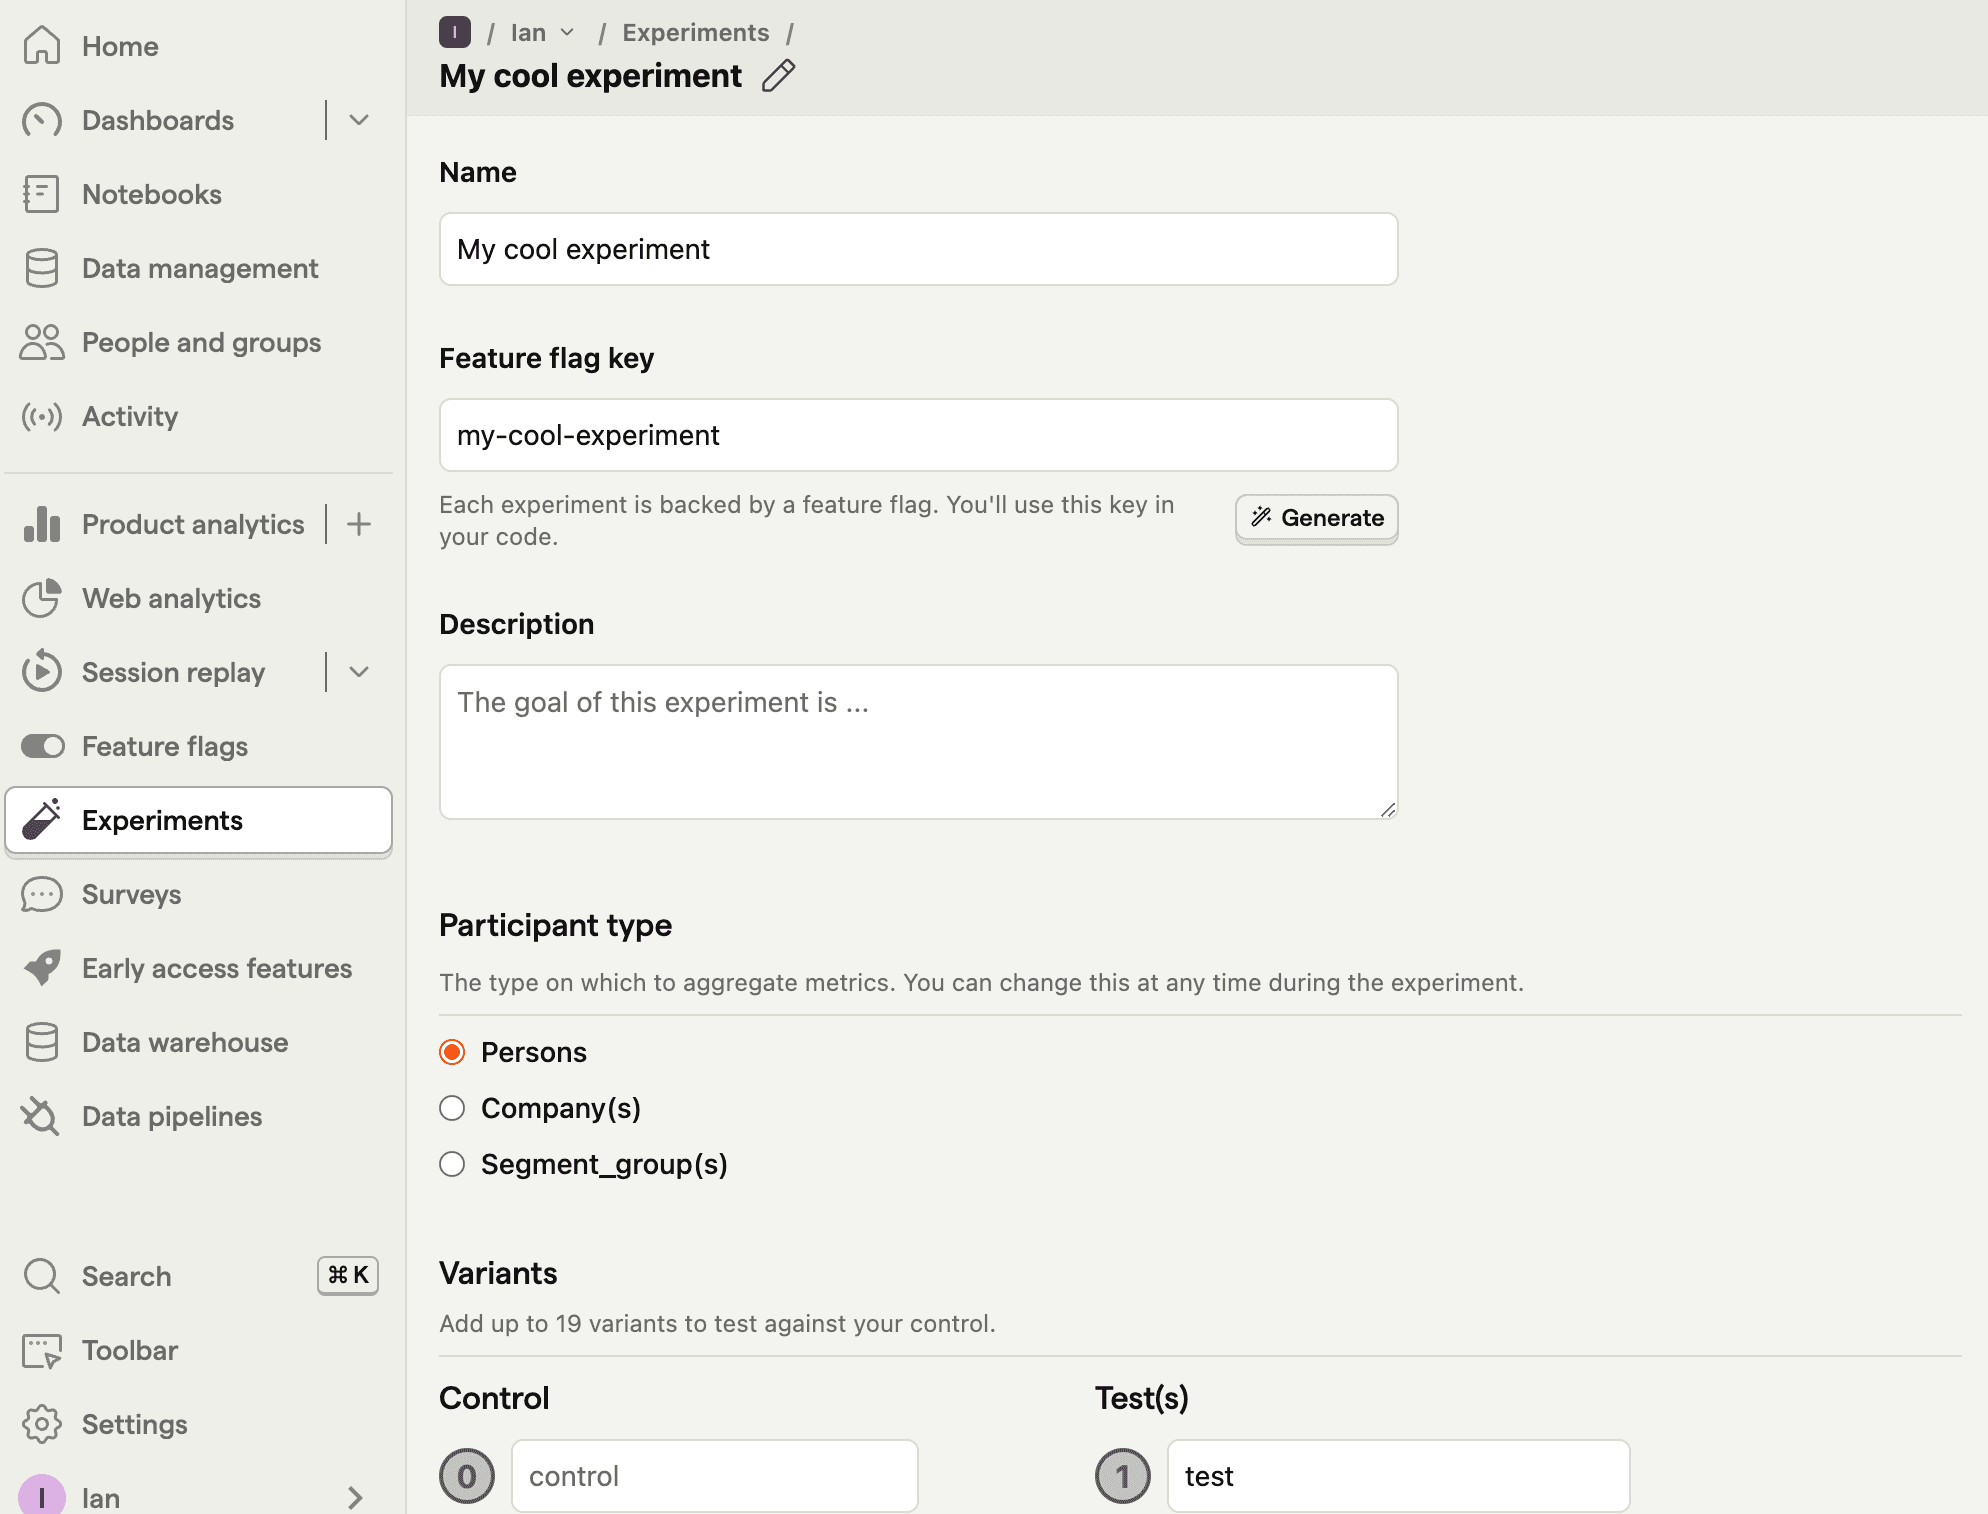
Next, go to the A/B testing tab and create an A/B test by clicking the New experiment button. Add the following details to your experiment:
- Name it "My cool experiment".
- Set "Feature flag key" to
my-cool-experiment. - Use the default values for all other fields.
- Click Save as draft.
Once created, set the primary metric to a trend of home_button_clicked and then click Launch.
5. Implement the A/B test code
When it comes to implementing our experiment code, there are two options:
- Client-side rendering
- Server-side rendering
We'll show you how to implement both options.
Client-side rendering
To implement the A/B test, we fetch the my-cool-experiment flag when the page component is mounted using posthog.onFeatureFlags. Then, we update the button text based on whether the user is in the control or test variant of the experiment:
Now if you refresh your app, you should see the button text updated to either Control variant or Test variant.
Server-side rendering
Notice that when you refresh the page, the button text flickers between No variant and Control/Test variant. This is because it takes time for PostHog to load and make the feature flag request.
Server-side rendering is a way to avoid this. This fetches the feature flag before the page loads on the client.
To set this up, we must install and use PostHog’s Node library (because we are making server-side requests).
In SvelteKit, server-side logic can be implemented using the load function. To do this, create a new file +page.server.js in the same directory as +page.svelte and add the following code:
Then, update your code in +page.svelte to the following:
Now, when you refresh the page, the button text is already set when the page loads.
Setting the correct distinctId
You may notice that we set distinctId = 'placeholder-user-id' in our flag call above. In production apps, to ensure you fetch the correct flag value for your user, distinctId should be set to their unique ID.
For logged-in users, you typically use their email as their distinctId. However, for logged-out users, you can use the distinct_id property from their PostHog cookie:
Further reading
- How to set up Svelte analytics, feature flags, and more
- How to set up surveys in Svelte
- A software engineer's guide to A/B testing
Subscribe to our newsletter
build mode
Read by 75,000+ founders and builders
We'll share your email with Substack
PostHog is the leading platform for building self-driving products. With a full suite of developer tools – AI observability, product analytics, session replay, feature flags, experiments, error tracking, logs, and more – PostHog captures all the context agents need to diagnose problems, uncover opportunities, and ship fixes. A data warehouse and CDP tie it all together, unifying that context into one source agents can read across. You can steer it all from Slack, the web app, the desktop (PostHog Desktop), or your own editor via the MCP.