


How to set up React feature flags with Vite

Contents
Feature flags help you release features and conditionally show content in your React apps. This tutorial shows you how to create a React app with Vite, add PostHog, create a feature flag, and then implement the flag to control content in your app.
Create your React app with Vite
First, we create our React app using Vite and go into the newly created react-flags folder.
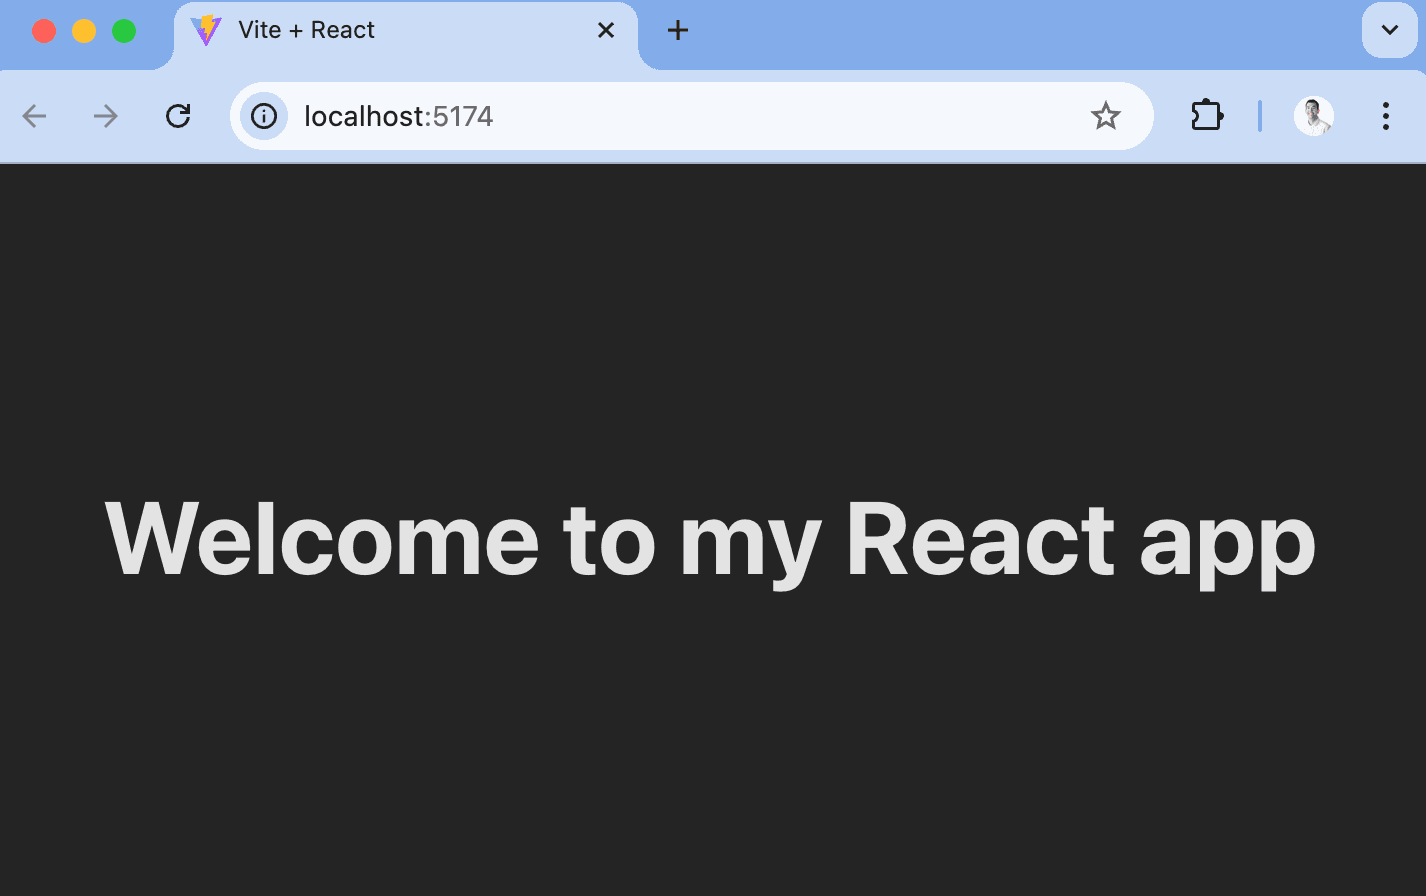
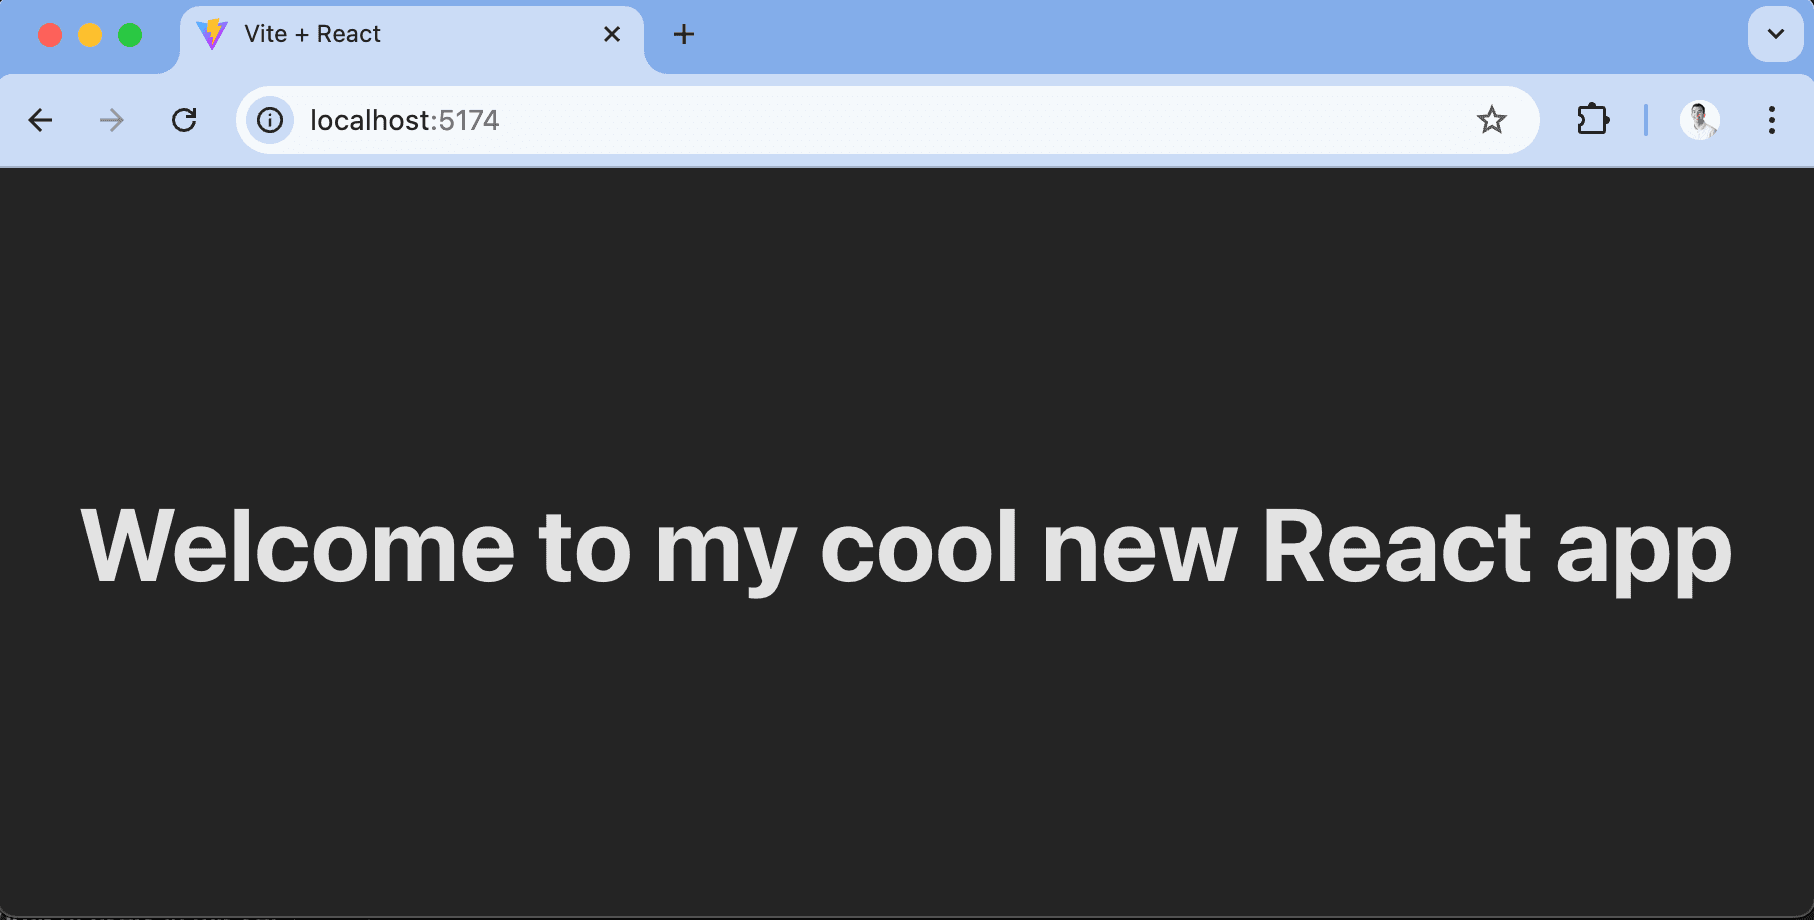
We then remove the boilerplate code in src/App.jsx to simplify it to just a title.
Finally, run npm run dev and go to http://localhost:5173 to see our new homepage.
Adding PostHog
Since PostHog handles the management and evaluation of feature flags, we must set it up in our app. To do this, start by installing the posthog-js and @posthog/react libraries to get access to the React SDK.
Once installed, import PostHog into src/main.jsx and set it up using your project token and host from your project settings. Wrap your app in the React PostHogProvider to access PostHog in any component.
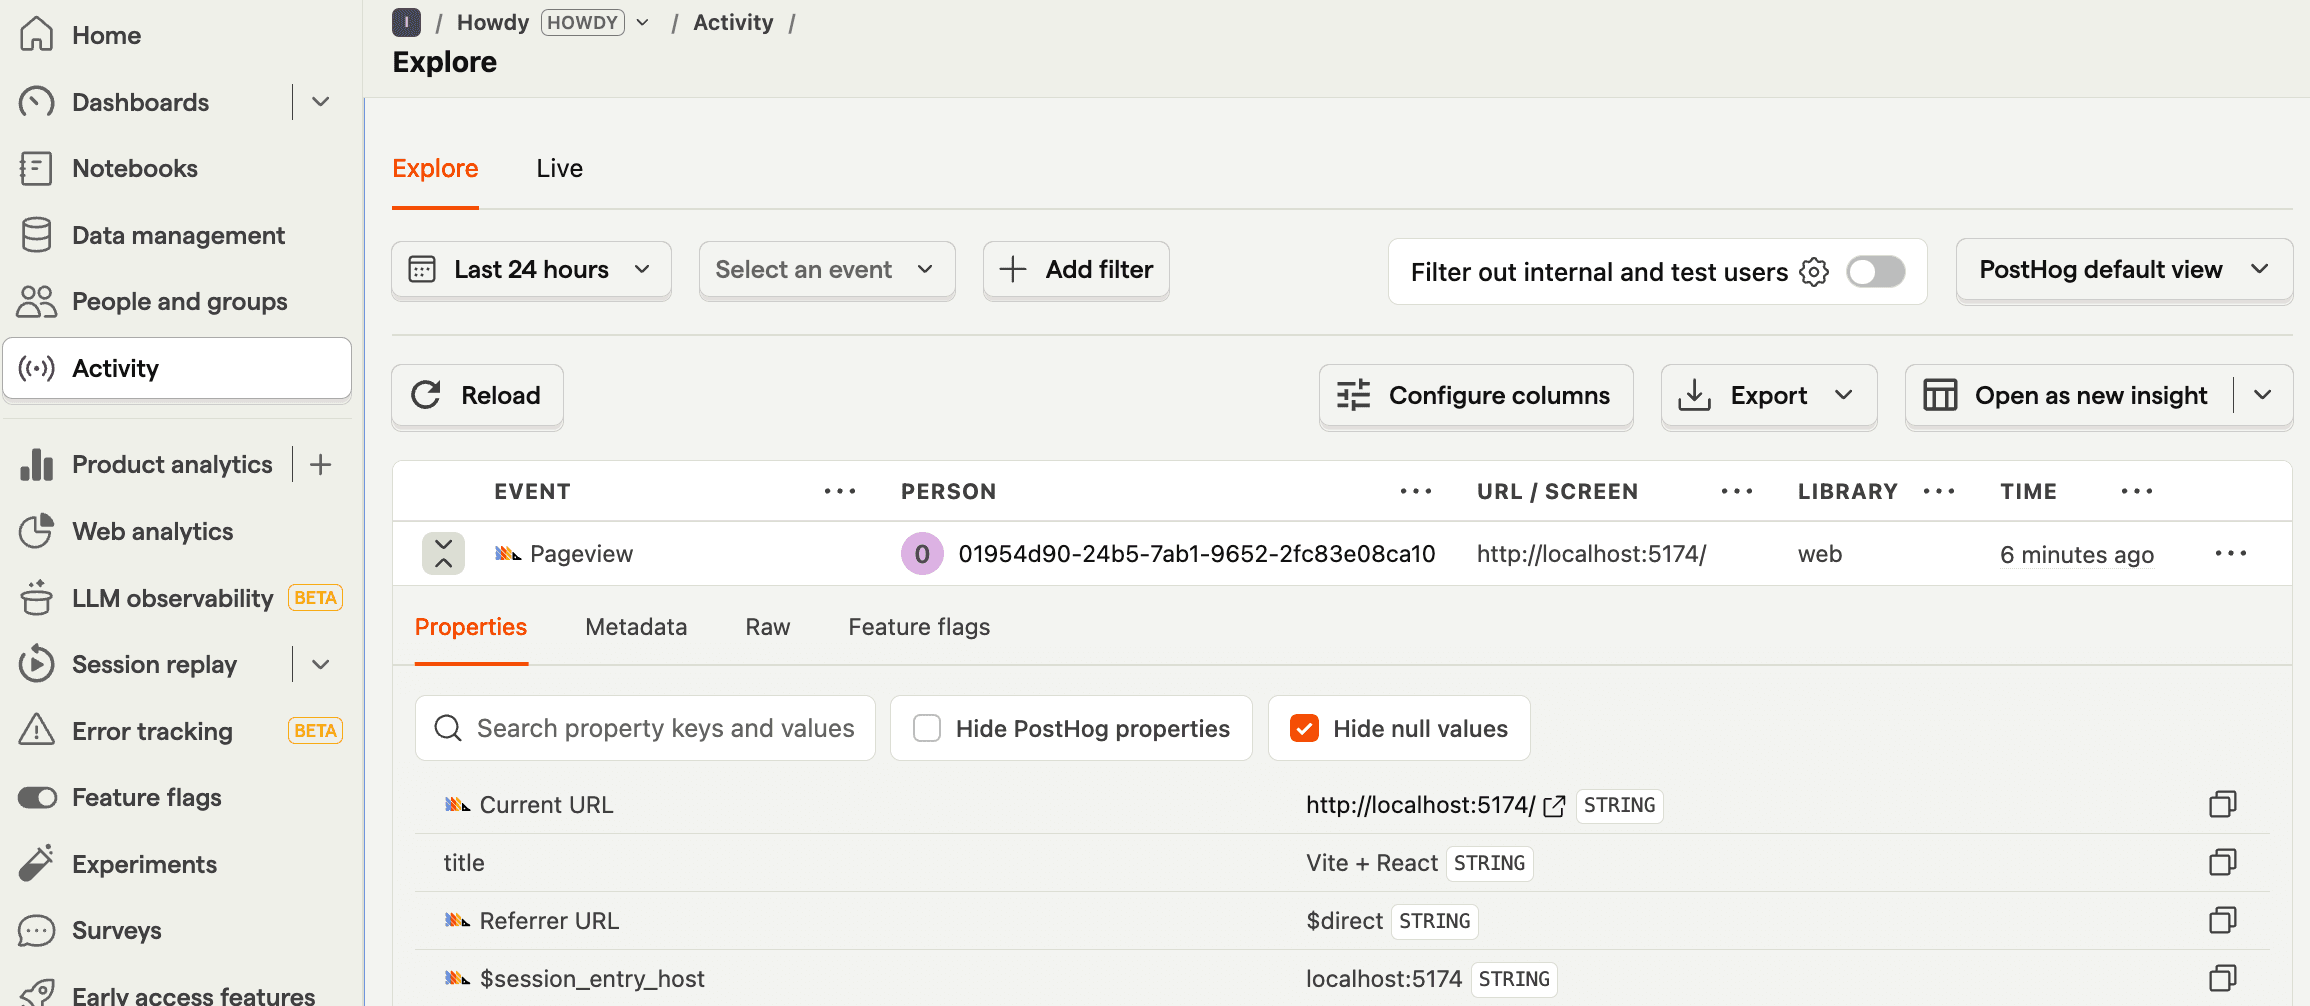
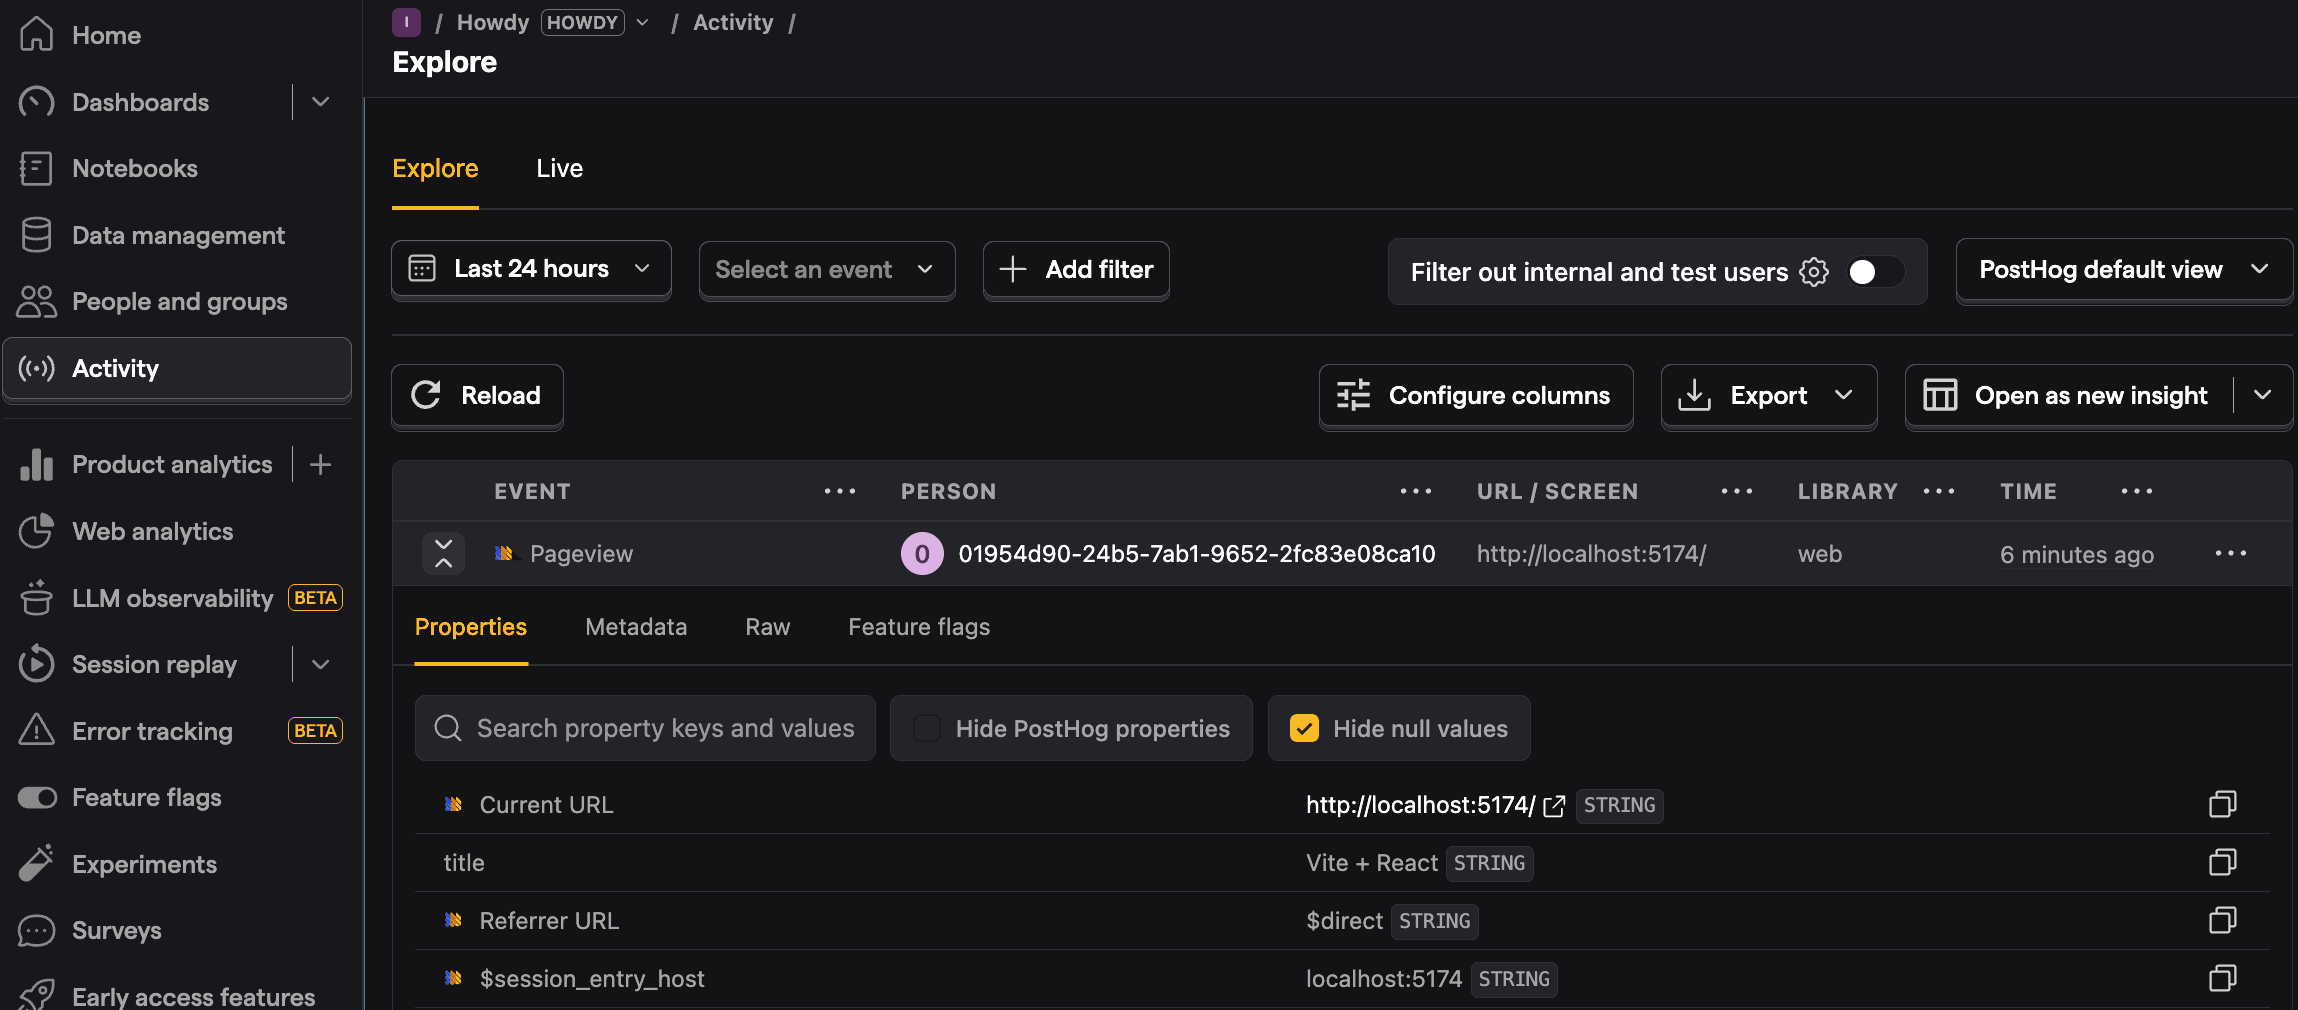
Once done, start your app again with npm run dev and you should see an event autocaptured into PostHog.
Creating a feature flag
With PostHog set up, your React app is ready for feature flags.
To create one, go to the feature flags tab in PostHog and click New feature flag. Enter a flag key (like cool-react-homepage), set the release condition to roll out to 100% of users, and press Save.
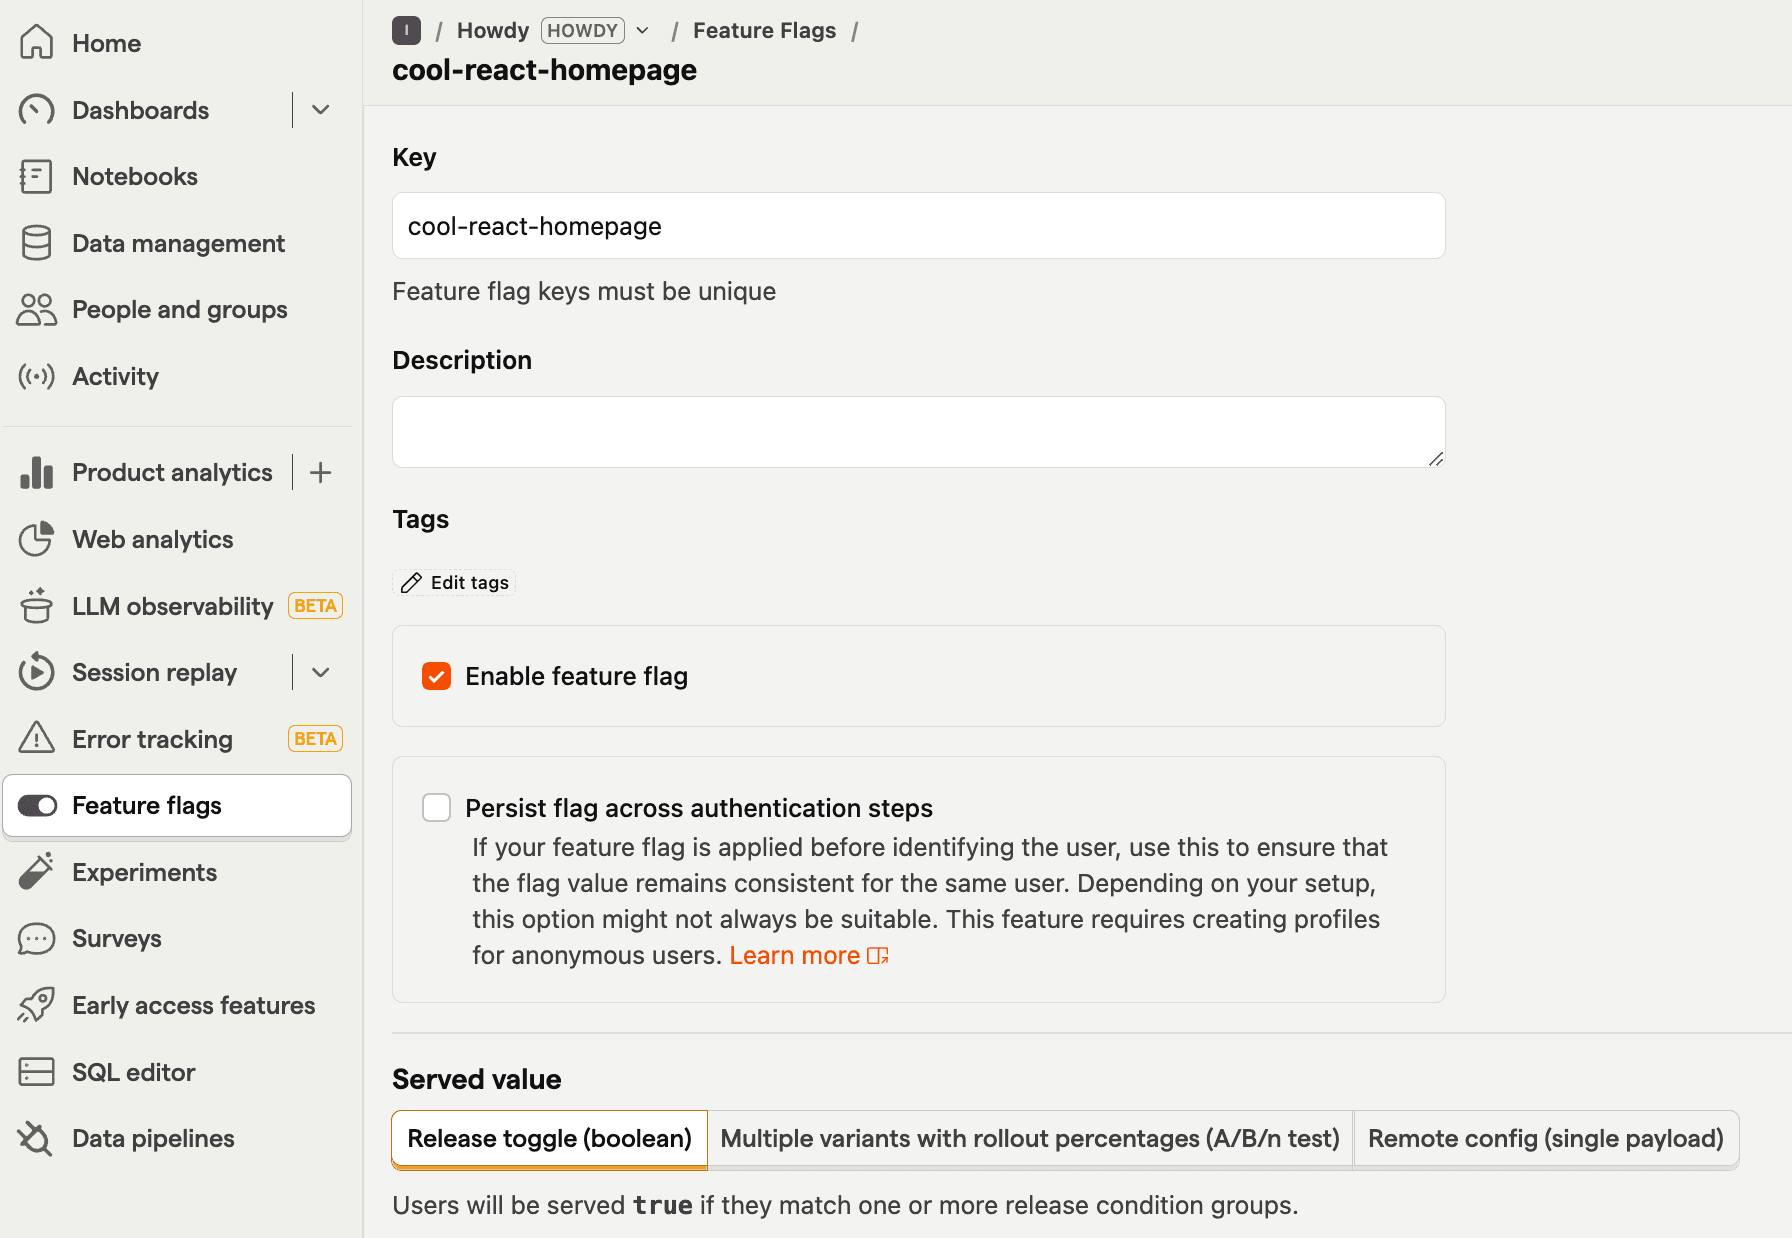
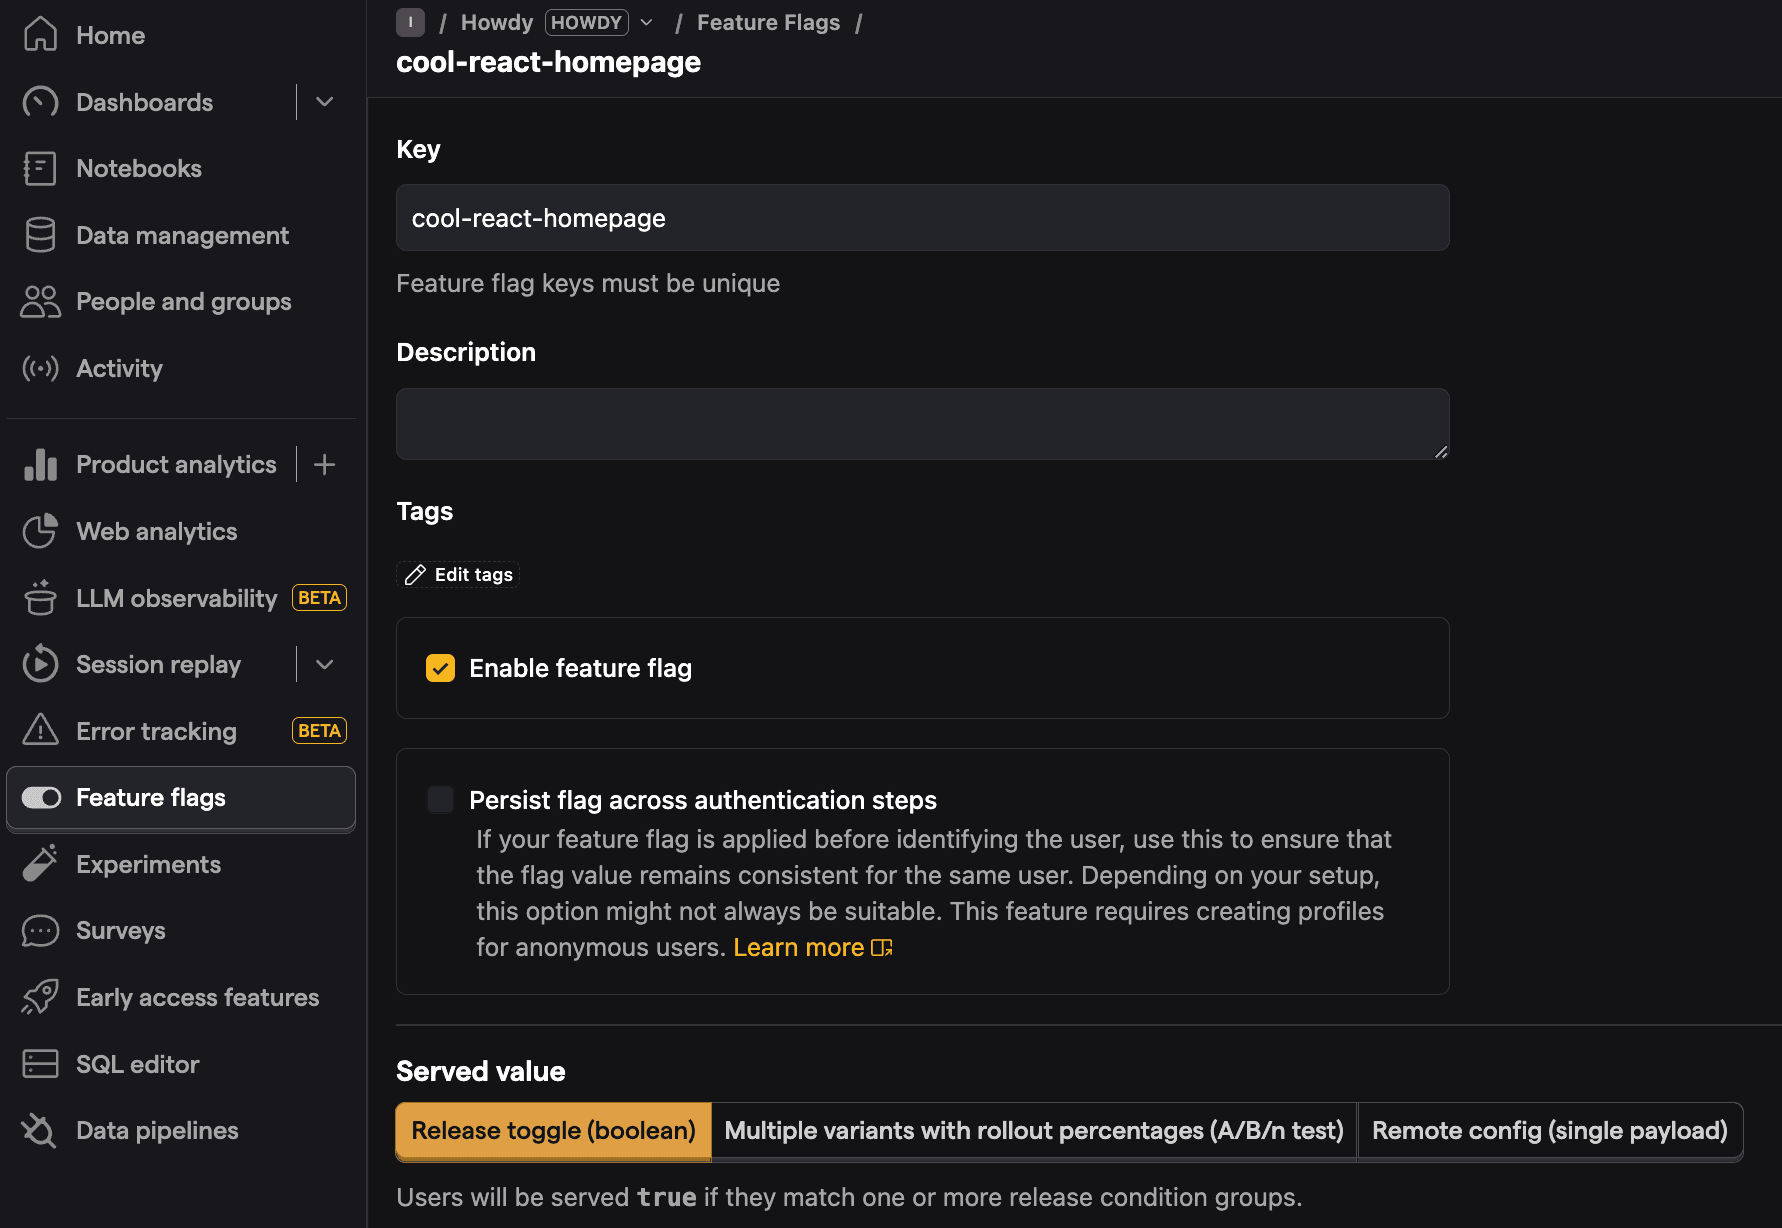
You can customize your conditions with percentage and person or group properties to fit your needs.
Adding our feature flag
Once created, we can add our feature flag to our React app. We do this using the useFeatureFlagEnabled hook to conditionally show new content in our component.
With the flag enabled, our app now shows "Welcome to my cool new React app."
Want to remove the flicker while loading? Read our tutorial on How to bootstrap feature flags in React with Vite and Express.
Using the PostHog feature component
An alternate way to implement feature flags is to use the PostHogFeature React component. This simplifies the logic of using flags as well as captures related usage automatically (such as a $feature_view event). We set the old content as the fallback for the component.
These are basic implementations of React feature flags setup. From here, you can set up A/B tests, a public beta program, or canary releases.
Further reading
- Testing frontend feature flags with React, Jest, and PostHog
- How to add popups to your React app with feature flags
- How to bootstrap feature flags in React with Vite and Express

Subscribe to our newsletter
Product for Engineers
Read by 100,000+ founders and builders
We'll share your email with Substack
PostHog is the leading platform for building self-driving products. With a full suite of developer tools – AI observability, product analytics, session replay, feature flags, experiments, error tracking, logs, and more – PostHog captures all the context agents need to diagnose problems, uncover opportunities, and ship fixes. A data warehouse and CDP tie it all together, unifying that context into one source agents can read across. You can steer it all from Slack, the web app, the desktop (PostHog Code), or your own editor via the MCP.