


How to set up Next.js analytics, feature flags, and more

Contents
Next.js is one of the most popular frameworks for building web apps. Have one and need to know what users are doing in these apps or release a feature safely? PostHog can help.
In this tutorial, we'll create a simple Next.js app and set up PostHog on the client and server side. We'll also capture pageviews and custom events, set up feature flags, and more.
If you use Next.js with the pages router, check out our other Next.js pages router analytics tutorial.
Creating a Next.js app with the app router
First, once Node is installed, create a Next.js app. Select No for TypeScript, Yes for use app router, and the defaults for every other option.
We name our app next-app and can go into the newly created folder to run it.
This opens a new page showing we are running Next.js.

Next, we'll add a couple pages to the app. In the app folder, create a new folder named about and create a page.js file inside with a basic component.
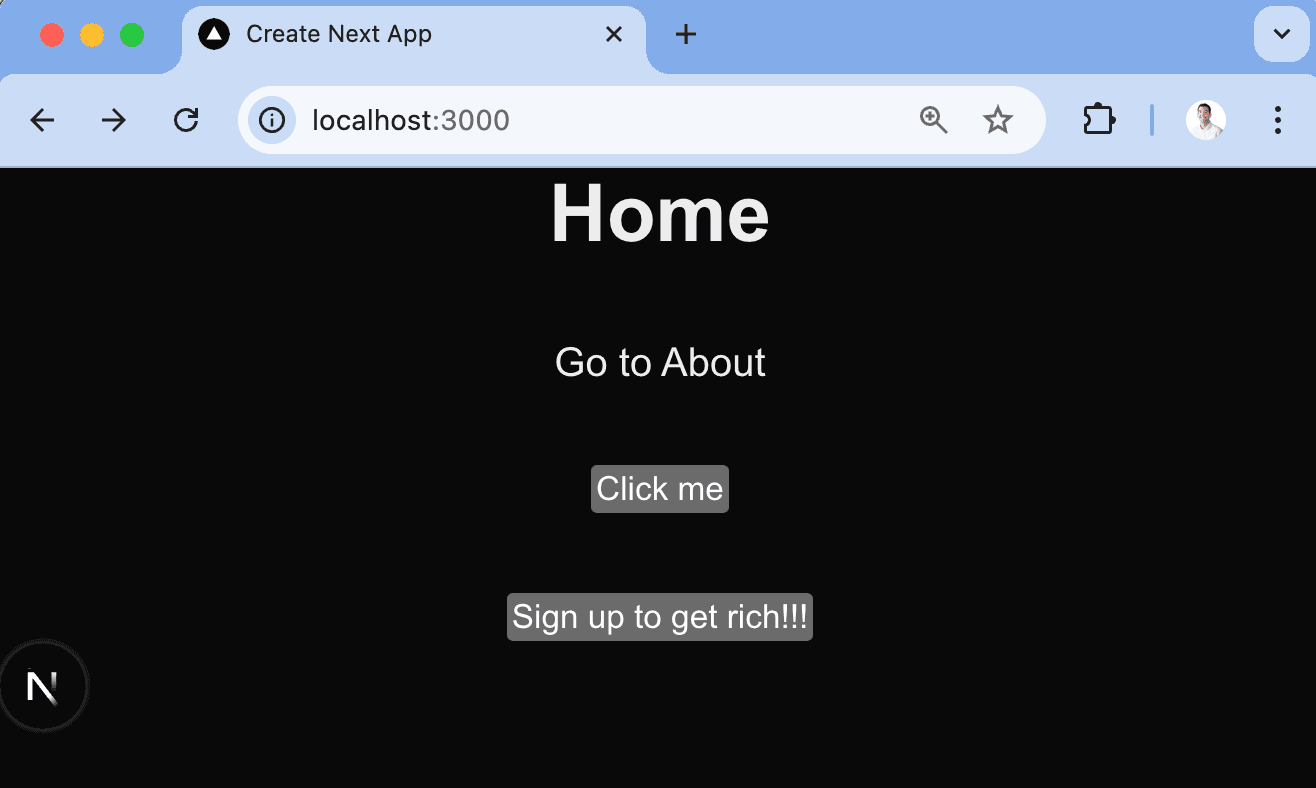
Change our app page.js file to a title and a link to the new about page.
You can now move between the home and about pages which will be useful for testing event capture next.
Setting up PostHog on the client side
First, sign up for PostHog if you haven't already (it's free).
Next, we need your project token and client API host. You can get both from your project settings. Add both of these to a .env.local file in our base directory.
We can now initialize PostHog. Next.js 15.3 added support for instrumentation-client.js|ts which we can use to initialize PostHog. Create a instrumentation-client.js file in the base directory and add the following code:
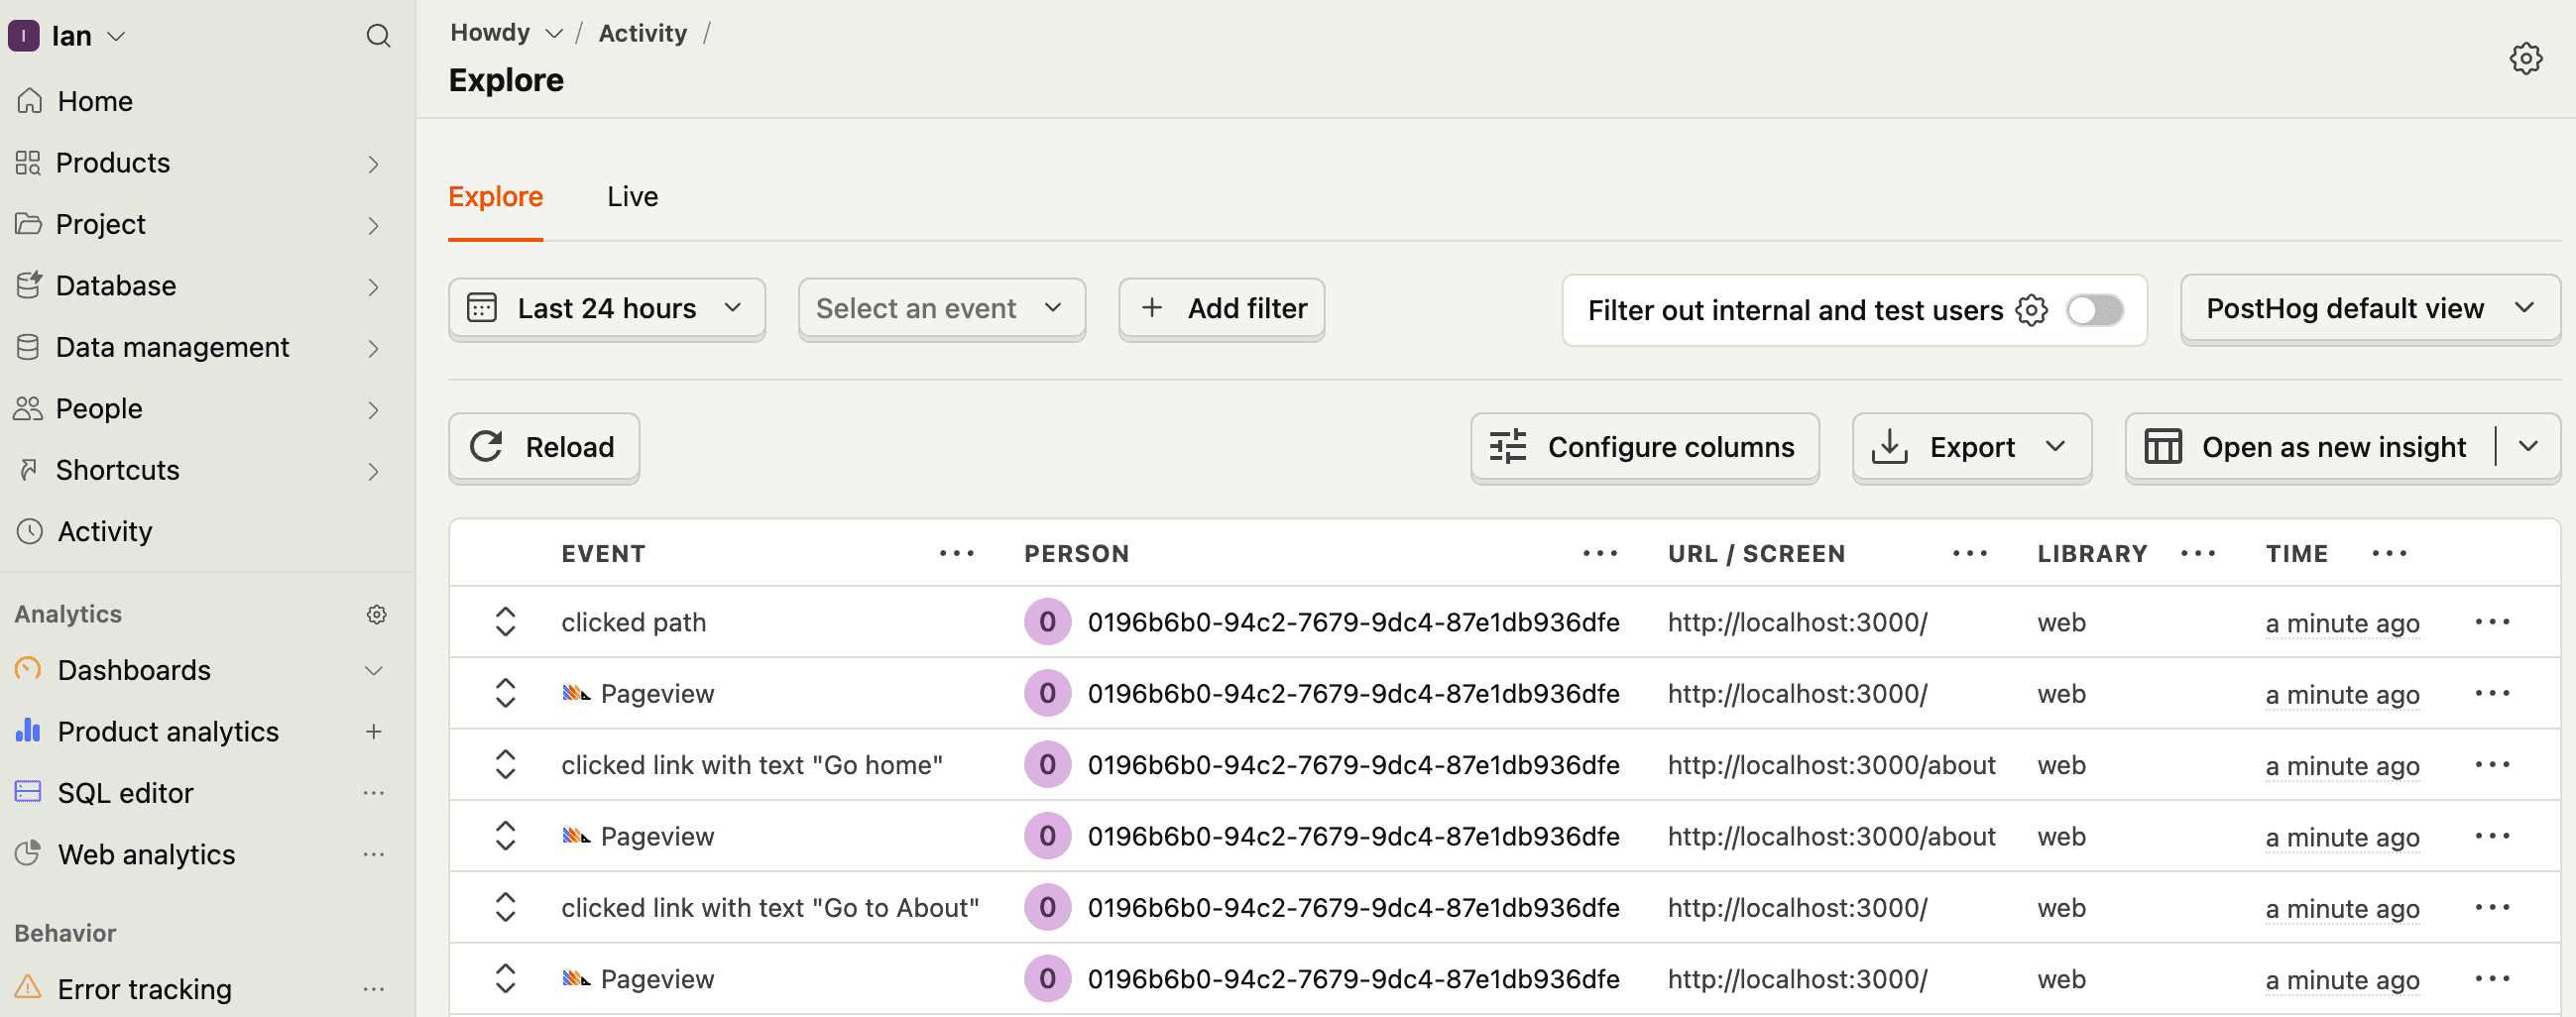
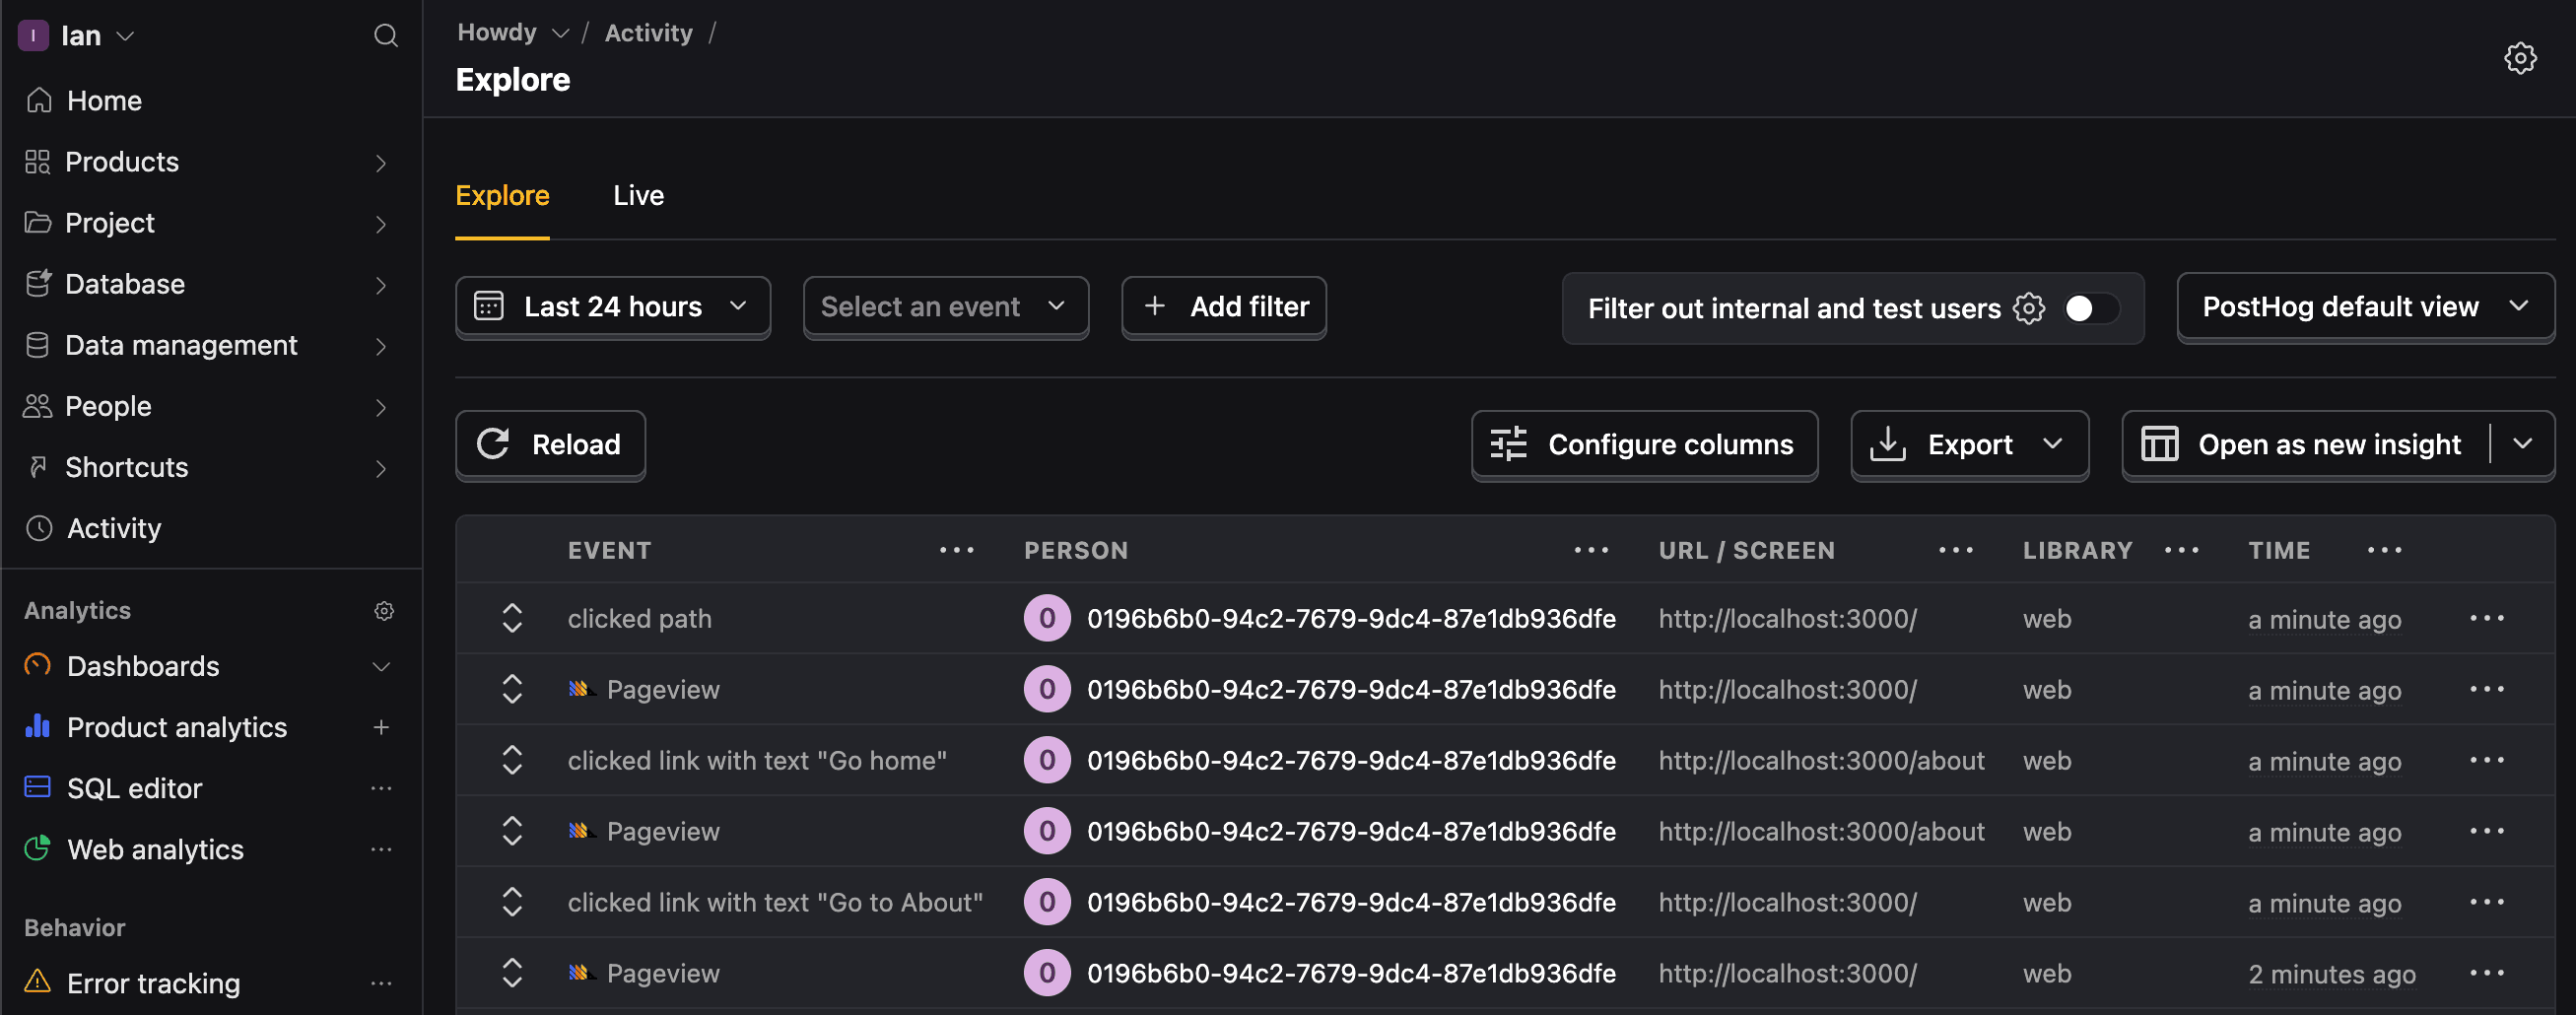
After you set this up and restart your app, PostHog starts autocapturing events and pageviews. If you have enabled session replays in your project settings, these will also be captured.
We highly recommend setting up a reverse proxy to ensure requests aren't blocked by tracking blockers. You can find instructions for doing this in our reverse proxy guide.
Capturing custom events
Initializing PostHog on the client side means you can use it in all your client-side rendered Next.js components (the ones with the "use client" directive). To show this, we can create a button that captures a custom event when clicked.
Simply, import PostHog into your page.js and call posthog.capture() when the button is clicked like this:
Setting up feature flags
You can use feature flags to control what users see in your app. For example, you can show a new feature to a subset of users and then roll it out to all users over time.
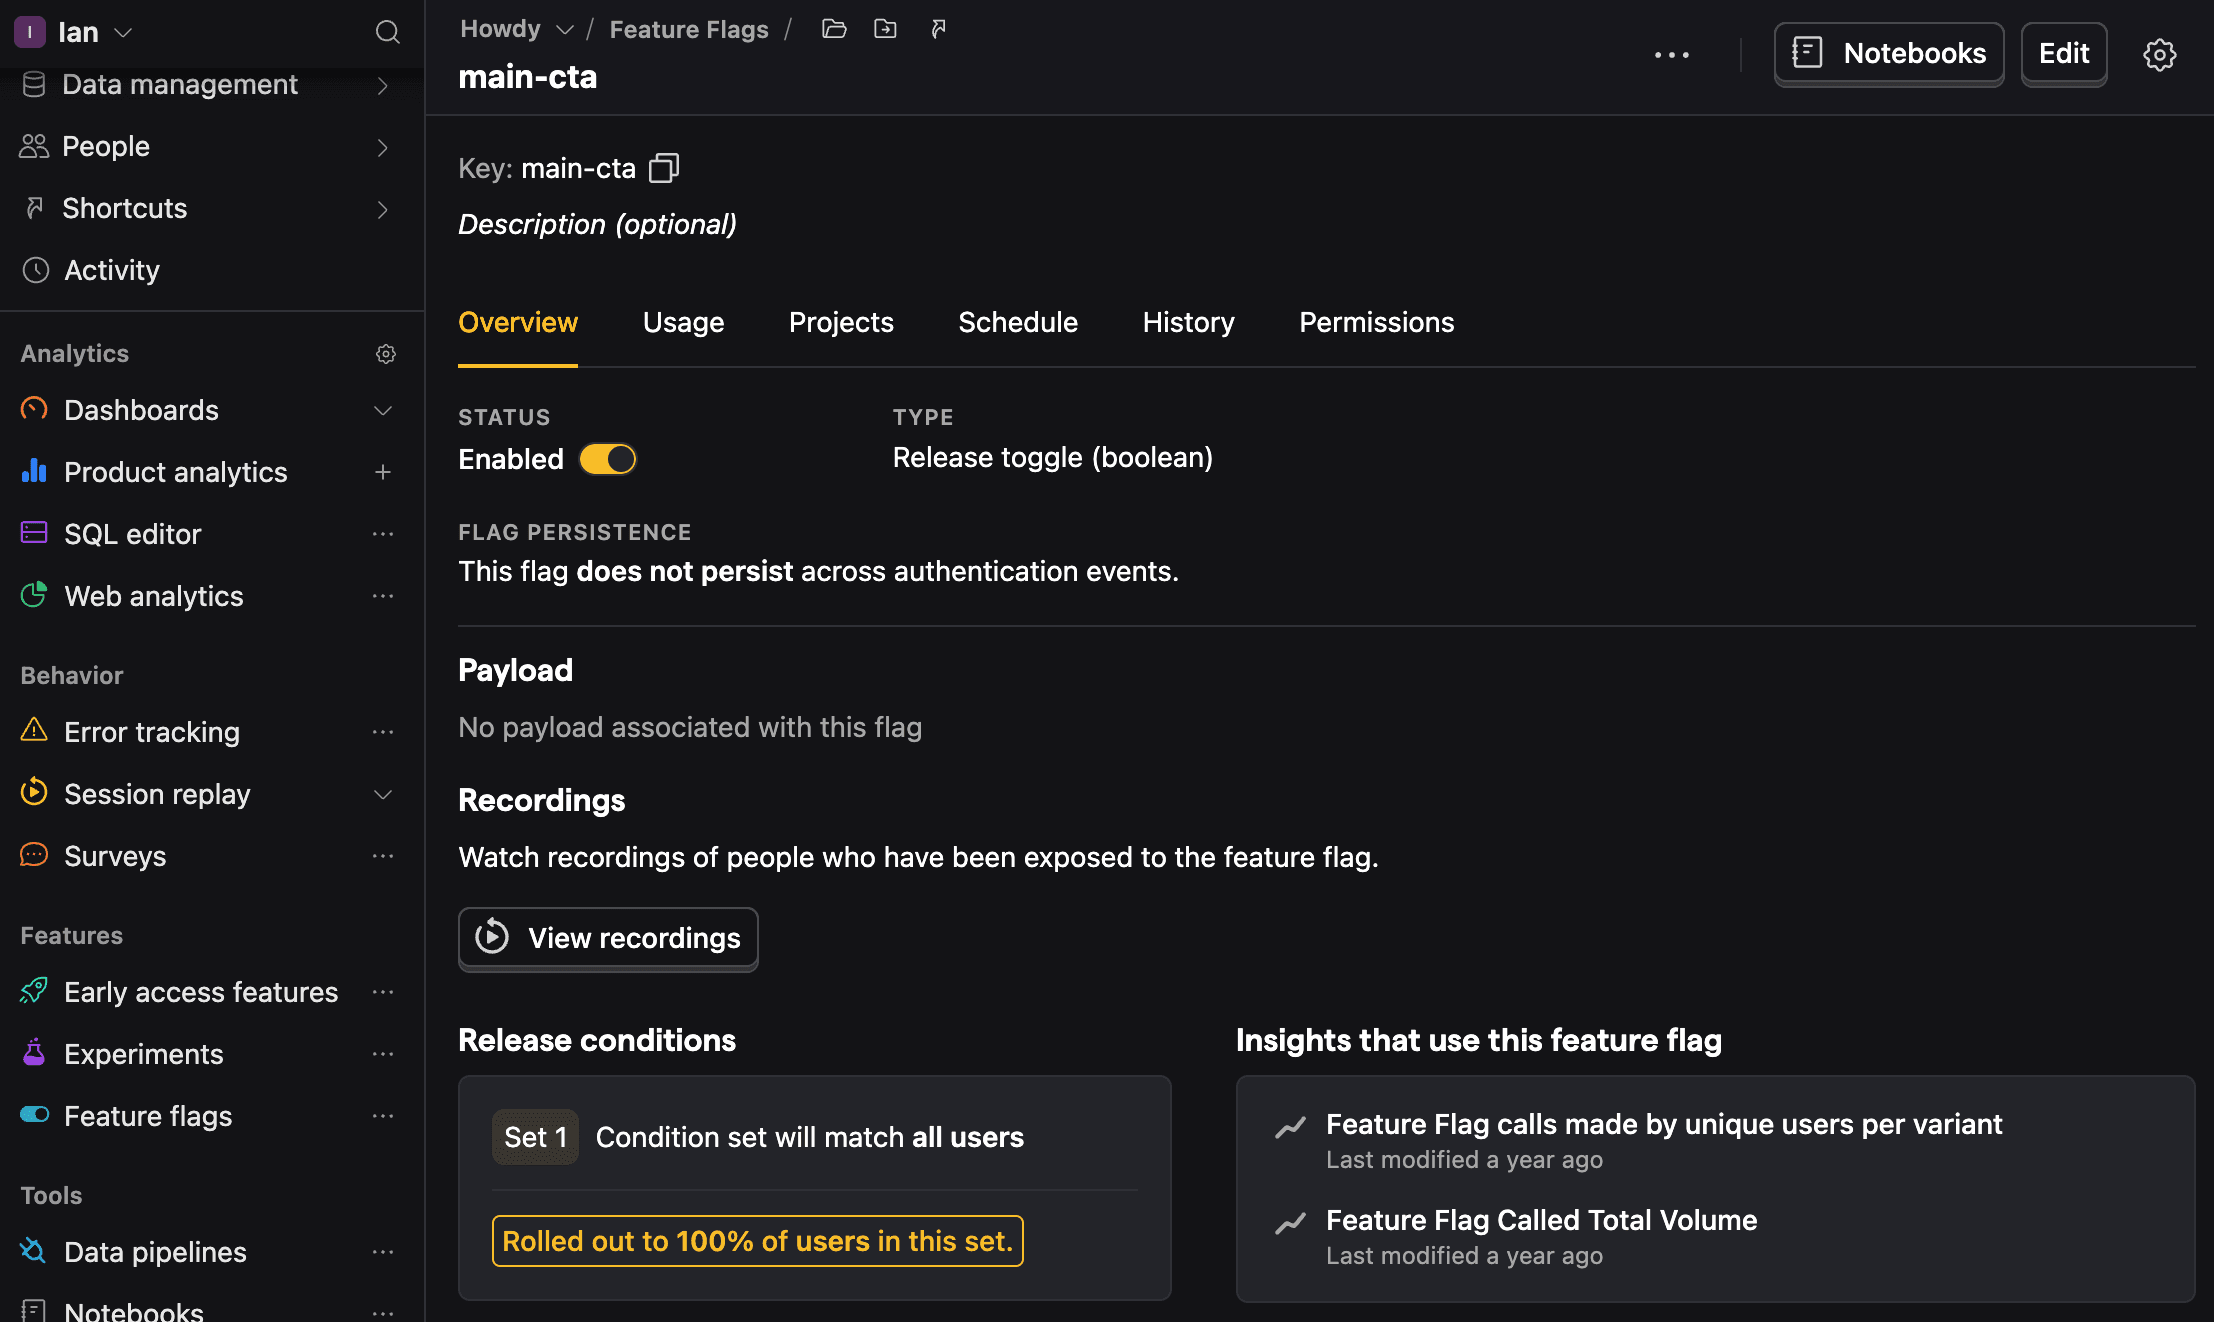
To set one up, go to the feature flags page in PostHog and create a new feature flag. Give it a key (I chose main-cta), make sure to roll it out to 100% of users, and click Save.

Next, we can add an isFeatureEnabled check to our page.js file to show a link to PostHog if the feature flag is enabled.
When you go to the home page, you should see the new button. You can also test that disabling the feature flag removes the button.
Setting up PostHog on the server side
A key part of the popularity of Next.js its is combination of client and server options. PostHog supports both, but you need to install and use the PostHog Node SDK for the server side.
To do this, start by installing the PostHog Node SDK.
Next, create a posthog.js file in the app folder that returns a PostHog Node client:
This can then be used in API routes and server-rendered components.
Using PostHog in API routes
To show you how to add PostHog to Next.js API routes do this, we can create a simple API route that captures a custom event.
Start by creating a new api folder in the app folder, a hello folder inside it, and then a route.js file inside that. In it, import the PostHogClient from the posthog.js file, set up some code to get the distinct_id from the request cookies, and call posthog.capture() like this:
Now when you go (or make a request) to http://localhost:3000/api/hello, you should see the event captured in PostHog.
Note: The
distinct_idis a unique identifier for a user. We use the one from the cookie with a placeholder for now, but recommend using one from your database or authentication system.
Setting up feature flags in API routes
Feature flags are similar for API routes. Just call posthog.isFeatureEnabled() with the flag key and a distinct ID like this:
With this, you have the basics of PostHog set up on both the client and server side with Next.js and the app router.
Further reading
- How to set up Next.js pages router analytics, feature flags, and more
- How to set up Next.js A/B tests
- An introductory guide to identifying users in PostHog

Subscribe to our newsletter
Product for Engineers
Read by 100,000+ founders and builders
We'll share your email with Substack
PostHog is an all-in-one developer platform for building successful products. We provide product analytics, web analytics, session replay, error tracking, feature flags, experiments, surveys, AI Observability, logs, workflows, endpoints, data warehouse, CDP, and an AI product assistant to help debug your code, ship features faster, and keep all your usage and customer data in one stack.