


How to capture events from Calendly webhooks

Contents
Webhooks enable you to send data from one platform to another when an event happens. This enables you to run workflows and code to handle those events.
To showcase the power of webhooks, we are going to capture Calendly meeting data into PostHog using Val Town, a platform for writing and running JavaScript functions in your browser.
Note: Calendly webhooks requires subscribing their professional plan.
Set up your Val Town webhook handler
Before we set anything up in Calendly, we set up our webhook handler function in Val Town. This function receives a request from Calendly, parses the JSON, gets the data we want, and then captures an event into PostHog.
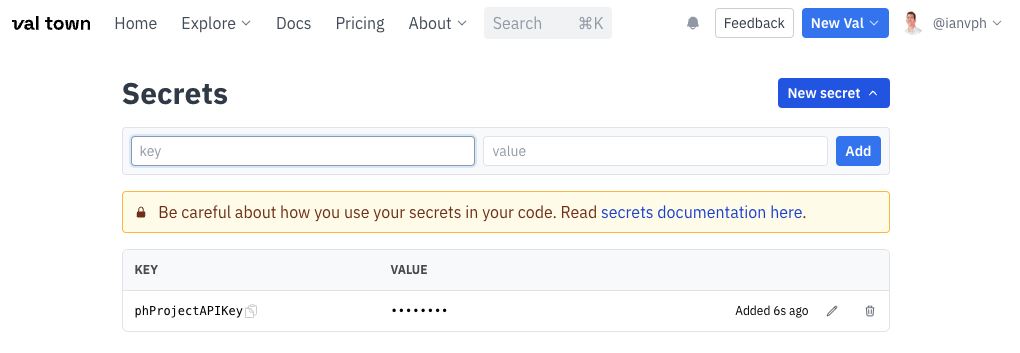
To get started, we'll create a secret in Val Town with your PostHog token.
You can get your project token from your project settings. Next, go to the secrets page in Val Town, set the key as phProjectAPIKey, the value as your token from PostHog, and click "Add." This saves the value for us to reference as @me.secrets.phProjectAPIKey later.
Next, we create our function to capture a Calendly webhook. In it, we parse the JSON and modify the data then call the capturePostHogEvent function which looks like this:
Altogether, the webhook handler function looks like this:
Note: You can use this function by forking it and customizing it to your needs.
Once, done click "Save," set as unlisted, click the three dots, hover the "endpoints" options, and click "copy web endpoint." This is the URL we use for our Calendly webhook trigger. It is in the format https://{username}-{valname}.web.val.run.
Setting up your Calendly webhook
Once you upgrade your Calendly account to "Professional," you can create a webhook using their API.
To start, you need a personal access token which you can create on the API webhooks integration page.

Next, use your access token to get your organization (current_organization key) and user (uri key) values. They are URLs starting with https://api.calendly.com/. You can do this on their API page or in a cURL request like this:
With these values, we can make another API request with our Val Town web URL, organization, and user values to create a webhook subscription. Again, you can do this on their API page or in a cURL request like this:
Once done, create a test event using your booking URL. You should see it trigger your webhook handler in Val Town and then create an event in your PostHog account.
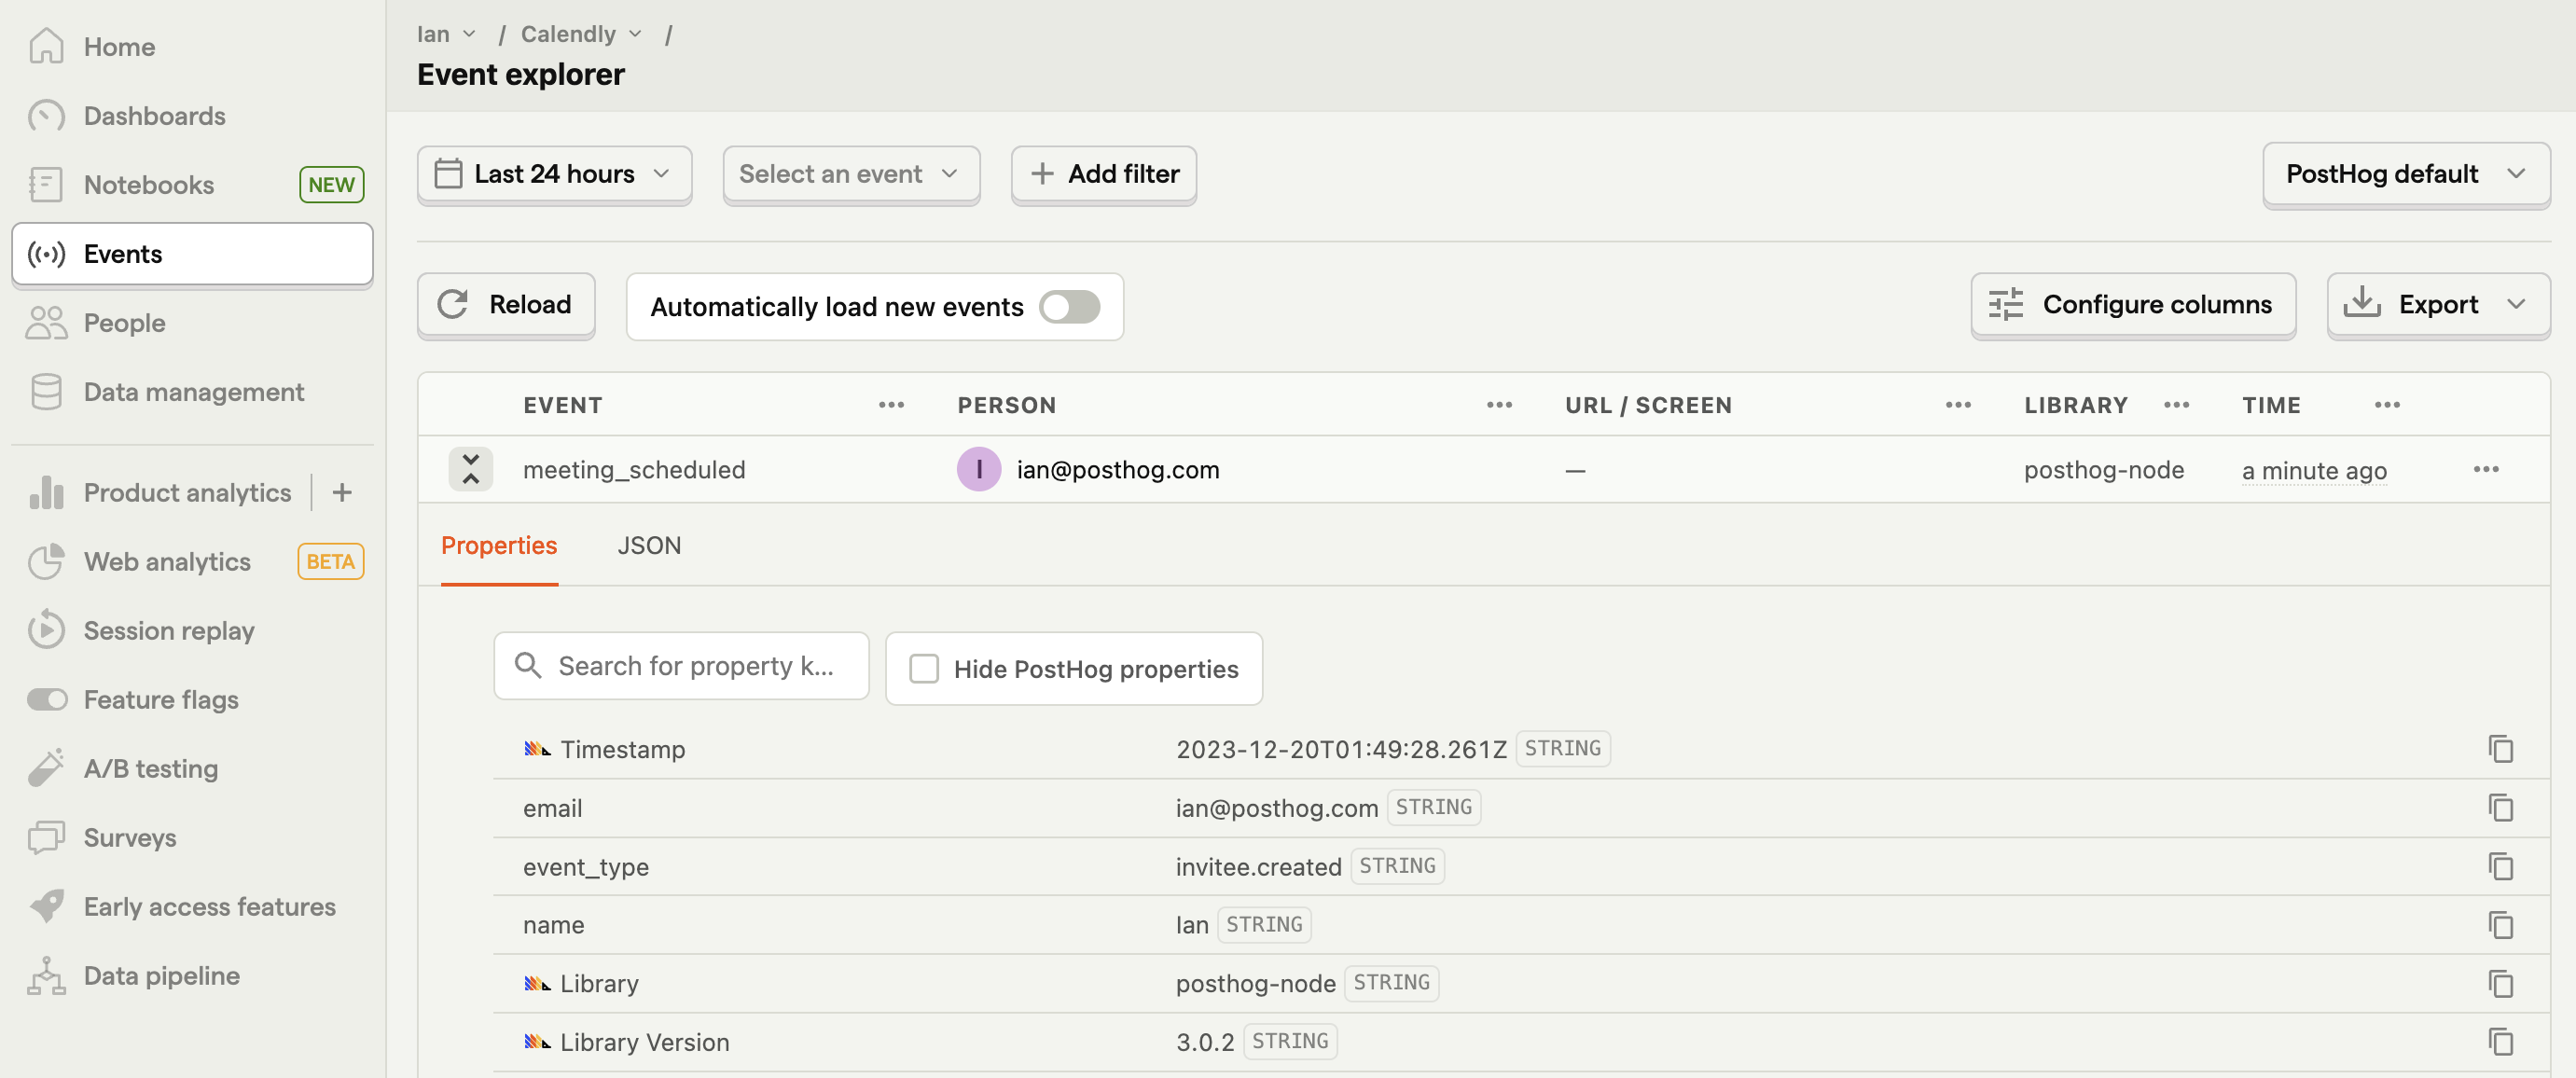
Now, every time someone creates (or cancels) a meeting using Calendly, you capture an event with details for your PostHog instance. You can use this event in your insights like signup funnels. You can also use a similar setup for other webhooks you want to capture into PostHog.
Further reading
- How to capture new RSS items in PostHog (releases, blogs, status)
- How to use session replays to improve your support experience
- How to track GitHub stars in PostHog

Subscribe to our newsletter
Product for Engineers
Read by 100,000+ founders and builders
We'll share your email with Substack
PostHog is an all-in-one developer platform for building successful products. We provide product analytics, web analytics, session replay, error tracking, feature flags, experiments, surveys, AI Observability, logs, workflows, endpoints, data warehouse, CDP, and an AI product assistant to help debug your code, ship features faster, and keep all your usage and customer data in one stack.