


How to set up Angular analytics, feature flags, and more

Contents
Angular is one of the original JavaScript web app frameworks and remains a popular choice for building them. To make your Angular app as good as possible, you need tools like analytics, session replay, and feature flags. PostHog provides these tools and is easy to set up in Angular.
This tutorial shows you how to set up the tools PostHog provides by creating a basic Angular app, adding PostHog, and then using it to capture events and manage feature flags.
Note: This tutorial uses Angular v16. To learn how to set up PostHog for v18, see our Angular docs.
Creating our Angular app
Angular has a powerful CLI we rely on for this tutorial. Install it by running npm install -g @angular/cli in your terminal.
Once installed, create a new Angular app (with routing) and go into its folder.
Adding pages
To show the basics of PostHog, we create a simple app—just two pages and a link to move between them.
To start with creating this app, first, generate home and about components using the Angular CLI.
This creates new folders in src/app for each of them. Next, set up both these pages with a title and a link. First, edit src/app/home/home.component.html for the home page component:
Next, edit src/app/about/about.component.html for the about page component:
In src/app/app-routing.module.ts, import and add these pages as routes:
Remove the placeholder code from app.component.html, leaving us with only the router outlet.
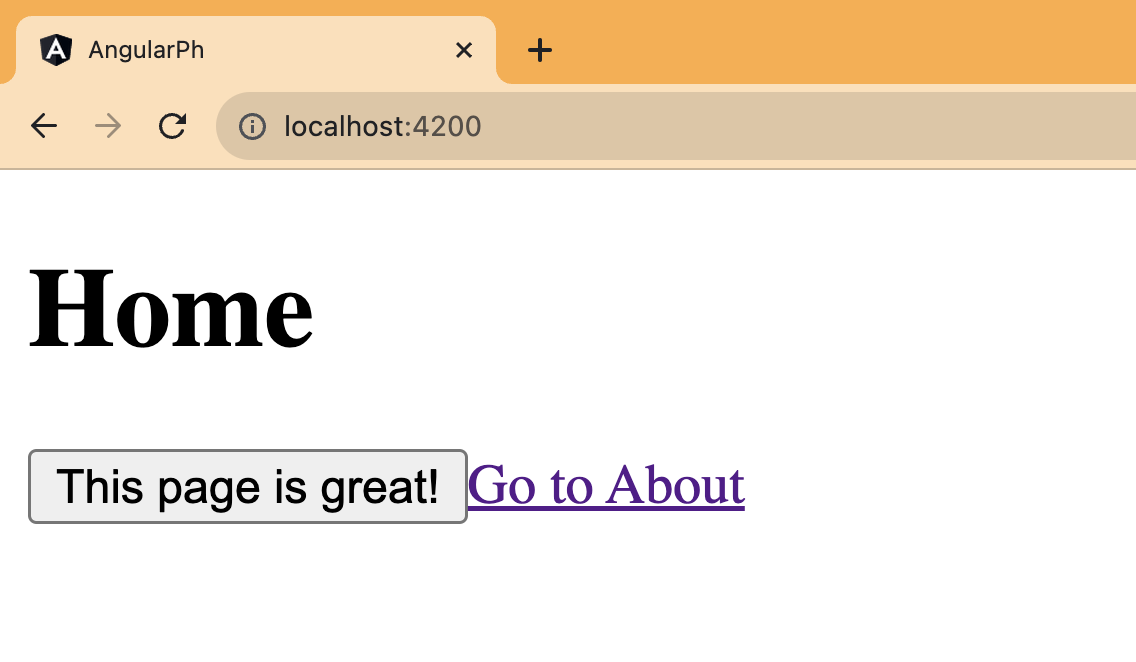
Now, we can run ng serve in our terminal and go to http://localhost:4200/ to see our basic app.
Installing PostHog
With our app set up, it’s time to install and set up PostHog. To start, install the JavaScript Web SDK:
To preemptively fix a TypeScript compilation error, we need to install some rrweb types and then clear the npm cache.
Next, in main.ts, initialize PostHog using your project token and instance address. You can get both in your project settings.
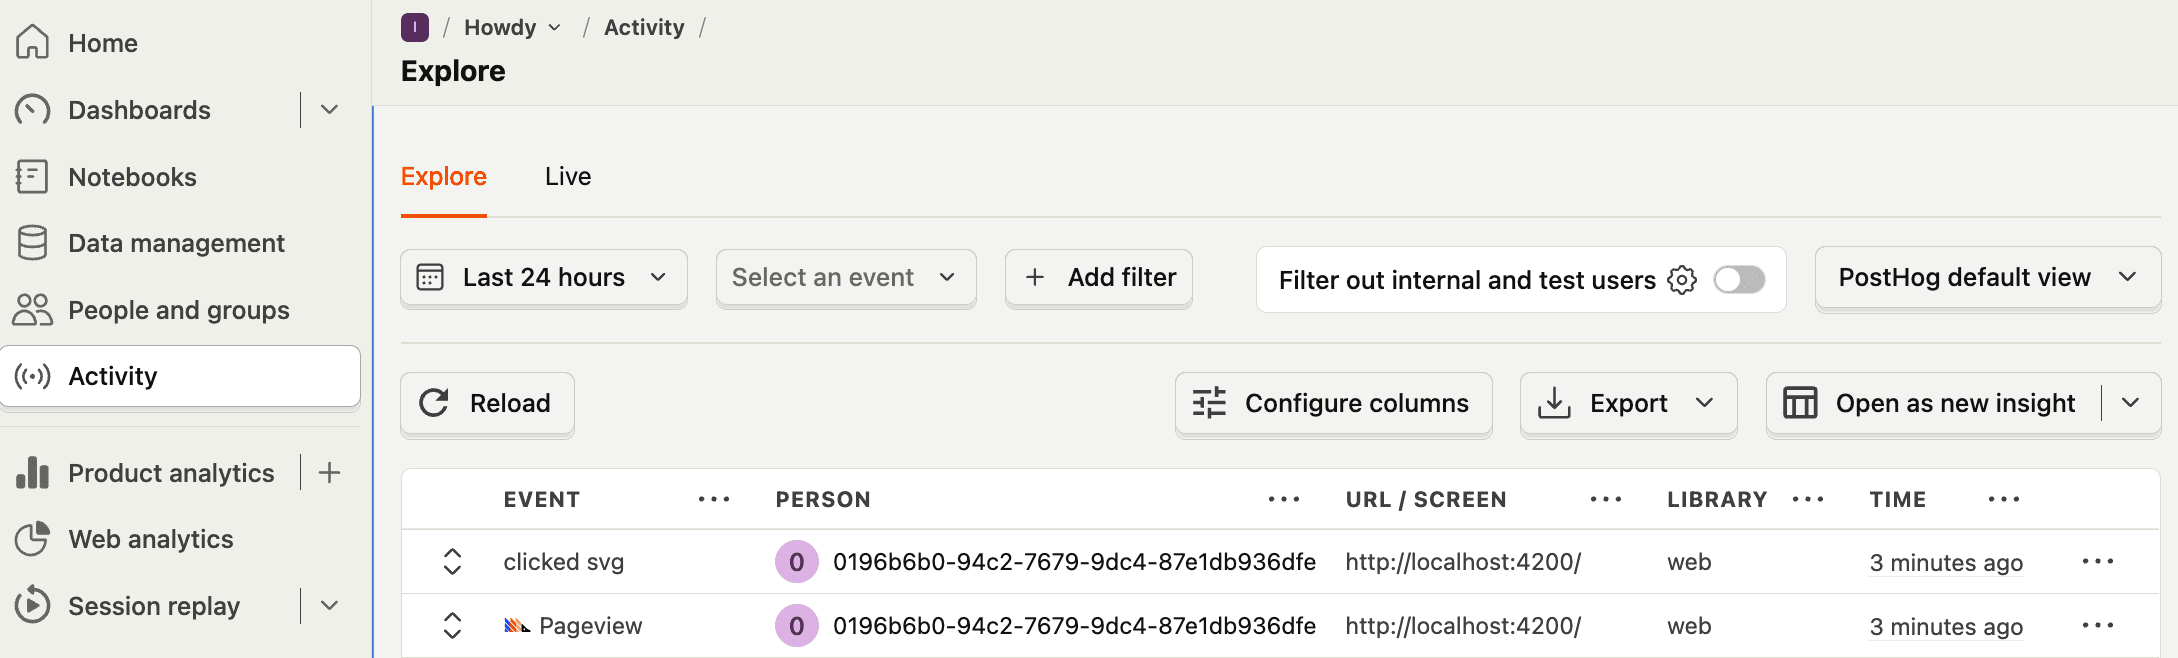
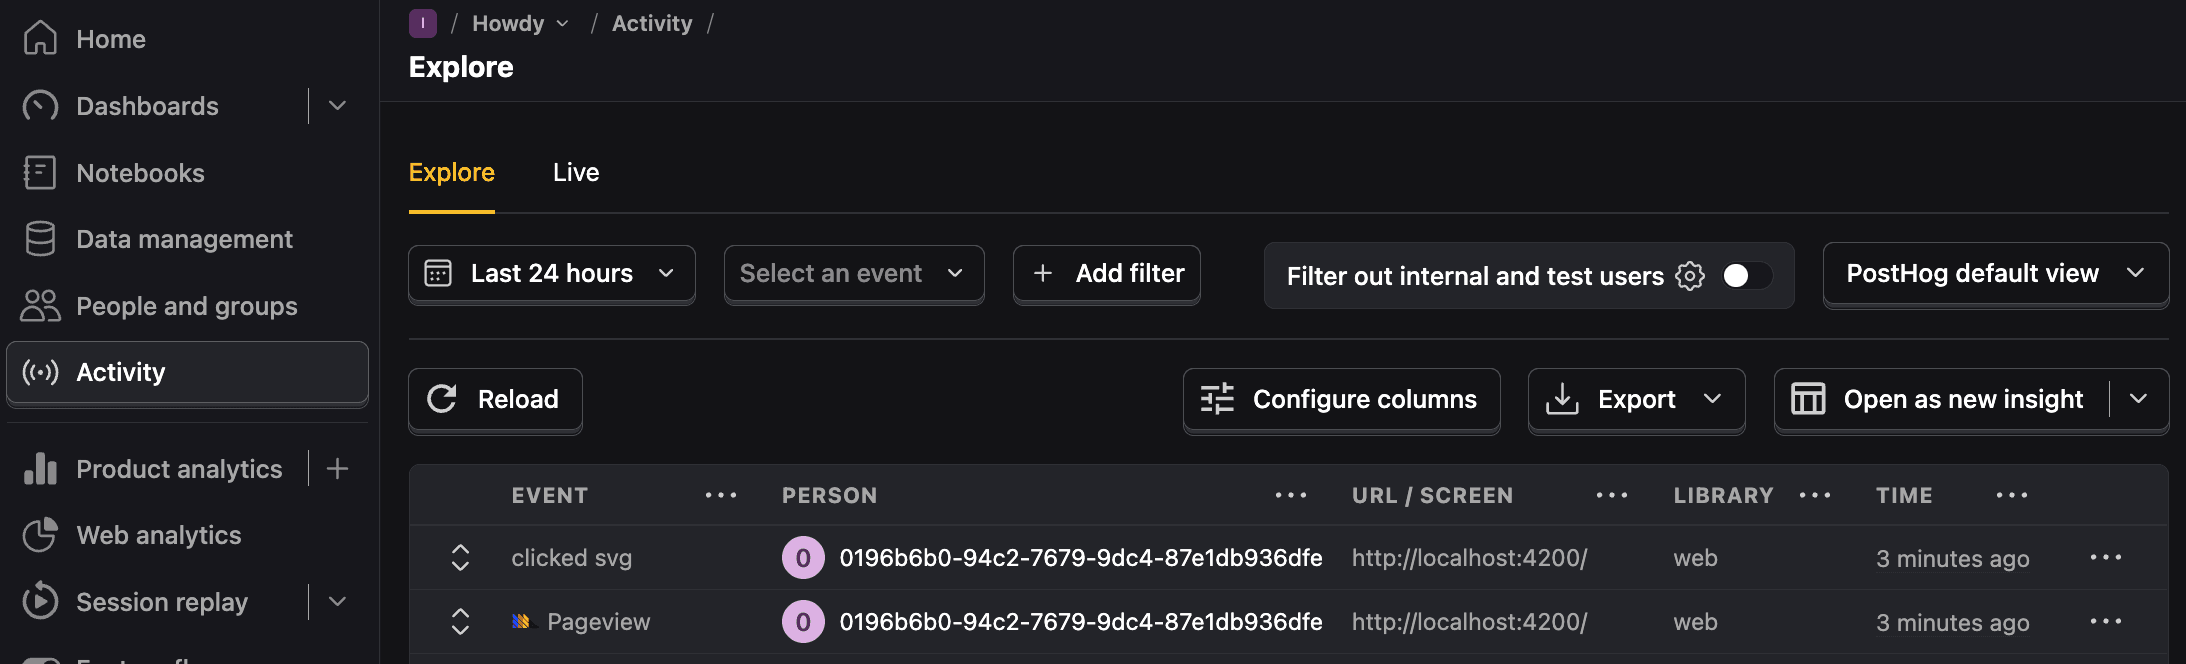
Once set up, go back to your app, refresh, and PostHog begins autocapturing events. This includes button clicks, pageviews, pageleaves, and more. It also starts recording sessions if you enable those in your project settings.
Capturing custom events
Beyond pageviews, there might be more events you want to capture. To do this, you can capture custom events with PostHog.
To showcase this, add a button to the home component that captures a home_button_clicked event in PostHog. To do this, go to your home.component.html and add the button with a click handler.
Afterwards, in home.component.ts, import PostHog and add the onClick() function with the posthog.capture call. Also, you can include a button_name property in the capture and use it for filtering later.
When users click this button, PostHog captures a custom home_button_clicked event.
Setting up and using feature flags
PostHog enables you to use feature flags to control the release of features and code. We can use one to control the text on our button.
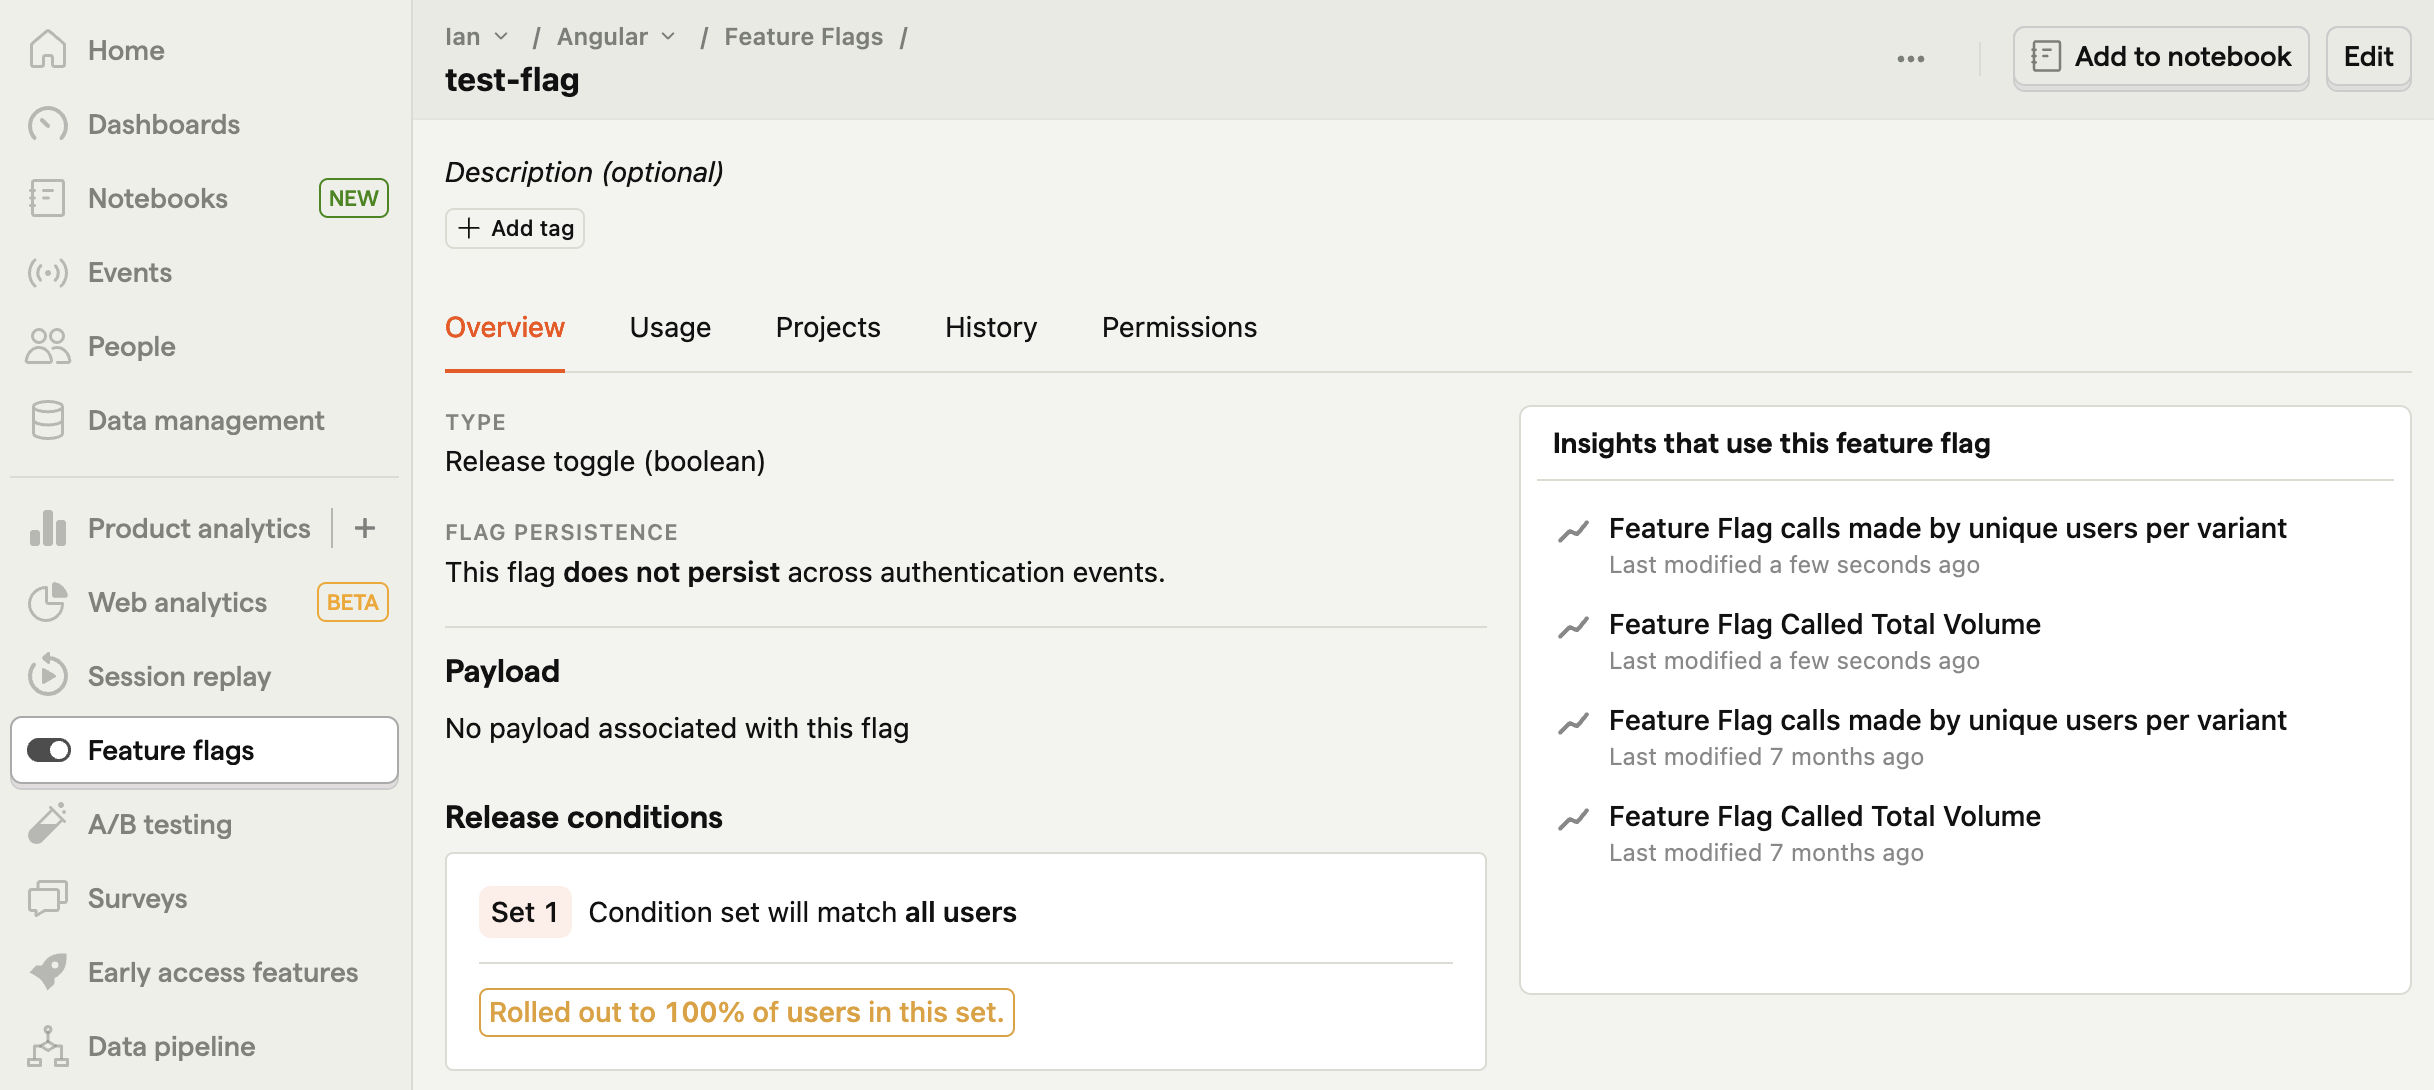
To start, go to the feature flags tab in PostHog and click "New feature flag." Name your key (like test-flag) and set the release conditions to 100% of users. Fill in any other details as you like, and then press "Save."
To implement the flag in our app, we must make the following changes the home.component.ts file:
Set up a change detector service by importing
ChangeDetectorRefand using aconstructorto initialize it.Add a
buttonTextstate variable in ourHomeComponentclass.Use the
ngOnInit()lifecycle hook to wait for flags to load withposthog.onFeatureFlagsthen check our flag withposthog.isFeatureEnabled('test-flag').Check the flag value, update the
buttonTextstate, and use thechangeDetectorto update the template accordingly.
Altogether, this looks like this:
Lastly, update home.component.html to use the buttonText state variable.
Now when you go to your app, a PostHog feature flag controls the button text.
Note: If you want to remove the "flickering" of the button value on the first load, you can bootstrap the flag values.
Further reading

Subscribe to our newsletter
Product for Engineers
Read by 100,000+ founders and builders
We'll share your email with Substack
PostHog is the leading platform for building self-driving products. With a full suite of developer tools – AI observability, product analytics, session replay, feature flags, experiments, error tracking, logs, and more – PostHog captures all the context agents need to diagnose problems, uncover opportunities, and ship fixes. A data warehouse and CDP tie it all together, unifying that context into one source agents can read across. You can steer it all from Slack, the web app, the desktop (PostHog Code), or your own editor via the MCP.