


How to do redirect testing

Contents
Redirect testing is a way to A/B test web pages by redirecting users to one or the other.
To show you how to do a redirect test with PostHog, we set up a two-page Next.js app, create an A/B test in PostHog, and then implement it in our app using middleware and feature flags.
Note: Although we are using Next.js in this tutorial, this method works with any framework where you can do server-side redirects.
Creating our Next.js app and adding PostHog
To start, we create our Next.js app. Run the command below, select No for TypeScript, Yes to use the App Router, and the default for all the other options.
Setting up PostHog
Next, we set up PostHog. Start by going into your new redirect-test folder and installing it.
Next, in the redirect-test/app folder, create a providers.js file and set up a component that returns an initialized PostHogProvider. You can get the project token and instance address you need for initialization from your project settings.
Import the PHProvider component into layout.js and wrap your app in it.
Once set up, PostHog autocaptures usage and you can use all its tools throughout your app.
Adding test pages
In the app folder, create two new folders named control and test. In each of them, create a basic page.js file with a button to capture an event. This is what the control page looks like:
This is what the test page looks like:
Now run npm run dev. Go to each of our pages to see that they work: http://localhost:3000/control and http://localhost:3000/test.
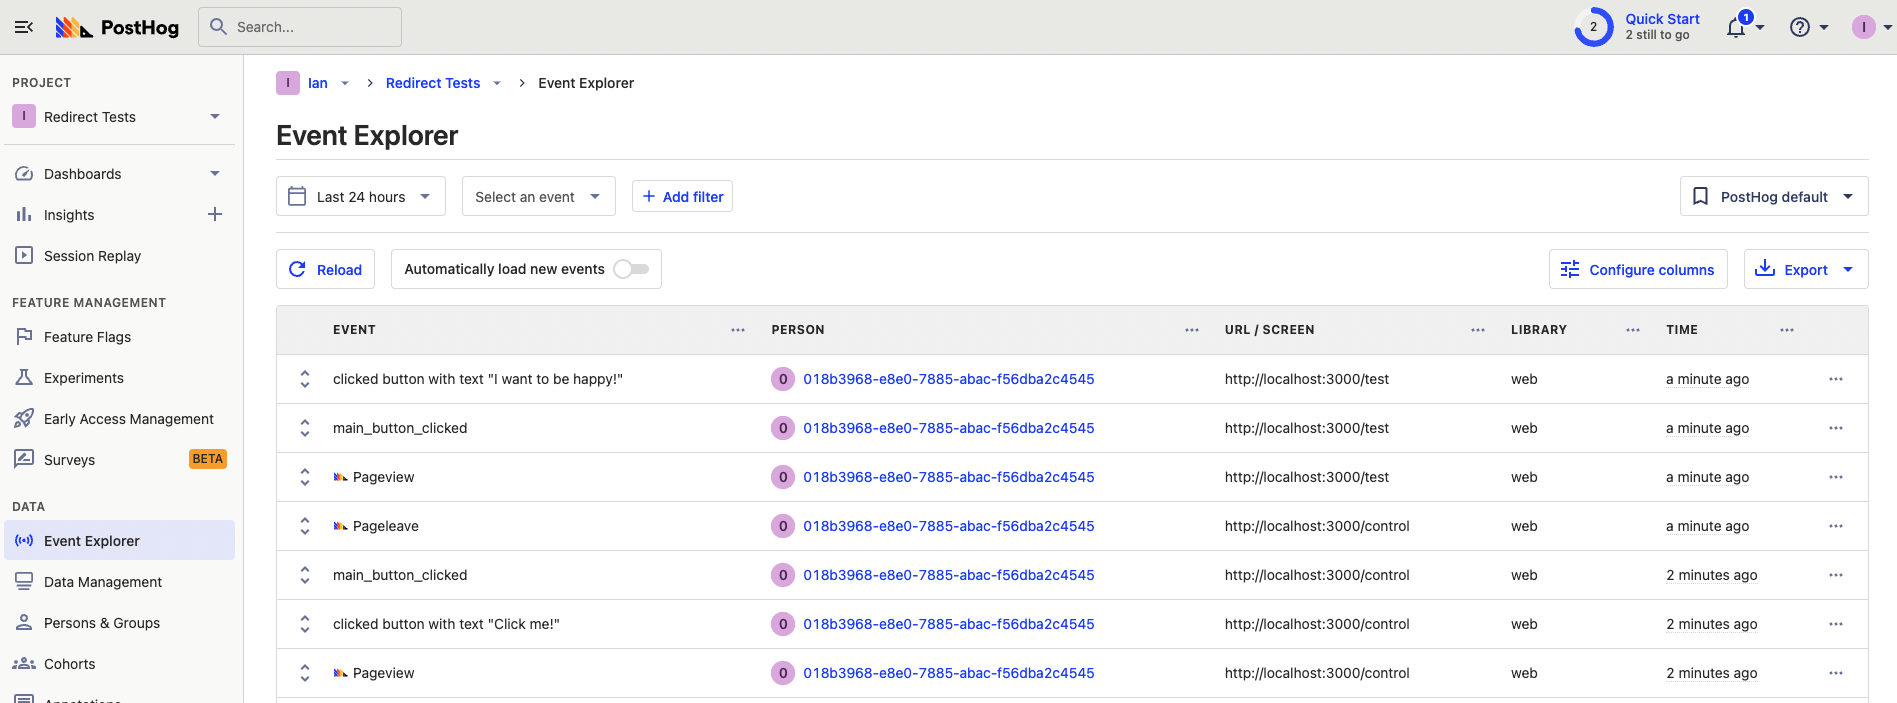
Click the button on each page to capture a custom event in PostHog.
Creating our A/B test
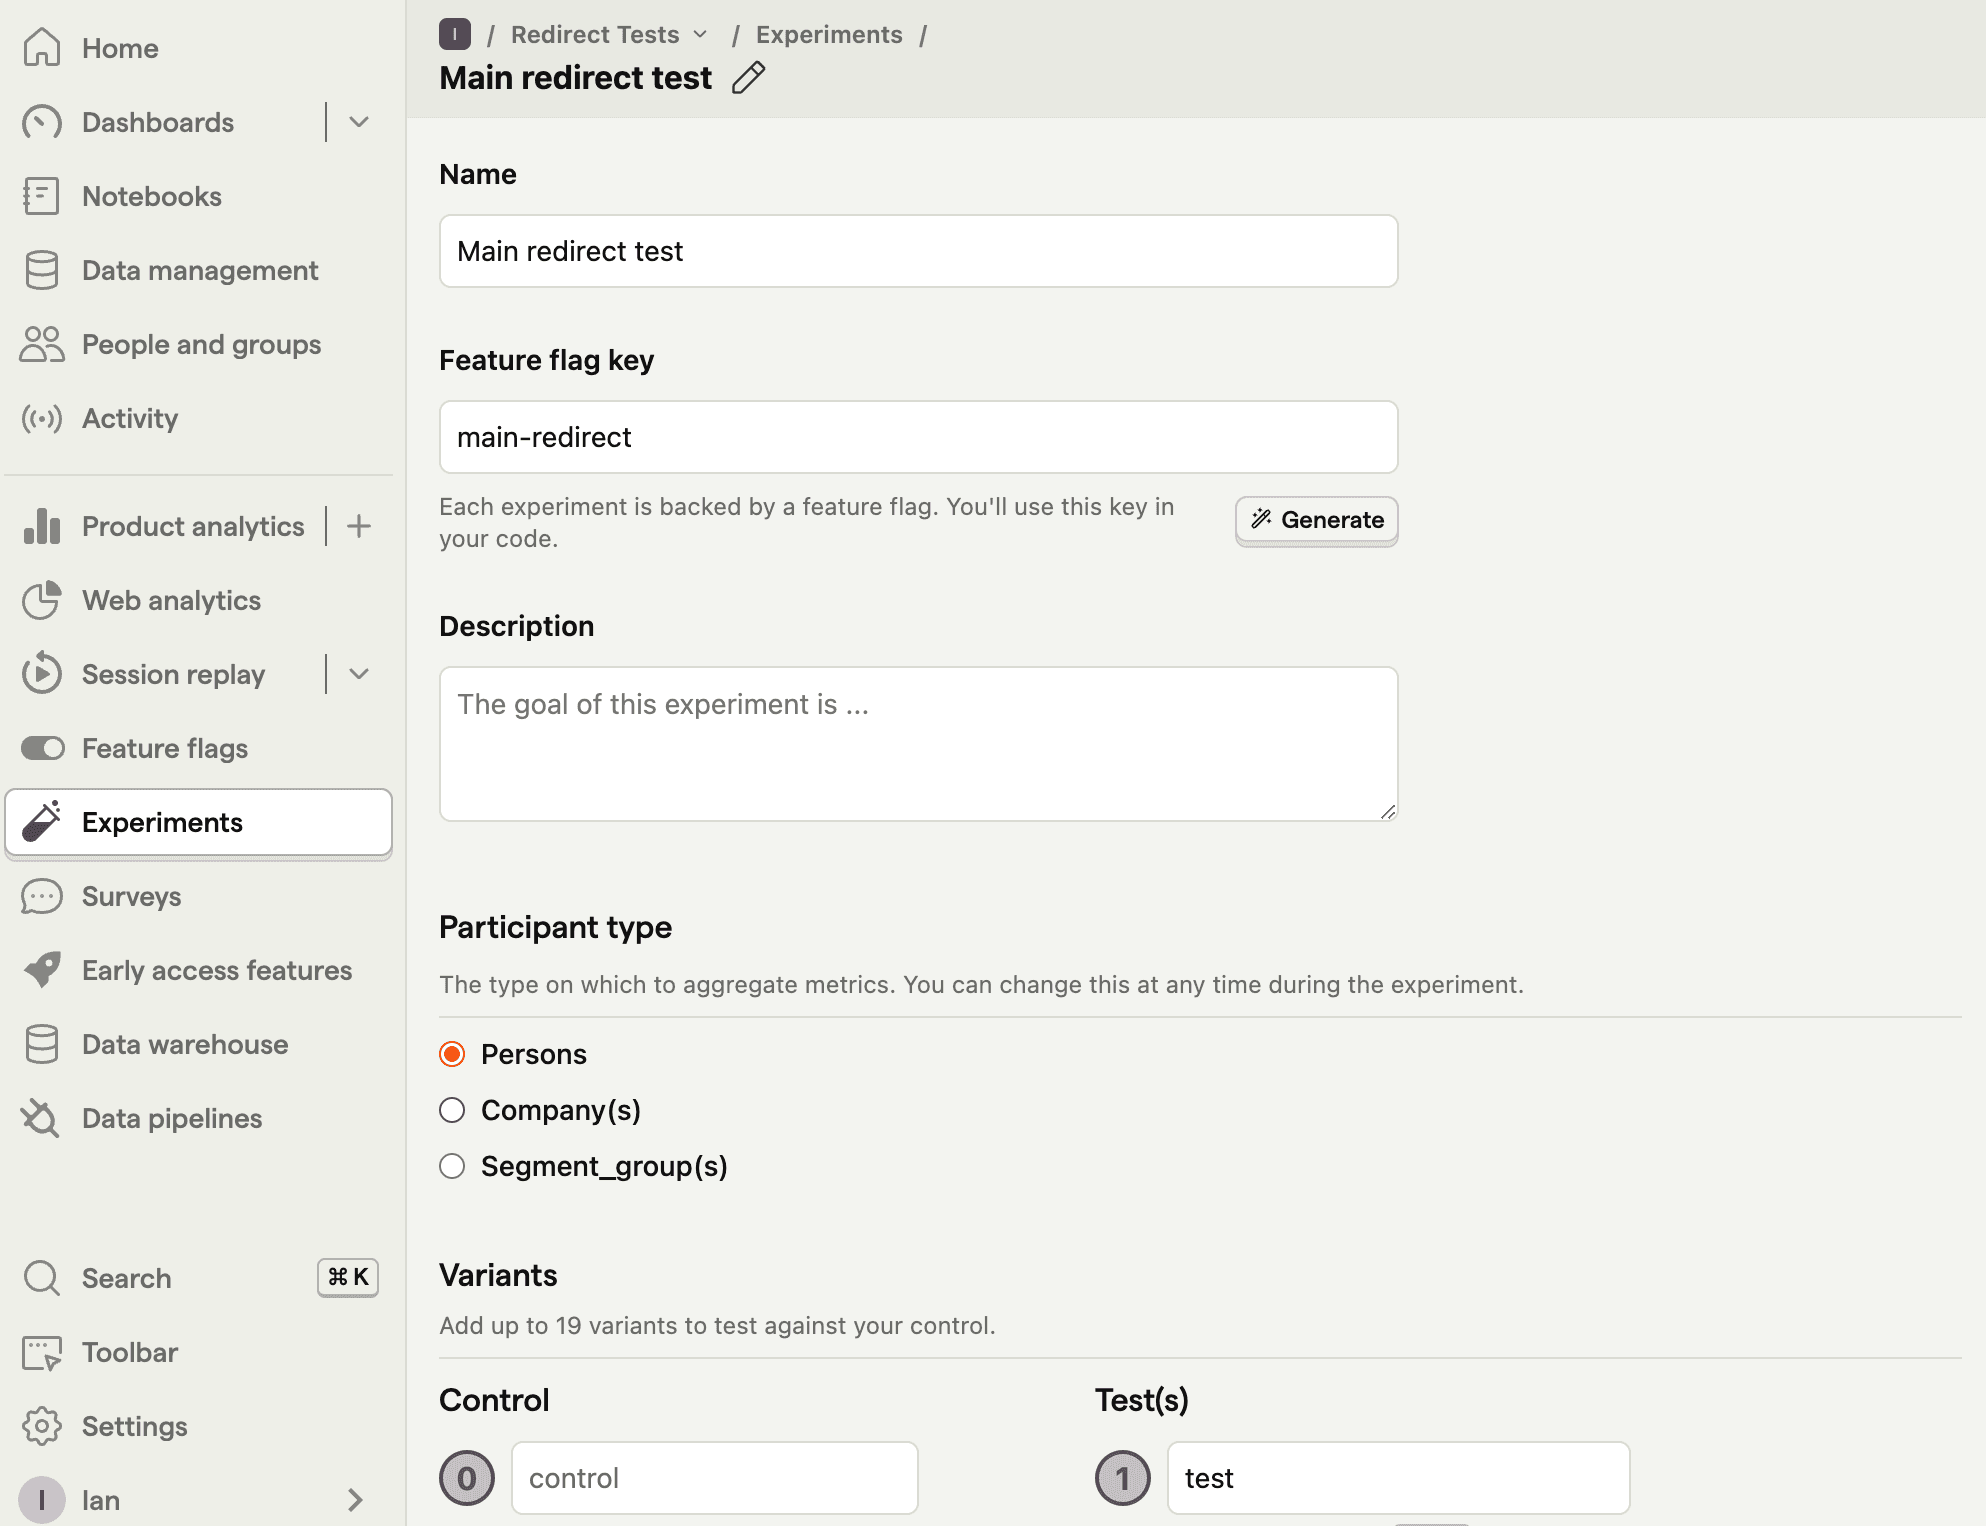
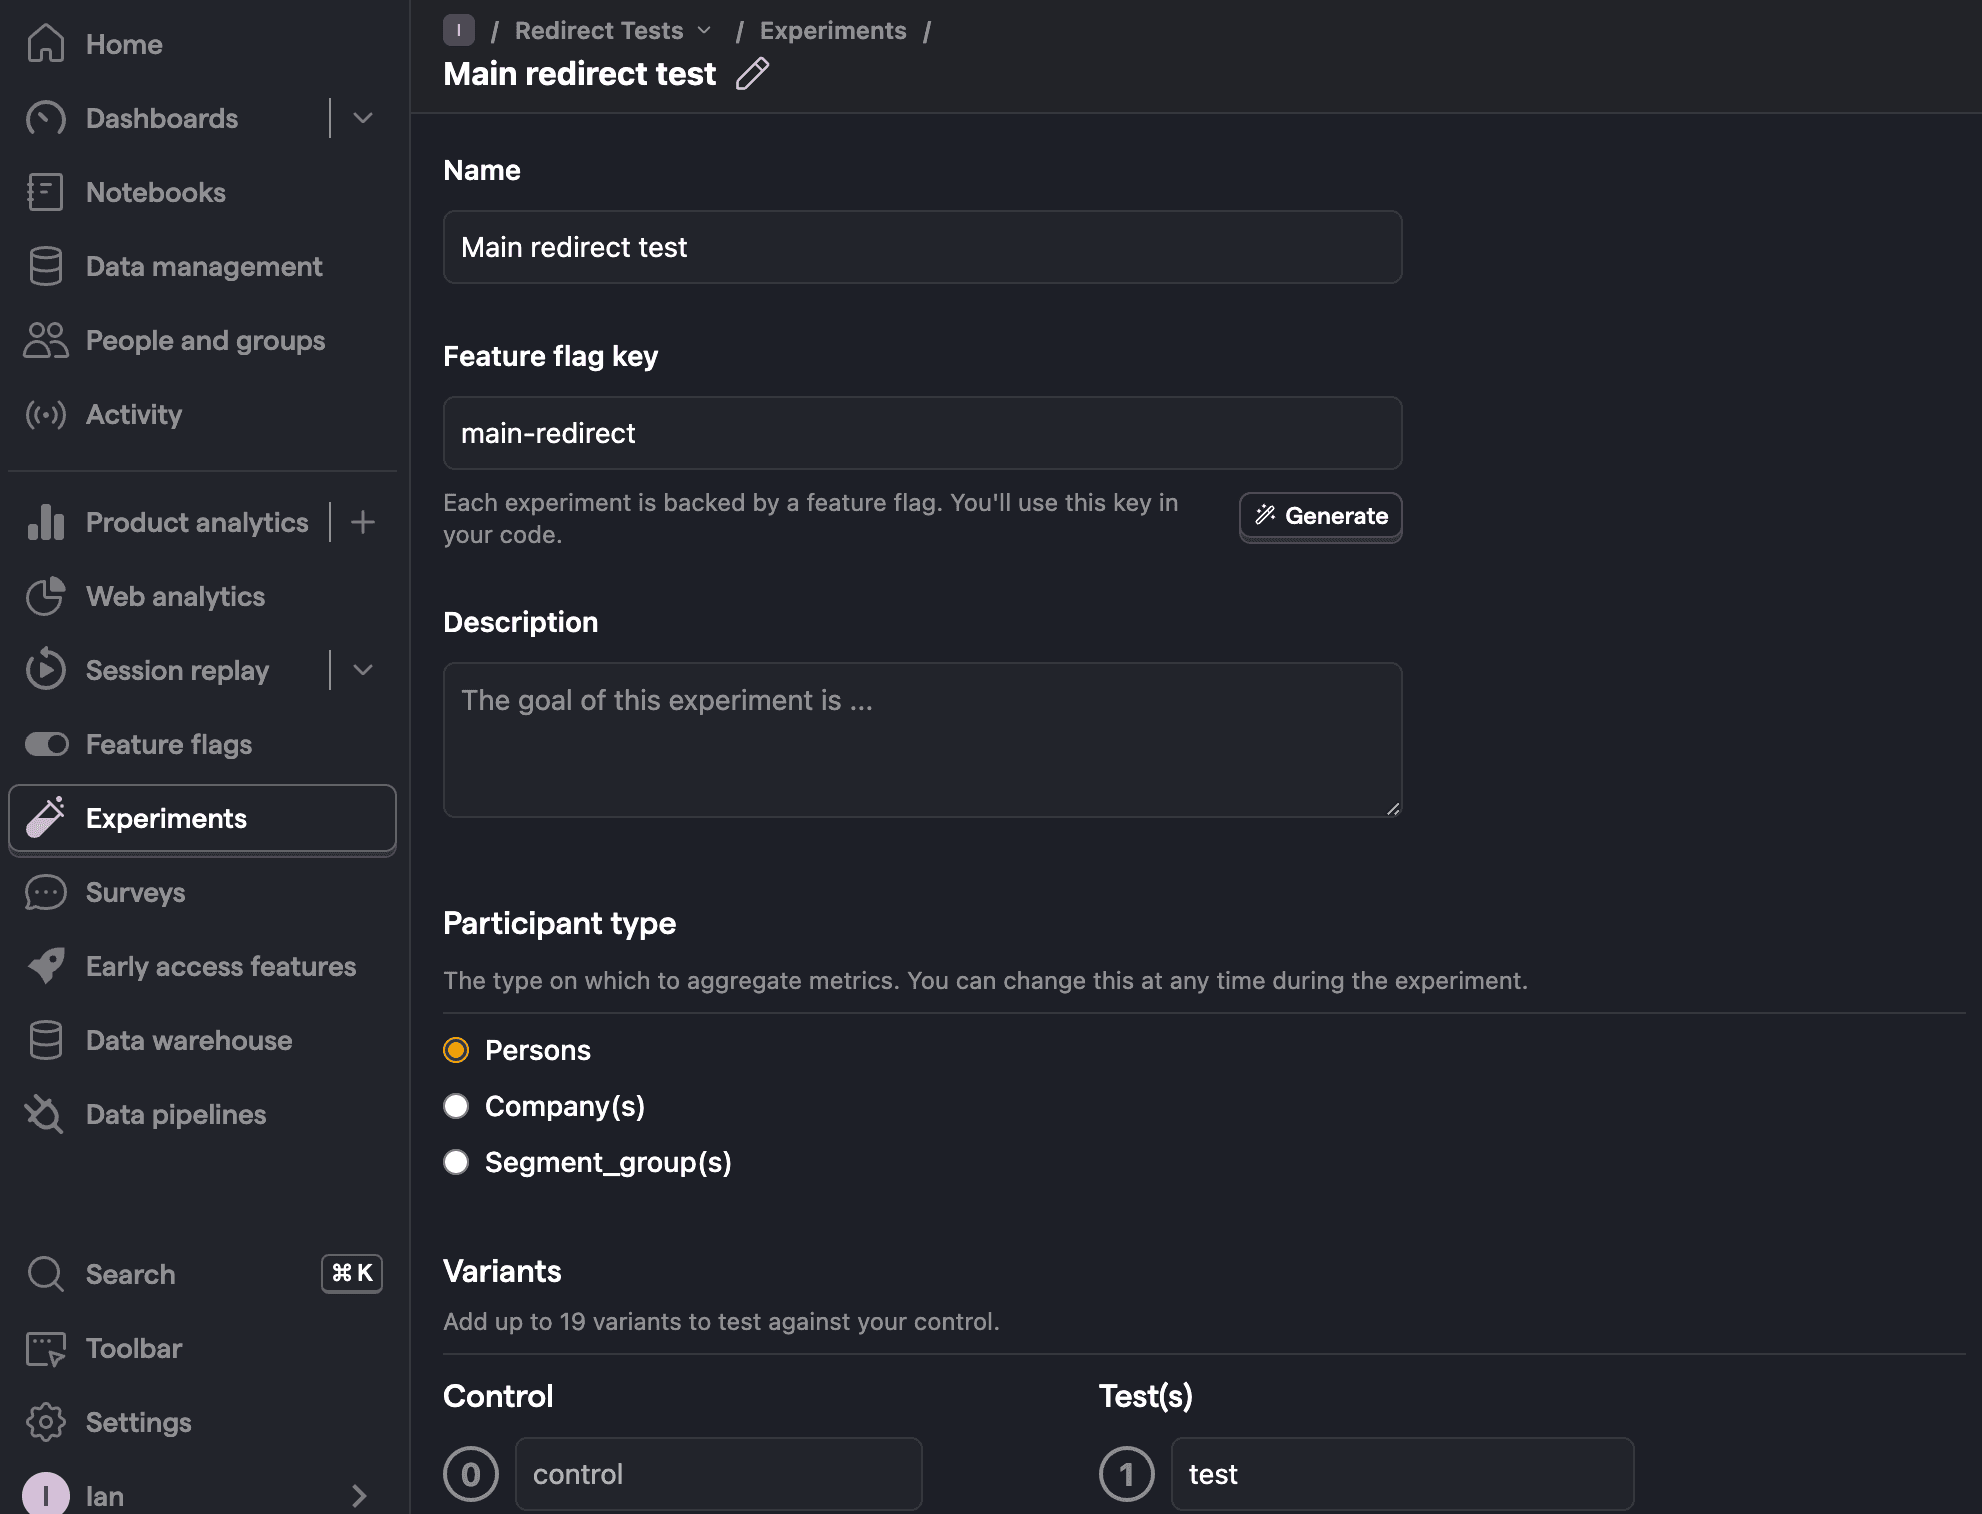
Our A/B test will compare these two pages to see which drives more button clicks. To do this, we go to the experiment tab (what we call A/B tests in PostHog) in PostHog and click "New experiment." Name your experiment and feature flag key (like main-redirect) and click "Save as draft."
Because we are working locally, you then set your experiment goal to main_button_clicked and click Launch.
Setting up the redirect test middleware
Next.js enables you to run middleware that intercepts and modifies requests for your app. We use it to redirect a user to the control or test page based on their assigned variant.
To start, create a middleware.js file in the base redirect-test directory. We want it to run on both the /test and /control paths, so we add them to the matcher config. For now, we have the /test path redirect to /control as a placeholder.
Getting or creating a user ID for flag evaluation
To evaluate the experiment flag value for each unique user, each user will need a distinct user ID.
To do this, we need to:
- Check if a
distinct_idexists in the PostHog cookie, and use it if so. - Create a
distinct_idif not.
This requires using your project token to get the cookies, parsing them as JSON, and potentially creating a distinct ID using crypto.randomUUID(). Altogether, this looks like this:
Evaluating our redirect test with PostHog
With our distinct ID, we use the PostHog API to check the value of the main-redirect feature flag for a user (because we can’t use PostHog SDKs in Next.js middleware). This is known as evaluating the feature flag.
Specifically, we evaluate the flag by making a POST request to the flags route with your project token and user distinct ID. From the response, we get the value of the main-redirect feature flag and use it to redirect to the right page. Altogether, it looks like this:
Capturing exposures
To get accurate results for our experiment, we also need to capture a $feature_flag_called event after the feature flag has been evaluated. This records which experiment variant each user was assigned to and enables us to calculate results for the experiment.
This is known as an exposure event and shows a user is part of the experiment. It requires another POST request like this:
Bootstrapping the data
The final piece to our redirect test is bootstrapping the user distinct ID and feature flags. Bootstrapping is when you initialize PostHog with precomputed user data so that it is available as soon as PostHog loads, without needing to make additional API calls
Why is bootstrapping necessary? If we didn't bootstrap the distinct ID, PostHog would set a second distinct ID for the same user on the frontend. When calculating the results of the experiment, PostHog wouldn't know the two were connected, creating a broken test.
We create a bootstrapData cookie with the flags and distinct ID data and then add it to the response. We also add a check for the bootstrapData cookie in the middleware when we are creating the distinct ID so we don’t get two different IDs whenever we redirect.
When put together with everything else, our final middleware.js file looks like this:
Handling bootstrap data on the frontend
To handle this bootstrap data on the frontend, we need to parse the cookie and pass the data to the PostHog initialization. We add this by first installing the cookie-cutter package.
We then import and use it in app/providers.js to add the bootstrap data to our PostHog initialization like this:
When we relaunch our application and go to either of the test or control routes, the middleware redirects users to the correct page, their experience remains consistent across reloads, and our redirect test is successfully running.
Further reading
- How to use Next.js middleware to bootstrap feature flags
- How to evaluate and update feature flags with the PostHog API
- How to bootstrap feature flags in React and Express
Subscribe to our newsletter
build mode
Read by 75,000+ founders and builders
We'll share your email with Substack
PostHog is the leading platform for building self-driving products. With a full suite of developer tools – AI observability, product analytics, session replay, feature flags, experiments, error tracking, logs, and more – PostHog captures all the context agents need to diagnose problems, uncover opportunities, and ship fixes. A data warehouse and CDP tie it all together, unifying that context into one source agents can read across. You can steer it all from Slack, the web app, the desktop (PostHog Desktop), or your own editor via the MCP.