


How to set up a React Native remote config (with Expo Router)

Contents
Remote config enables you to update your React Native app's settings and behavior instantly without deploying new code or waiting for app store approval. This makes it perfect for controlling features on the fly and disabling problematic features if needed.
This tutorial shows you how to set up remote config in your React Native app using PostHog and Expo Router. We'll create a basic app that displays a message which we'll control using remote config.
1. Creating a new React Native app
First, let's create a new React Native app using the Expo Router template. This assumes you have Node installed and the Expo Go app on either Android or iOS.
After this, run npx expo start and open it with Expo Go to see your app in action.
2. Adding PostHog to your app
With our app structure set up, let's install and configure PostHog. If you don't have a PostHog instance, you can sign up for free.
To start, install PostHog's React Native SDK and its dependencies:
Next, update your root layout file (app/_layout.tsx) to include the PostHogProvider set up with your project's API key and client host which you can find in your project settings.
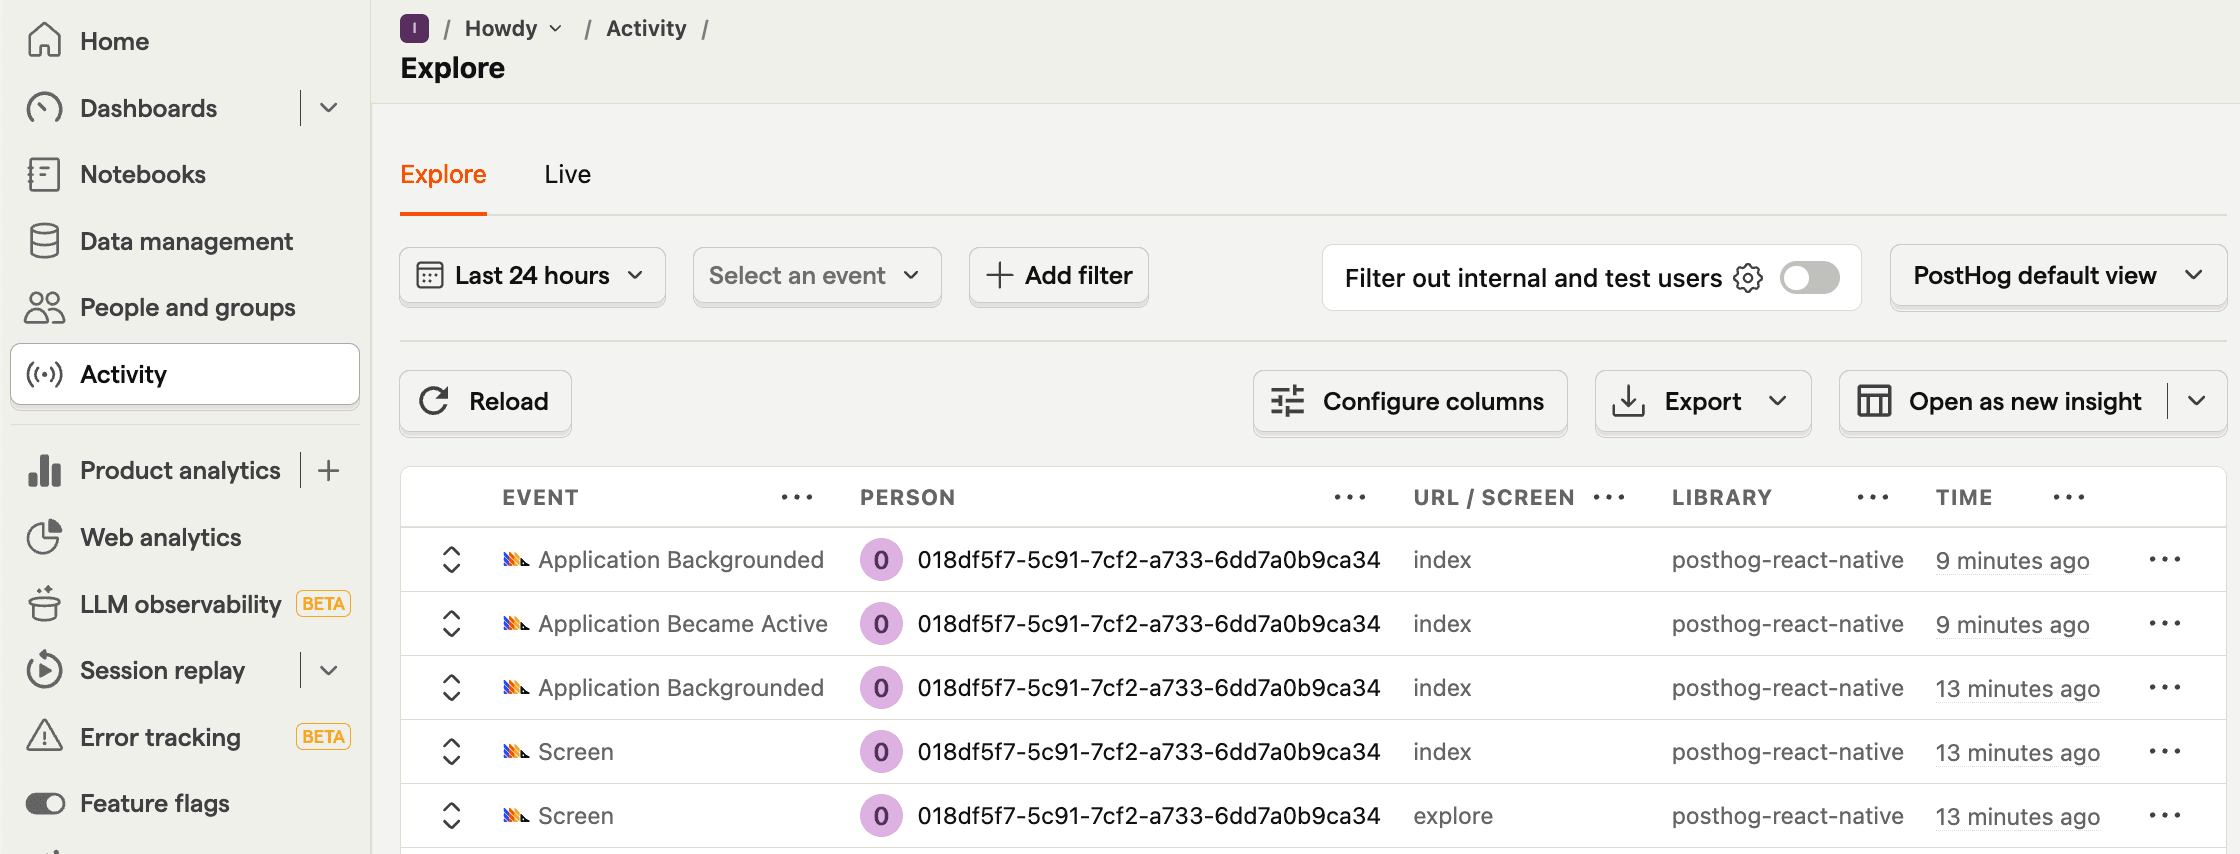
When you reload your app, you should see events autocaptured into PostHog.
3. Creating a remote config in PostHog
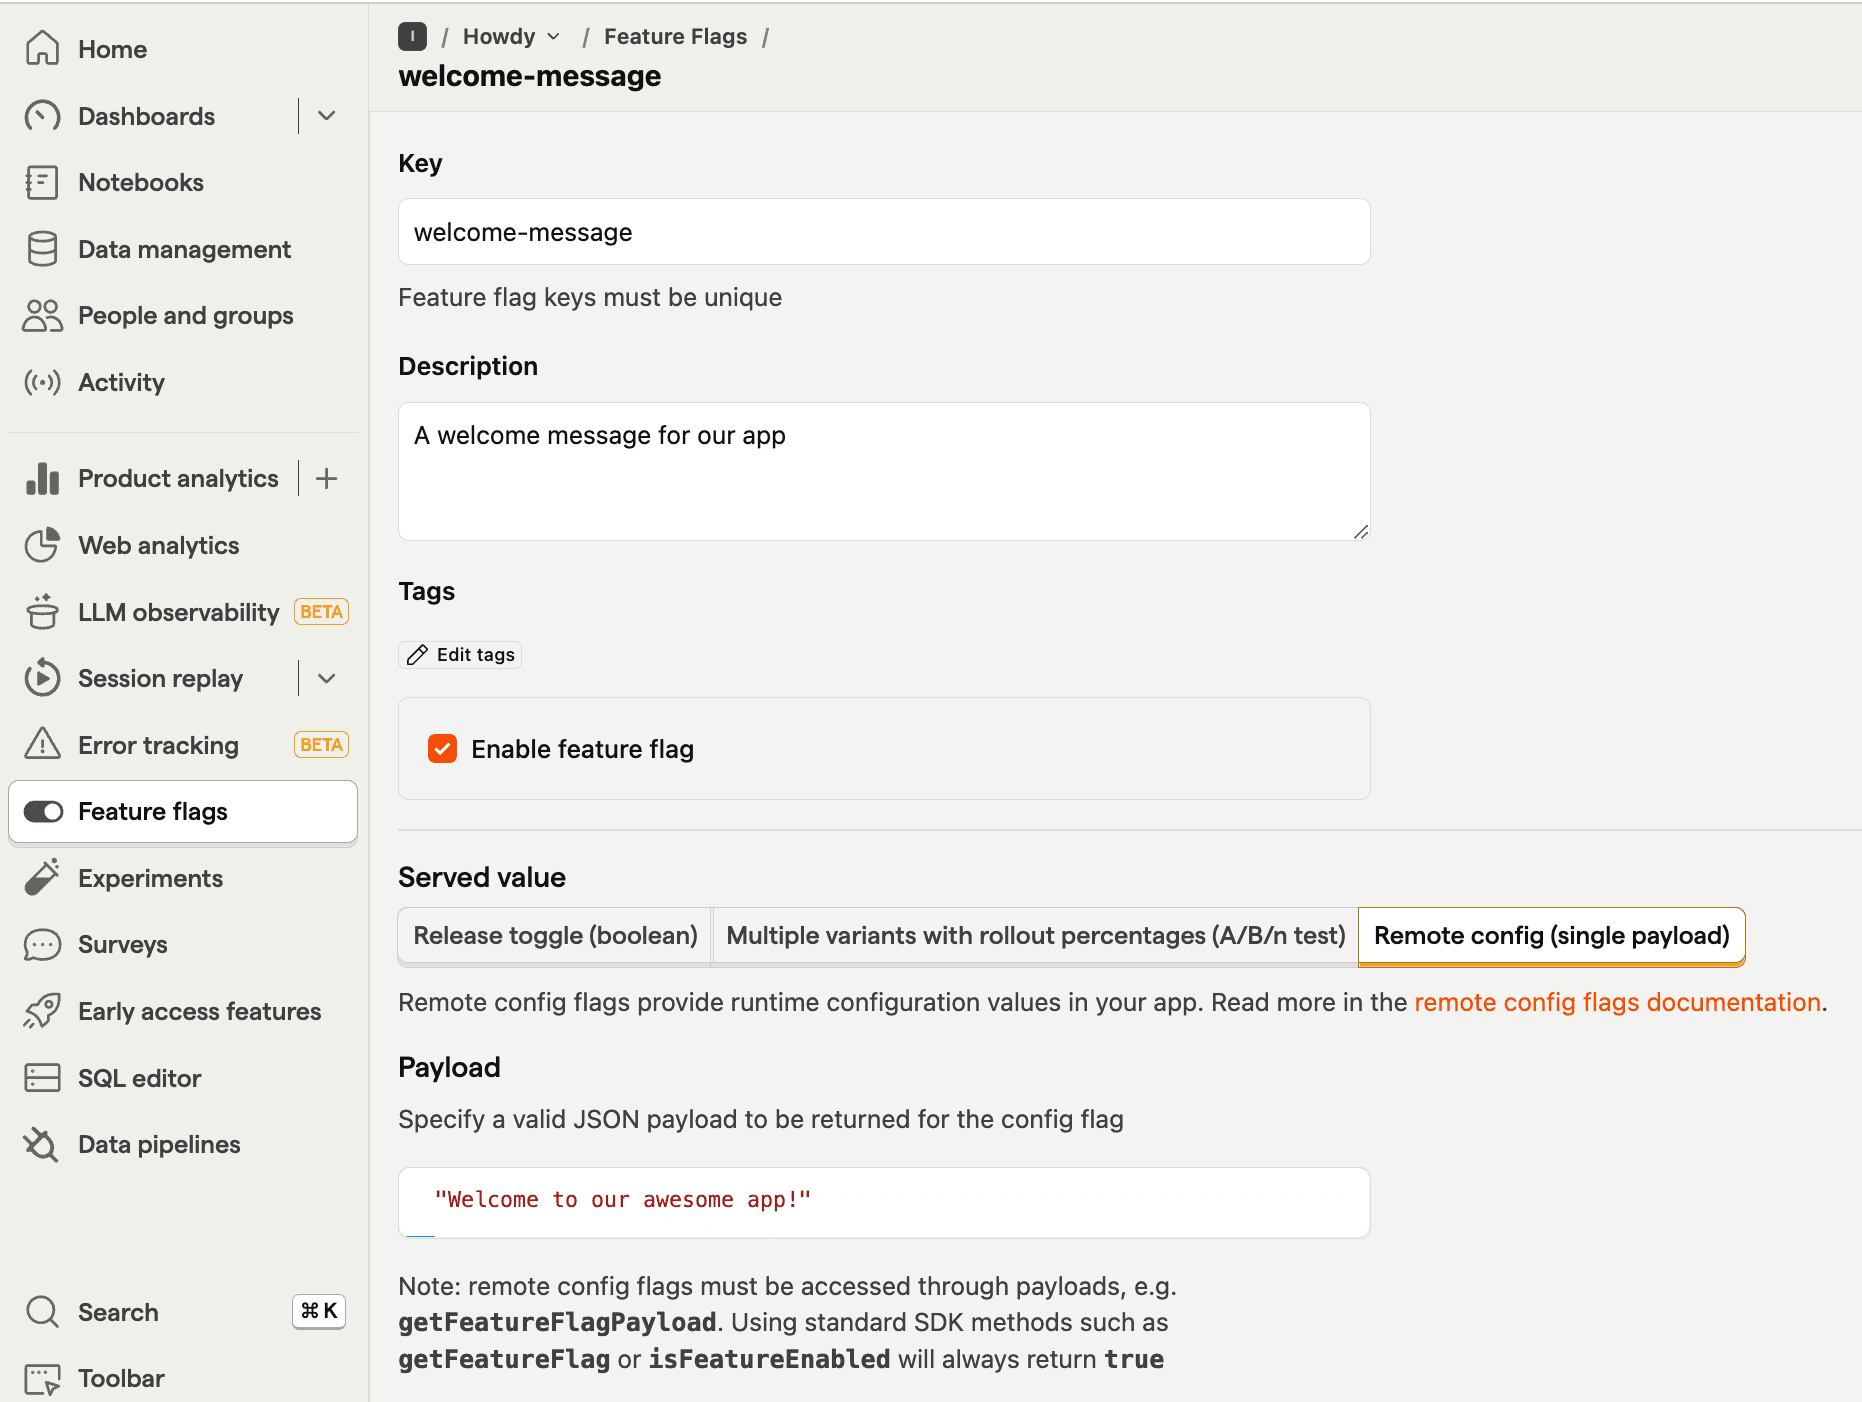
With PostHog set up, let's create a remote config flags to control a message in app:
- Go to the feature flags tab in PostHog and click New feature flag
- Enter
welcome-messageas the key - Under Served value, select Remote config (single payload)
- Set the payload to a JSON object:
{"message": "Welcome to our awesome app!"} - Click Save
4. Creating and showing our remote config message
Next, create a new file in your components directory named RemoteConfigDemo.tsx. In it, we will check the feature flag with useFeatureFlagWithPayload and display the message:
Use this component in your home tab file (app/(tabs)/index.tsx) like this:
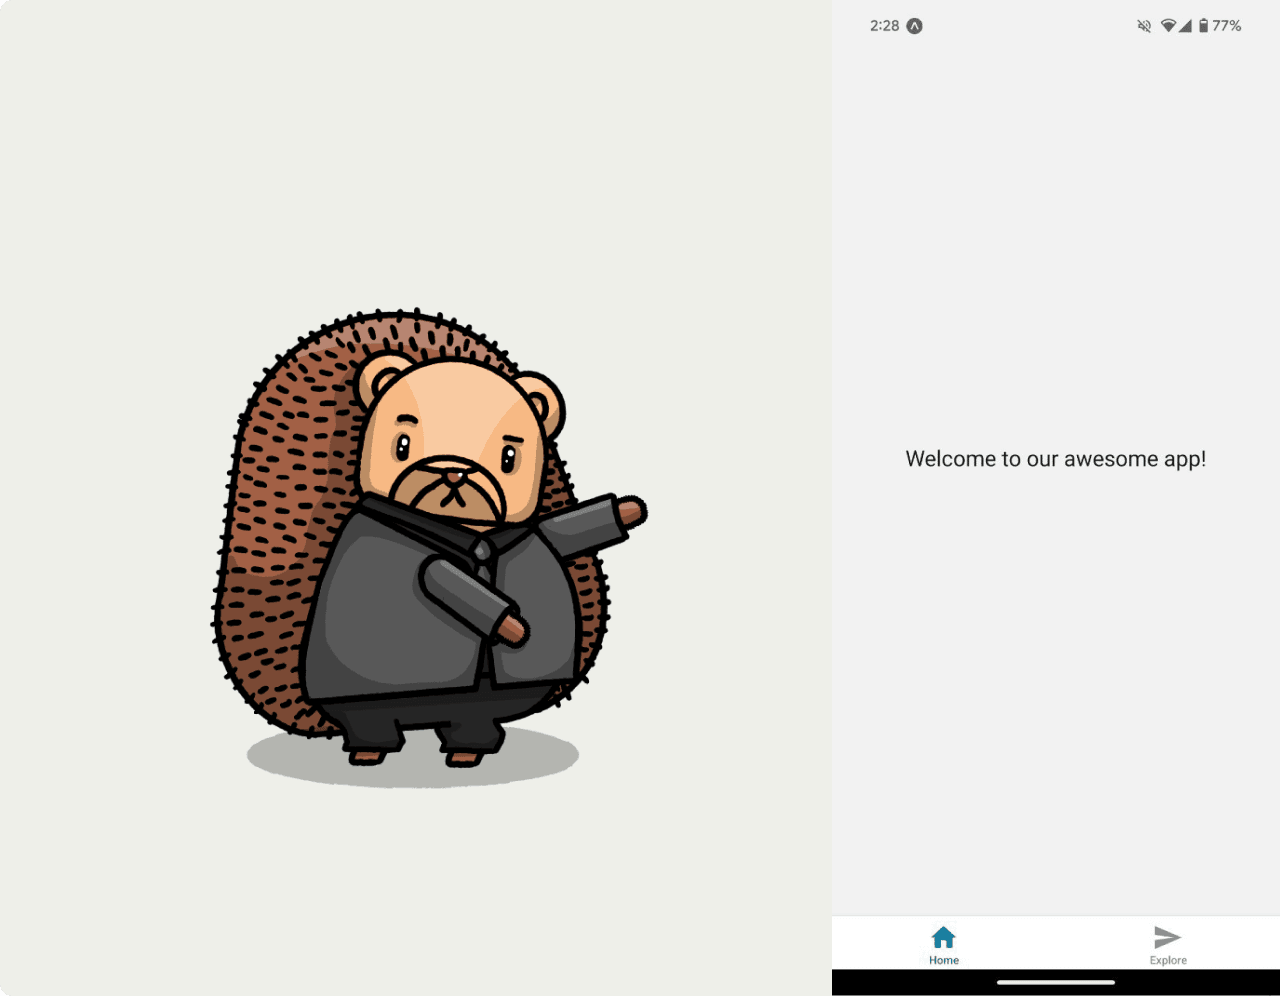
Finally, we can test our app by reloading or running npx expo start again and opening the Expo Go app. This will show the message from our remote config front and center.
Further reading
PostHog is the leading platform for building self-driving products. With a full suite of developer tools – AI observability, product analytics, session replay, feature flags, experiments, error tracking, logs, and more – PostHog captures all the context agents need to diagnose problems, uncover opportunities, and ship fixes. A data warehouse and CDP tie it all together, unifying that context into one source agents can read across. You can steer it all from Slack, the web app, the desktop (PostHog Code), or your own editor via the MCP.