


How to set up analytics in React

Contents
Product analytics enables you to gather and analyze data about how users interact with your React app. To show you how to set up analytics, in this tutorial we create a basic React app with Vite, add PostHog, and use it to capture pageviews and custom events.
Creating a React app with Vite
To demonstrate the basics of PostHog analytics, we'll create a simple app with two pages and a link to navigate between them.
First, ensure Node.js is installed (version 20.0 or newer). Then create a new React app with Vite:
Next, create two new files HomePage.jsx and AboutPage.jsx in your src directory:
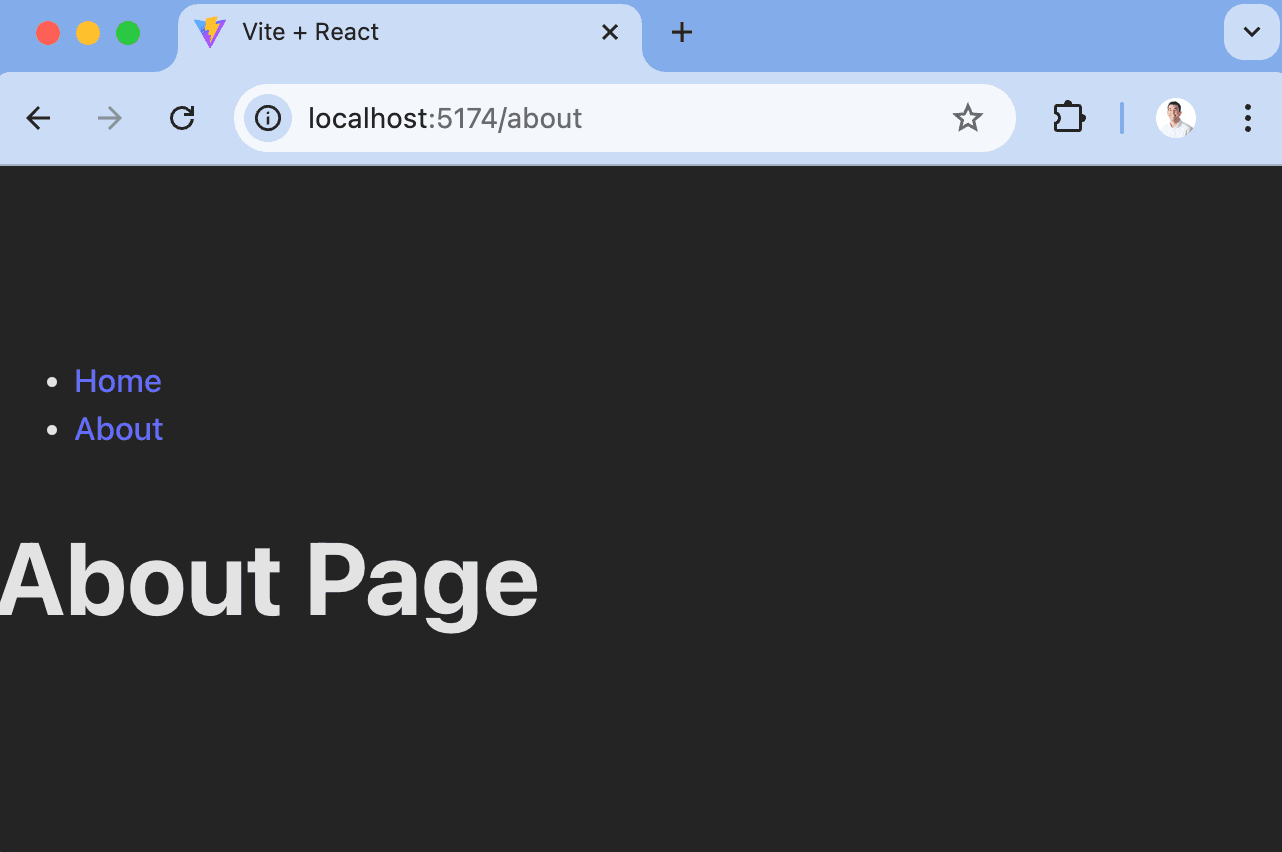
In HomePage.jsx, add the following code:
In AboutPage.jsx, add the following code:
Next, we set up the routing. First, install React Router in your project:
Then, set up the router by replacing the code in App.jsx with the following:
The basic setup is now complete. Run npm run dev to see your app in action.
Adding PostHog
With our app set up, it's time to install and set up PostHog. If you don't have a PostHog instance, you can sign up for free.
First install posthog-js and @posthog/react:
Next, import PostHog into src/main.jsx and set up it up using your project token and host from your project settings. Then we wrap our app with PostHogProvider to access PostHog in any component.
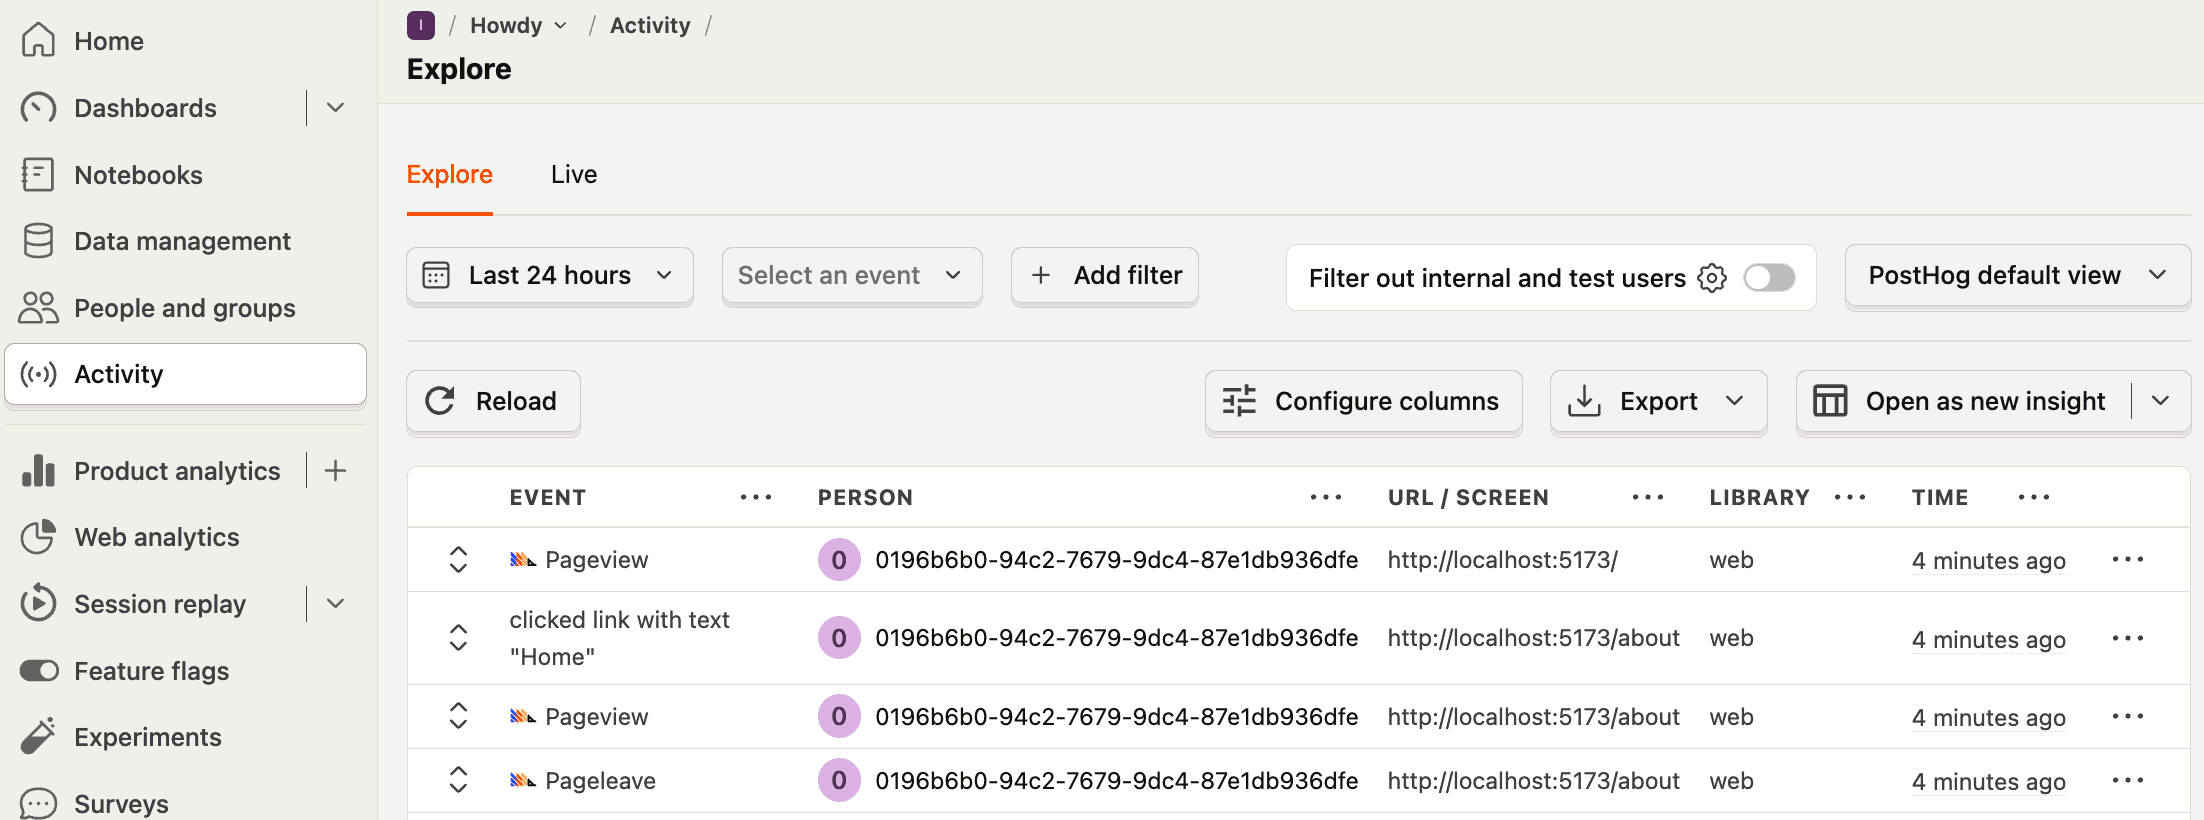
Once you've done this, reload your app and click the links a few times. You should see pageviews and events appearing in PostHog's activity tab.

Capturing custom events
Beyond pageviews and autocaptured events, there might be more events you want to capture. To do this, you can capture custom events with PostHog.
To showcase this, update the code in HomePage.jsx to include a button that uses PostHog to capture a home_button_clicked event:
Now when you click the button, PostHog captures the custom home_button_clicked event. Notice that we also added a property user_name to the event. This is helpful for filtering events in PostHog.
Further reading

Subscribe to our newsletter
build mode
Read by 75,000+ founders and builders
We'll share your email with Substack
PostHog is the leading platform for building self-driving products. With a full suite of developer tools – AI observability, product analytics, session replay, feature flags, experiments, error tracking, logs, and more – PostHog captures all the context agents need to diagnose problems, uncover opportunities, and ship fixes. A data warehouse and CDP tie it all together, unifying that context into one source agents can read across. You can steer it all from Slack, the web app, the desktop (PostHog Desktop), or your own editor via the MCP.