


How to set up a location-based site banner

Contents
Many sites want to set up banners to display information for different users, such as regional announcements or country-based alerts. Doing this with feature flags is simple and this tutorial shows you how to set it up for a Next.js app (but it can be done with any framework).
Create a Next.js app
The first step is creating a basic app, which we Next.js to do. Run the script below, choose no to using TypeScript, yes to using the app router, and the defaults for everything else.
Next, go into your banner folder and install posthog-js.
After installing PostHog, create a providers.js file in the app folder which contains the PostHog initialization with your project token and instance address (you can get both in your project settings)
Once we created the provider, we can add it to our layout.js file.
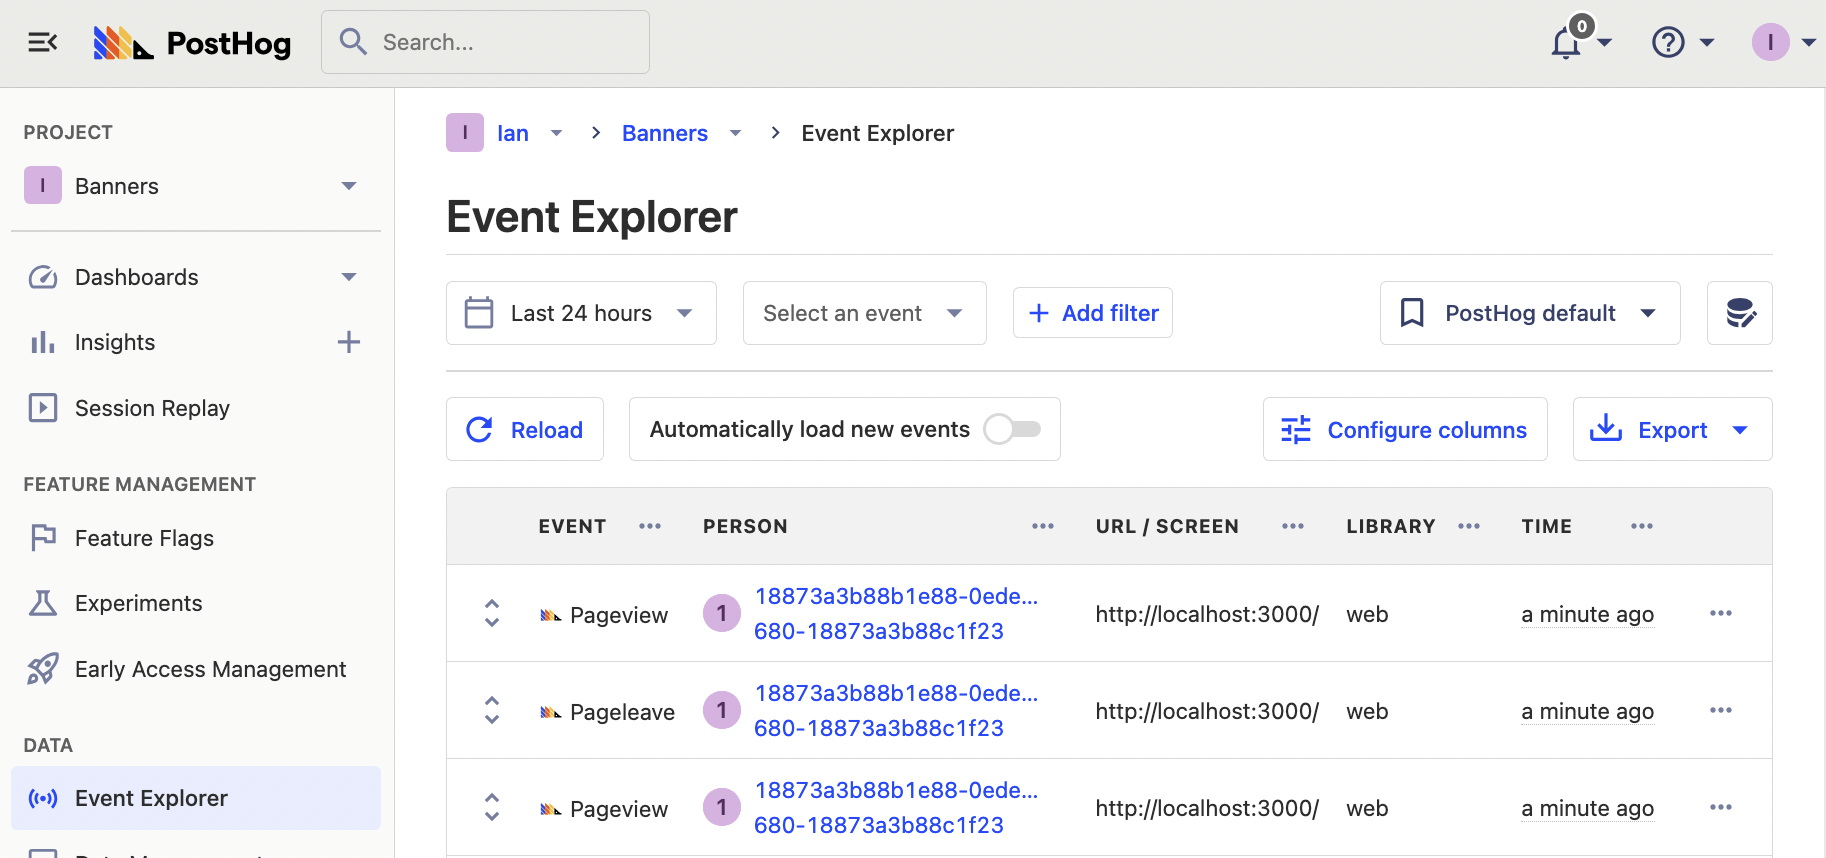
Finally, we can run the app with npm run dev. When we go to the page running locally, we see events captured into our PostHog instance.
Set up the banner feature flag
First, make sure that the GeoIP transformation is enabled (it should be by default).
Once you have confirmed that, we can create our feature flag controlling the site banner. Go to feature flags, click "Create new flag," and name the key as "site-banner." For release conditions, match users where the continent code equals NA (or whichever geography you want), roll out to 100% of users, and press save.
Adding a flag payload
Optionally, we can edit the flag to add a payload with content and a link. We can then access this payload when we implement the banner.
This enables us to change the banner content without rewriting any code, just editing the flag payload in PostHog.
Implementing the banner in our app
With our flag created, we can go back into our app and implement our banner. To do this, create a banner.js file in the app folder. In this file, import useFeatureFlagEnabled from @posthog/react, use it to check the site-banner flag, and set up your banner to conditionally show if the flag is true. With some banner styling, this looks like this:
With the banner set up, we import and add it to our layout.js file.
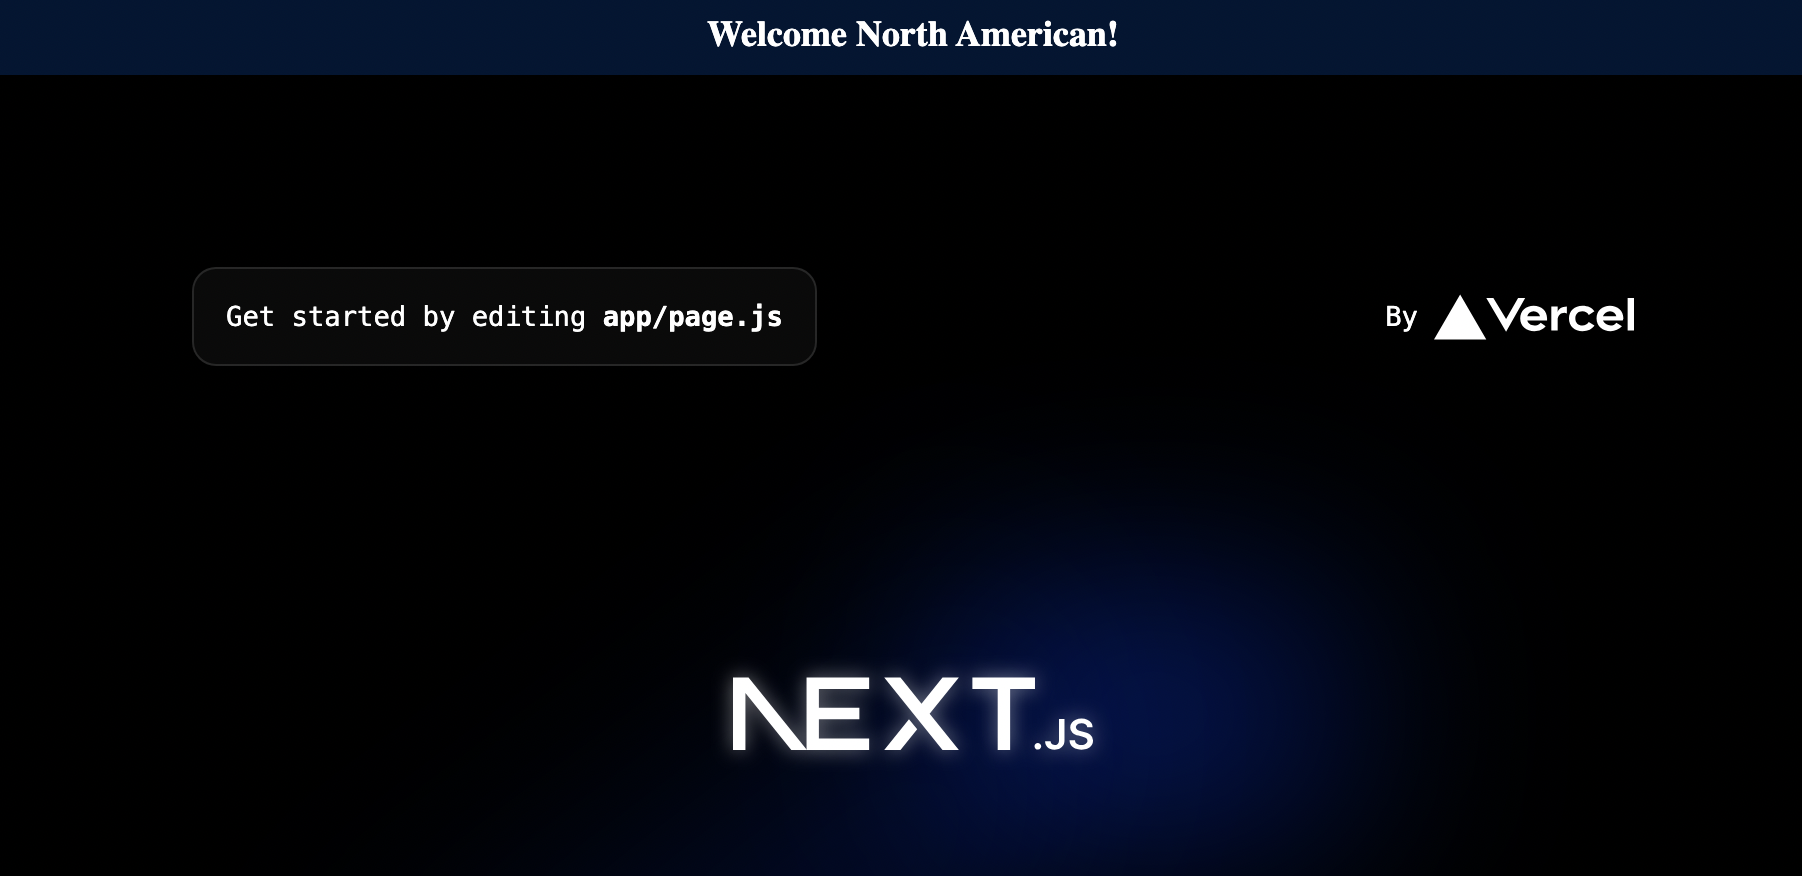
When we go to our locally running site now, we should see our new banner at the top of our page.
Handling the flag payload
If you added a payload to your flag, you can set up your banner to handle it. We must change useFeatureFlagEnabled for useFeatureFlagPayload, and then add the variables you get from the payload to your component.
With this, we have full control of the visibility and content of our site banner from the feature flag in PostHog.
Further reading
- How to set up one-time feature flags
- How to bootstrap feature flags in React and Express
- How to add popups to your React app with feature flags

Subscribe to our newsletter
build mode
Read by 75,000+ founders and builders
We'll share your email with Substack
PostHog is the leading platform for building self-driving products. With a full suite of developer tools – AI observability, product analytics, session replay, feature flags, experiments, error tracking, logs, and more – PostHog captures all the context agents need to diagnose problems, uncover opportunities, and ship fixes. A data warehouse and CDP tie it all together, unifying that context into one source agents can read across. You can steer it all from Slack, the web app, the desktop (PostHog Desktop), or your own editor via the MCP.