


How to set up Flutter remote config

Contents
Remote config enables you to update your Flutter app's settings and behavior instantly without deploying new code or waiting for app store approval. This makes it perfect for controlling features on the fly and disabling problematic features if needed.
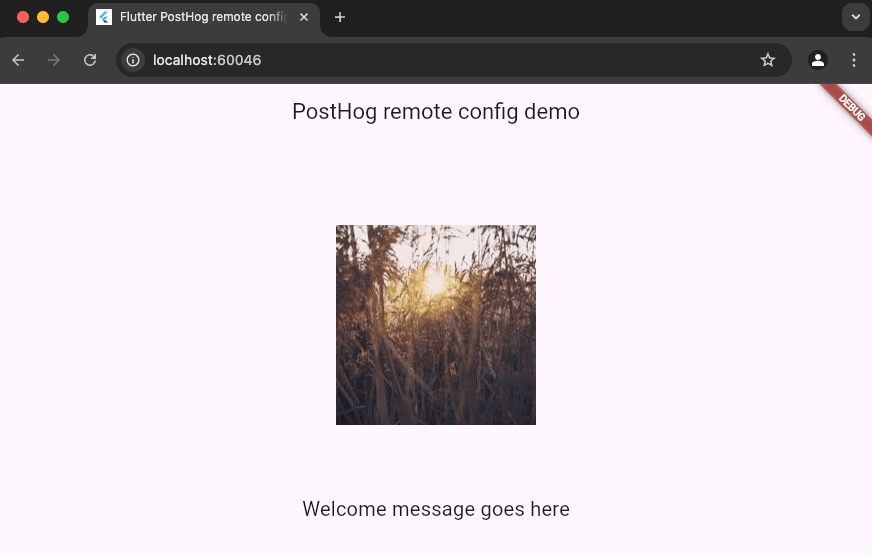
This tutorial shows you how to set up remote config in your Flutter app using PostHog. We'll create a basic Flutter app that displays a company logo and message, both of which we'll control using remote config.
1. Create a new Flutter app
First, ensure the Flutter extension for VS Code is installed and then create a new app by opening the VS Code command palette (Ctrl/Cmd + Shift + P), typing flutter and selecting Flutter: New Project.
Select Empty Application and name your app flutter_remote_config. Once created, replace your code in lib/main.dart with the following:
To test this works, we check for the emulation devices available with flutter devices and run the app for one of them. We'll use the web version and launch it like this:
2. Add PostHog to your app
With our app set up, it's time to install and set up PostHog. If you don't have a PostHog instance, you can sign up for free.
To start, install PostHog's Flutter SDK by adding posthog_flutter to your pubspec.yaml:
Next, we configure PostHog in each platform using our project token and instance address which you can find in your project settings.
Android setup
For Android, add your PostHog configuration to your AndroidManifest.xml file located in android/app/src/main folder:
You'll also need to update the minimum Android SDK version to 21 in android/app/build.gradle:
iOS setup
For iOS, you need to have Cocoapods installed and then add your PostHog configuration to the Info.plist file located in the ios/Runner directory:
Then set the minimum platform version to iOS 13.0 in your iOS Podfile:
Web setup
For web, add your the PostHog web snippet (which you can find in your project settings) in the <head> of your web/index.html file:
3. Create remote config flags in PostHog
With PostHog set up, let's create two remote config flags to control our app's configuration:
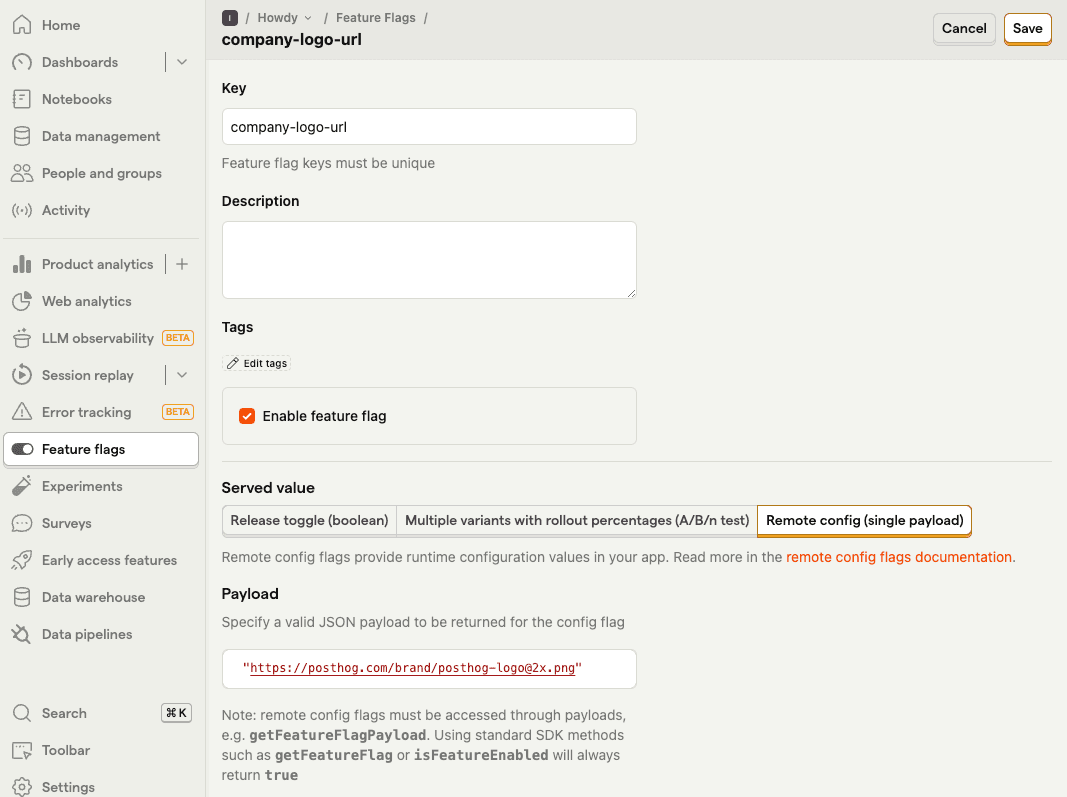
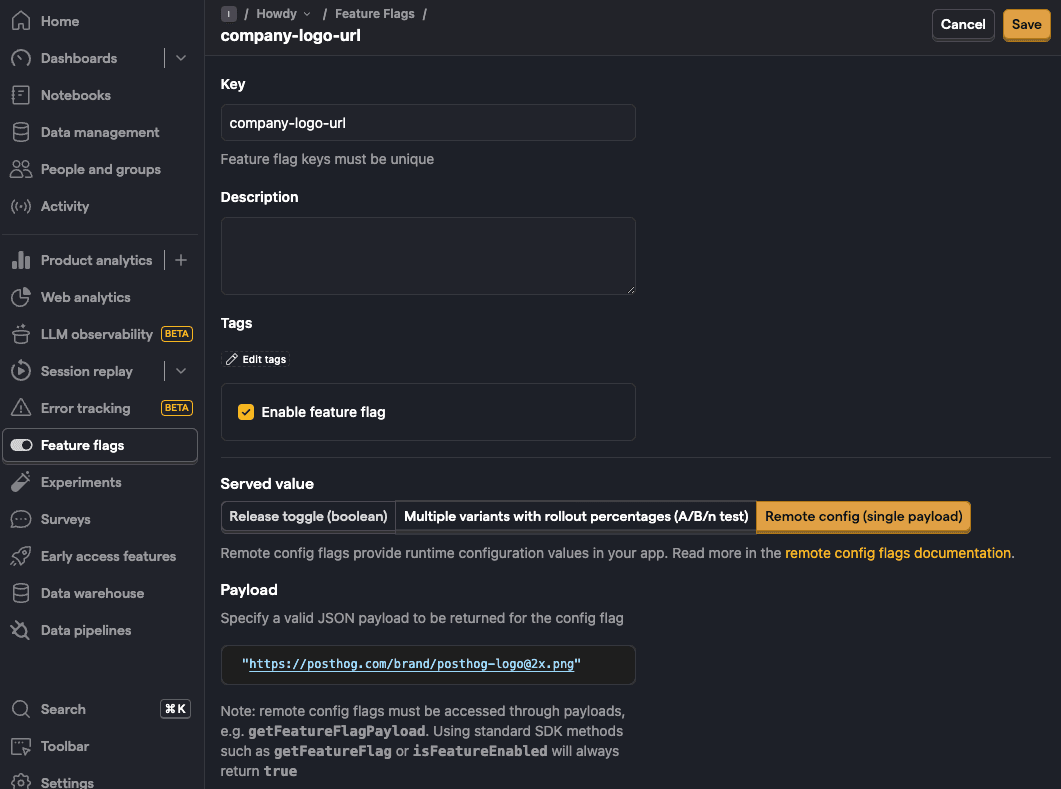
- Go to the feature flags tab in PostHog and click New feature flag
- Enter
company-logo-urlas the key - Under Served value, select Remote config (single payload)
- Set the payload to a JSON object with an image URL:
{"url": "/brand/posthog-logo@2x.png"} - Click Save
After this, repeat steps 1-5 to create another flag with key welcome-message and payload of {"message": "Welcome to our awesome app!"}
4. Implement remote config in Flutter
Finally, we'll update our app to use these remote config values. To do this, we start by creating a new file in lib named config_provider.dart. In this file we create a ConfigProvider to manage our remote config state.
Second, update your main.dart file to use the ConfigProvider and actually modify what users see in your app:
Finally, add the provider package to your pubspec.yaml:
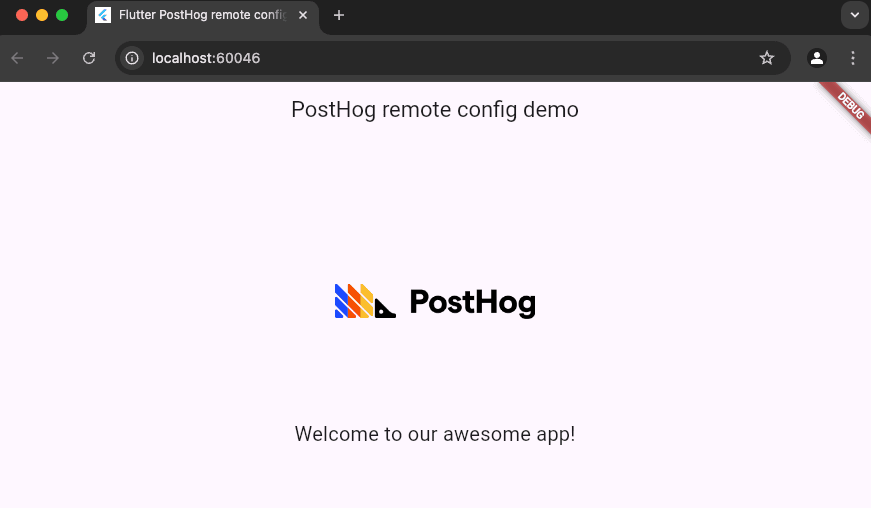
Now, when we run our app, it fetches and displays the remote config values from PostHog. You either press r in the terminal or run your emulation device like flutter run -d chrome again to show this in action:
Further reading
PostHog is the leading platform for building self-driving products. With a full suite of developer tools – AI observability, product analytics, session replay, feature flags, experiments, error tracking, logs, and more – PostHog captures all the context agents need to diagnose problems, uncover opportunities, and ship fixes. A data warehouse and CDP tie it all together, unifying that context into one source agents can read across. You can steer it all from Slack, the web app, the desktop (PostHog Desktop), or your own editor via the MCP.