


How to set up Electron analytics and session replay

Contents
Electron enables you to easily create cross-platform desktop apps. Knowing how users are using those apps is the job of analytics, which PostHog makes easy.
This tutorial shows you how to create a basic Electron app and then set up PostHog for analytics, session replay, and the rest of PostHog's suite of dev tools.
Creating our Electron app
To start, create a new directory for our app (we'll name ours posthog-electron-tutorial) and initialize an npm package. Choose the defaults for all the options except entry point, which you should set to main.js.
After initializing npm, install electron as a dev dependency:
We then add electron . as a start script.
Next, we create our main.js file. This creates our browser window and loads an index.html file we'll create after.
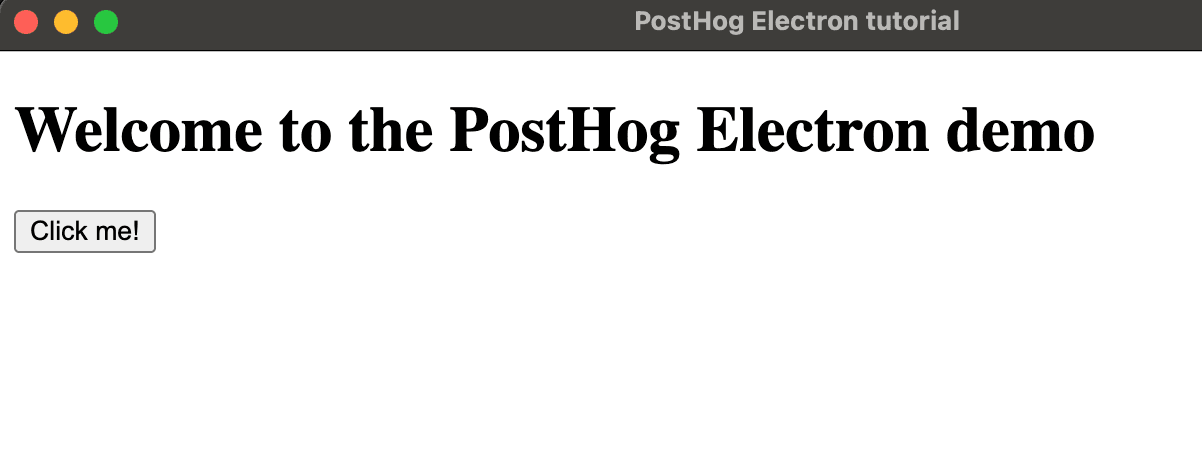
We then create the index.html file. This will simply have a title and a button to press.
Once done, we can run npm run start in the terminal to see our basic app in action
Setting up PostHog
Start by installing the posthog-js package:
Next, create a new renderer.js file to import and initialize PostHog with our project token and host (which you can get in your project settings). Importantly, because Electron has security restrictions about loading external code, we need to import PostHog's full bundle. This means our Electron initialization look like this:
We then need to add this module to our index.html file:
Once done, we can run npm run start again, click the button, and we'll see events autocaptured into PostHog.
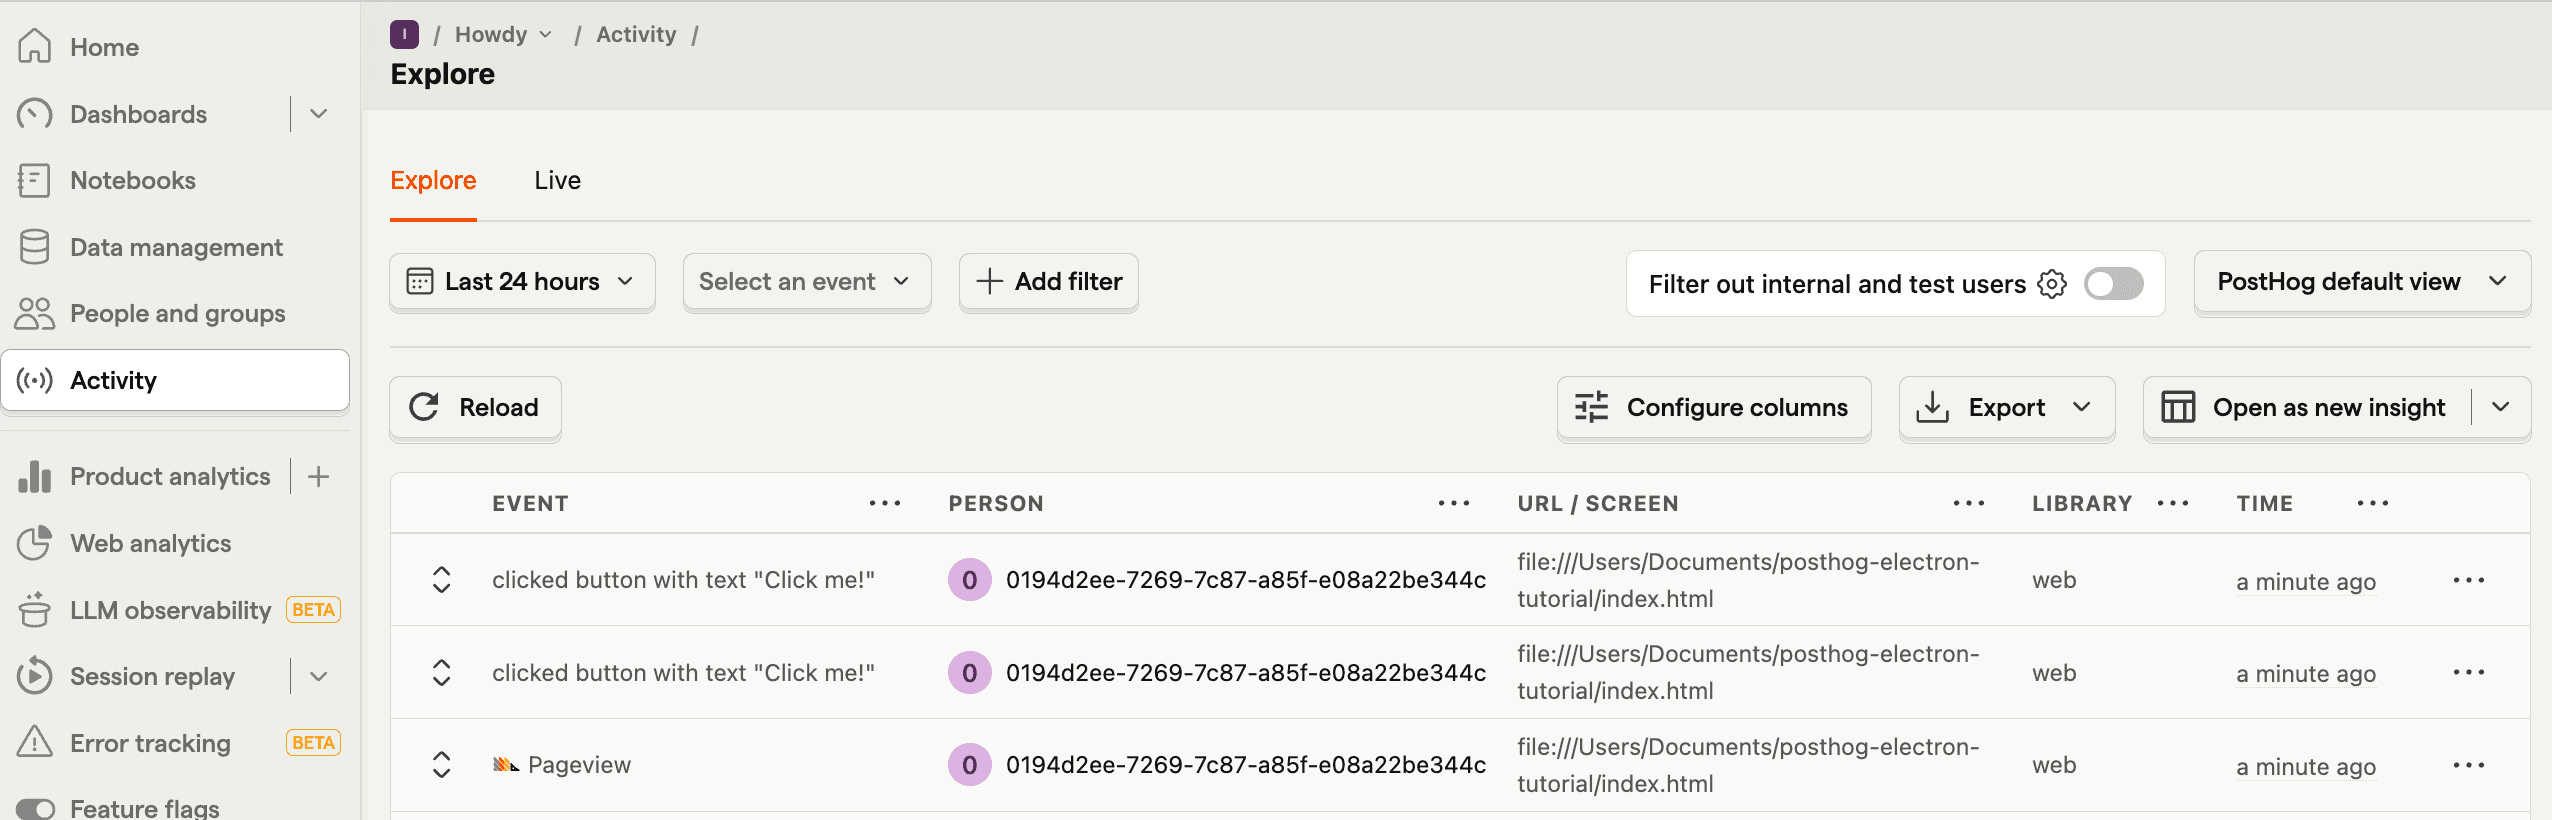
Session replay also works out of the box for Electron apps as long as you enable record user sessions in your project settings.
Capturing custom events
Although PostHog autocaptures many events like button clicks and inputs, you can also use it to capture custom events.
For example, if we wanted to capture a home_button_clicked event, we can simply add an event listener to renderer.js and then use the capture() method like this:
Because Electron apps don't have pages, you also need to do this to capture $pageview events however you set up navigation.
Other features of PostHog, like feature flags, experiments, group analytics, and more can all be used through the posthog object. See our JavaScript Web docs for more details.
PostHog is the leading platform for building self-driving products. With a full suite of developer tools – AI observability, product analytics, session replay, feature flags, experiments, error tracking, logs, and more – PostHog captures all the context agents need to diagnose problems, uncover opportunities, and ship fixes. A data warehouse and CDP tie it all together, unifying that context into one source agents can read across. You can steer it all from Slack, the web app, the desktop (PostHog Desktop), or your own editor via the MCP.