


How to vibe-code a game with DeskHog using Claude Code

Contents
DeskHog is an open-source developer toy for building your own apps and games from scratch. It’s not just for experienced developers either — AI coding agents like Claude Code enable anyone to start building apps using natural language.
This tutorial shows you how to build a simple game for DeskHog using Claude Code, PlatformIO, GitHub, and some example prompts. We’ll start from the basics (no prior C++ experience needed) and quickly work towards a basic Flappy Bird-style game running on DeskHog.
Getting started with GitHub, Claude Code, and PlatformIO
First, gather the tools you’ll need for this tutorial. Grab a USB-C data cable to connect your DeskHog to a computer and plug it in to charge. If you haven’t connected DeskHog to WiFi before, scan the DeskHog’s QR code with your phone and do that now.
Next, download GitHub Desktop. This will be useful for managing code versions locally and syncing with the GitHub repository.
What is a GitHub repository?
GitHub is a platform for hosting and collaborating on code. Code (like the DeskHog software) lives in repositories (“repos”). DeskHog’s repo is open-source (meaning it is public and free to use). When you clone the repo to your computer, you'll get a local copy of the code. You can then create your own branches of the codebase to make changes, and eventually commit and merge those changes back (via a pull request) for others to see.
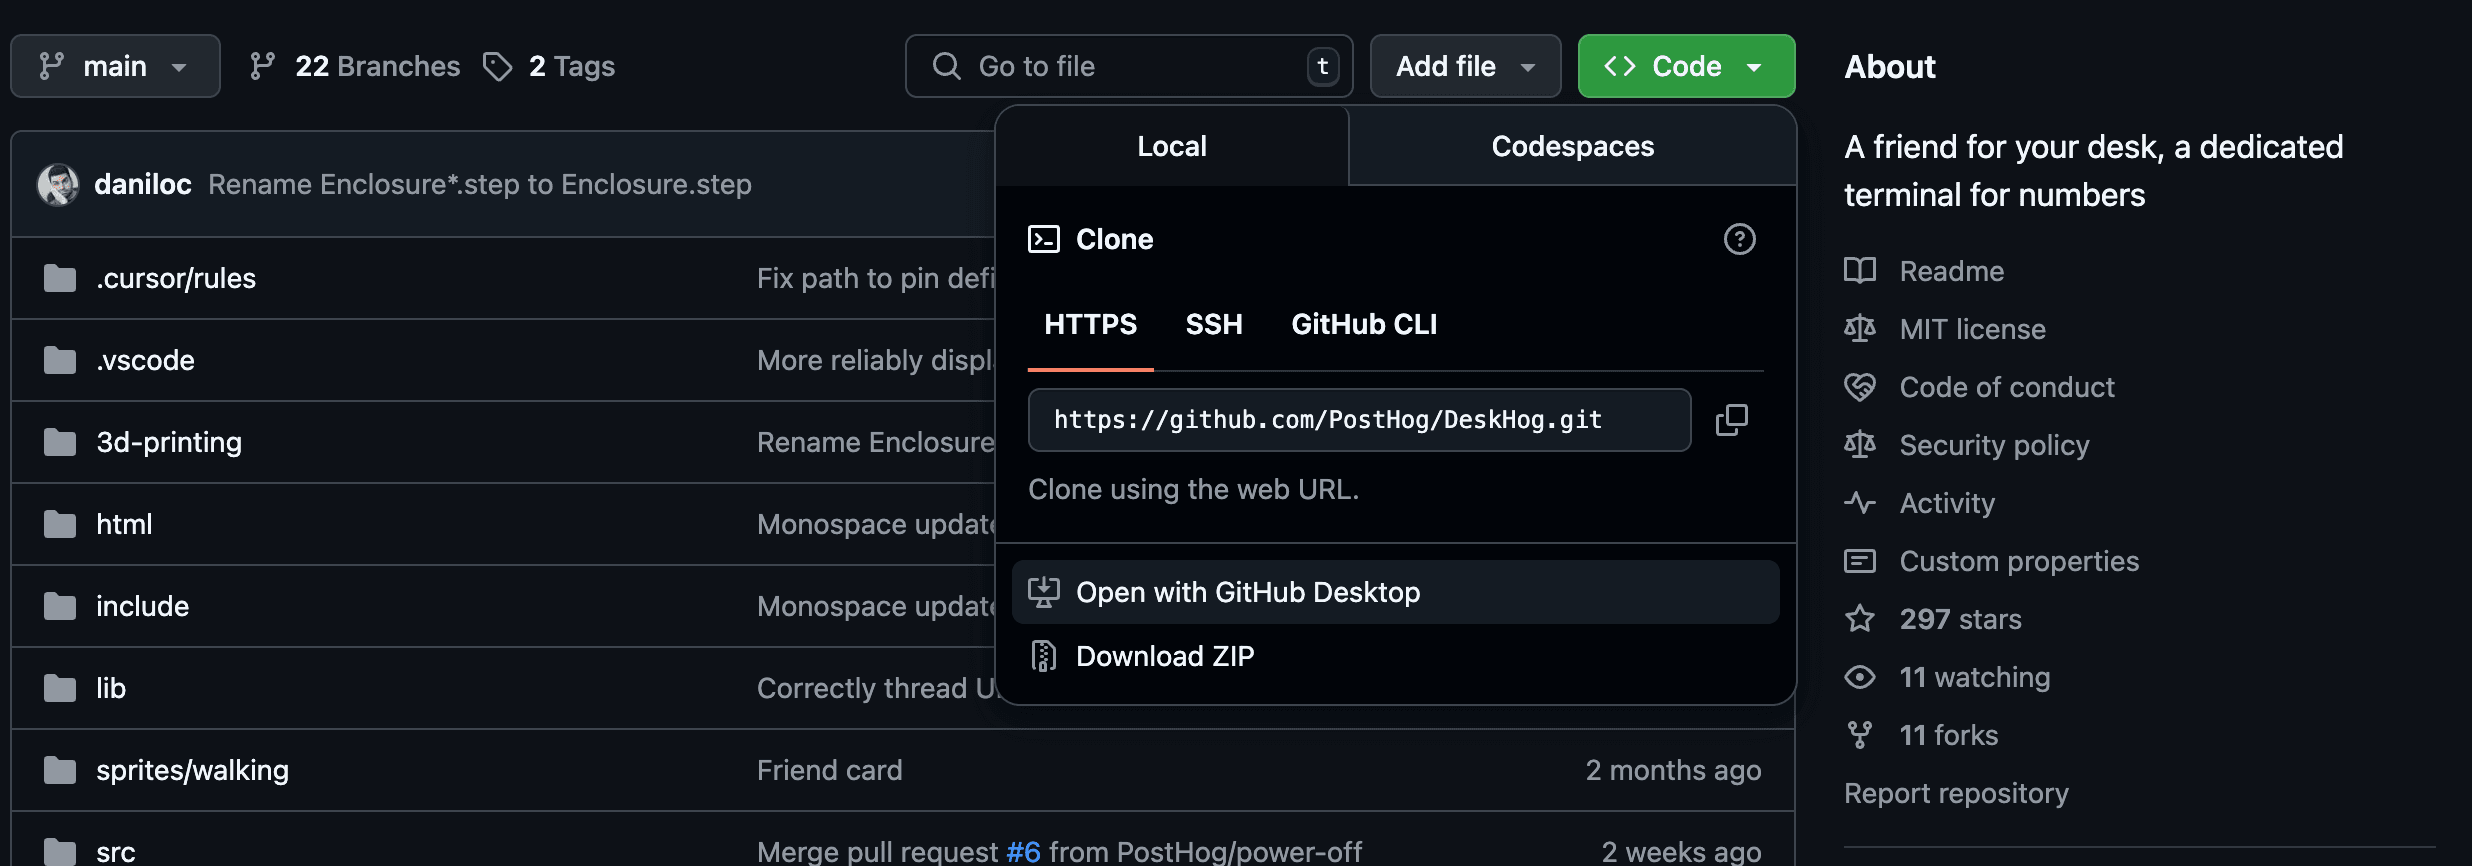
Once GitHub Desktop is installed, use it to clone the DeskHog repository. The quickest way is to visit the the DeskHog repo in your browser and open it in GitHub Desktop.
Now that you have a local copy of the DeskHog code, you need a way a code editor and AI assistant to help.
If you don’t already have a code editor, install Visual Studio Code and set it as your preferred code editor in GitHub Desktop’s settings (Settings > Integrations).
Next, set up Claude Code, Anthropic’s AI coding assistant for vibe-coding. Claude Code works in your terminal. You’ll need Node.js 18+ installed. If you don’t have it, download and install Node.js from the official website. Then open a terminal and install the Claude Code CLI globally with this command:
This command downloads and sets up Claude Code. Once installed, start Claude Code in any project by opening a terminal in the project folder and running:
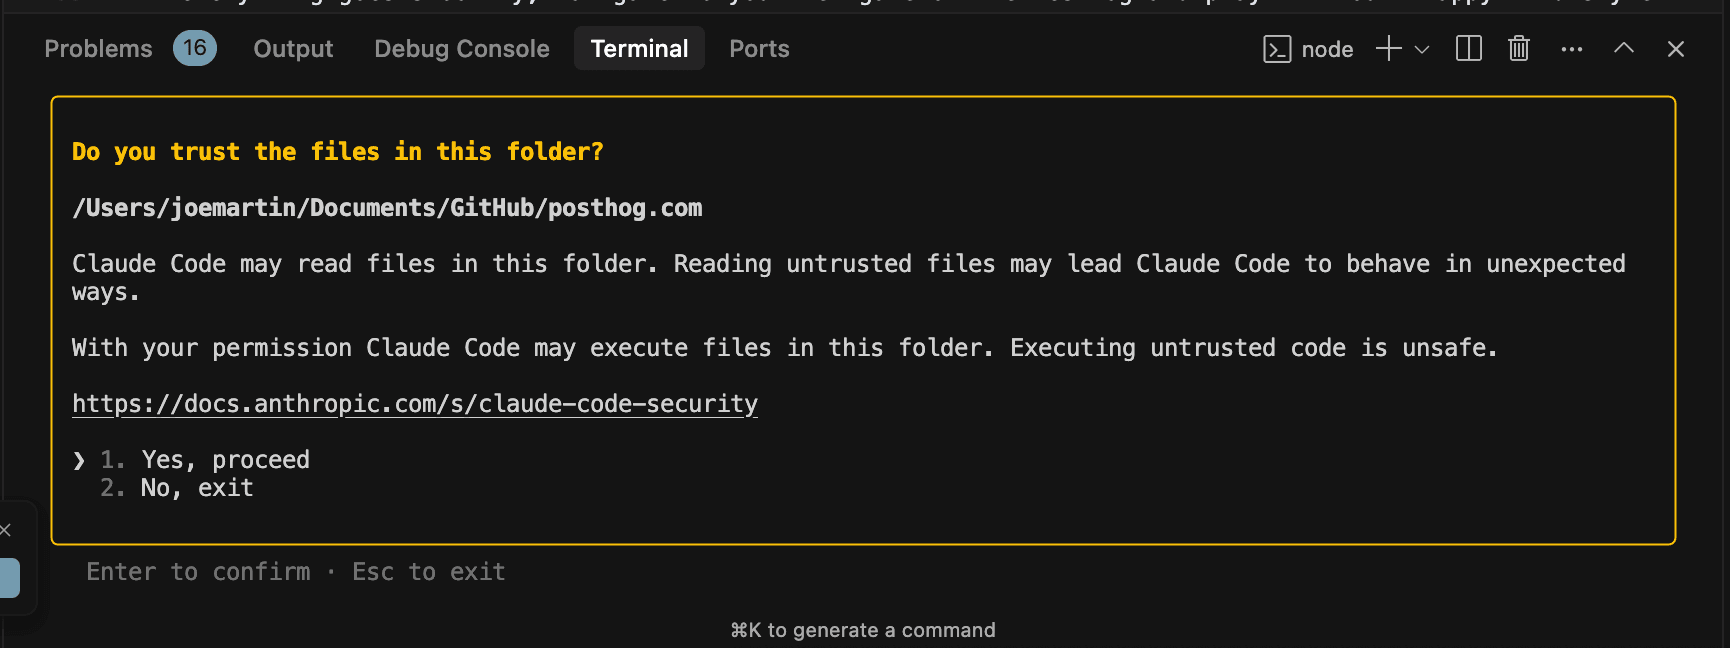
The first time you run it, you may be asked to log in or provide an API key for Anthropic – just follow the on-screen steps. After that, you’ll see a welcome message in the terminal indicating Claude Code is ready for vibe-coding.
What is vibe-coding?
Vibe-coding means interacting with the codebase through an AI agent without necessarily knowing how everything works. You describe what you want in natural language, and the AI (Claude Code) writes or modifies the code to make it happen. This approach isn’t without risks — the AI might misunderstand or produce imperfect code — but if you have limited coding experience, it’s an effective shortcut to get things working.
Finally, lets install PlatformIO, which will allow us to build and deploy code to DeskHog.
What is building and deploying? When you create code, DeskHog won’t understand it on it’s own. Instead, you need to use PlatformIO to build the code and then deploy it to the device. Building is the process of translating your code into something the device can understand, while deploying is the process of moving it onto the device. Think of it like you’re cooking a meal. First, you create a recipe (writing the code), then you follow the recipe (building the code), then you serve the meal (deploying the code). Claude helps us with the first step, while PlatformIO handles the last two.
Install the PlatformIO IDE extension in your code editor. In VS Code, open Extensions and search for “PlatformIO IDE” and install it. Once installed, you’ll see new icons or toolbar buttons for build and upload tasks. You’ll use these shortly.
Creating a branch and adding some code
Your tool stack is ready — now it’s time to put it to work. First, create a new branch so you’re not editing the main code directly. In GitHub Desktop, click the current branch name (“main” by default) and select "New branch". Give your branch a descriptive name, such as flappy-bird-game.
With the new branch created, open the project in your editor by clicking "Open in Visual Studio Code" from GitHub Desktop.
Now it’s time to vibe-code using Claude Code. In VS Code, open a terminal and run this command:
Claude Code will initialize by reading your project files. You can help it out by running this command to create a CLAUDE.md file that helps Claude learn faster:
``bash /init
Hit Enter and let Claude think. Claude will analyze your project, then draft the necessary code. It will ask you to approve changes before applying them, so keep approving them.
Once accepted, Claude applies the edits to your files. You’ll likely see new files for your game logic (like FlappyGameCard.cpp and a header file) and edits to the UI or card registry so your game shows up on the DeskHog menu.
Deploying and testing your code
With the new code in place, it’s time to build and deploy it to your DeskHog. This is where PlatformIO comes in. In your editor, click the PlatformIO “Build” (✔️) button, or run the “PlatformIO: Build” task from the command palette.

PlatformIO will compile the code and you can watch the output in the PlatformIO console. The first build may take longer. If successful, you’ll see a “SUCCESS” message.
Next, with your DeskHog connected to the computer by a USB data cable, click the “Upload” (arrow) button to deploy the compiled code to DeskHog. PlatformIO will upload the firmware and reboot your DeskHog automatically.
If everything goes smoothly, you should be able to navigate to your new game on the DeskHog and play it - though you may need to enable the card in your stack. You can do this by navigating to the IP address of your DeskHog device, which is shown on the main screen when it connects to the WiFi. Your Flappy Bird-style game should show basic shapes for graphics, with the CENTER button controlling the jump.
Iterating, bug-fixing, and committing
It’s common to hit a bug or see unexpected behavior. Vibe-coding is an iterative process: prompt Claude, build and test, fix issues, and repeat.
For example: if your game compiled and uploaded, but you don’t see it on the DeskHog card menu then you could tell Claude Code the following:
Claude will check the relevant files (like CardController.cpp) and suggest a fix — for example, attaching the game’s card properly to the UI navigation stack. Approve the fix, rebuild with PlatformIO, redeploy, and test again. This is the vibe-coding loop.
If you get compiler errors, copy the error into Claude and ask it to fix it. If you’re stuck, ask Claude to explain what’s wrong so you can investigate further. Claude Code can usually resolve most C++ issues step by step.
Once you have a working version, it's time to commit your changes. Save all the modified files in VS Code, then switch to GitHub Desktop. You’ll see your changes listed. Add a descriptive commit message like “Add Flappy Bird game,” then click Commit.
Committing only saves your changes locally. When you’re ready to share your work, click Publish branch in GitHub Desktop to push your branch to GitHub, then Create Pull Request to open GitHub in your browser. Add a title and description, then submit the PR. Other DeskHog developers can then review and merge it so everyone can enjoy your game.
Congratulations — you just vibe-coded a game from scratch using Claude Code and can officially add "Game developer" to your LinkedIn profile.

Subscribe to our newsletter
Product for Engineers
Read by 100,000+ founders and builders
We'll share your email with Substack
PostHog is the leading platform for building self-driving products. With a full suite of developer tools – AI observability, product analytics, session replay, feature flags, experiments, error tracking, logs, and more – PostHog captures all the context agents need to diagnose problems, uncover opportunities, and ship fixes. A data warehouse and CDP tie it all together, unifying that context into one source agents can read across. You can steer it all from Slack, the web app, the desktop (PostHog Code), or your own editor via the MCP.