


How to set up feature flags in Android

Contents
Feature flags help you conditionally roll out and release features safely. This tutorial shows you how integrate them in Android using PostHog.
We'll create a basic Android app, add PostHog, create a feature flag, and then implement the flag to control content in our app.
1. Create a new Android app
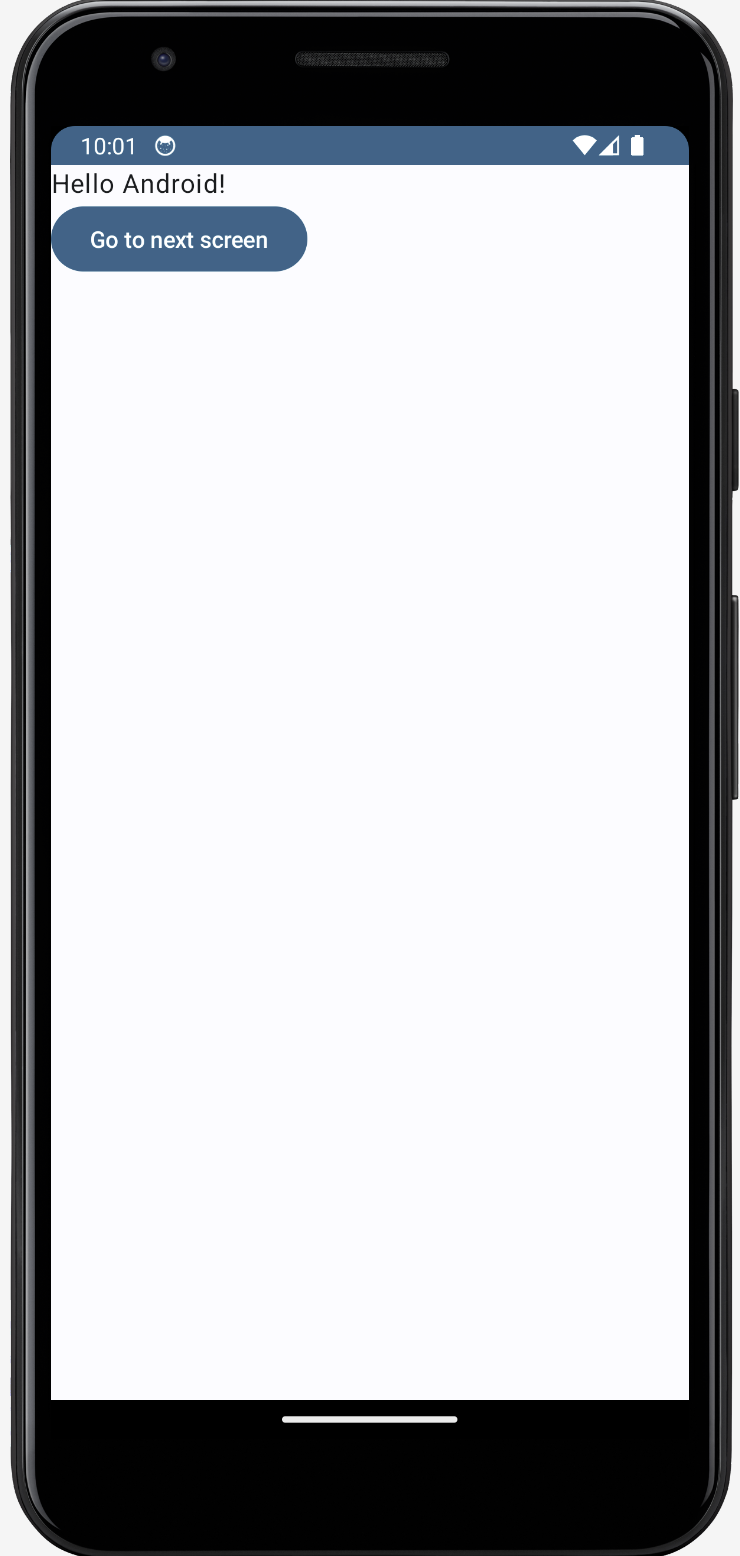
Our app will have two screens:
- The first screen has a button which takes you to a second screen.
- The second screen either has a
redorgreenbackground color depending on whether our feature flag is enabled or not.
The first step is to create a new app. Open Android Studio and create a new project. Select Empty Activity, name your project Android-Feature-Flags, and use the defaults for everything else.
Then, replace your code in MainActivity.kt to set up a basic UI with a button to navigate to a new screen.
Make sure to add implementation("androidx.navigation:navigation-compose:2.4.0") to your dependencies in to Gradle Scripts/build.gradle.kts (Module:app) and sync your project with the Gradle files.
Our basic set up is now complete. Build and run your app to see it in action.
2. Add PostHog to your app
First, add the PostHog Android SDK as a dependency in your Gradle Scripts/build.gradle.kts (Module: app) file. You can find the latest version on our GitHub. For this tutorial, we use version 3.1.7.
Sync your project with your Gradle file changes.
Next, we create a Kotlin class where we can configure our PostHog instance. In the src/main/java/com.example.android_feature_flags folder, add a new file MyFeatureFlagsApplication.kt and then add the following code:
To get your PostHog API key and host, sign up to PostHog. Then, you can find your API key and host in your project settings.
We now need to register our custom application class. Go to app/manifests/AndroidManifest.xml and add android:name=".MyFeatureFlagsApplication" within the <application> tag:
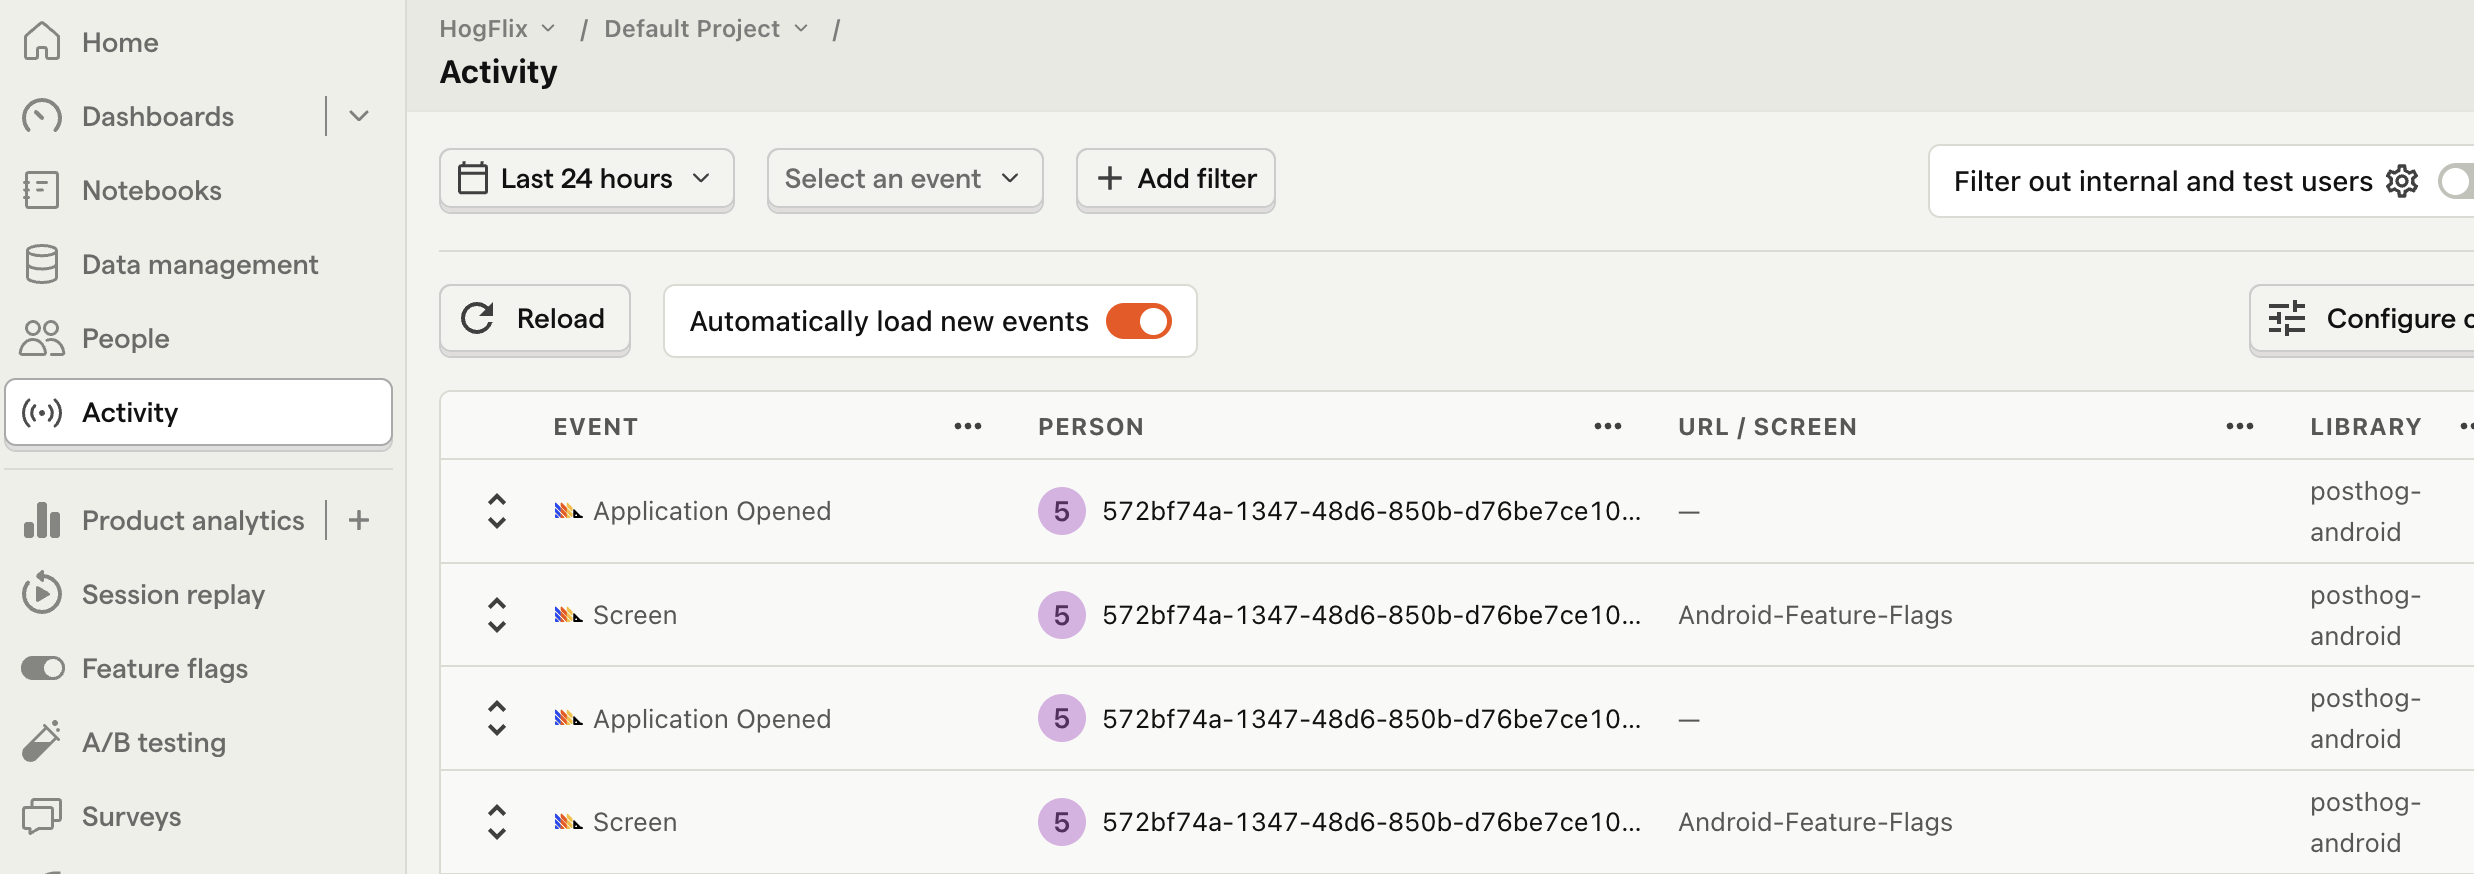
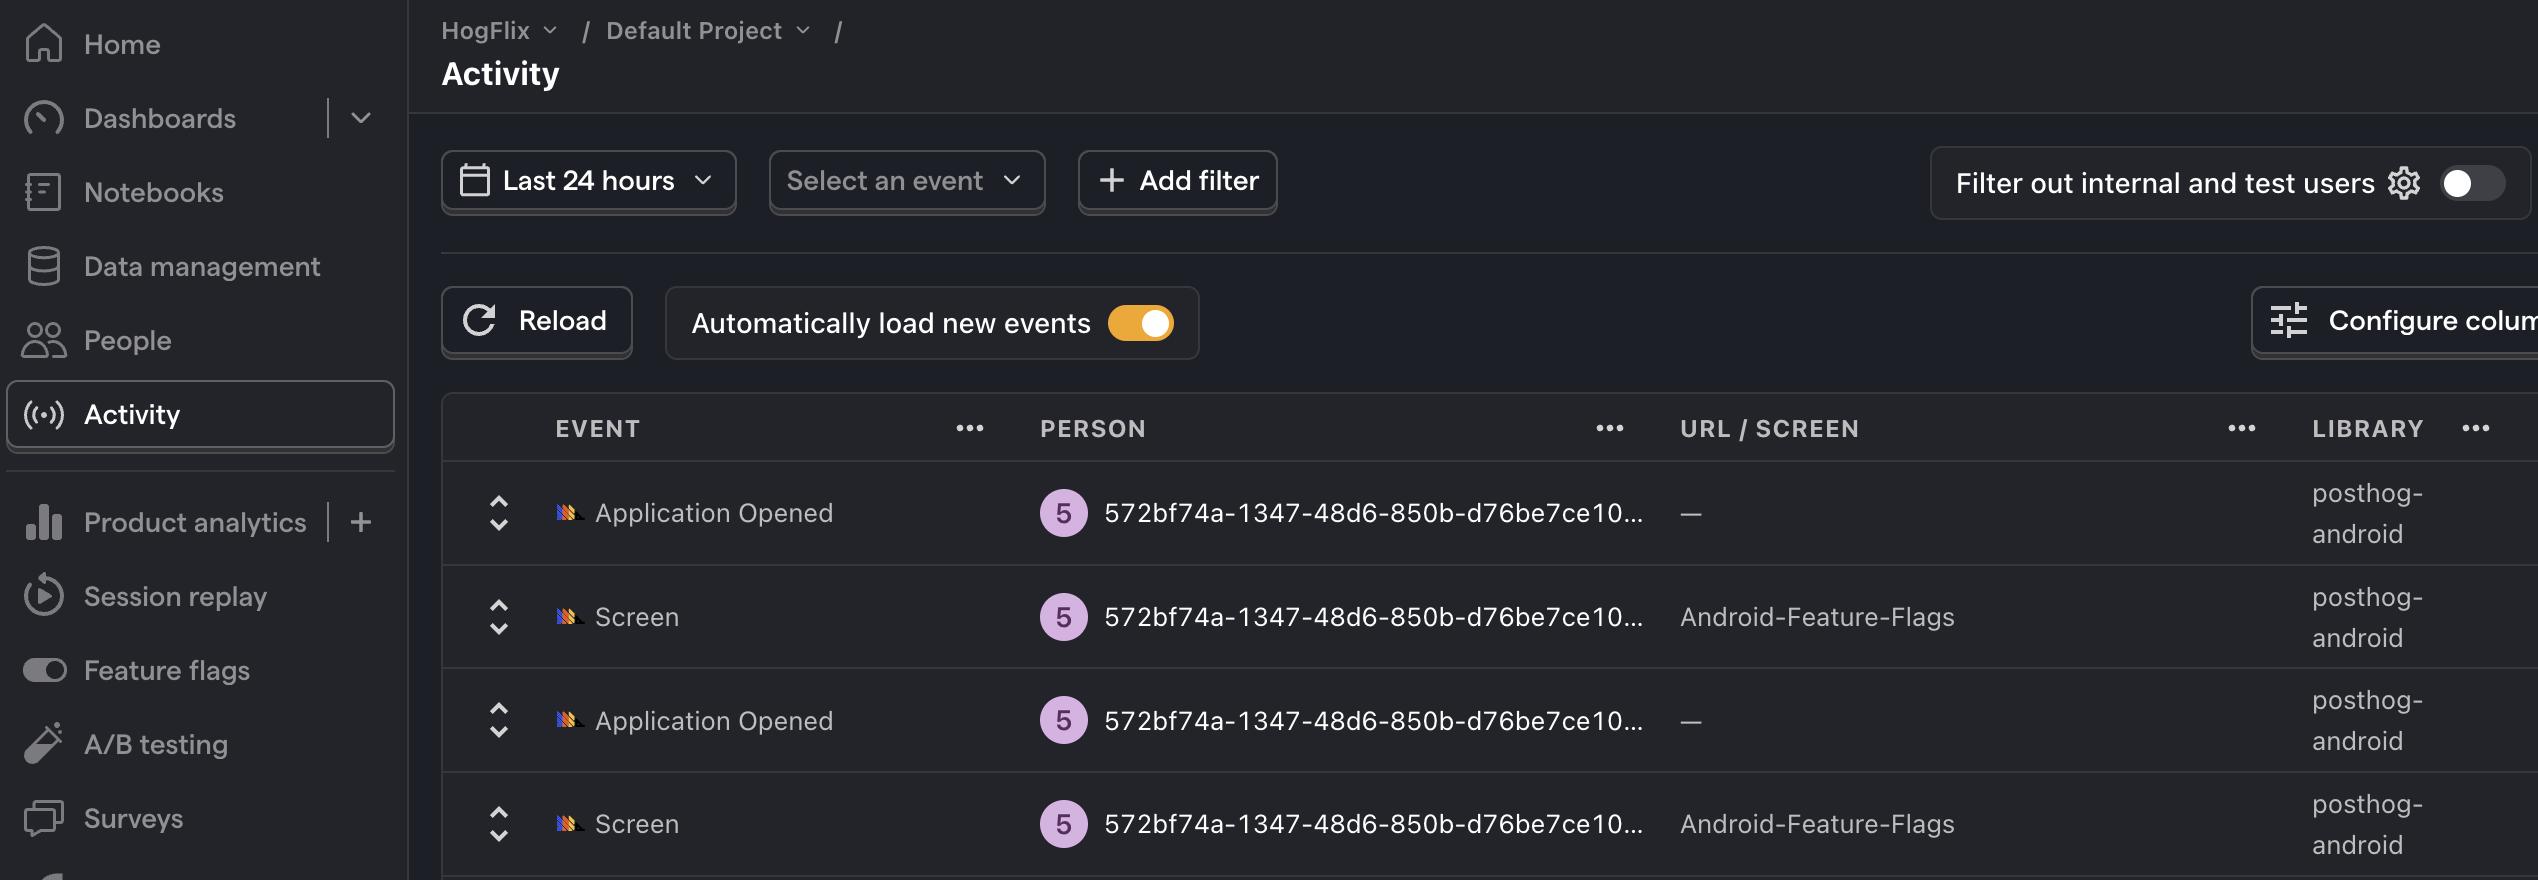
To check your setup, build and run your app. Click your button a few times. You should start seeing events in the activity tab.
3. Create a feature flag in PostHog
With PostHog set up, your app is ready for feature flags. To create one, go to the feature flags tab in PostHog and click New feature flag. Enter a flag key (like my-cool-flag), set the release condition to roll out to 100% of users, and press "Save."

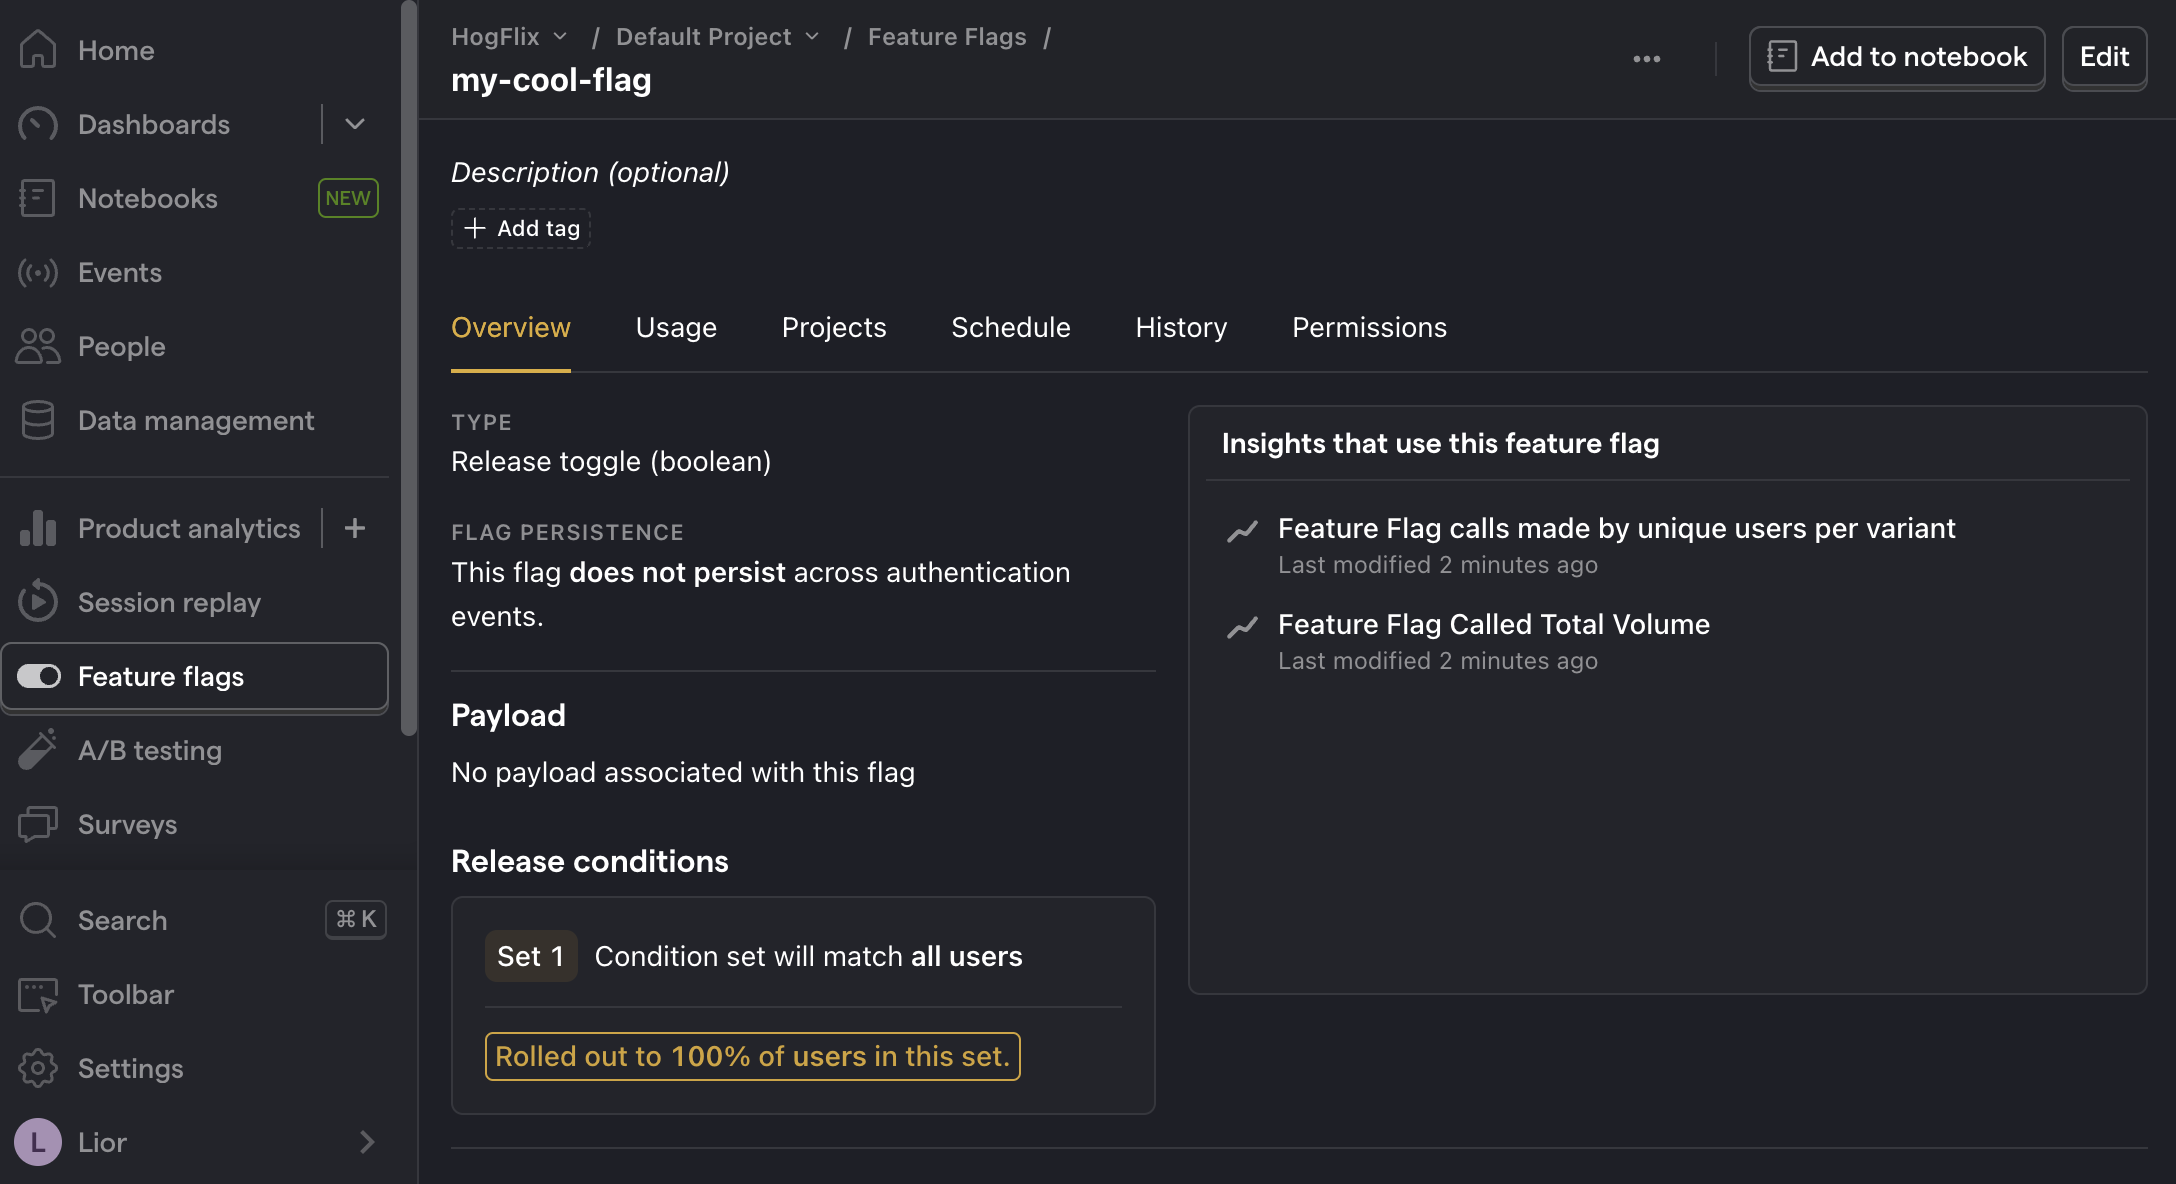
You can customize your release conditions with rollout percentages, and user or group properties to fit your needs.
4. Implement the flag code
To implement the feature flag, we:
- Fetch the
my-cool-flagflag usingPostHog.isFeatureEnabled(). - Change the background color of
SecondScreenbased on the value of the flag.
To do this, update the code in MainActivity.kt with the following:
That's it! When you restart your app and click the button, you should see the green background color on the second screen.
Further reading
- How to set up session replays in Android
- How to run A/B tests in Android
- How to set up analytics in Android
- How to set up remote config in Android
Subscribe to our newsletter
build mode
Read by 75,000+ founders and builders
We'll share your email with Substack

PostHog is the leading platform for building self-driving products. With a full suite of developer tools – AI observability, product analytics, session replay, feature flags, experiments, error tracking, logs, and more – PostHog captures all the context agents need to diagnose problems, uncover opportunities, and ship fixes. A data warehouse and CDP tie it all together, unifying that context into one source agents can read across. You can steer it all from Slack, the web app, the desktop (PostHog Desktop), or your own editor via the MCP.