


How to A/B test LLM models and prompts

Contents
A/B tests enable you to compare how changes to LLM models and prompts affect your app. In this tutorial, we'll show you how to set one up to effectively evaluate your LLM improvements.
We set up a basic Next.js app, add PostHog, create A/B tests, and implement the code for them.
While this tutorial focuses on Next.js and Node, PostHog supports many different SDKs and frameworks. The concepts in this tutorial apply to all our supported SDKs and frameworks.
1. Download the sample app
We've created a basic recipe builder app for this tutorial. You can download it from Github.
Run npm run dev and go to http://localhost:3000 to everything in action. The app works as follows:
Users first log in by entering in their email. The code for this page is in
src/app/page.js.After login, they are navigated to
recipe-builder/page.js. Here they can type in a few ingredients and receive a recipe created by an LLM.Once they've received the recipe, they can rate the response.
API calls to the LLM are made in
src/app/api/generate-recipe/route.js. We're using ChatGPT for this tutorial, but you can use any LLM you like.
2. Add PostHog to your app
With our app set up, it’s time to install and set up PostHog. We install both the JavaScript Web and Node SDKs:
- The JavaScript Web SDK runs client-side. We use this to capture user evaluations for the helpfulness of the recipes.
- The Node SDK runs server-side. We use this to implement our A/B test code since our LLM requests run in the backend.
Run the following commands in your root directory:
This installs the SDKs as well as creates a providers.js file. We use this to set up a PostHog provider for our client-side code. Add the following code to the file:
Add your PostHog API key and host to the above code. You can find them in your project settings.
Next, we import the PHProvider component into our app/layout.js and wrap our app with it:
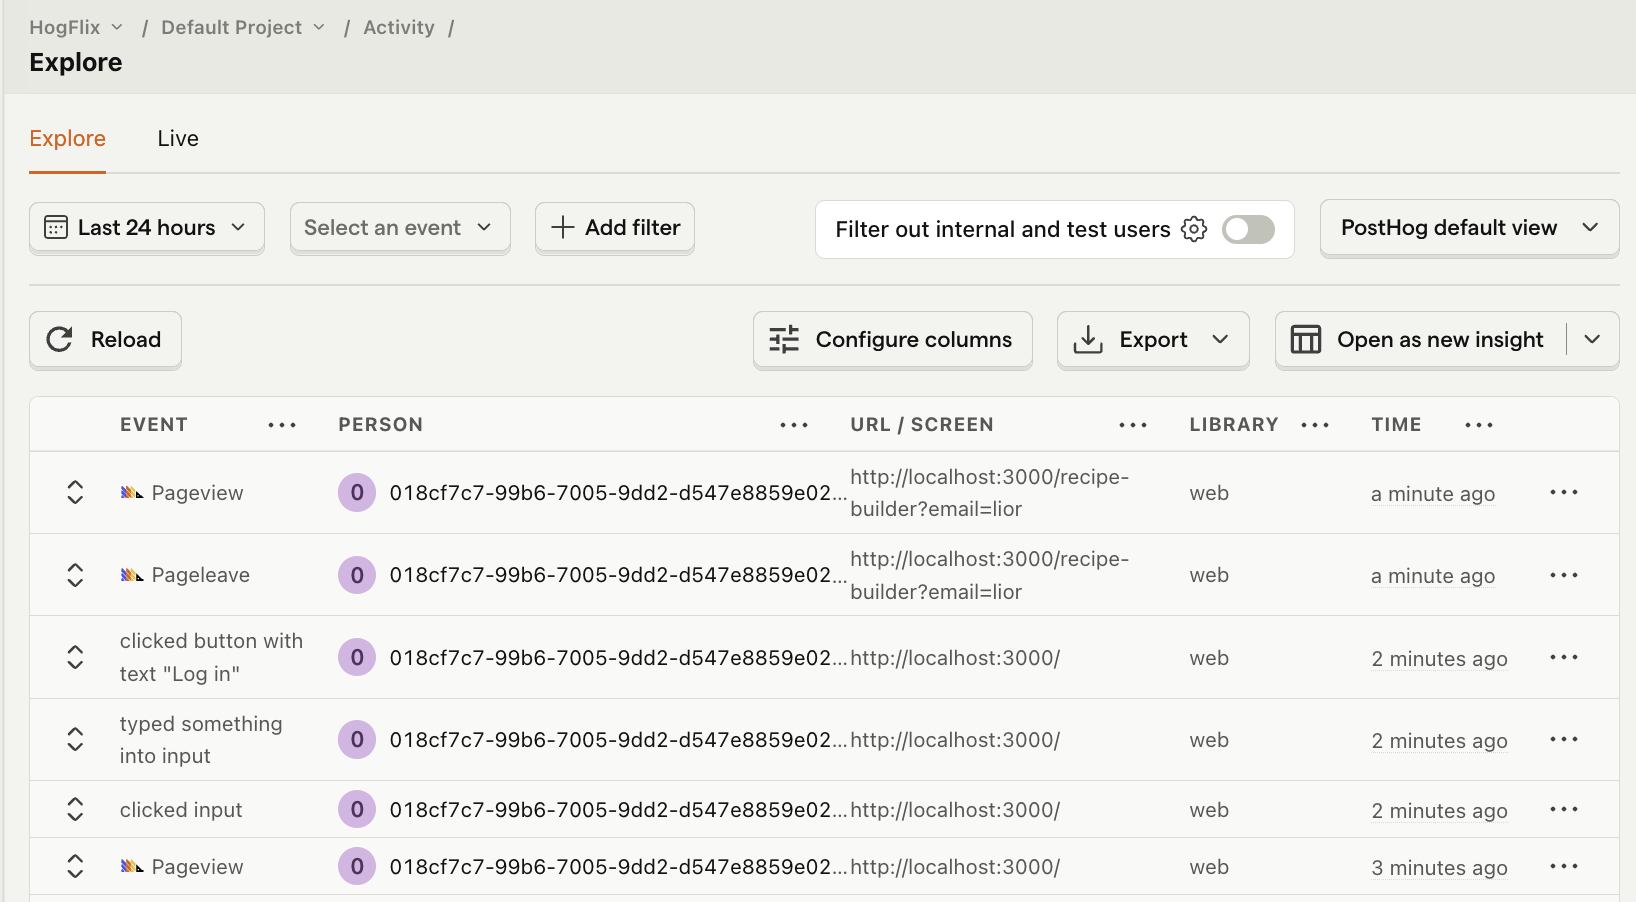
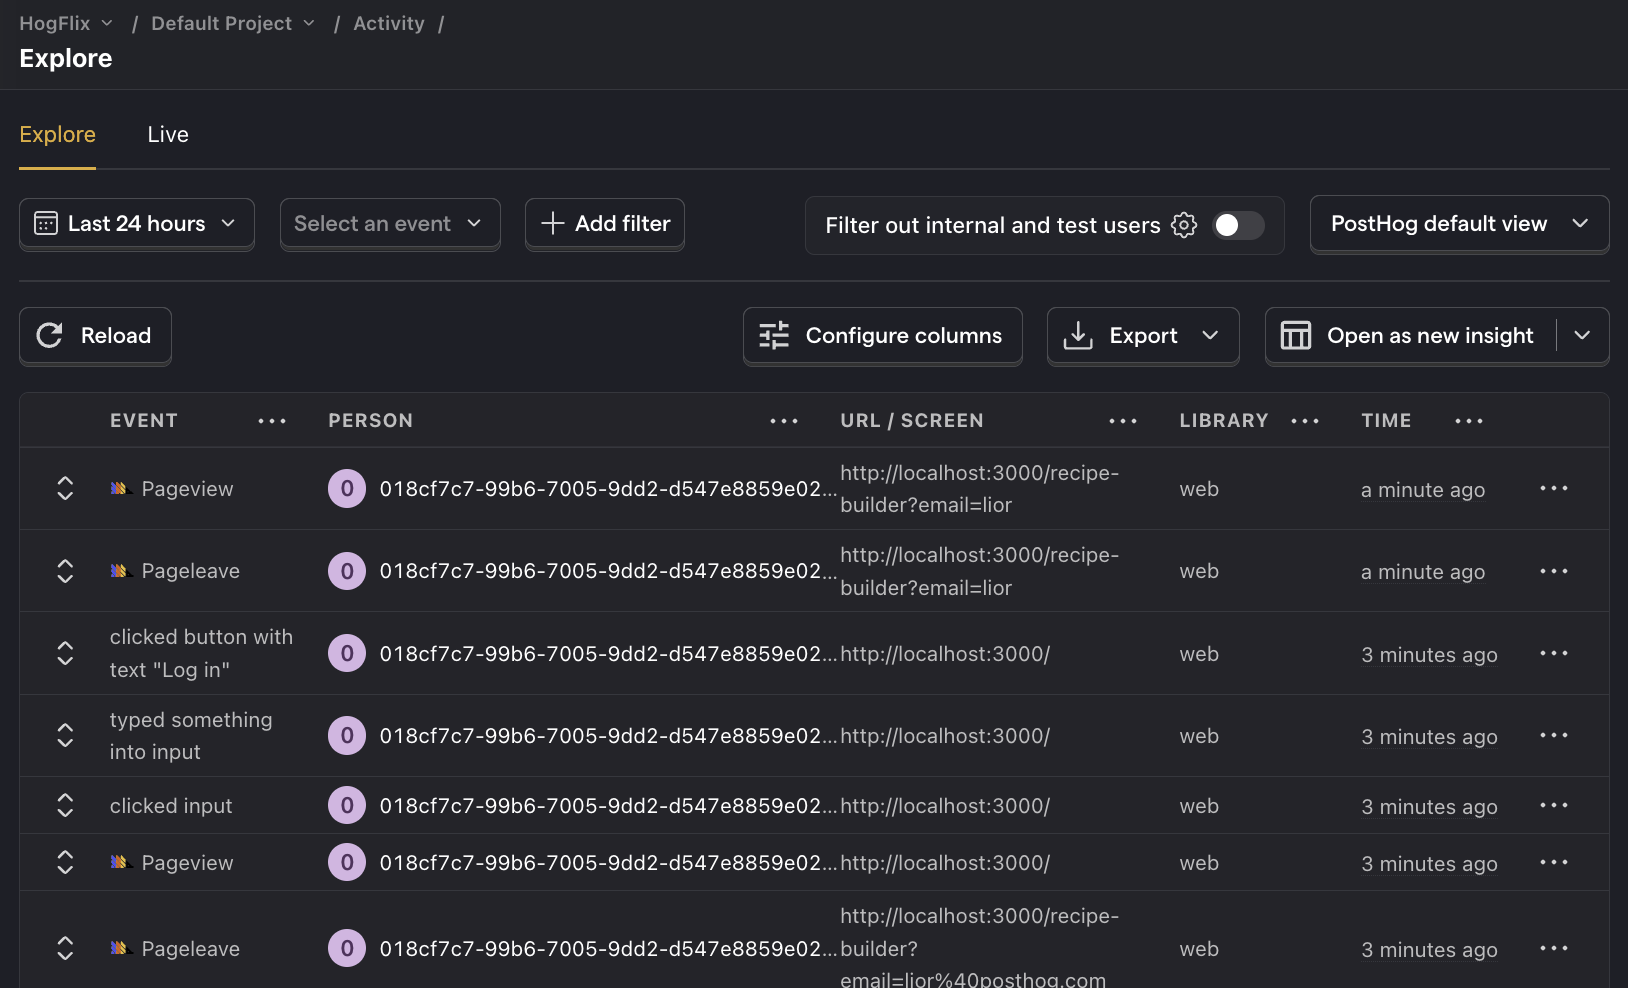
To test everything has been set up correctly, restart your app and click on a few buttons. You should start seeing events in your PostHog activity tab.
Lastly, to set PostHog up in our server-side API route, import posthog-node and initialize it at the top of the src/app/api/generate-recipe/route.js file using your API key and host:
3. Capture events for your A/B test
Now that we have PostHog set up, the next step is to capture events to use as our goal metric in our A/B test. In our case, we want to use a user feedback score as the goal metric.
To do this, we capture an event every time clicks the Yes or No buttons when asked if the LLM response was helpful. We assign a score of +1 if they click Yes and -1 if No.
Update the code in recipe-builder/page.js to import the usePostHog() hook and capture events in the handleYesClick and handleNoClick functions:
Next, we want to make sure we attribute these events to the user who submitted them. This ensures our A/B test results are accurate.
To do this, we call posthog.identify() with the user's email. This links any captured events to the user.
Update the code src/app/page.js to import the usePostHog hook and call identify inside the handleLogin function:
Lastly, when a user log outs we call posthog.reset() to unlink any future events. Update the handleLogout function in recipe-builder/page.js to do this:
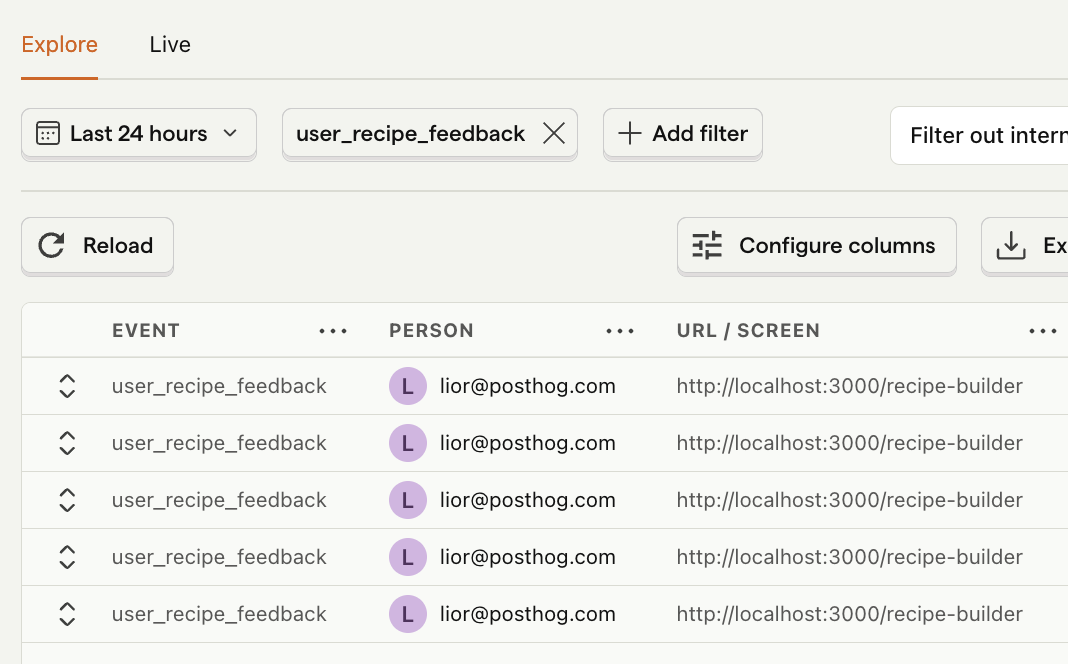
Restart your app and test everything is working by clicking the Yes and No buttons a few times in your app. You should see user_recipe_feedback events with the user's email in your activity tab.

4. Create an A/B test in PostHog
We're going to create a multivariate experiment that tests both the model and prompt. It will have the following variants:
- Control: uses the model
gpt-3.5-turboand the promptGenerate a recipe using these ingredients. - Model change: Same prompt as control but uses the
gpt-4omodel. - Prompt change: Same model as control but uses the prompt
Generate a healthy and delicious high protein recipe using these ingredients
To do this, go to the A/B testing tab and create an A/B test by clicking the New experiment button. Add the following details to your experiment:
- Name it "LLM experiment".
- Set "Feature flag key" to
llm-experiment. - Click + Add test variant. Name the first test variant to
model-changeand the second oneprompt-change. - Click Continue.
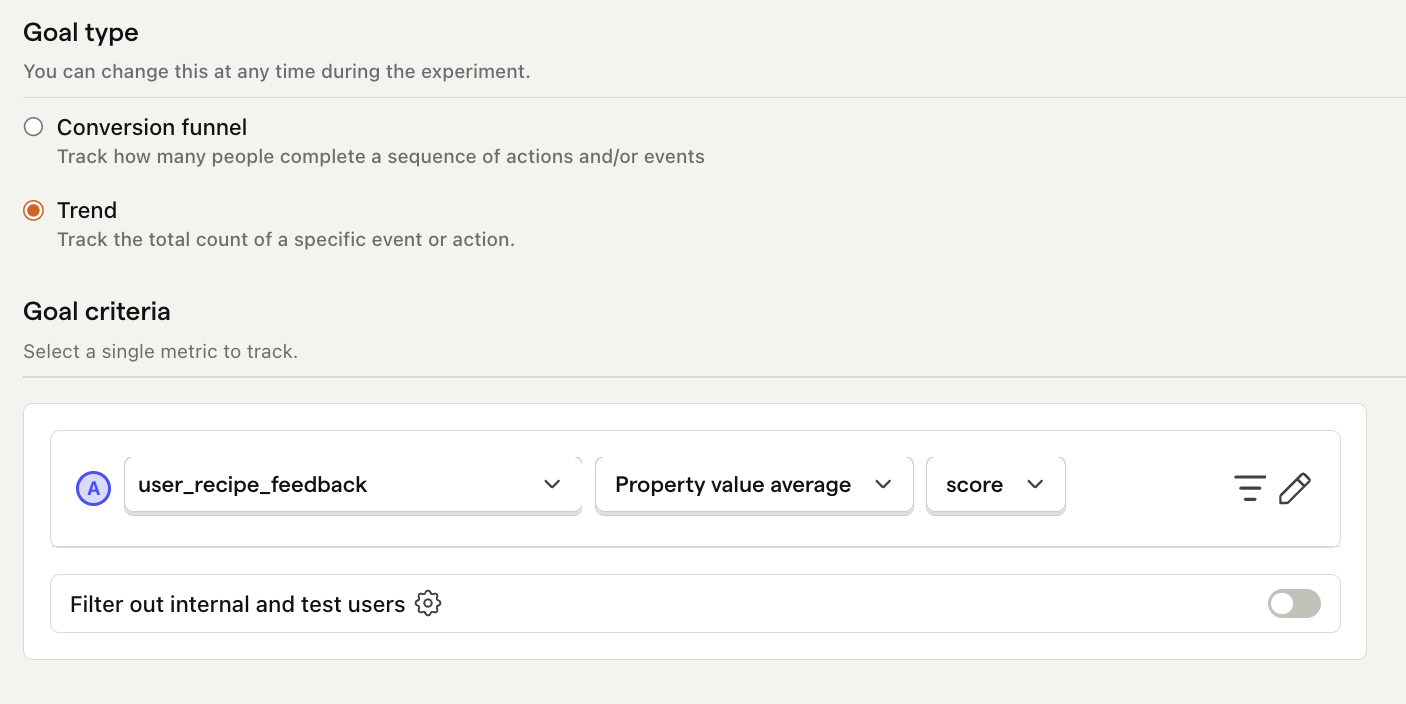
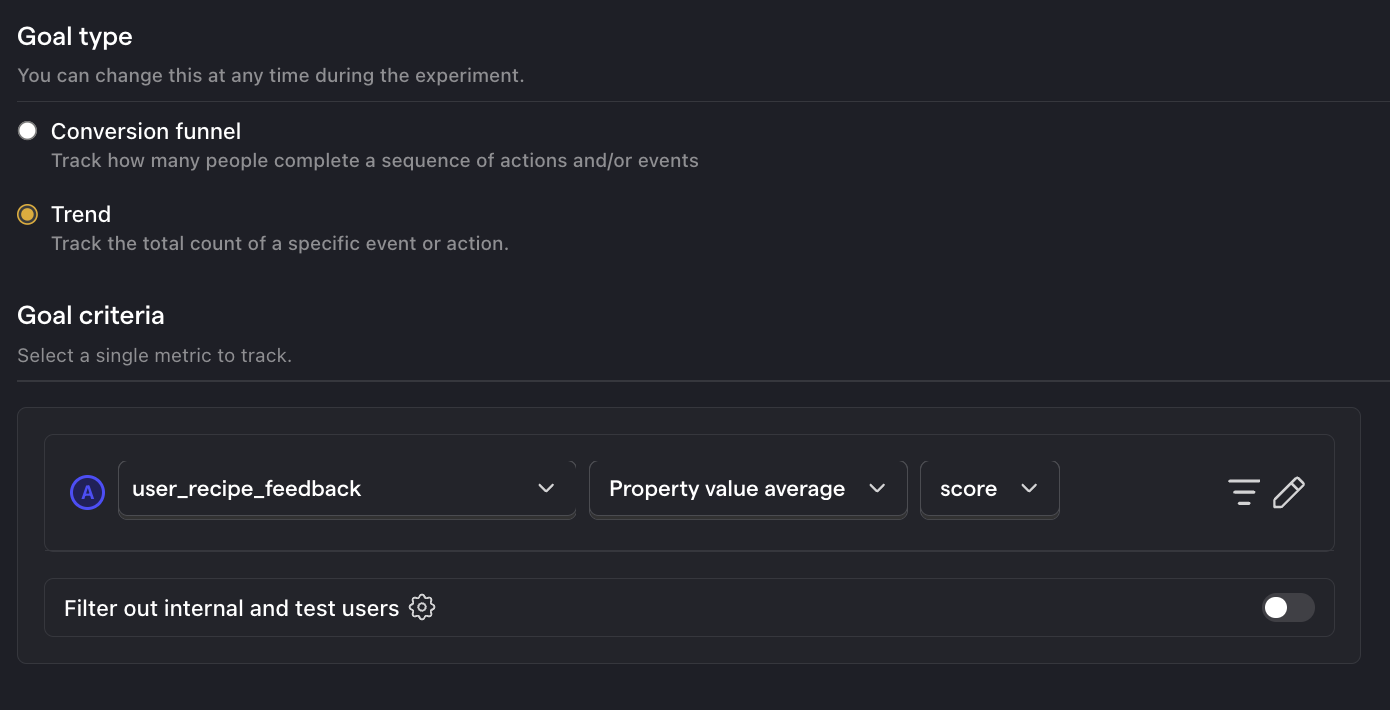
- Change the goal type to Trend.
- Under goal criteria, select the
user_recipe_feedbackevent. Click on the total count dropdown and select Property value - average. Selectscoreas the property.
- Click Save as draft and then Launch
5. Implement the A/B test code
To implement the A/B test, we:
- Fetch the
llm-experimentflag inapi/generate-recipe/route.jsusingposthog.getFeatureFlag() - Update the model or prompt depending on the flag value.
- Call
await posthog.shutdown()at the end of our request to flush and send all pending events.
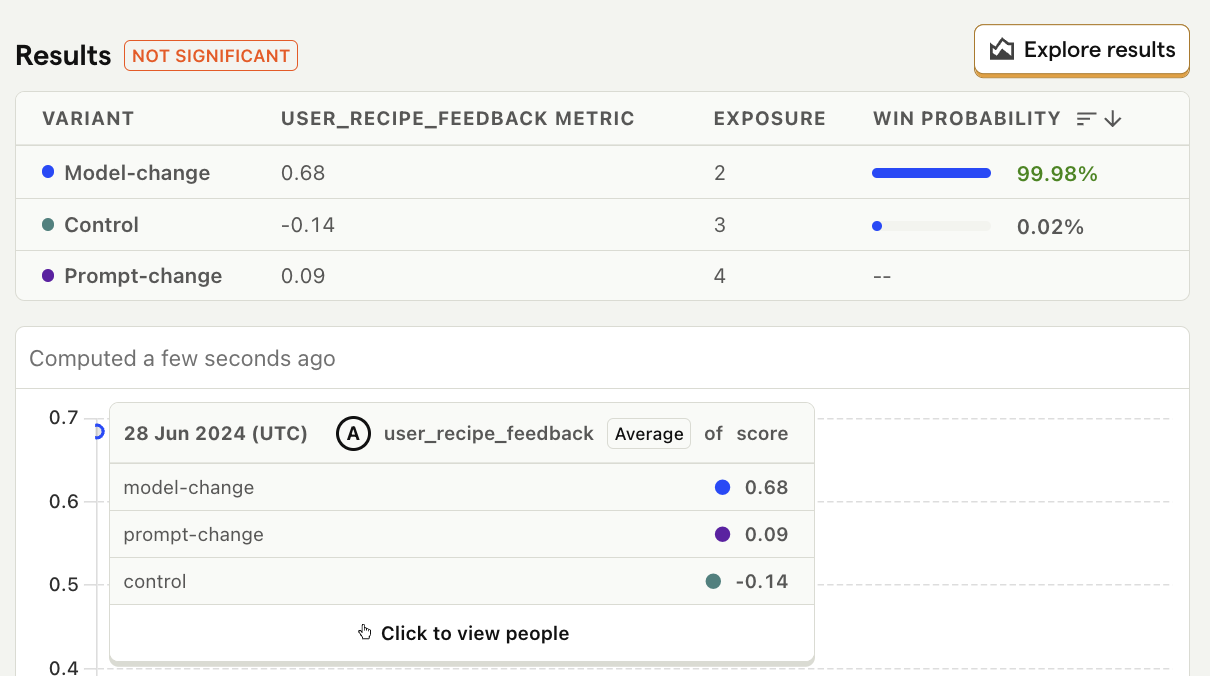
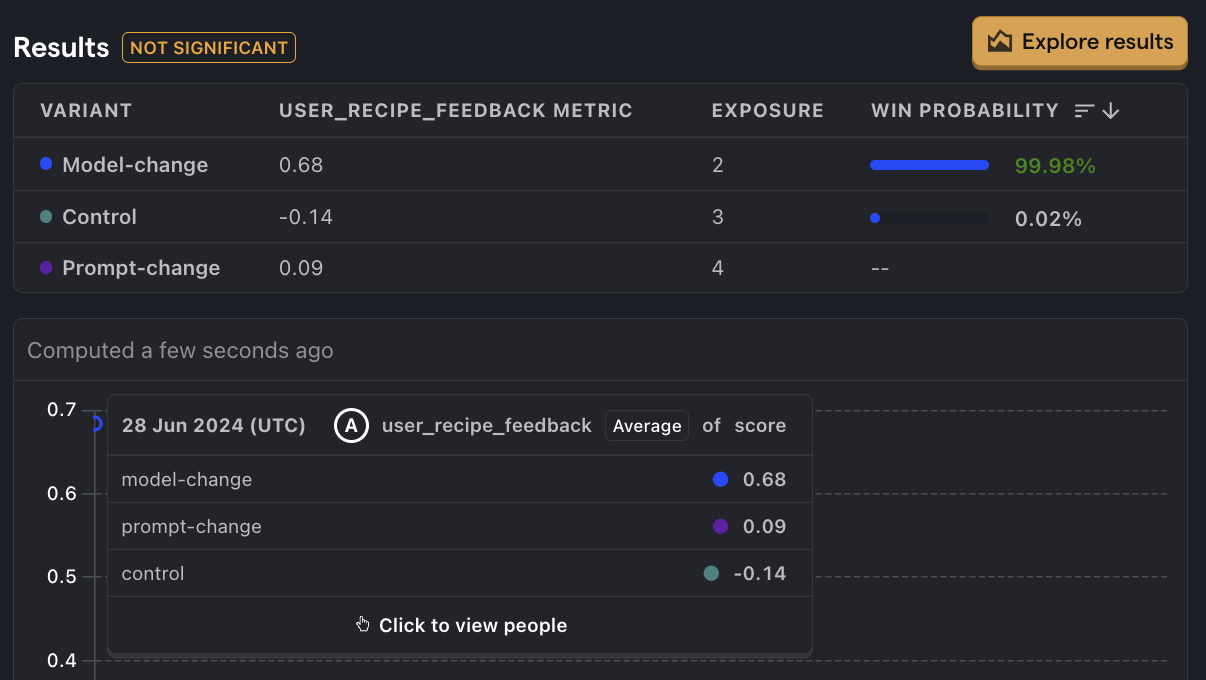
And we're done setting up our A/B test! Open your app, log in with a few different emails, and click the Yes and No buttons a few times. You should now see results in your experiment page.
Further reading
- Product metrics to track for LLM apps
- How to set up AI Observability for Anthropic's Claude
- How to set up OpenAI observability
Subscribe to our newsletter
build mode
Read by 75,000+ founders and builders
We'll share your email with Substack
PostHog is the leading platform for building self-driving products. With a full suite of developer tools – AI observability, product analytics, session replay, feature flags, experiments, error tracking, logs, and more – PostHog captures all the context agents need to diagnose problems, uncover opportunities, and ship fixes. A data warehouse and CDP tie it all together, unifying that context into one source agents can read across. You can steer it all from Slack, the web app, the desktop (PostHog Desktop), or your own editor via the MCP.