





SCIM
Contents
Where is this feature available?
Free / Open-source
Paid
Boost
Scale
Enterprise


System for Cross-domain Identity Management (SCIM) enables you to automatically provision and deprovision users in PostHog from your Identity Provider (IdP). This is helpful for organizations that need centralized user management, including automatically creating accounts, assigning roles, and disabling accounts when users leave the organization.
Prerequisites
If you are using PostHog Cloud, your organization must be subscribed to a platform package that offers SCIM. If you are self-hosting PostHog, your instance must have an enterprise license that supports SCIM.
You need to verify domains for the email addresses you want to provision. For example, if you want to provision users with an
@example.comemail address, you need to add and verifyexample.comas an authentication domain.If you are self-hosting PostHog, make sure you have properly configured the
SITE_URLenvironment variable.If you are self-hosting PostHog, your PostHog instance must be accessible from the public internet over TLS.
Your IdP must support SCIM 2.0. For example, Okta, Microsoft Entra ID, and OneLogin support SCIM 2.0.
How SCIM works
- Assigning a user to the PostHog application in your IdP creates the user in PostHog with the mapped role.
- Removing a user from the application deactivates their PostHog account.
- Users with matching email addresses in PostHog are updated to match the details and roles from your IdP.
- Roles are matched by name and are case-sensitive.
- SCIM configuration changes, including enabling, disabling, and token rotation, are recorded in the activity log.
Configuring SCIM
Navigate to your organization's authentication settings page in PostHog.
Scroll down to the SCIM section, and select Configure.
Select Enable SCIM provisioning, then select Save configuration.
In your IdP, create a new SCIM app for PostHog.
NoteIf you already have a SAML app in your IdP, and that app supports SCIM 2.0 provisioning, you can use that existing app.Copy the "SCIM base URL" and "Bearer token" displayed in PostHog into your SCIM app's configuration in your IdP.
Configure the role mapping in your IdP. Map your IdP roles to PostHog roles.
Assign users and roles to the PostHog application in your IdP.
Example: Okta
In Okta admin, go to Applications and select your existing SAML application for PostHog. Create a SAML application if you do not have one.

In the Okta app, under the General tab, in App settings, select Edit.

Under the Provisioning section, select SCIM, then select Save.

Navigate to the Provisioning tab, then select Edit.

Navigate to your PostHog organization's authentication settings, scroll down to SCIM, then select Configure.


Select Enable SCIM provisioning, then select Save.

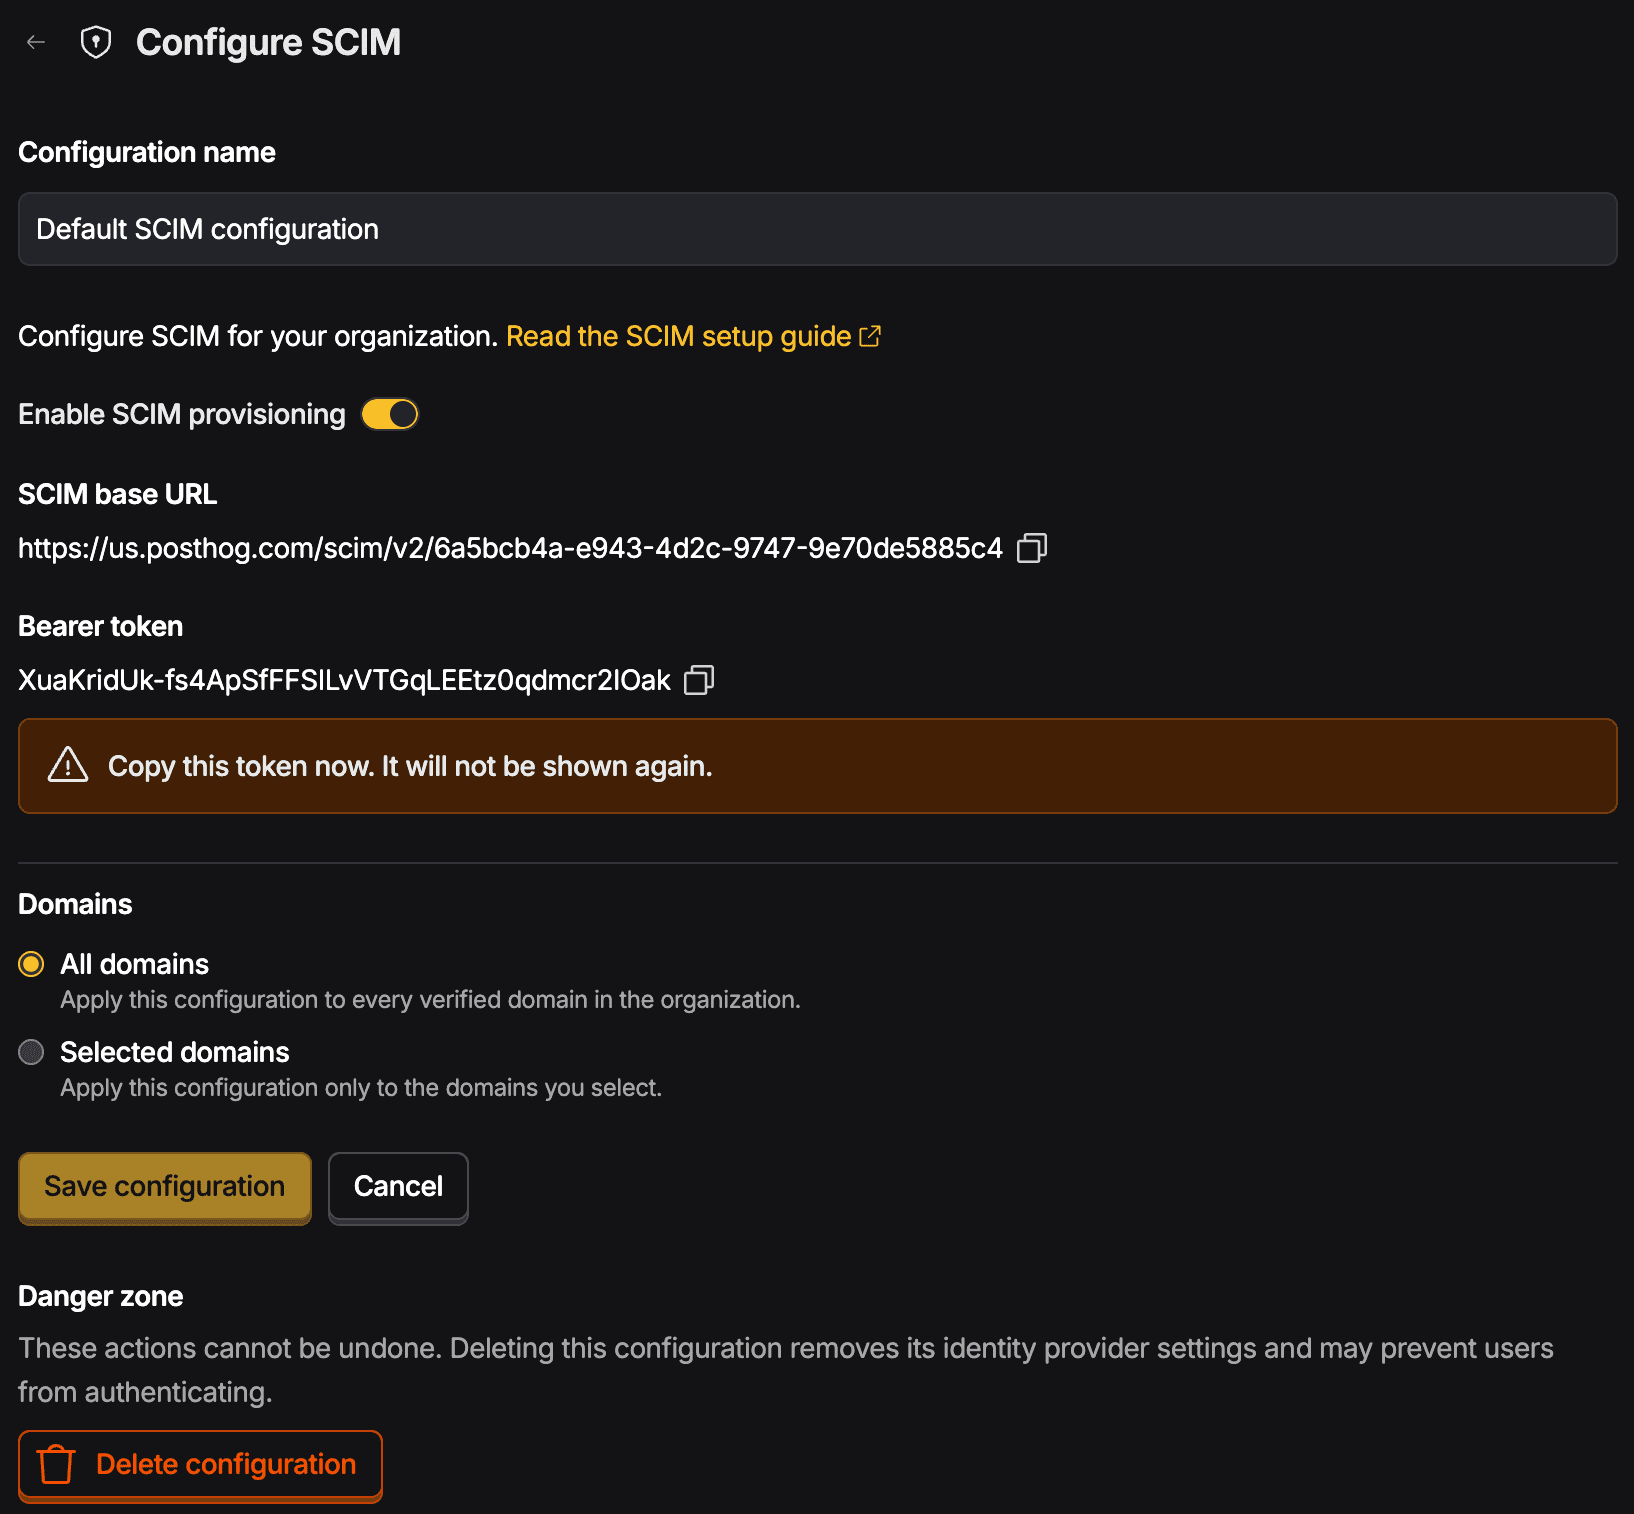
Copy the "SCIM base URL" from PostHog into the Okta app's "SCIM connector base URL" field.

In the Okta app, change "Authentication Mode" to "HTTP Header".

Copy the "Bearer token" from PostHog into the Okta app's "Authorization" field.
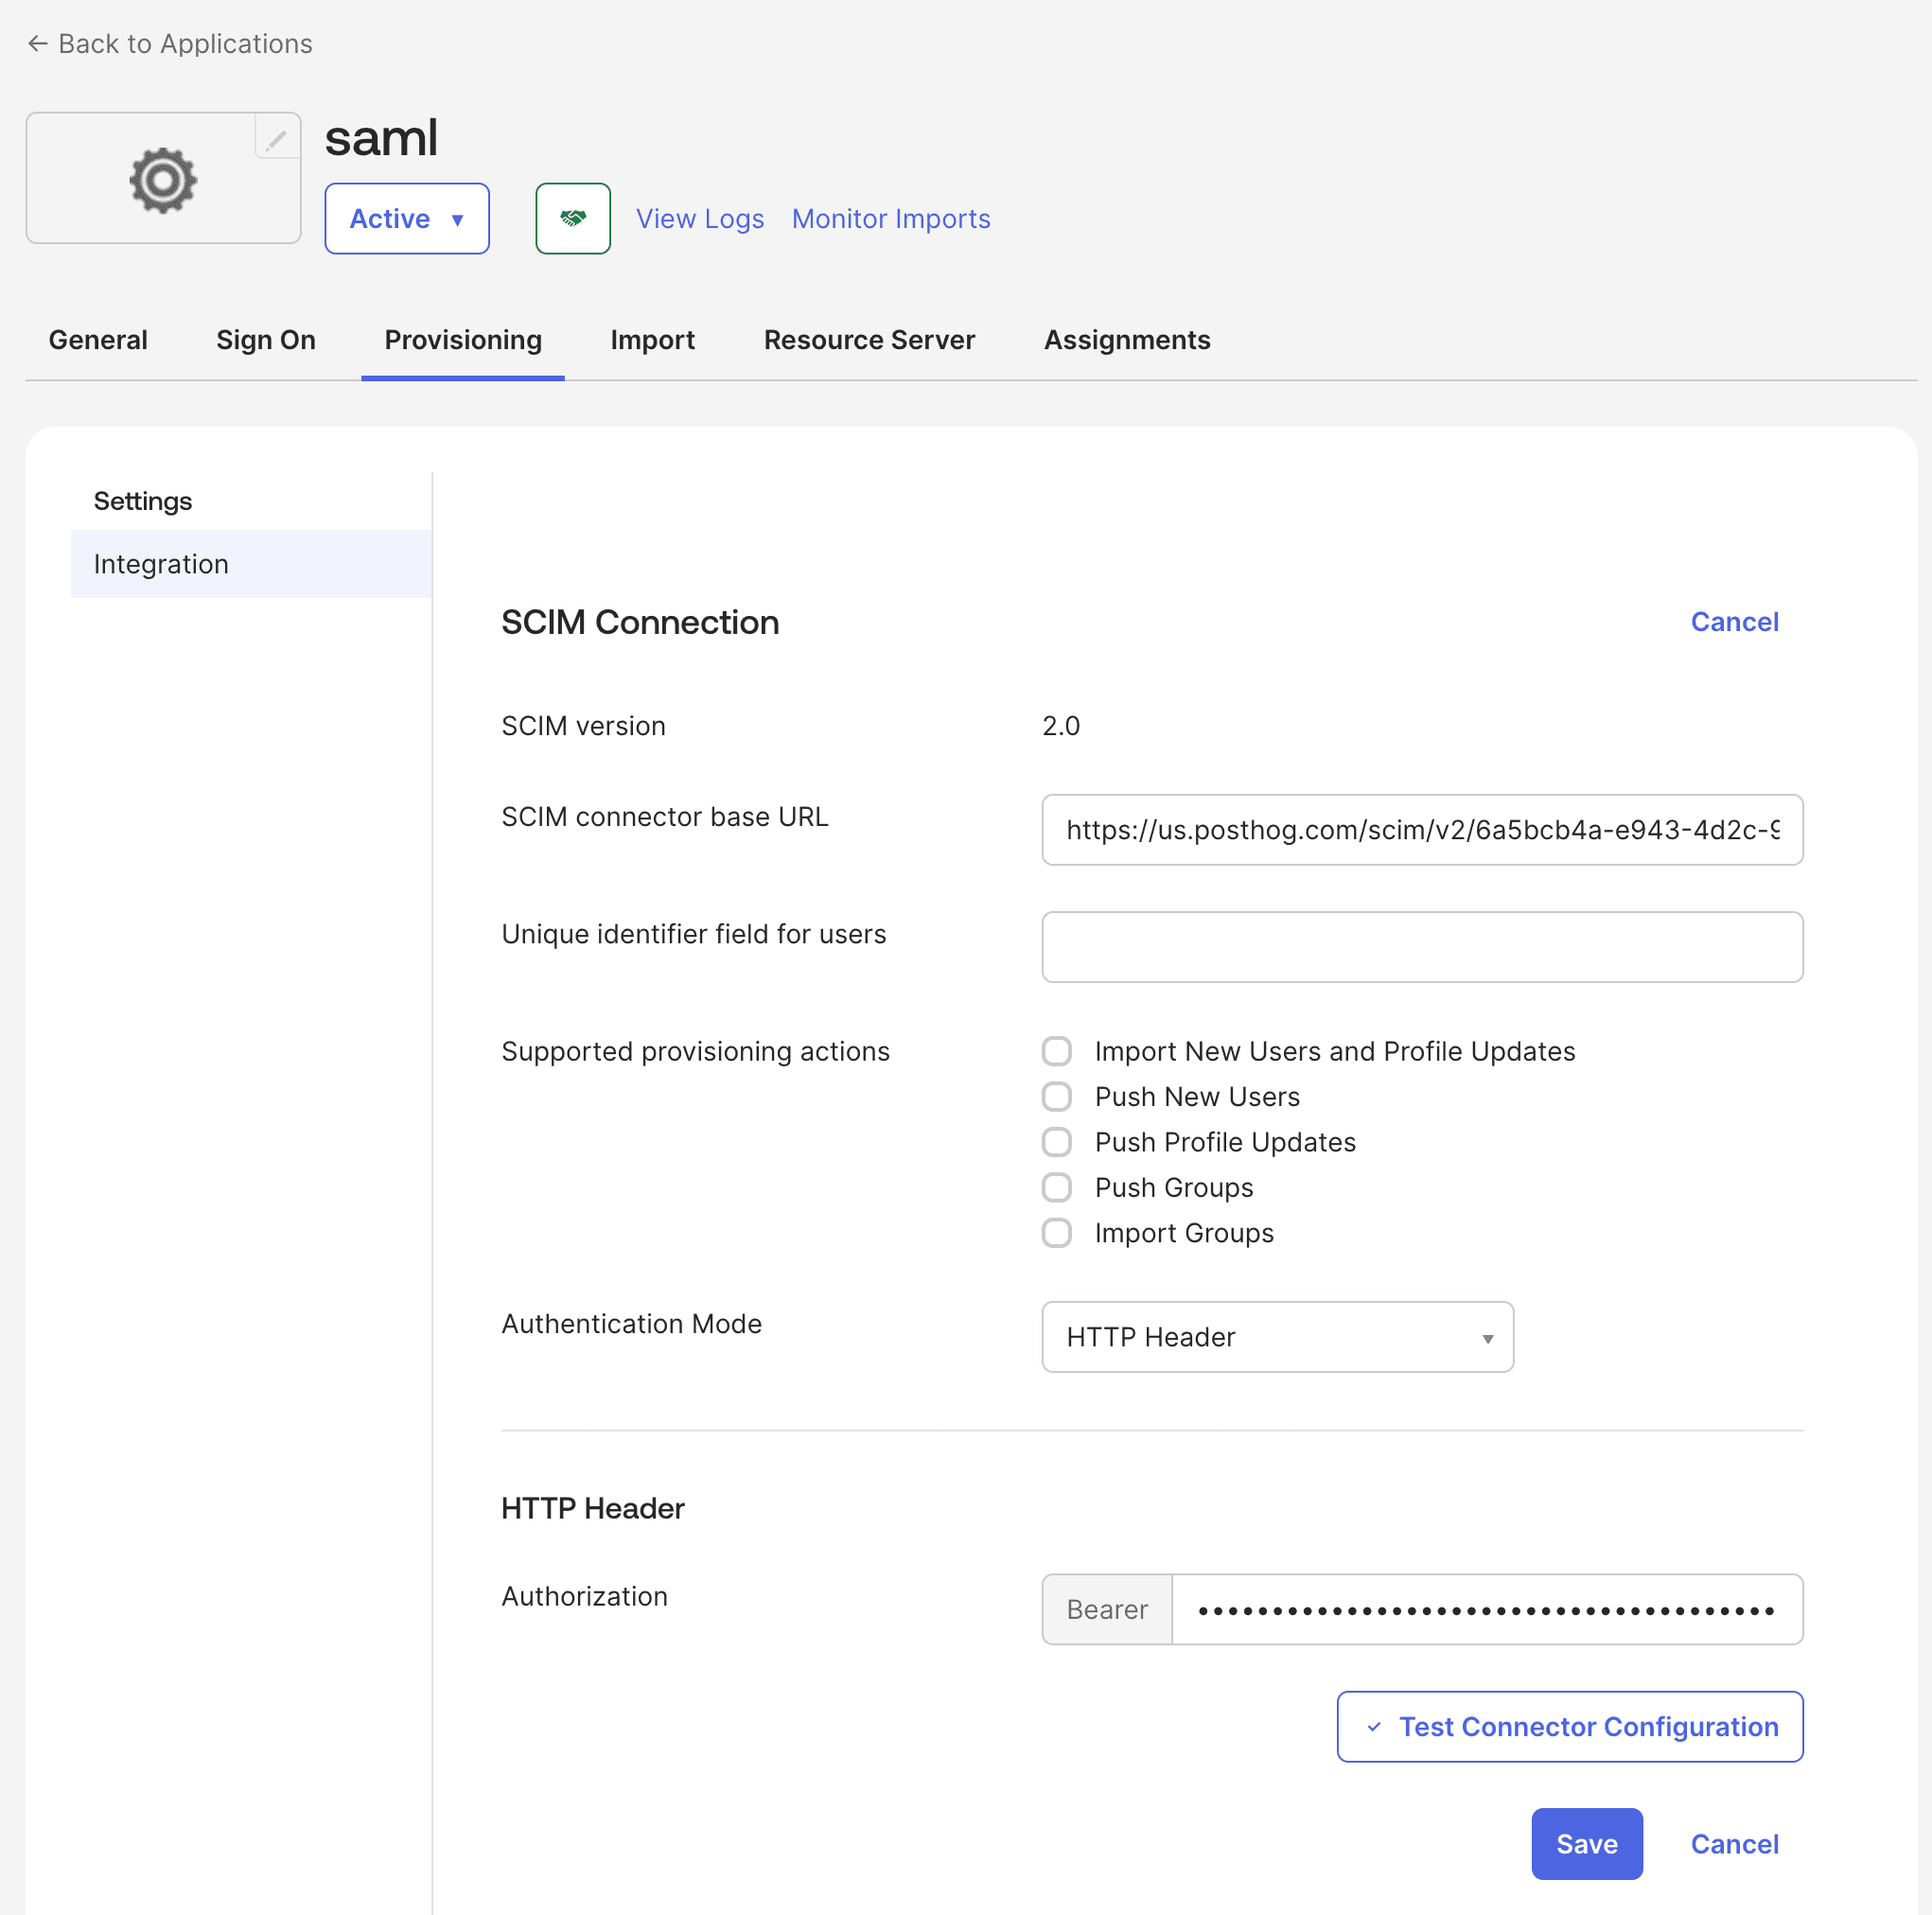
In the Okta app, under "Unique identifier field for users" enter a field that uniquely identifies your users. Most likely this will be
email.
Under Supported provisioning actions select the following options:
Push New Users
Push Profile Updates
Push Groups

Select Test Connector Configuration. Verify that Okta can communicate with PostHog.
Navigate to the Assignments tab and assign the application to users and groups.
Click Assign to People and select the users you want to provision into PostHog.
Click Assign to Groups and select the Okta groups to provision into PostHog.

- Go to the Push Groups tab.
- To push specific groups, select Find groups by name, then choose Create Group (creates a new role in PostHog) or Link Group (links it to an existing PostHog role). When you link the group to an existing role in PostHog, the role name will be updated to match Okta.
- If you have lots of groups, you can choose Find groups by rule. This way, all groups matching the rule are pushed to PostHog.
- Verify the pushed groups show as Active.
Users and roles will now be automatically provisioned in PostHog by Okta. For additional detailed Okta instructions, see Okta's SCIM provisioning documentation.
Example: OneLogin
In OneLogin admin, go to Applications and select Add App.

Search for "SCIM Provisioner with SAML (SCIM v2 Enterprise, full SAML)" and select the option with the same name.

Name the app "PostHog" and select Save.

Finish setting up SAML by following the advanced guide for OneLogin, starting at step 4.
Navigate to your PostHog organization's authentication settings, scroll down to SCIM, then select Configure.


Select Enable SCIM provisioning, then select Save configuration.
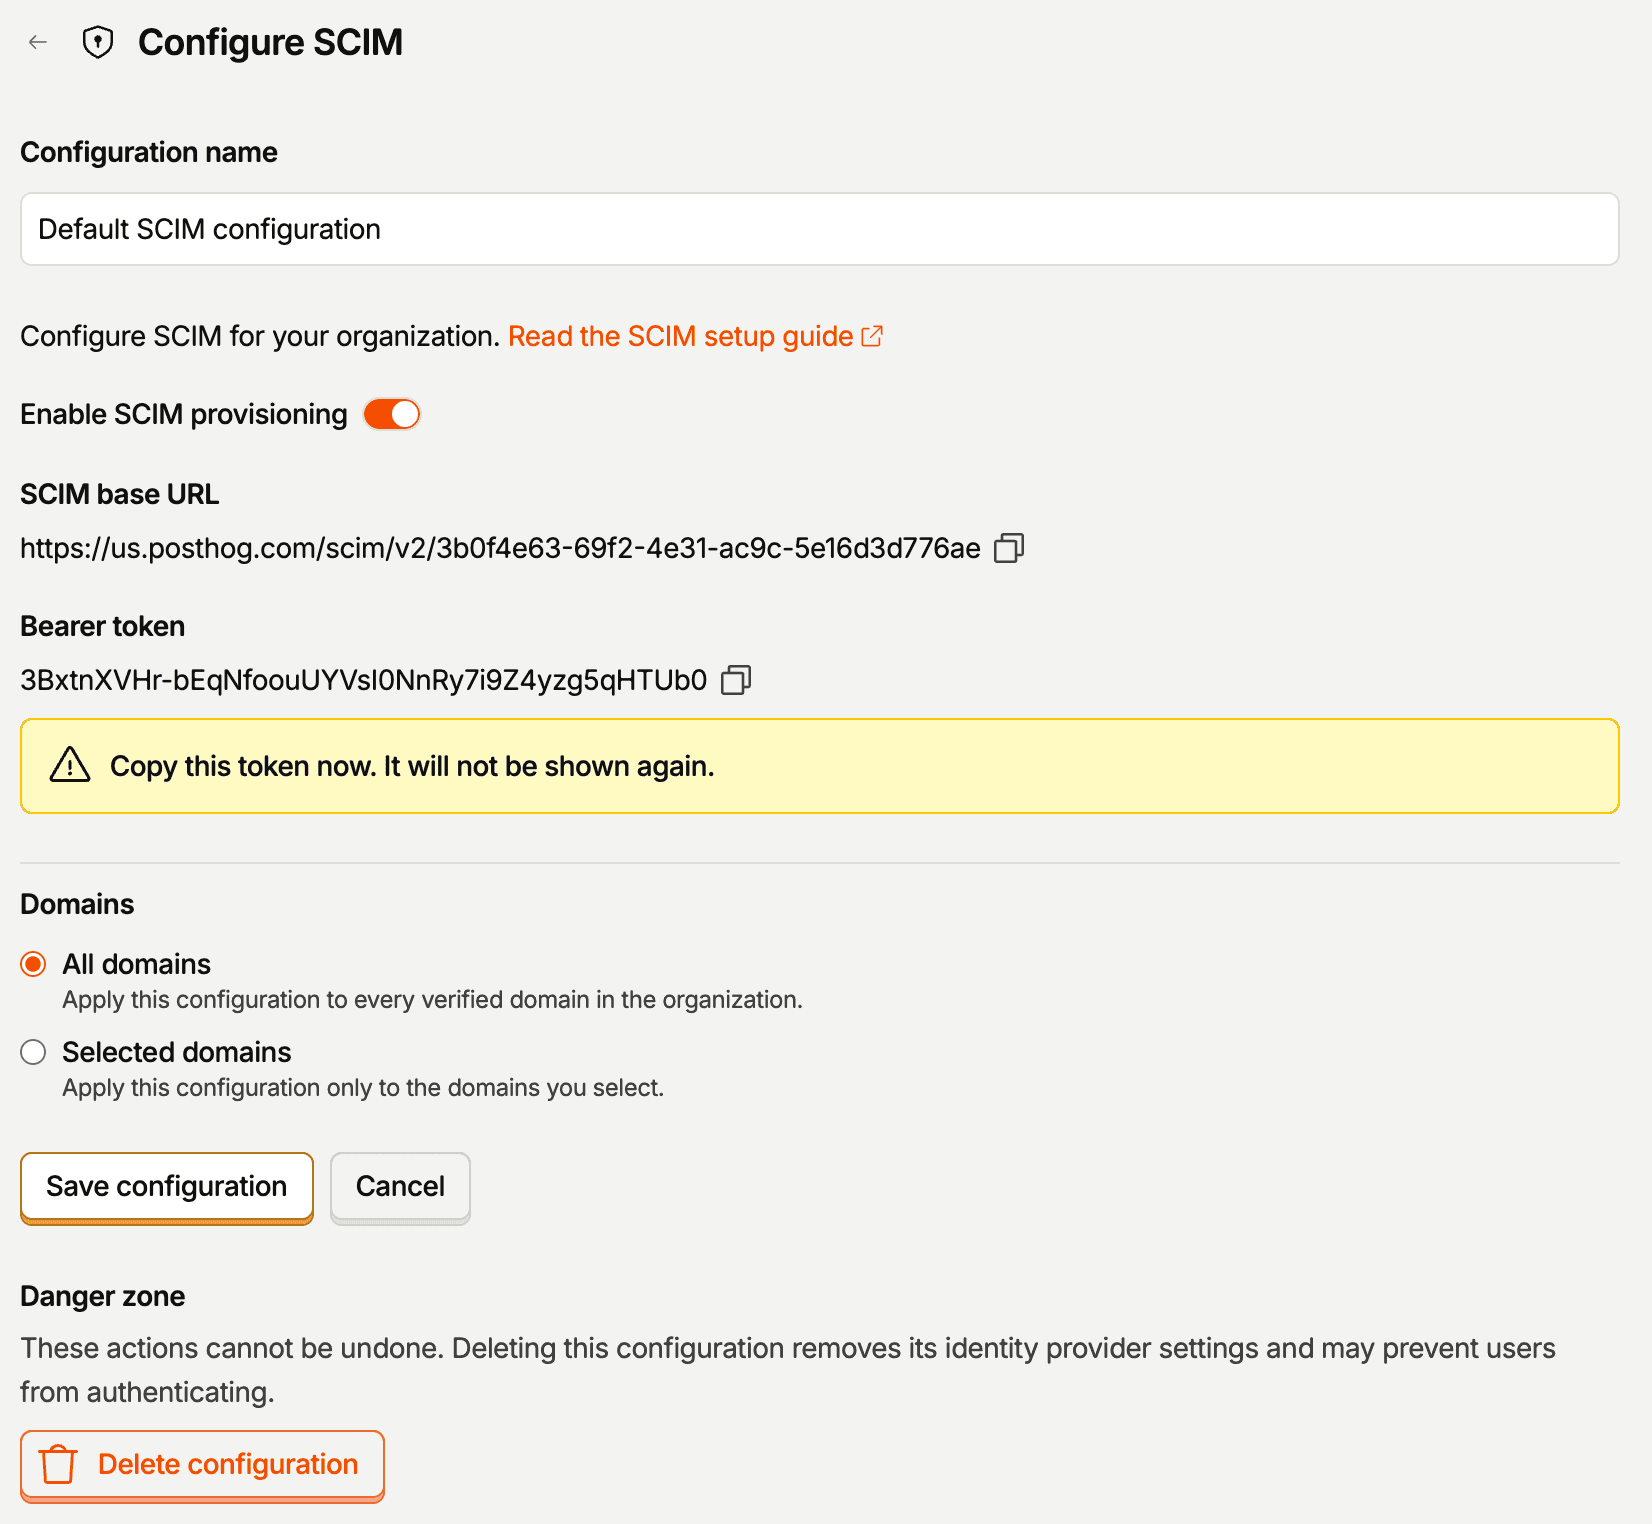

In OneLogin admin, navigate to the Configuration tab. Copy the "SCIM Base URL" and "SCIM Bearer Token" from PostHog into the API Connection section. Click Enable.

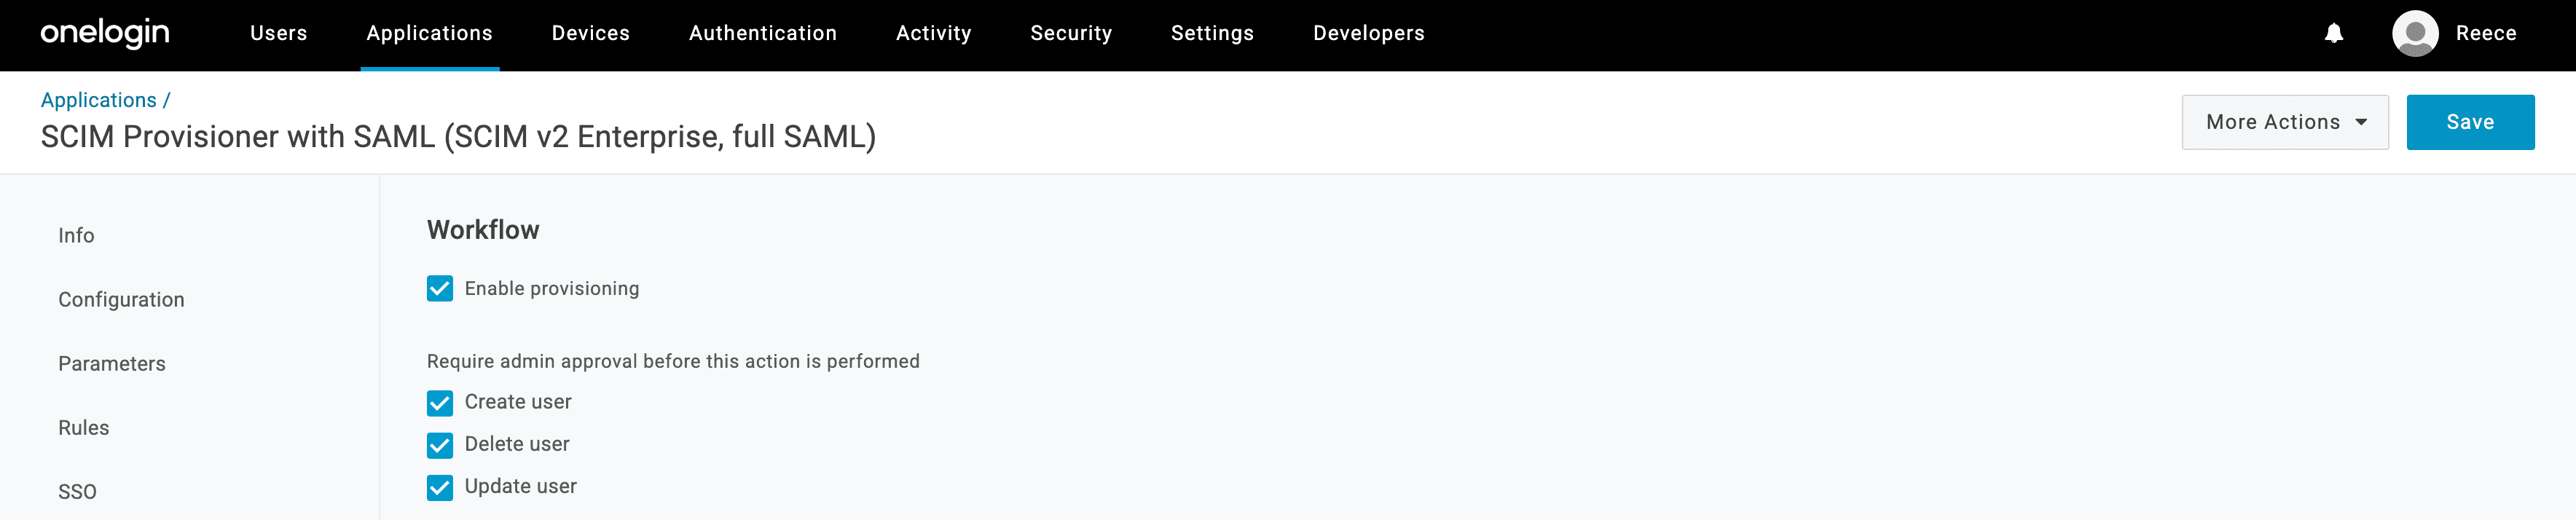
Go to the Provisioning tab and check Enable provisioning. Select whether you want admin approval for creating or deleting users.
To sync roles, go to the Rules tab and create a rule to map OneLogin roles to PostHog roles. To sync all roles as-is:
a. In Actions, select
Set Groups in <your SCIM app name>b. Select
Map from OneLoginc. For each
rolewith value that matches.*
Assign users to the new application. Go to Users, select a user, assign roles, and add them to the application.