The latest from the PostHog community

How to set up Remix analytics, feature flags, and more

Nov 22, 2023

Remix is a full stack web framework built on React with a specific focus on following web standards.

In this tutorial, we show you how to add PostHog to your Remix app (on both the client and server side), implement custom event capture, capture pageviews, and use feature flags.

Creating a Remix app

First, make sure to install a Node version greater than 18. After confirming, run the following command to create a basic app and choose the default options.

Terminal
npx create-remix@latest remix-tutorial

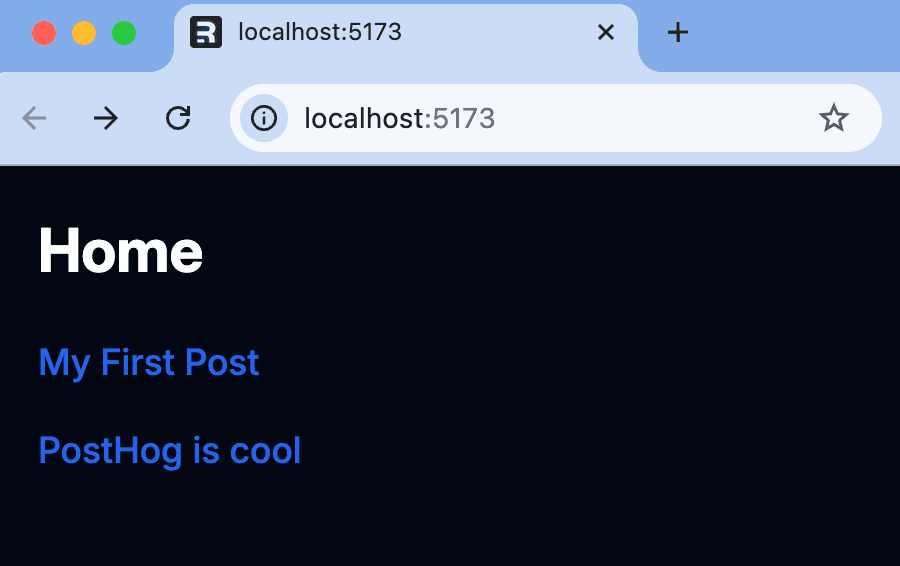
Our app is going to be a basic blog with a few pages we can move between.

We start by creating a top-level json folder in our newly created remix-tutorial folder. Our list of blog posts lives in a data.json file in this folder. Each contains a slug, title, and content.

JSON
{
"posts": [
{
"slug": "my-first-post",
"title": "My First Post",
"content": "This is a test post, how exciting!"
},
{
"slug": "posthog-is-cool",
"title": "PostHog is cool",
"content": "Go checkout PostHog for all your product tool needs!"
}
]
}

Next, we rework the home page to show these posts. In app/routes/_index.tsx, we create a loader that gets the data.json file, reads it, and returns the posts. In the client component, we use a map to list and link to each of them.

TypeScript
// app/routes/_index.tsx
import { json } from "@remix-run/node";
import { Link, useLoaderData } from "@remix-run/react";
import { promises as fs } from "fs";
import path from 'path';
type Post = {
slug: string;
title: string;
content: string;
};
export const loader = async () => {
const filePath = path.join(process.cwd(), 'json', 'data.json');
const fileContents = await fs.readFile(filePath, 'utf8');
const { posts } = JSON.parse(fileContents);
return json({ posts })
};
export default function Index() {
const { posts } = useLoaderData<typeof loader>();
return (
<div>
<h1>Home</h1>
<ul>
{posts.map((post: Post) => (
<li key={post.slug}>
<Link
to={`/posts/${post.slug}`}
>
{post.title}
</Link>
</li>
))}
</ul>
</div>
);
}

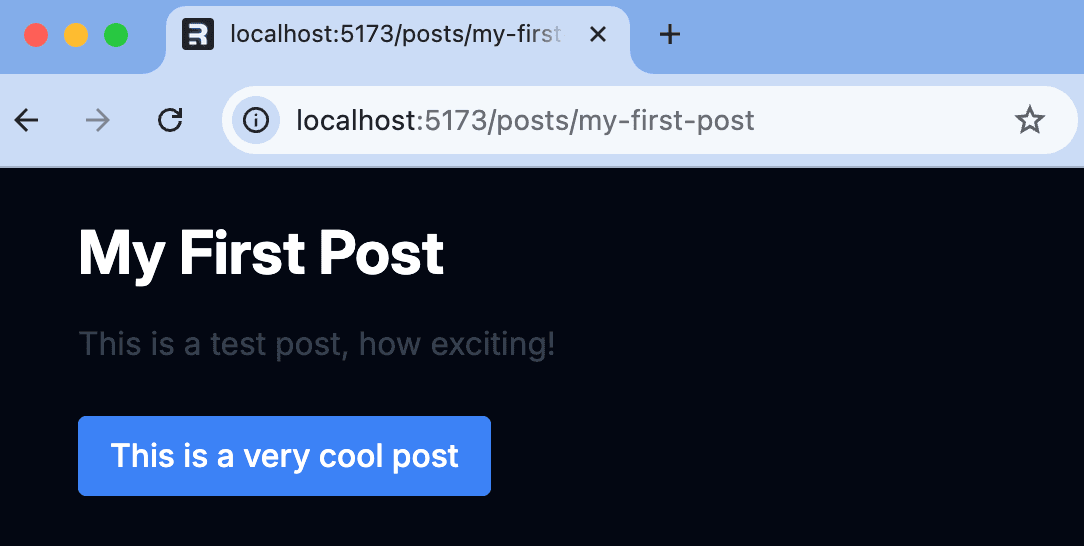
Next, we add the pages for these blog posts. In the app/routes folder, create a posts.$slug.tsx file. In this folder, we use the same pattern to load the posts and add a filter to match the slug. In the component, we show the content for the post and a like button we will use later.

TypeScript
import type { LoaderFunctionArgs } from "@remix-run/node";
import { json } from "@remix-run/node";
import { useLoaderData } from "@remix-run/react";
import { promises as fs } from "fs";
import path from 'path';
type Post = {
slug: string;
title: string;
content: string;
};
export const loader = async ({ params, request }: LoaderFunctionArgs) => {
const filePath = path.join(process.cwd(), 'json', 'data.json');
const fileContents = await fs.readFile(filePath, 'utf8');
const posts: Post[] = JSON.parse(fileContents).posts;
const post = posts.find(p => p.slug === params.slug);
if (!post) {
throw new Response("Not Found", { status: 404 });
}
return json(post);
};
export default function PostSlug() {
const post = useLoaderData<Post>();
const handleClick = () => {
console.log('liked')
};
return (
<div>
<h1>{post.title}</h1>
<p>{post.content}</p>
<button onClick={handleClick}>Like this post</button>
</div>
);
}

Finally, go into the project folder and run the dev server with the following command:

Terminal
cd remix-tutorial
npm run dev

Once done, your basic Remix blog is running locally.

App

Adding PostHog on the client side

Up next is adding PostHog, which you can install by running:

Terminal
npm i posthog-js

Once done, you need your project API key and instance address from your PostHog project settings. You can sign up for free if you haven’t already.

With these, go to entry.client.tsx and initialize PostHog using a component. This ensures the initialization doesn't break hydration.

TSX
// app/entry.client.tsx
import { RemixBrowser } from "@remix-run/react";
import { startTransition, StrictMode, useEffect } from "react";
import { hydrateRoot } from "react-dom/client";
import posthog from "posthog-js";
function PosthogInit() {
useEffect(() => {
posthog.init('<ph_project_api_key>', {
api_host: https://us.i.posthog.com,
});
}, []);
return null;
}
startTransition(() => {
hydrateRoot(
document,
<StrictMode>
<RemixBrowser />
<PosthogInit/>
</StrictMode>
);
});

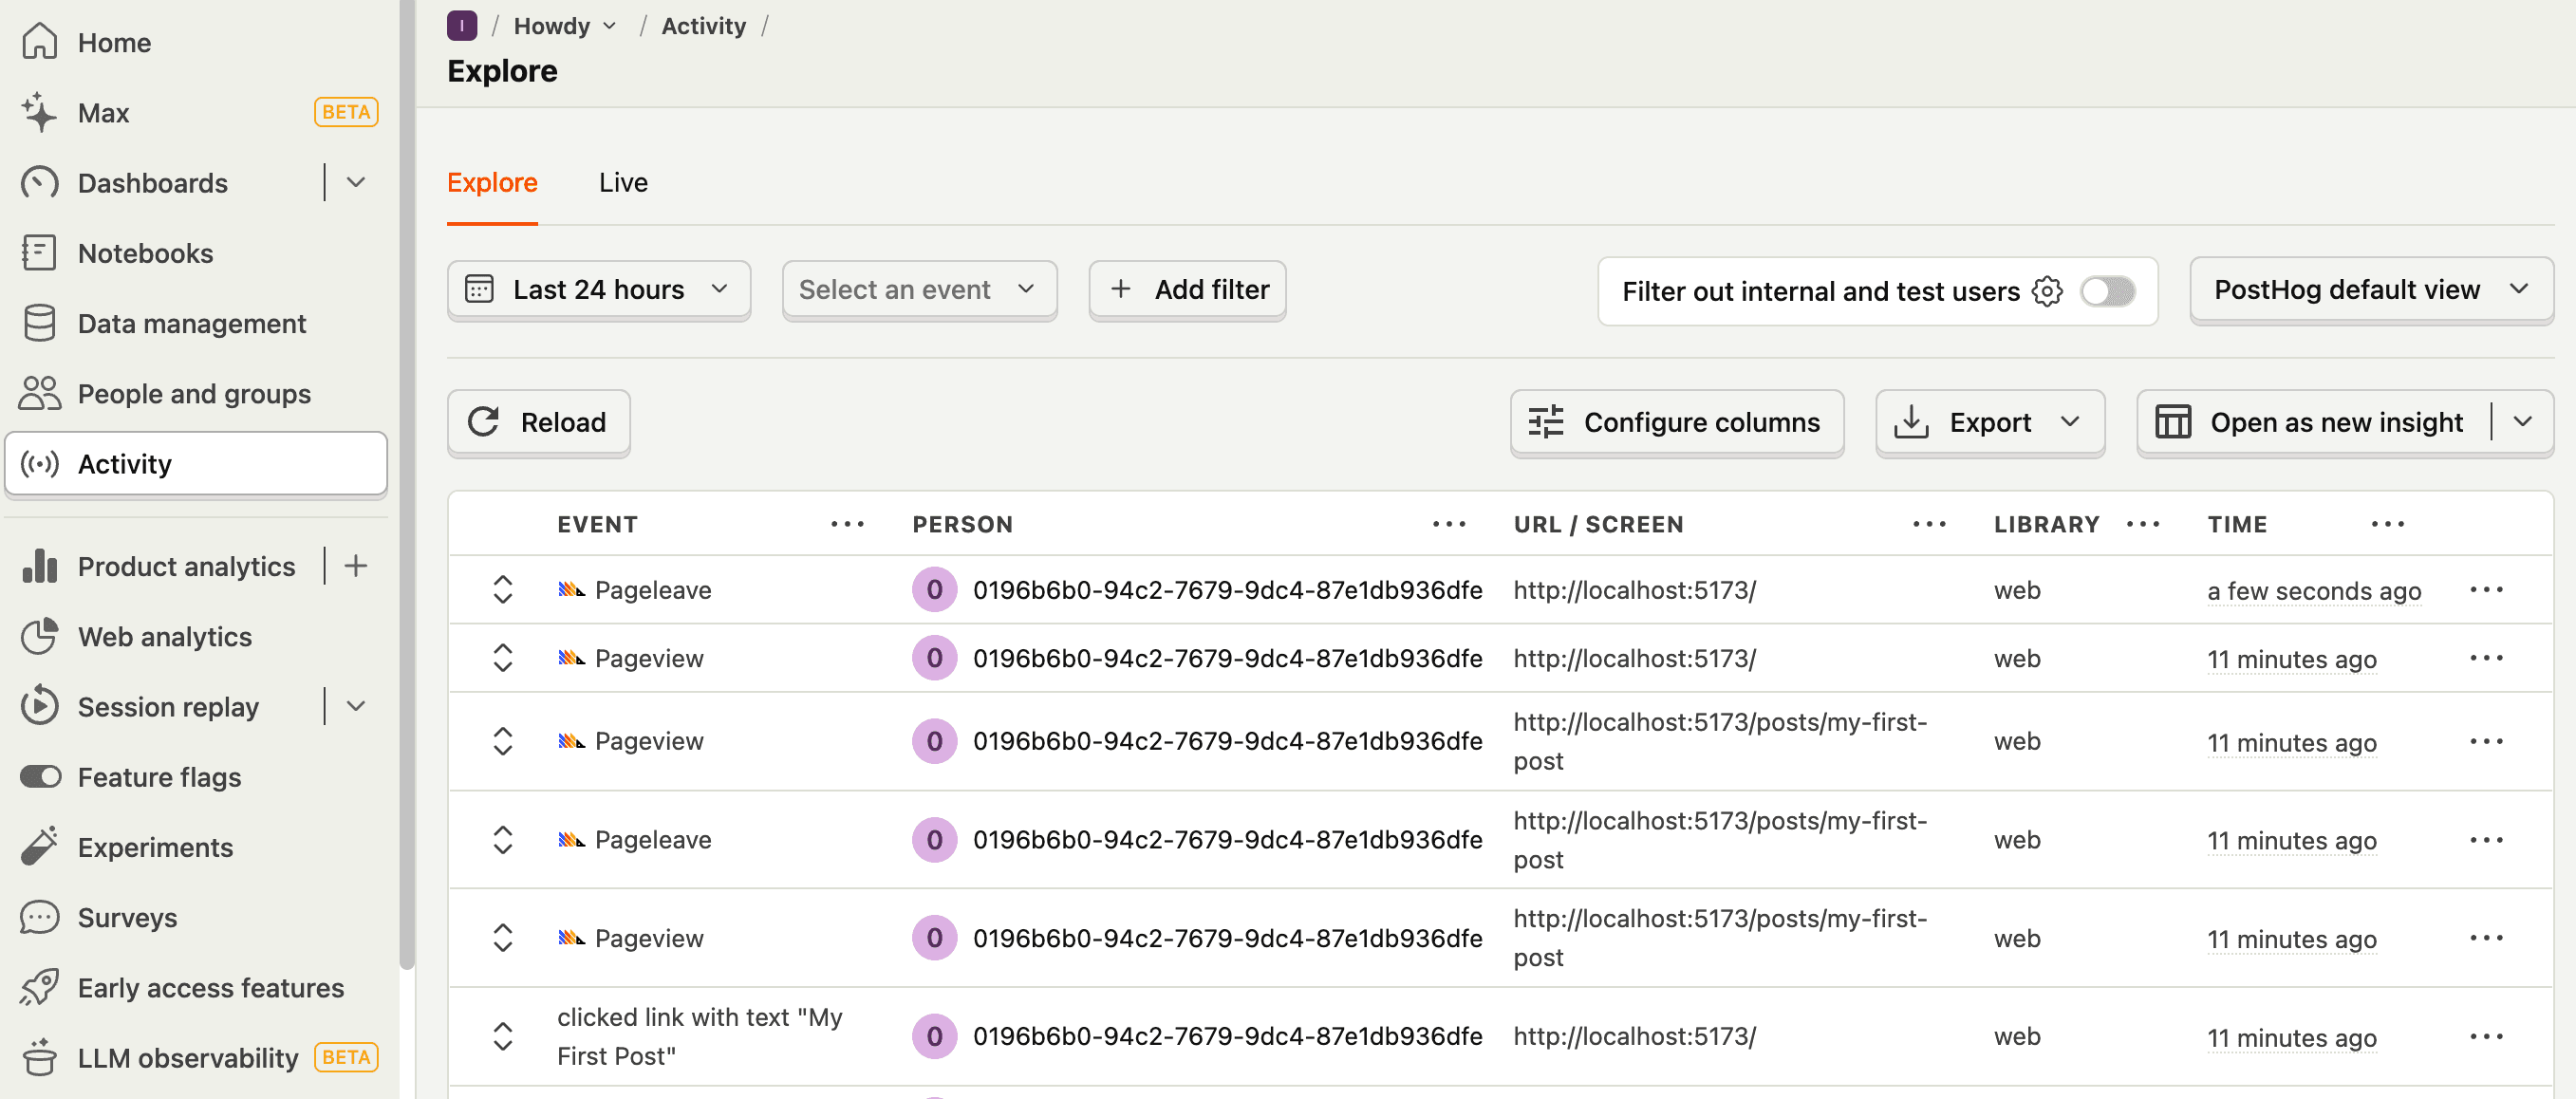
After relaunching your app, PostHog begins autocapturing initial pageviews, clicks, session replays (if you enable them), and more.

Autocapture

Capturing pageviews

You might notice we captured only one pageview even though we navigated between multiple pages. This is because Remix is a single-page app and only triggers an initial page load event. PostHog uses the page load event for pageviews, so to fix this, we must implement pageview capture ourselves.

We do this in routes/root.tsx. We import useLocation, useEffect, and posthog. We set up useLocation, and then use a useEffect to capture a $pageview event.

TypeScript
// routes/root.tsx
//... rest of imports
ScrollRestoration,
useLocation
} from "@remix-run/react";
import posthog from "posthog-js";
import { useEffect } from "react";
export const links: LinksFunction = () => [
...(cssBundleHref ? [{ rel: "stylesheet", href: cssBundleHref }] : []),
];
export default function App() {
const location = useLocation();
useEffect(() => {
posthog.capture('$pageview');
}, [location]);
return (
<html lang="en">
//... rest of code

When you relaunch your app and navigate between pages, you now capture $pageview events in PostHog for each.

Pageview events

Why is it double capturing the pageviews? There are two reasons this might happen. First, you need to set the capture_pageview config option in the PostHog initialization to false so we don’t double capture the initial pageview. Second, in strict mode, React renders twice. This triggers two pageview events, but doesn’t happen in production mode. You can also remove the <StrictMode> component in app/entry.client.tsx to stop it in development.

Capturing custom events

Capturing pageviews gives you a preview of capturing custom events. To show what this looks like elsewhere, we can set up a specific event for the like button. Go to routes/posts.$slug.tsx, import PostHog, and then set up a posthog.capture() call in place of the console.log().

TypeScript
//... other imports
import posthog from "posthog-js";
// type, loader
export default function PostSlug() {
const post = useLoaderData<Post>();
const handleClick = () => {
posthog.capture("liked_post", { 'post': post.slug });
};
return (
<div>
<h1>{post.title}</h1>
<p>{post.content}</p>
<button onClick={handleClick}>Like this post</button>
</div>
);
}

Now, every time a user clicks this button, it captures a liked_post event with a custom post property.

Setting up feature flags

Next, we can add a feature flag to control a new version of the like button we want to try out.
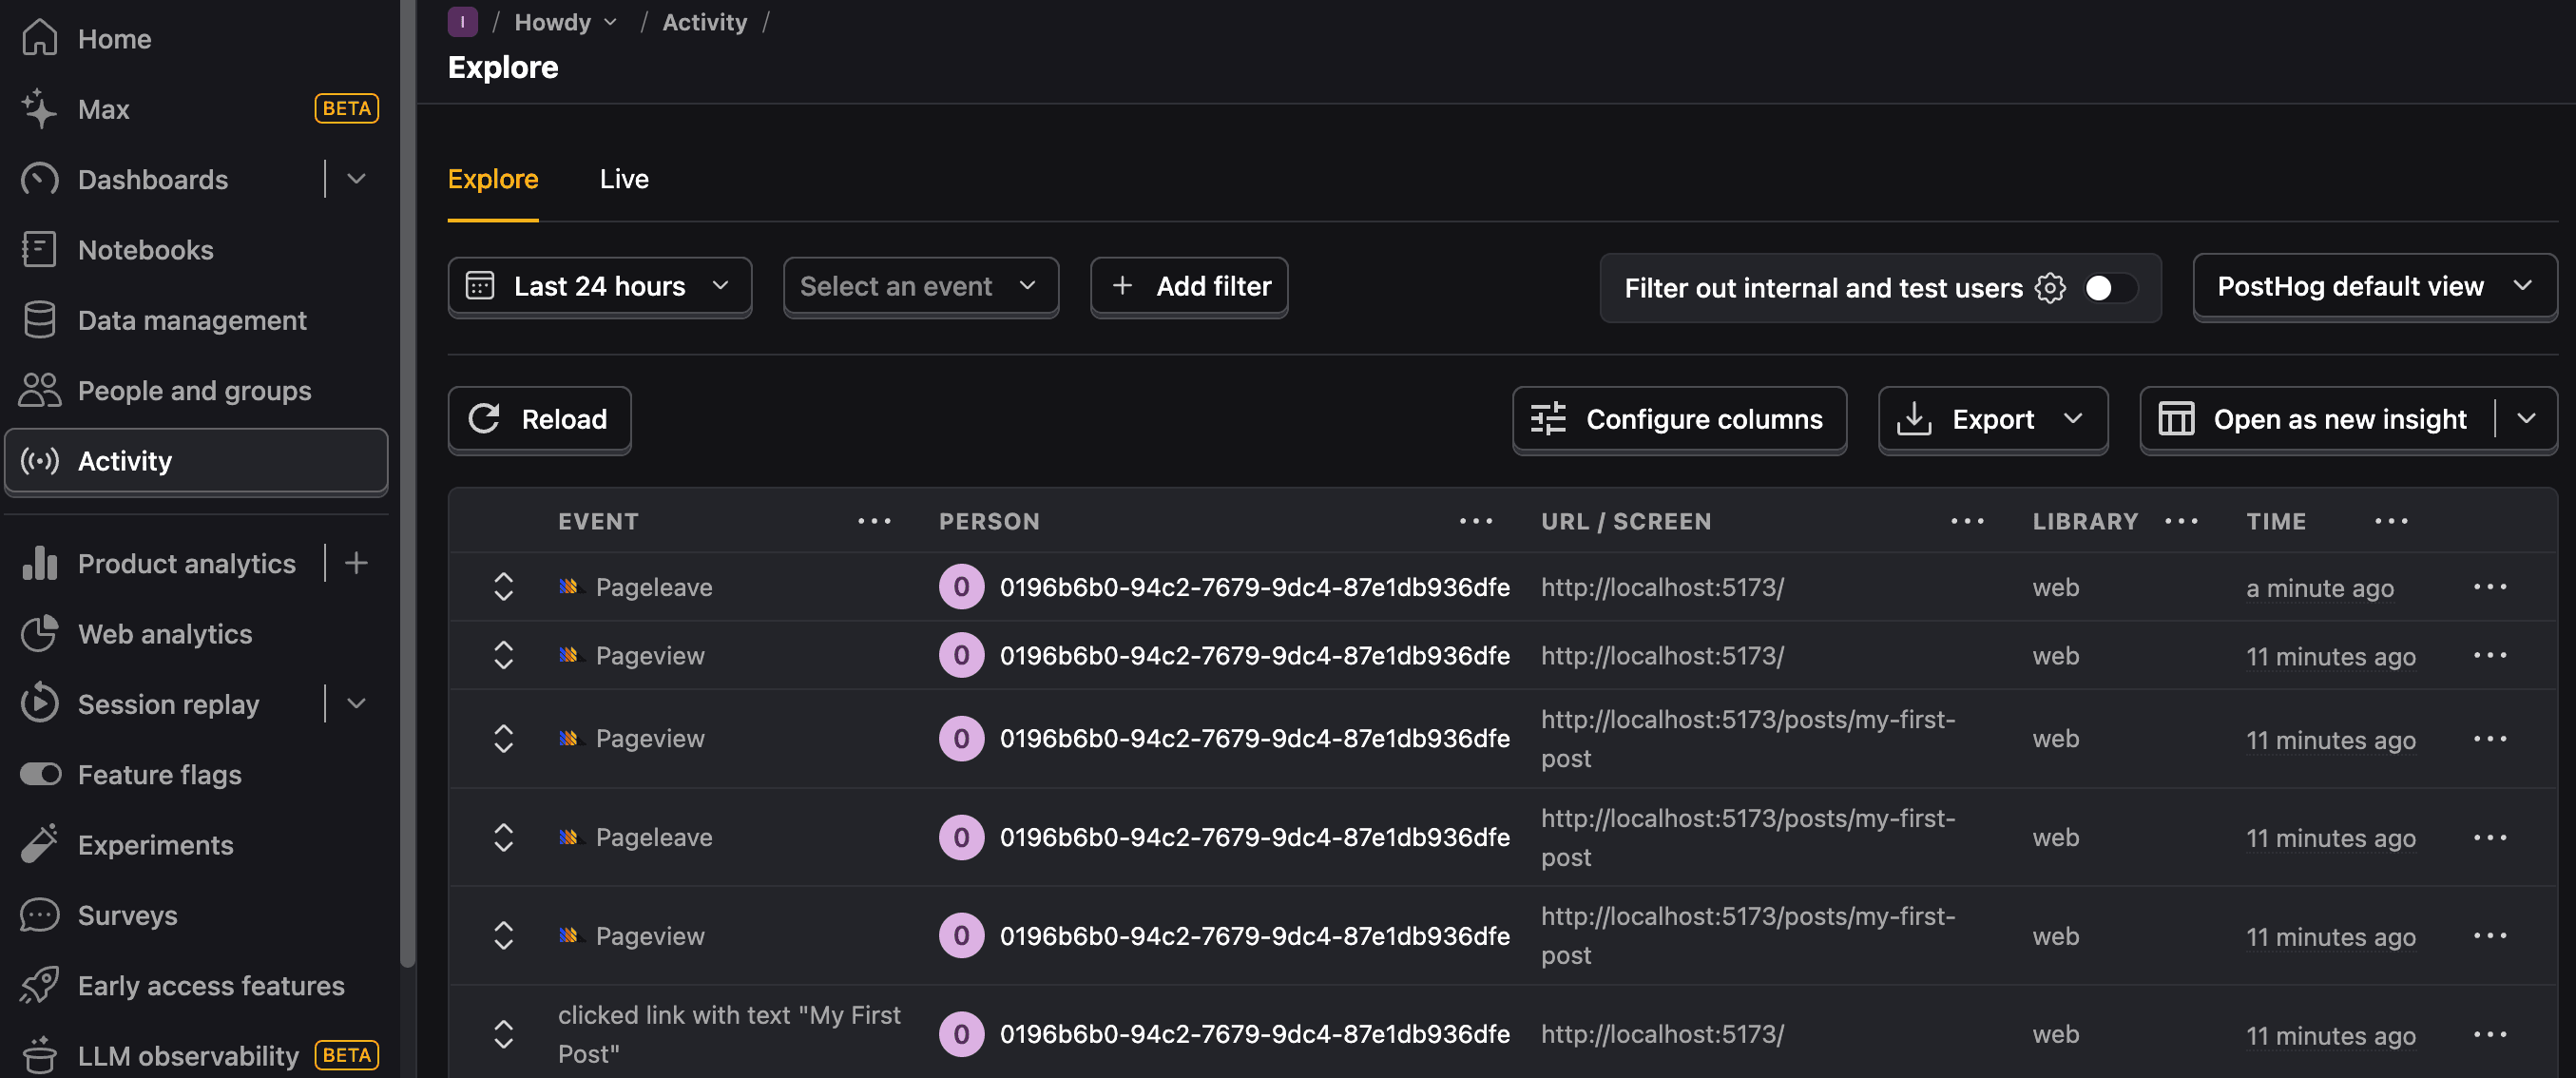
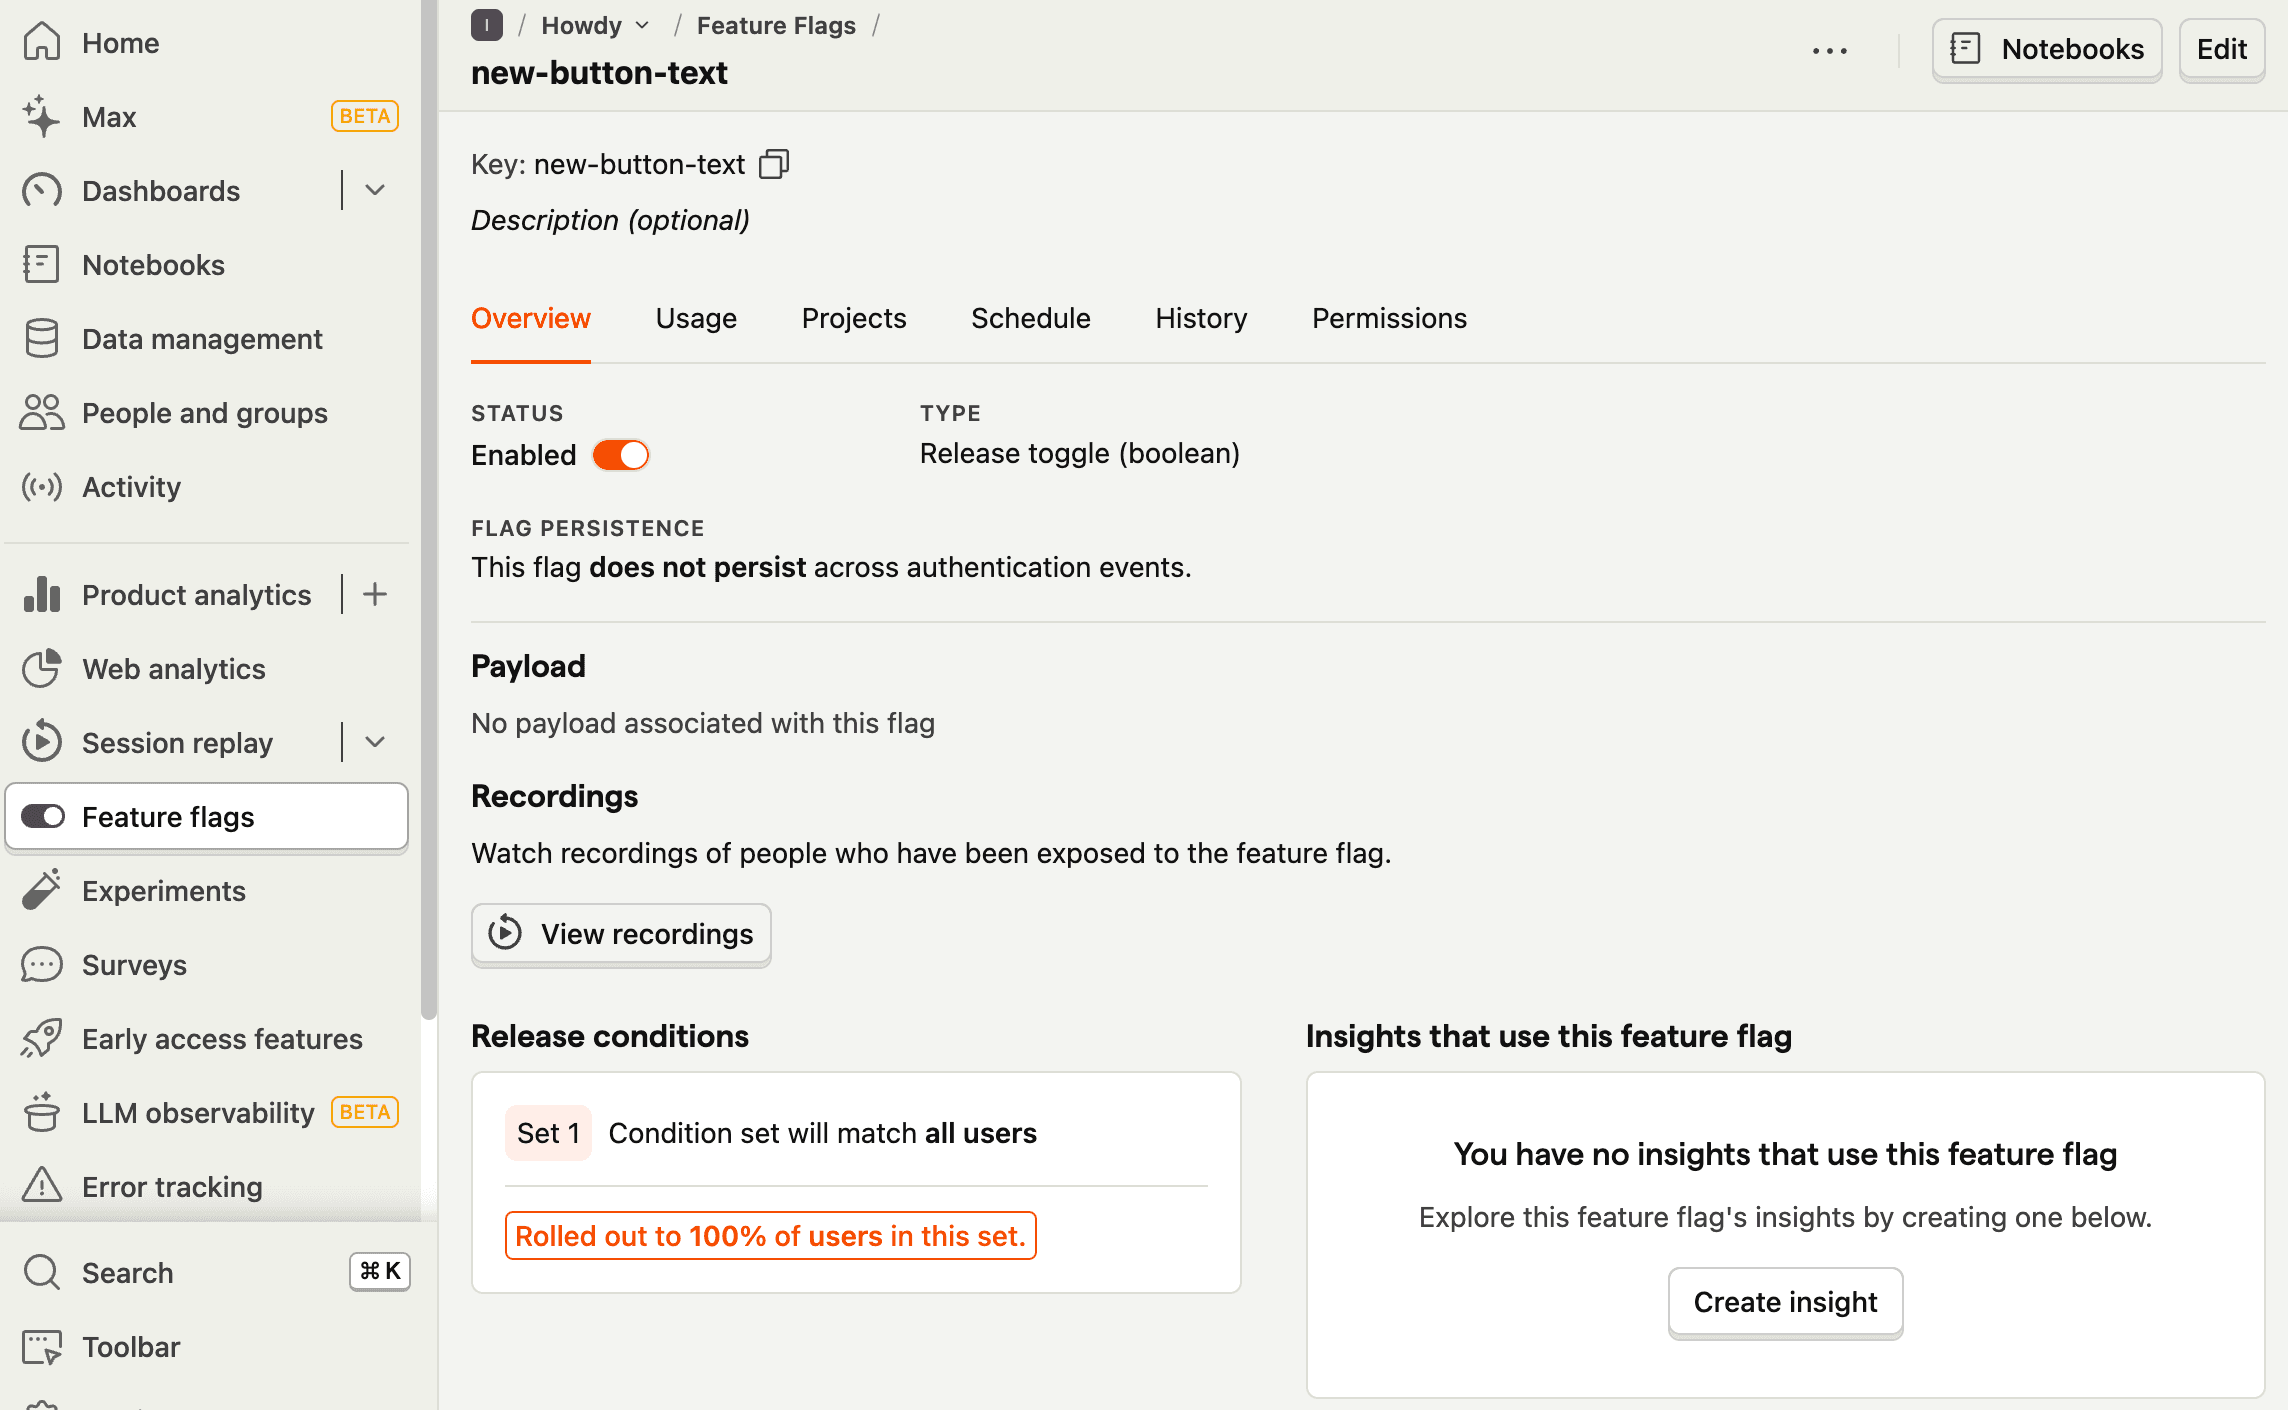
 First, go to the feature flags tab in PostHog and click "New feature flag." Name it new-button-text, set the rollout to 100% of users, fill out any other details, and press save.

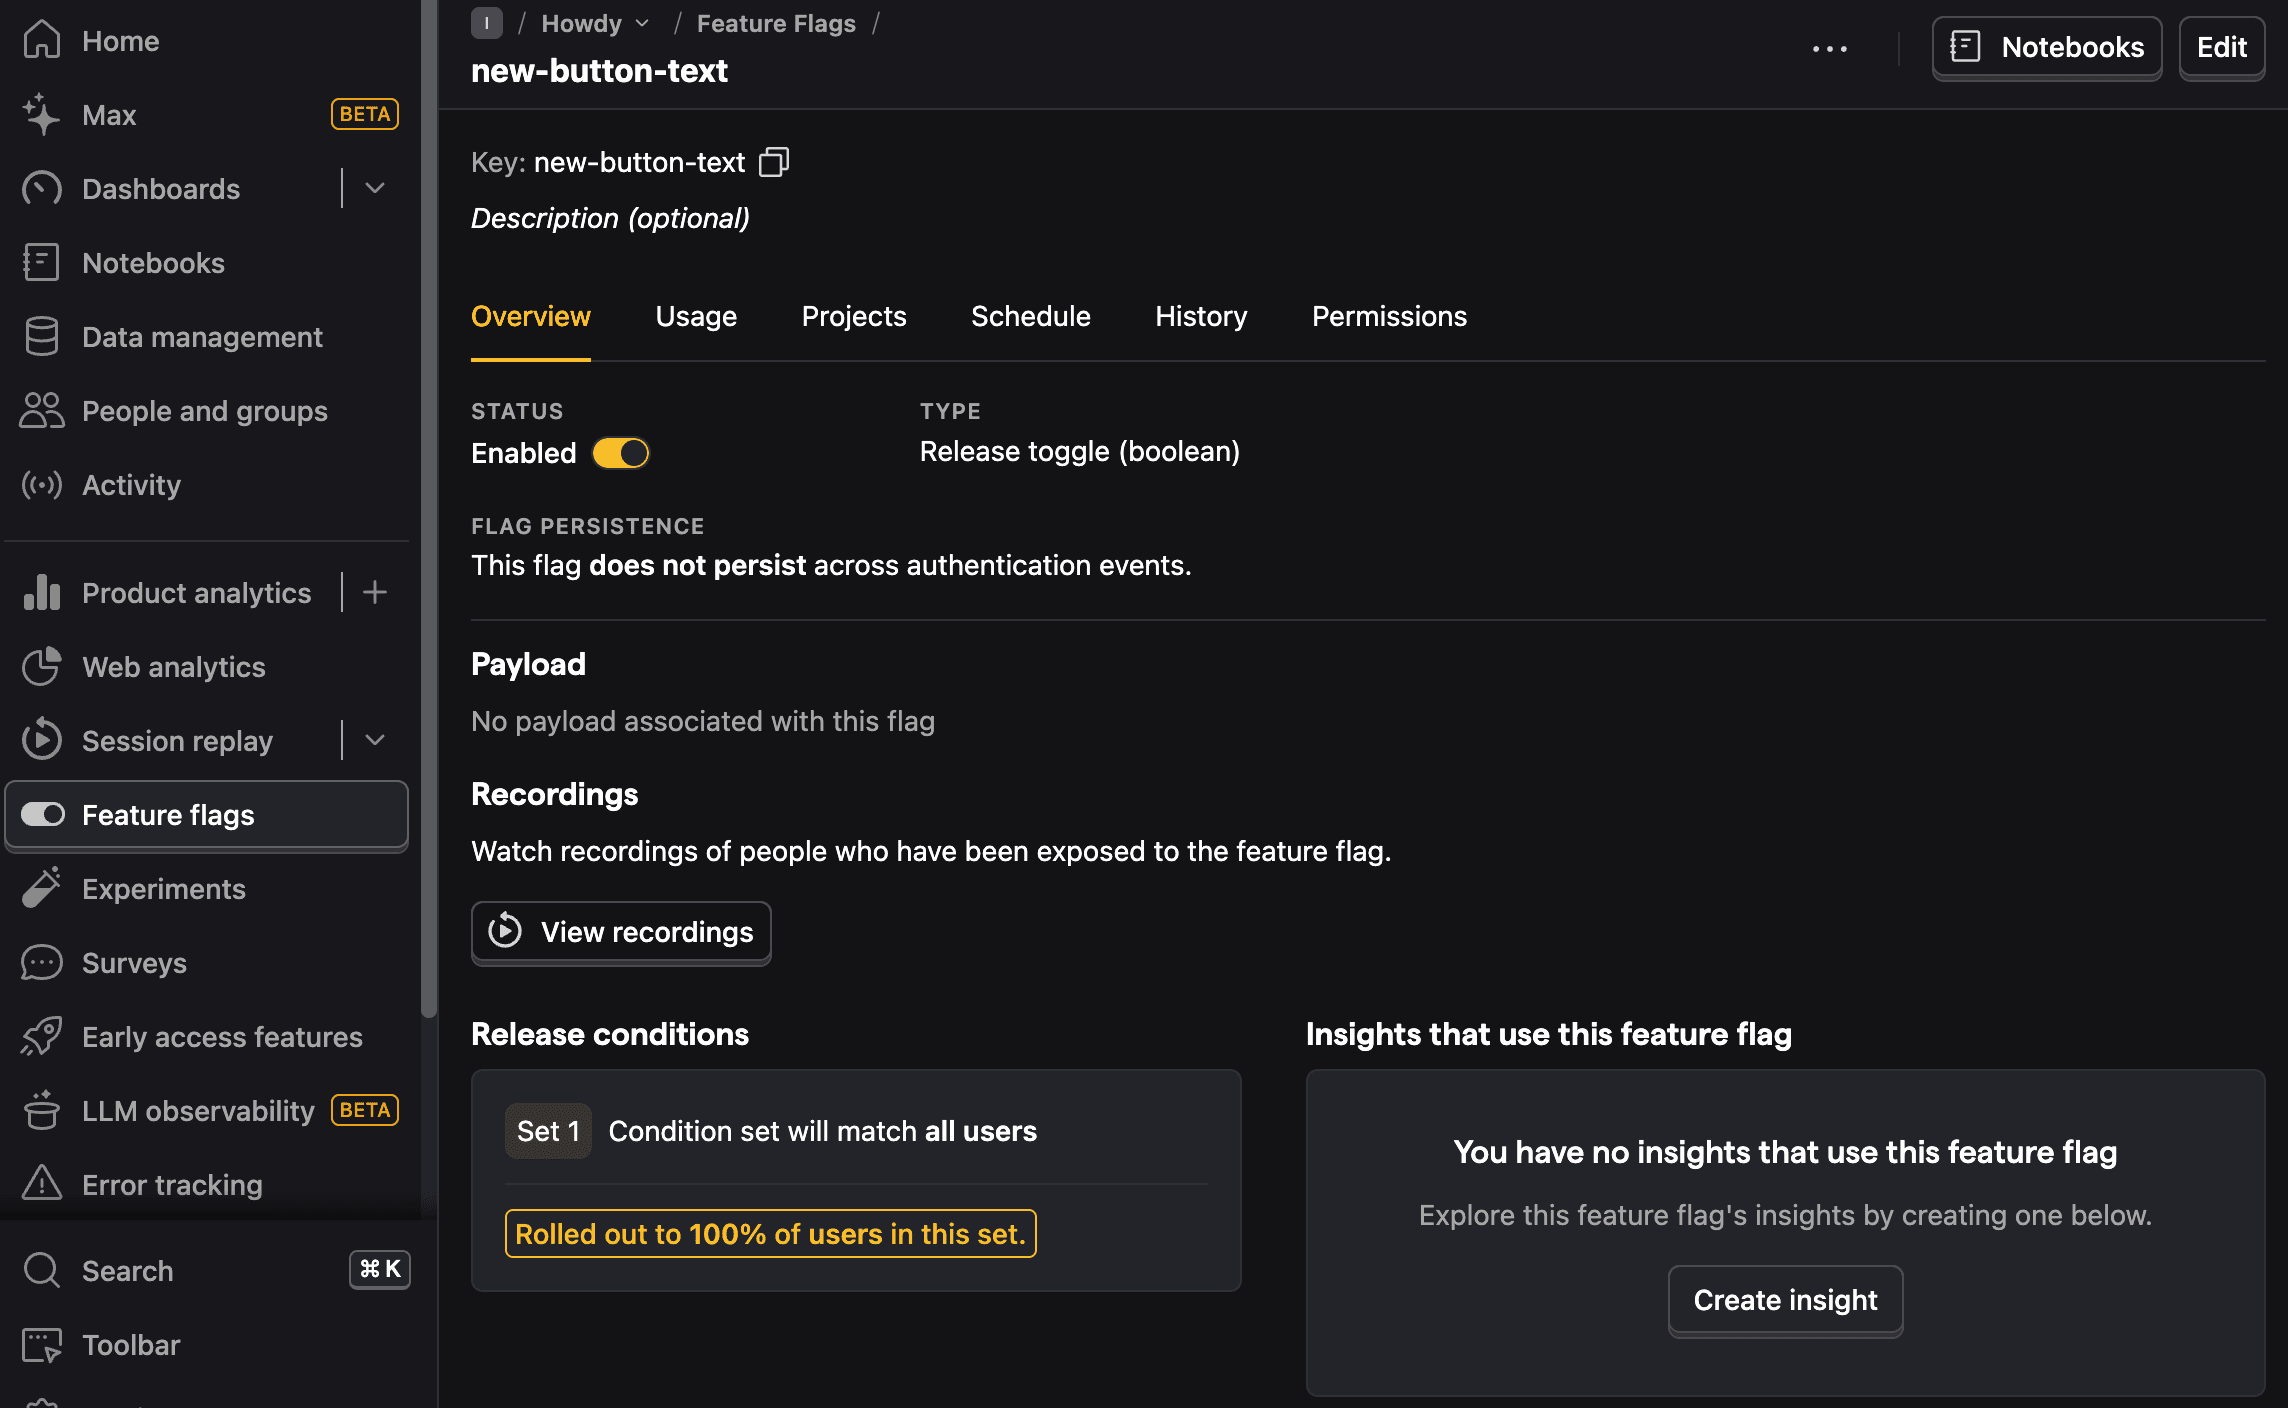
In the posts.$slug.tsx file, set up a useState for the button content, and a useEffect for flag evaluation. We conditionally render the button text based on the flag response.

TypeScript
//... other imports
import posthog from "posthog-js";
import { useEffect, useState } from "react";
// type, loader
export default function PostSlug() {
const post = useLoaderData<Post>();
const [buttonText, setButtonText] = useState('Like this post');
useEffect(() => {
const flag = posthog.isFeatureEnabled('new-button-text');
if (flag) {
setButtonText('This is a very cool post')
}
}, []);
const handleClick = () => {
posthog.capture("liked_post", { 'post': post.slug });
};
return (
<div>
<h1>{post.title}</h1>
<p>{post.content}</p>
<button onClick={handleClick}>{buttonText}</button>
</div>
);
}

Our post page now shows the updated button, which you can toggle remotely with the flag in PostHog.

Button text controlled by flag

Adding PostHog on the server side

Remix is a full stack framework, parts of it run on both the client and server side. So far, we’ve only used PostHog on the client side and the JavaScript Web library we installed won’t work on the server side. Instead, we must use the posthog-node SDK. We can start by installing it:

Terminal
npm i posthog-node

Next, we create a posthog.js file in the app folder. In it, we set up an initialization of the posthog-node client. We also set up logic to return the existing client if it is already initialized. Again, you need your project API key and instance address from your project settings.

JavaScript
// app/posthog.js
import { PostHog } from 'posthog-node';
let posthogClient = null;
export default function PostHogClient() {
if (!posthogClient) {
posthogClient = new PostHog('<ph_project_api_key>', {
host: https://us.i.posthog.com,
});
}
return posthogClient;
}

Capturing an event with PostHog on the server side

To use this, we go back to posts.$slug.tsx and implement a server side event capture in the loader function.

An important difference between the frontend and backend implementations is that the backend requires a distinct_id while the frontend automatically handles it. To get a backend distinct_id, we check for the distinct_id in the request’s cookies, and if it doesn’t exist, we create a new one. We then use this value to capture an event with the imported PostHogClient() as well as pass it in the posts JSON for future use on the client side.

TypeScript
// app/routes/posts.$slug.tsx
// ... imports
import PostHogClient from "../posthog"
import crypto from 'crypto';
type Post = {
slug: string;
title: string;
content: string;
distinctId: string; // new
};
export const loader = async ({ params, request }: LoaderFunctionArgs) => {
const filePath = path.join(process.cwd(), 'json', 'data.json');
const fileContents = await fs.readFile(filePath, 'utf8');
const posts: Post[] = JSON.parse(fileContents).posts;
const post = posts.find(p => p.slug === params.slug);
if (!post) {
throw new Response("Not Found", { status: 404 });
}
const cookieString = request.headers.get('Cookie') || '';
const projectAPIKey = '<ph_project_api_key>';
const cookieName = `ph_${projectAPIKey}_posthog`;
const cookieMatch = cookieString.match(new RegExp(cookieName + '=([^;]+)'));
let distinctId;
if (!!cookieMatch) {
const parsedValue = JSON.parse(decodeURIComponent(cookieMatch[1]));
if (parsedValue && parsedValue.distinct_id) {
distinctId = parsedValue.distinct_id;
} else {
distinctId = crypto.randomUUID();
}
} else {
distinctId = crypto.randomUUID();
}
const phClient = PostHogClient();
phClient.capture({
distinctId: distinctId,
event: 'server_side_event_name'
});
post['distinctId'] = distinctId;
return json(post);
};
// ... rest of code

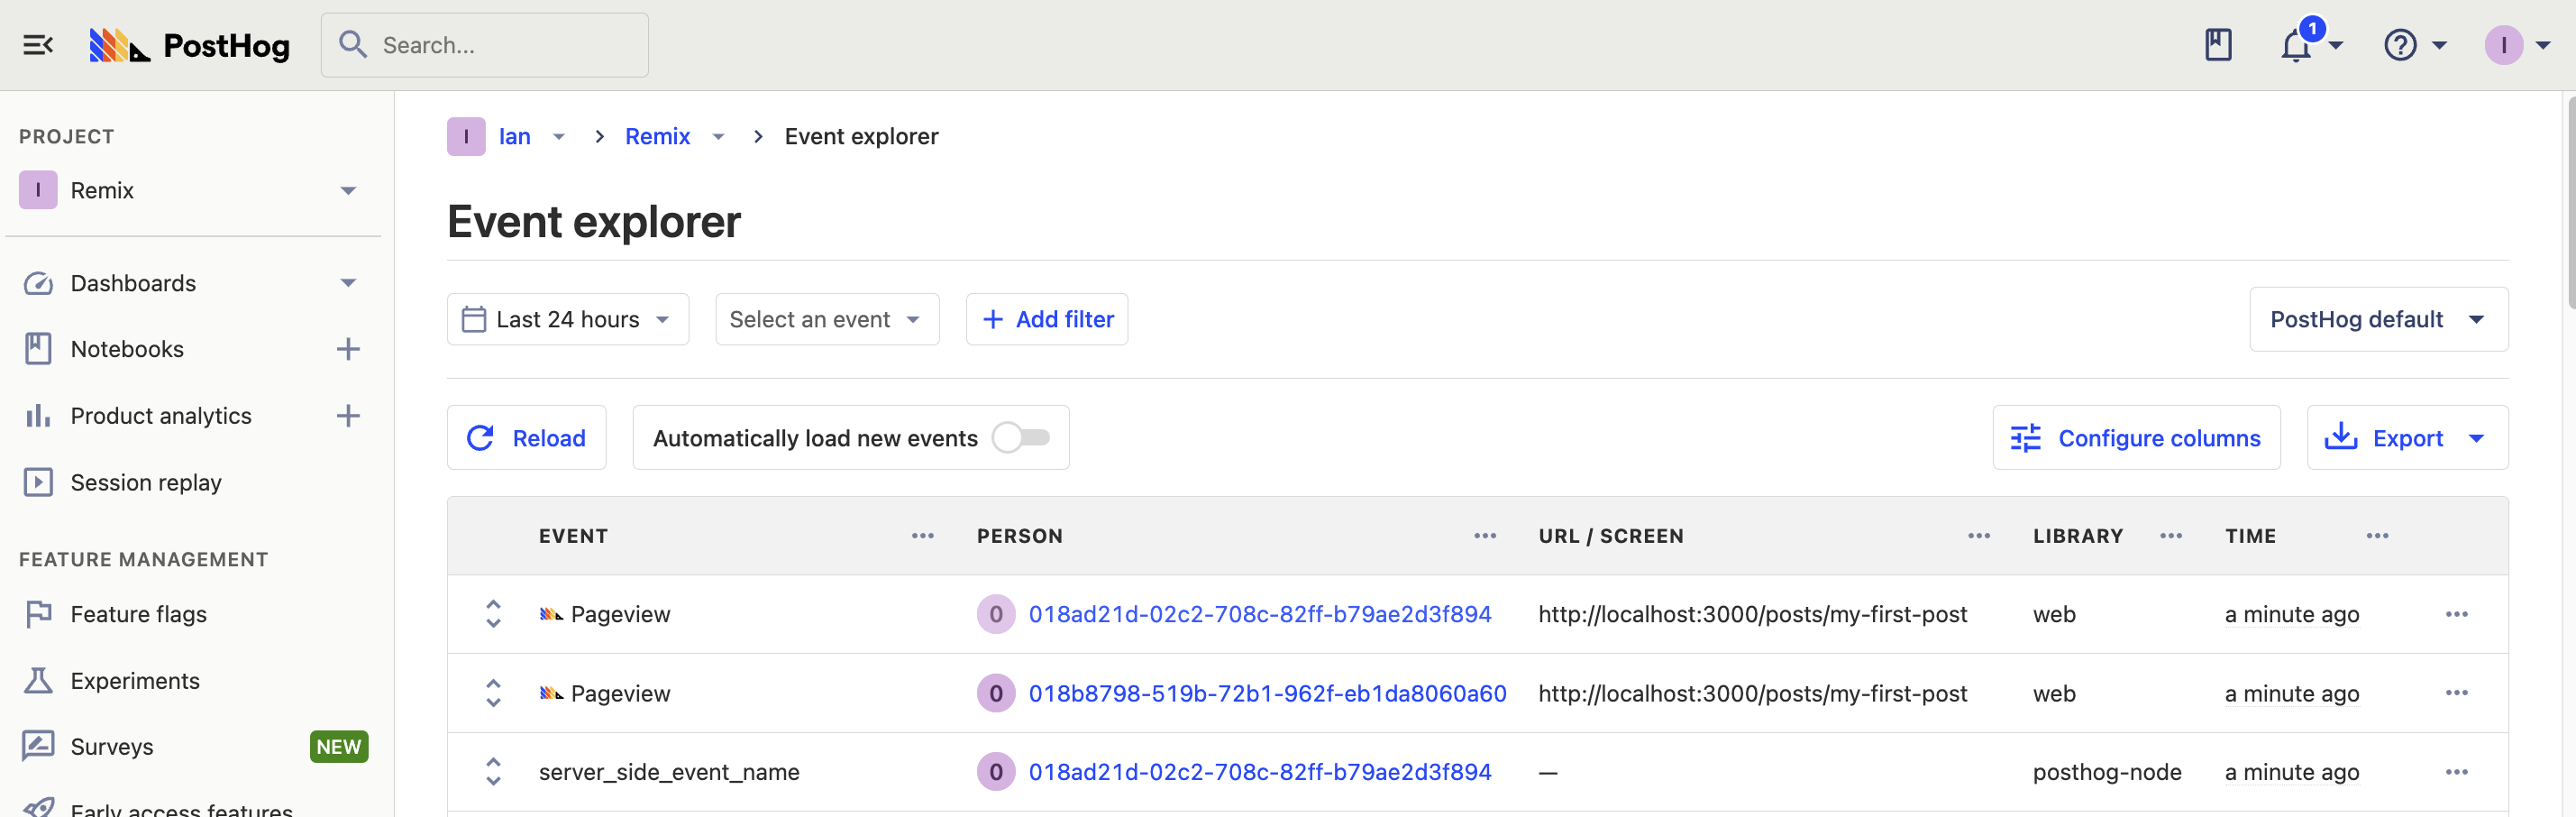
When you refresh the page now, you see a server_side_event_name event captured along with the others.

Server side event

Combining frontend and backend distinct IDs

Lastly, since PostHog automatically creates a distinct_id on the frontend, we must connect it to the backend distinct_id (if they are different). This ensures we are consistently tracking users and that they get a consistent experience.

In the initial useEffect in our component, we check if the distinct_id values are different, and if so, use posthog.identify to combine them.

TypeScript
// app/routes/posts.$slug.tsx
// ... imports, type, loader
export default function PostSlug() {
const post = useLoaderData<Post>();
const [buttonText, setButtonText] = useState('Like this post');
useEffect(() => {
if (posthog.get_distinct_id() && posthog.get_distinct_id() !== post.distinctId) {
posthog.identify(post.distinctId);
}
const flag = posthog.isFeatureEnabled('new-button-text');
if (flag) {
setButtonText('This is a very cool post')
}
}, []);
// ... rest of the component

Using server side feature flags

Using PostHog on the server side enables us to evaluate flags before the page loads. This prevents the "flicker" of the flags loading and changing page elements.

To set this up, we use the server side isFeatureEnabled() method with the flag key and distinctId then add a new buttonText key and value to the post JSON like this:

TypeScript
// app/routes/posts.$slug.tsx
//... imports
type Post = {
slug: string;
title: string;
content: string;
distinctId: string;
buttonText: string; // new
};
export const loader = async ({ params, request }: LoaderFunctionArgs) => {
//... posts, cookies, distinctId
const phClient = PostHogClient();
const flag = await phClient.isFeatureEnabled(
'new-button-text',
distinctId
)
post['buttonText'] = 'Like this post'
if (flag) {
post['buttonText'] = 'This is a very cool post'
}
post['distinctId'] = distinctId;
return json(post);
};
//... rest of code

With the buttonText included in the post JSON, we can rework our component to remove the buttonText state and client side isFeatureEnabled. This simplifies our component, which now looks like this:

TypeScript
export default function PostSlug() {
const post = useLoaderData<Post>();
useEffect(() => {
if (posthog.get_distinct_id() && posthog.get_distinct_id() !== post.distinctId) {
posthog.identify(post.distinctId);
}
}, []);
const handleClick = () => {
posthog.capture("liked_post", { 'post': post.slug });
};
return (
<div>
<h1>{post.title}</h1>
<p>{post.content}</p>
<p>{post.distinctId}</p>
<button onClick={handleClick}>{post.buttonText}</button>
</div>
);
}

Now, when you reload your page, the button doesn’t flicker. This is especially useful when running A/B tests.

Further reading