How to set up Wix analytics, heatmaps, and more
Contents
To create the best possible Wix site, you need to know how users interact your site. PostHog provides tools like analytics, heatmaps, and session replays to help you do this. Best of all, PostHog has a generous always free tier (unlike other Wix analytics tools)
This tutorial shows you how to set up PostHog to your Wix site to capture analytics for you to analyze as well as how to set up and view heatmaps.
Note: Adding custom code, which we do in this tutorial, requires Wix's premium plan.
How to add PostHog to your Wix site
After signing up for PostHog (which you can do for free), go to your project settings and copy your web snippet which looks like this:
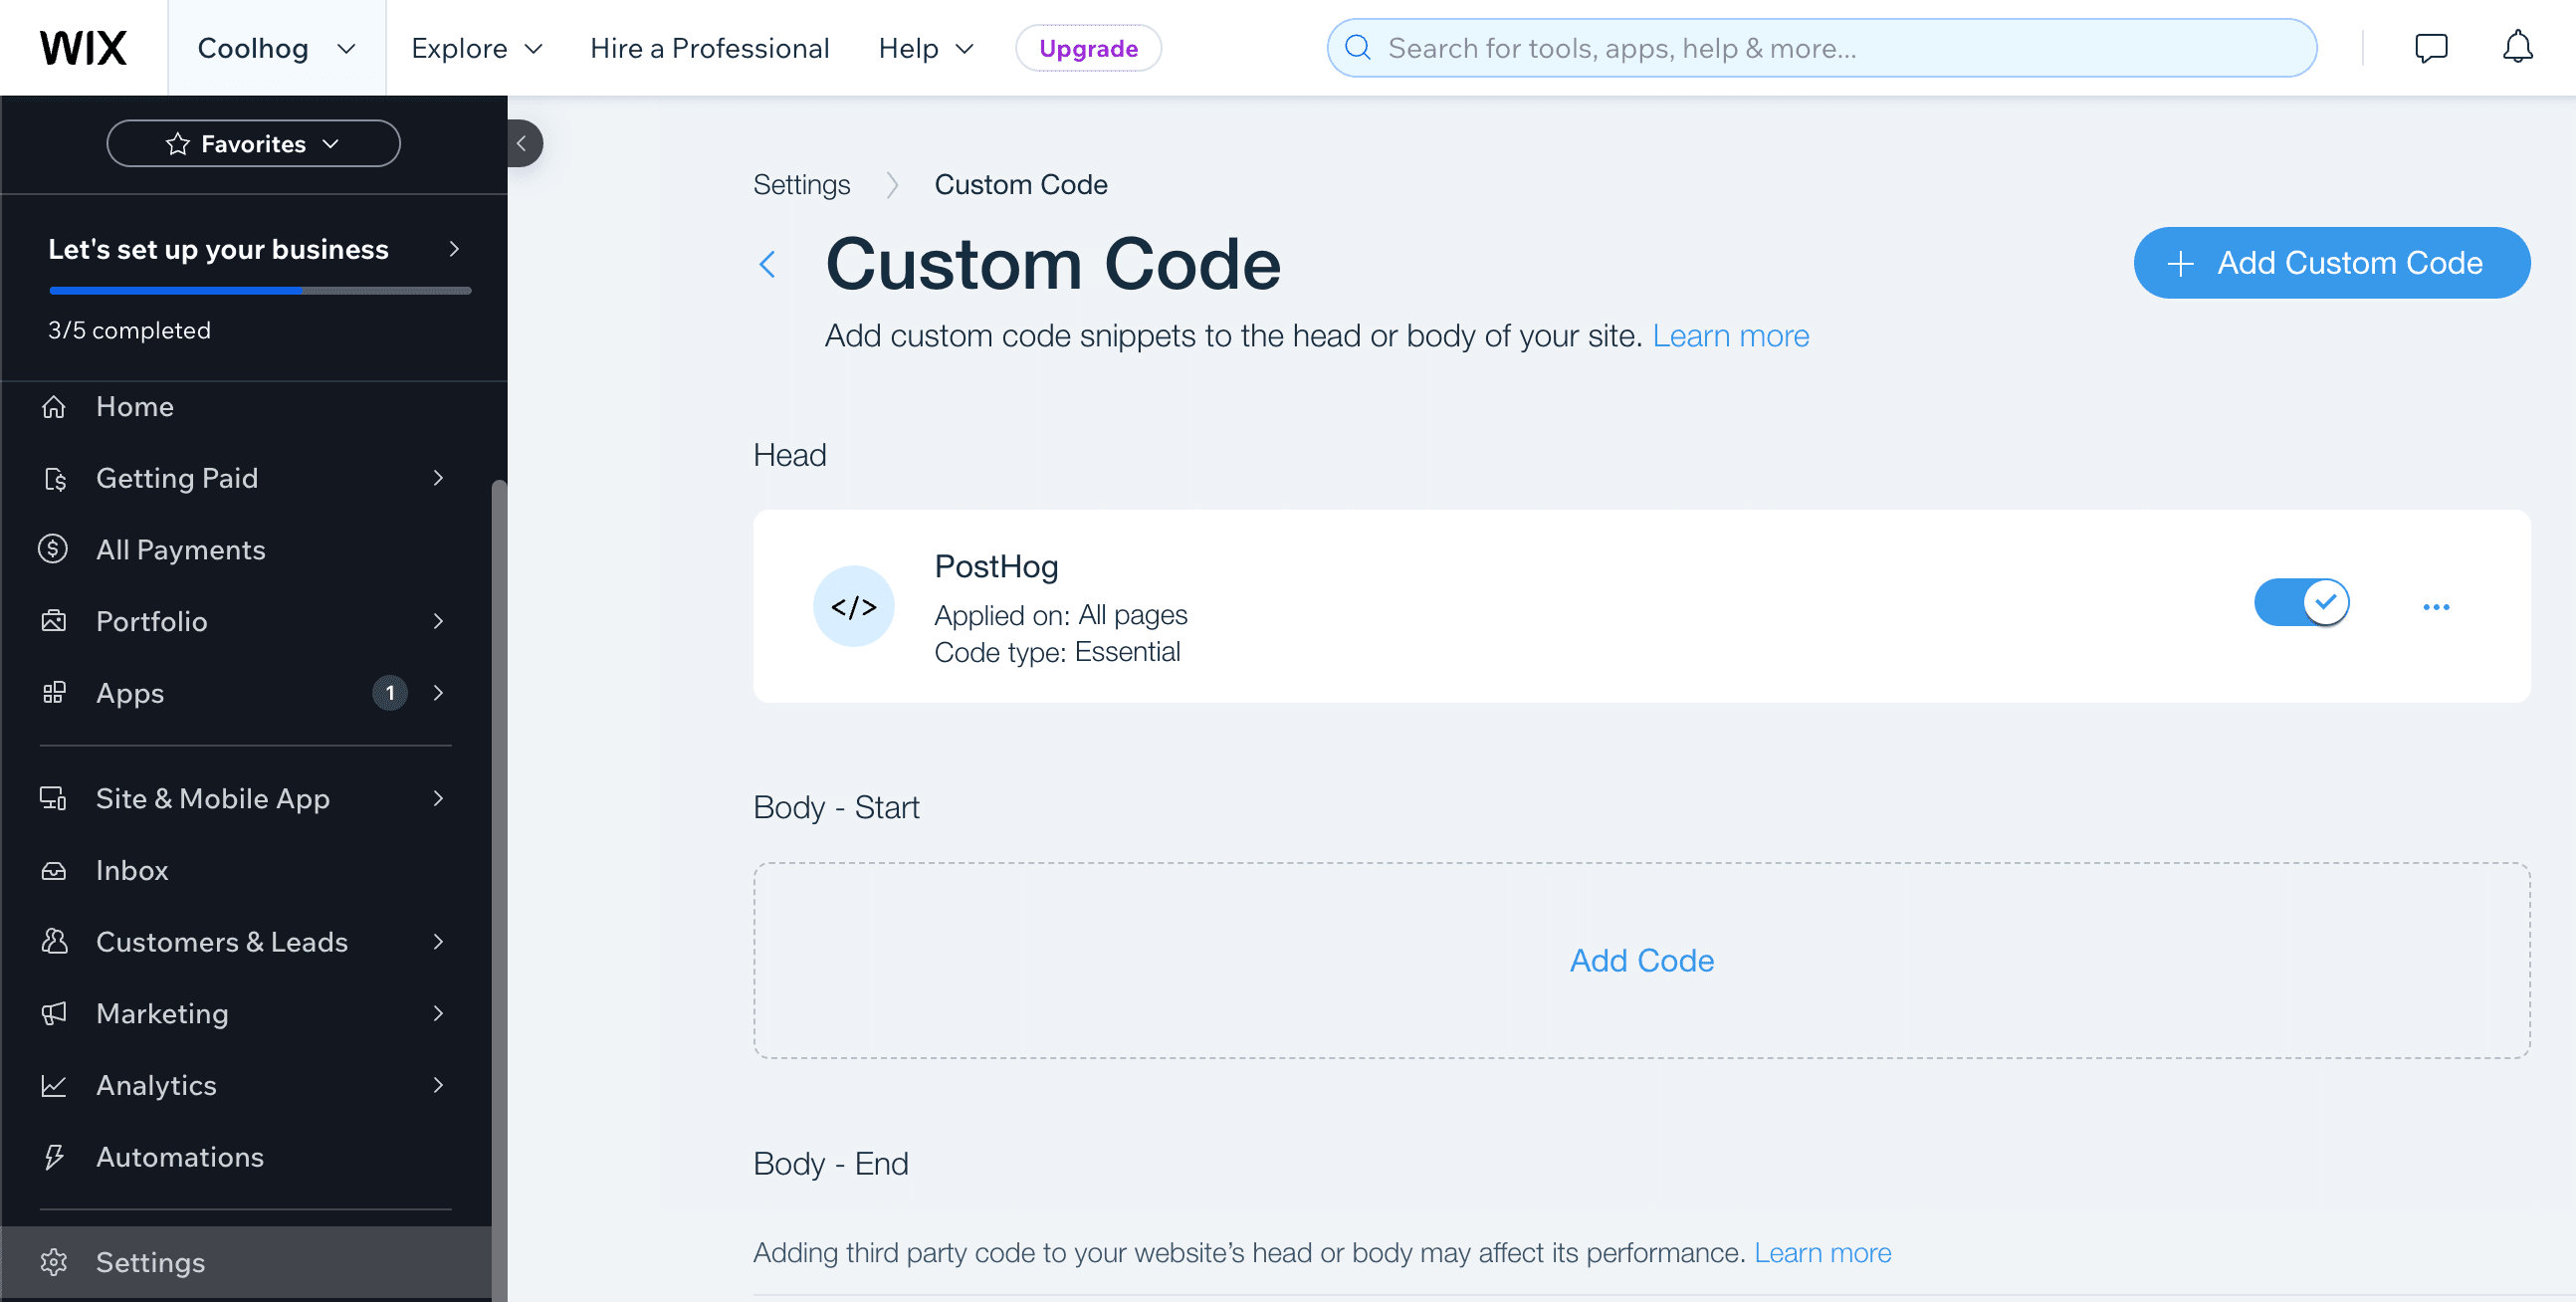
With this, go to your Wix settings, scroll down and choose Custom code, click the + for the header, paste in your web snippet, and click Apply. Also under Add Code To Pages, change Load code on each new page to Load code once.
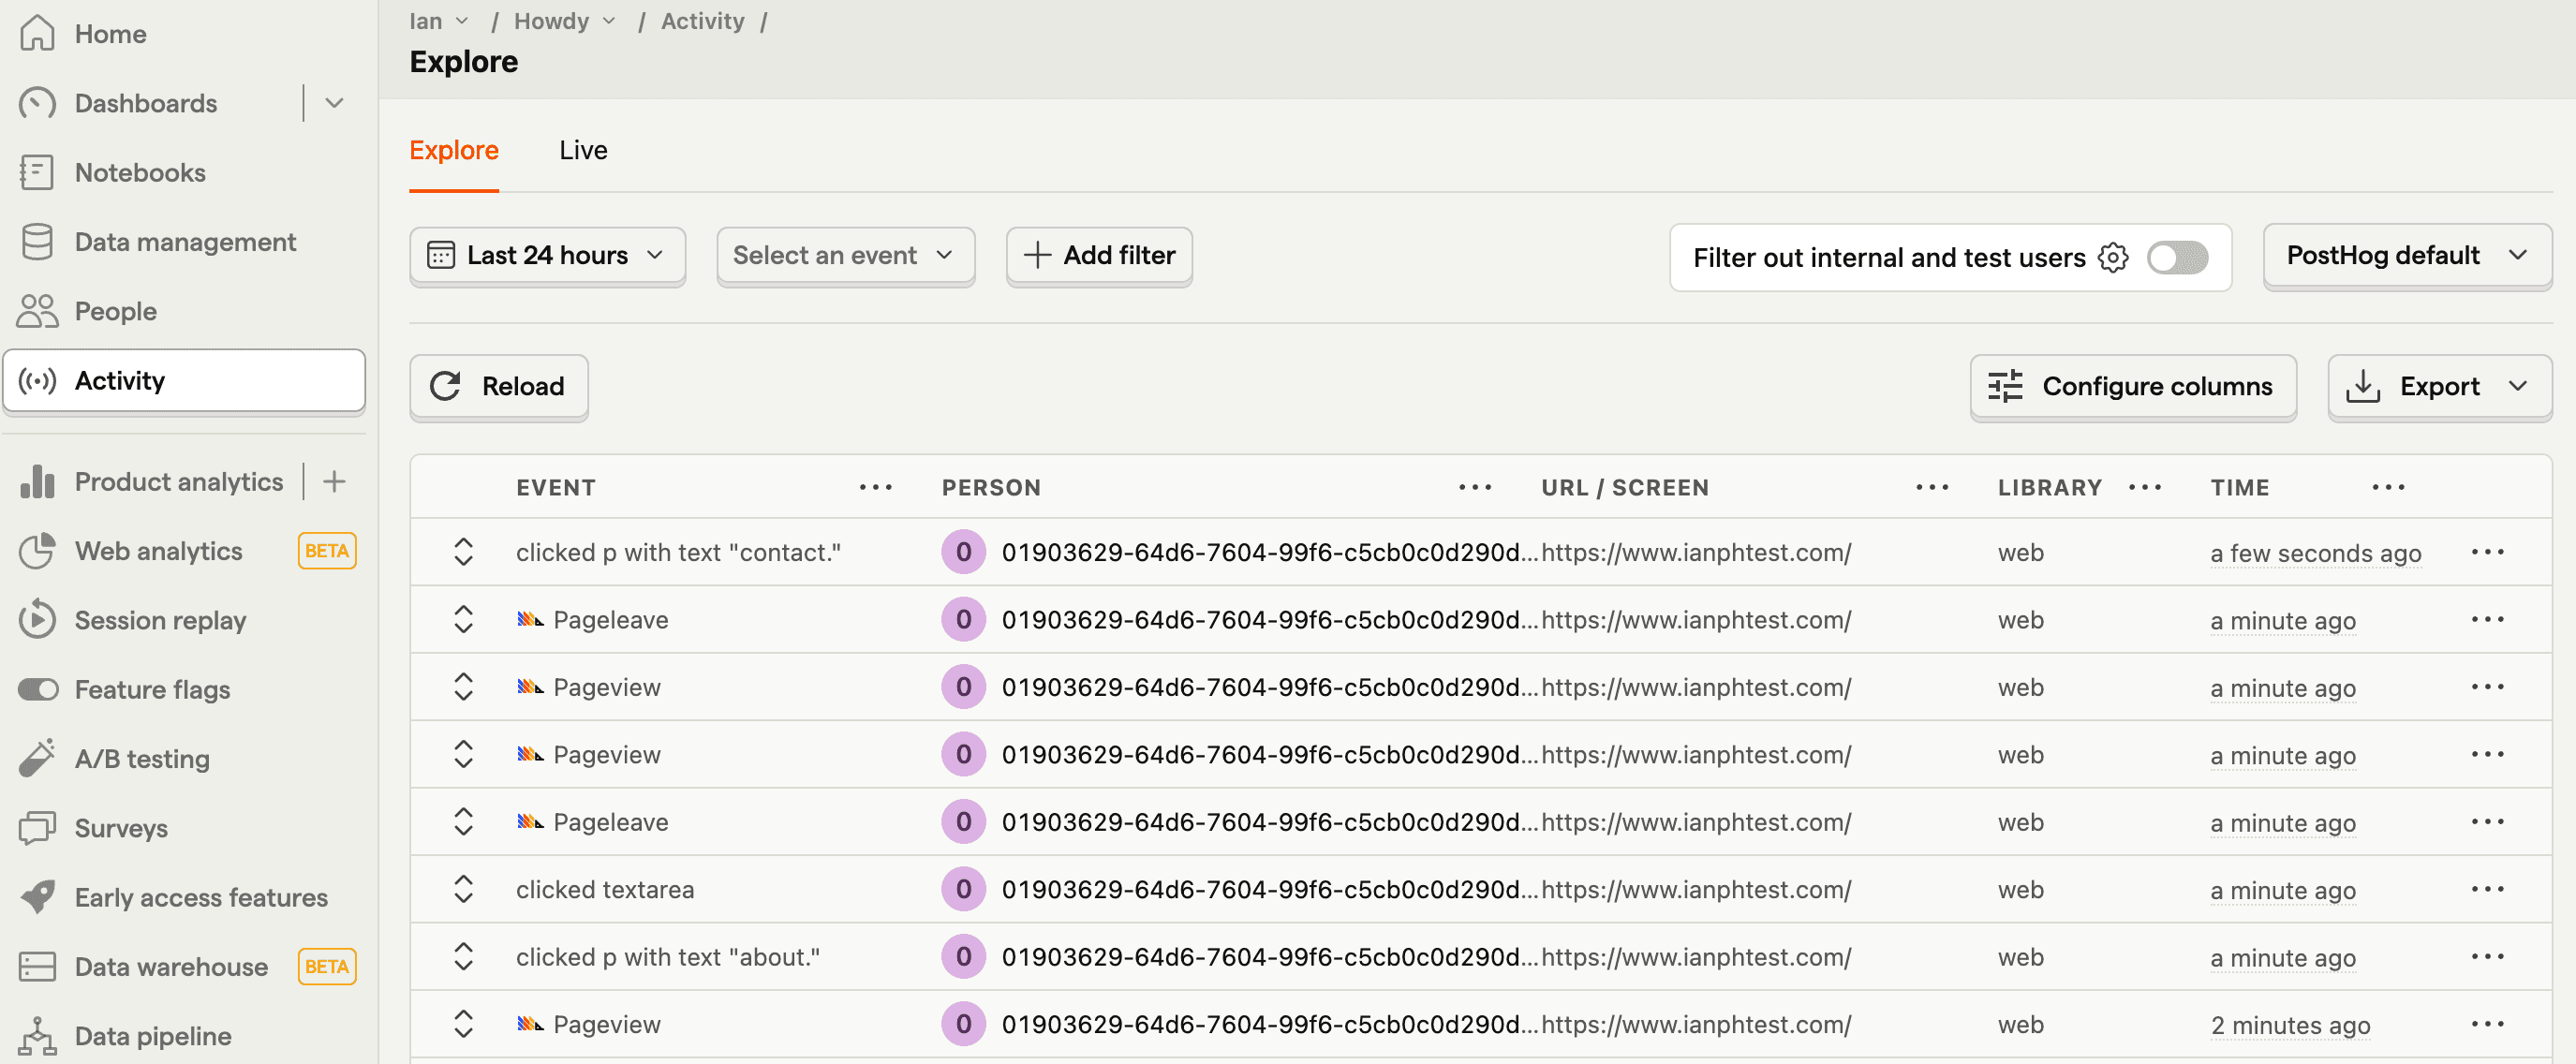
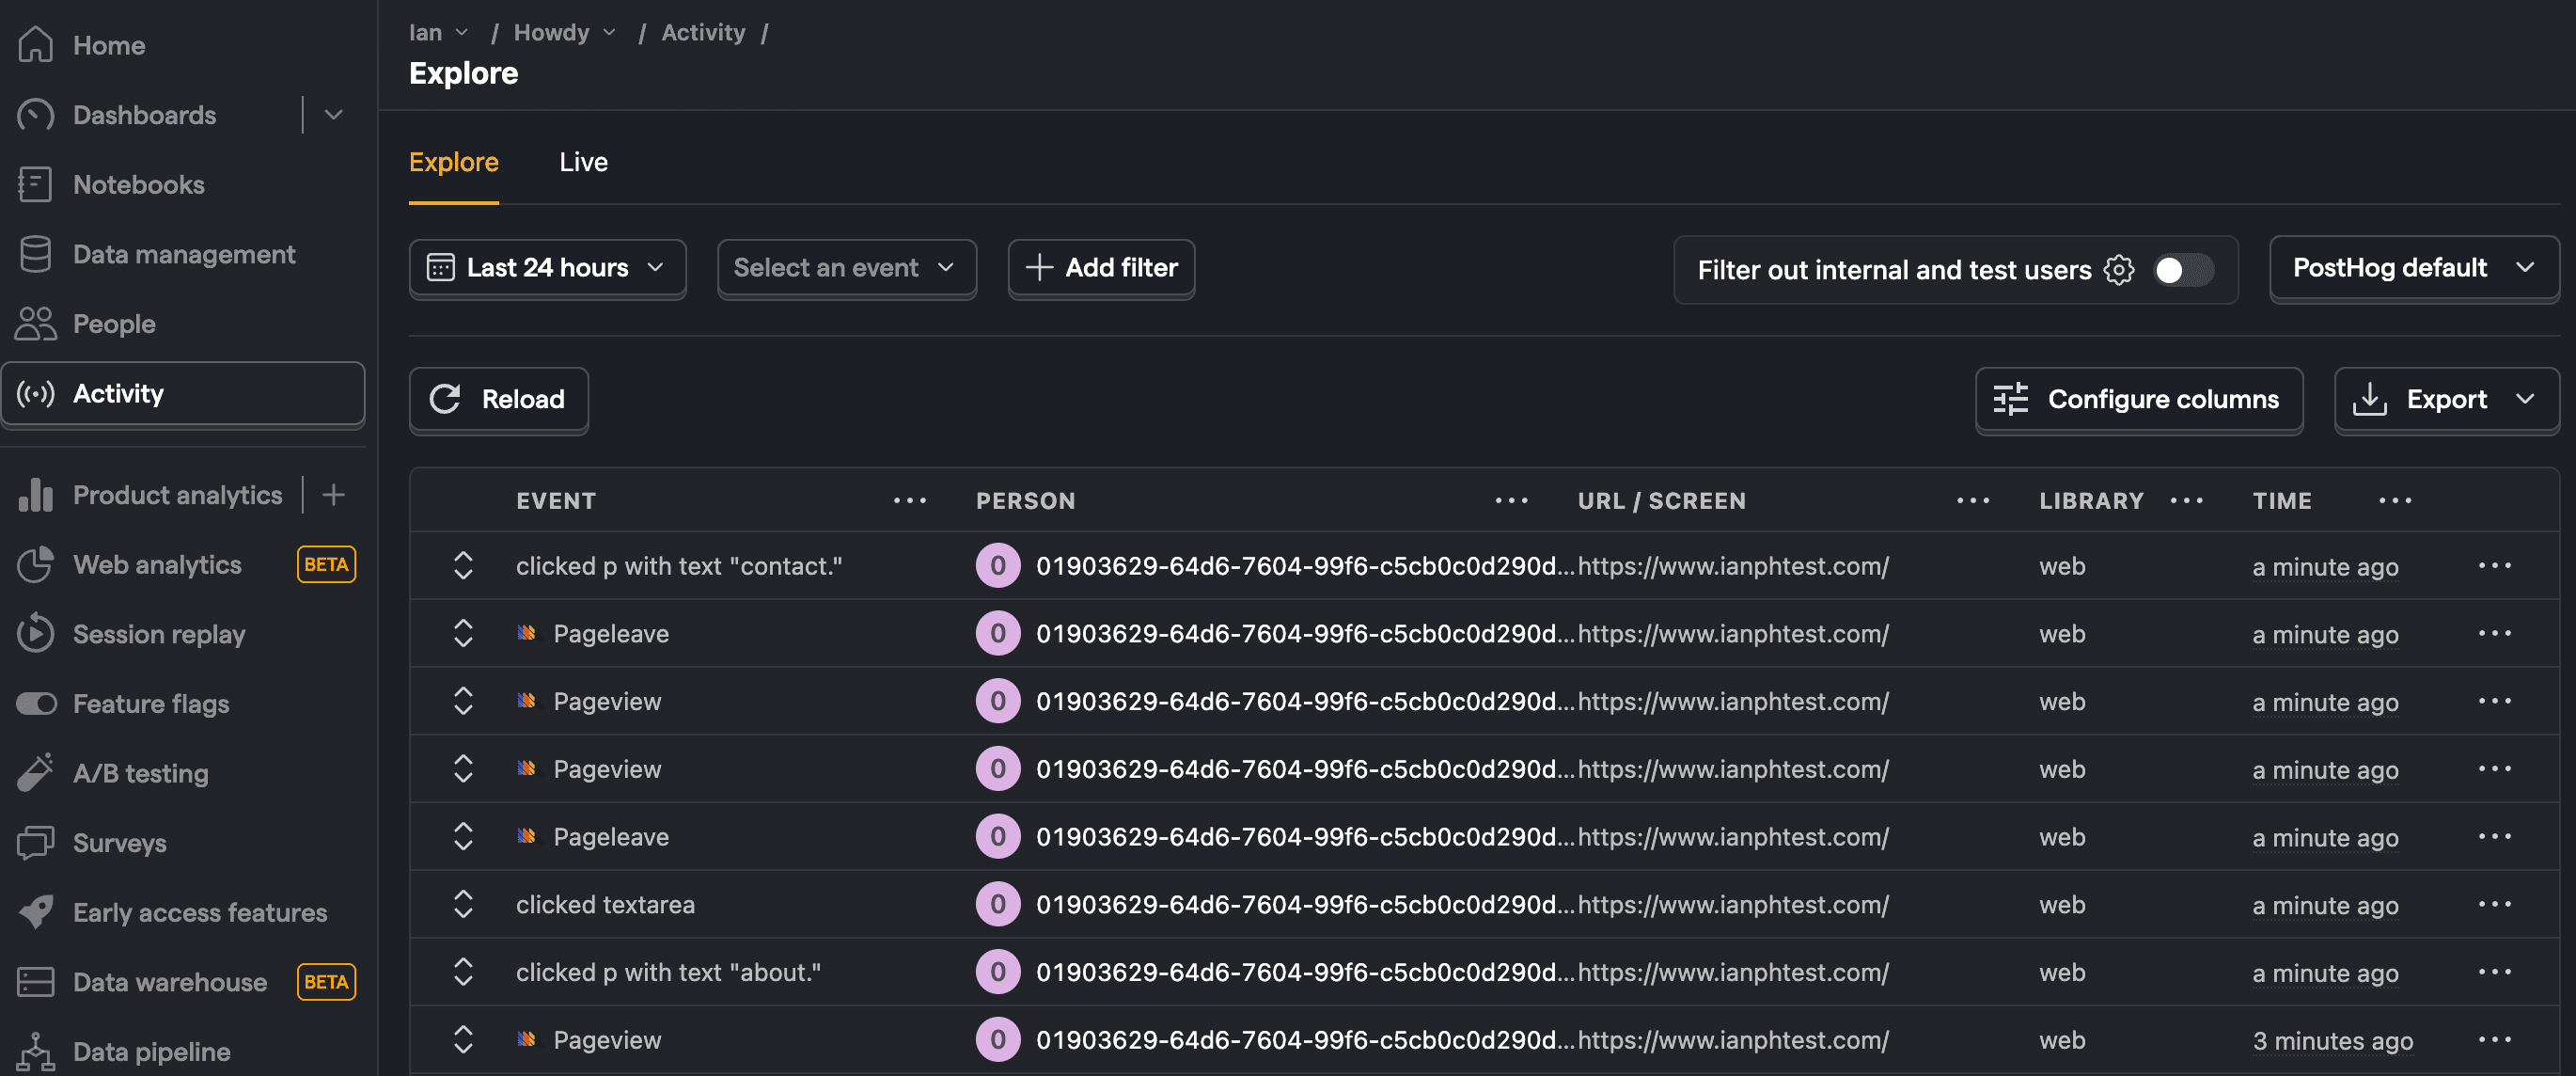
Now, when you (or your users) go to your site, PostHog will autocapture pageviews, button clicks, form inputs, and more. If you have session replay enabled, these are captured as well.
How to set up and view heatmaps
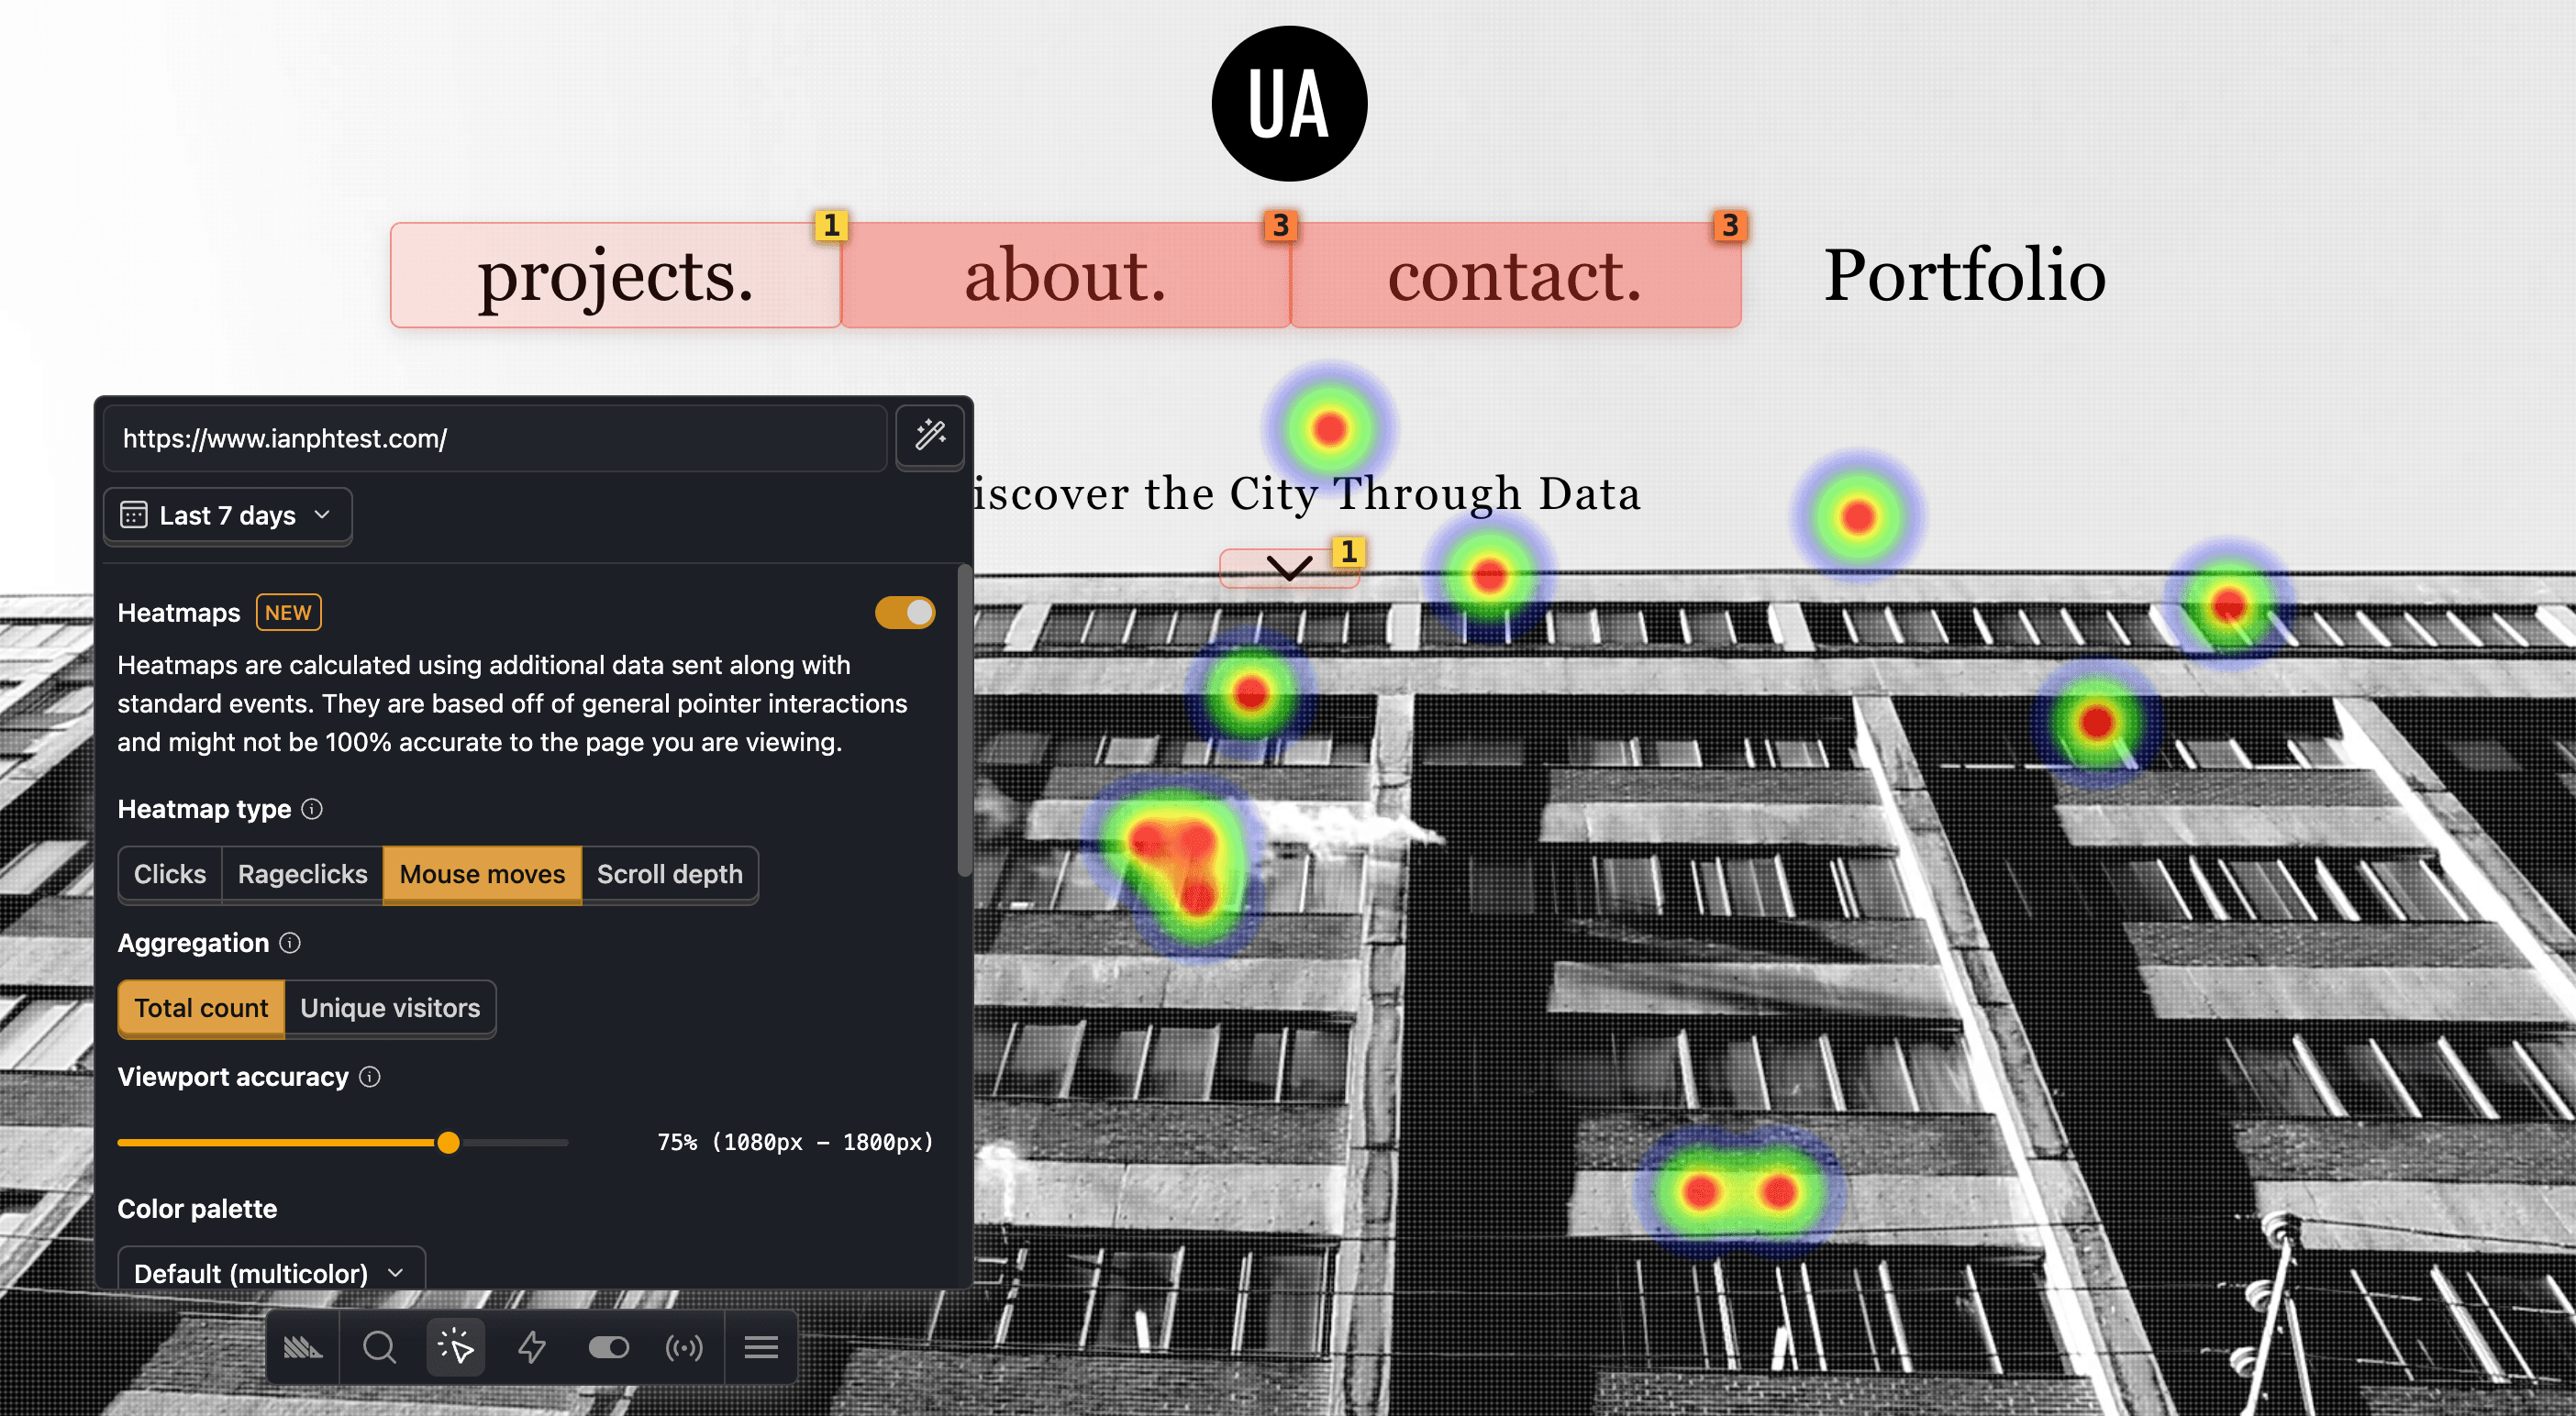
PostHog's heatmaps enable you to see where users are clicking on, hovering over, and scrolling. The web snippet you set up autocaptures the data needed for this, but it needs to be enabled in your project settings.
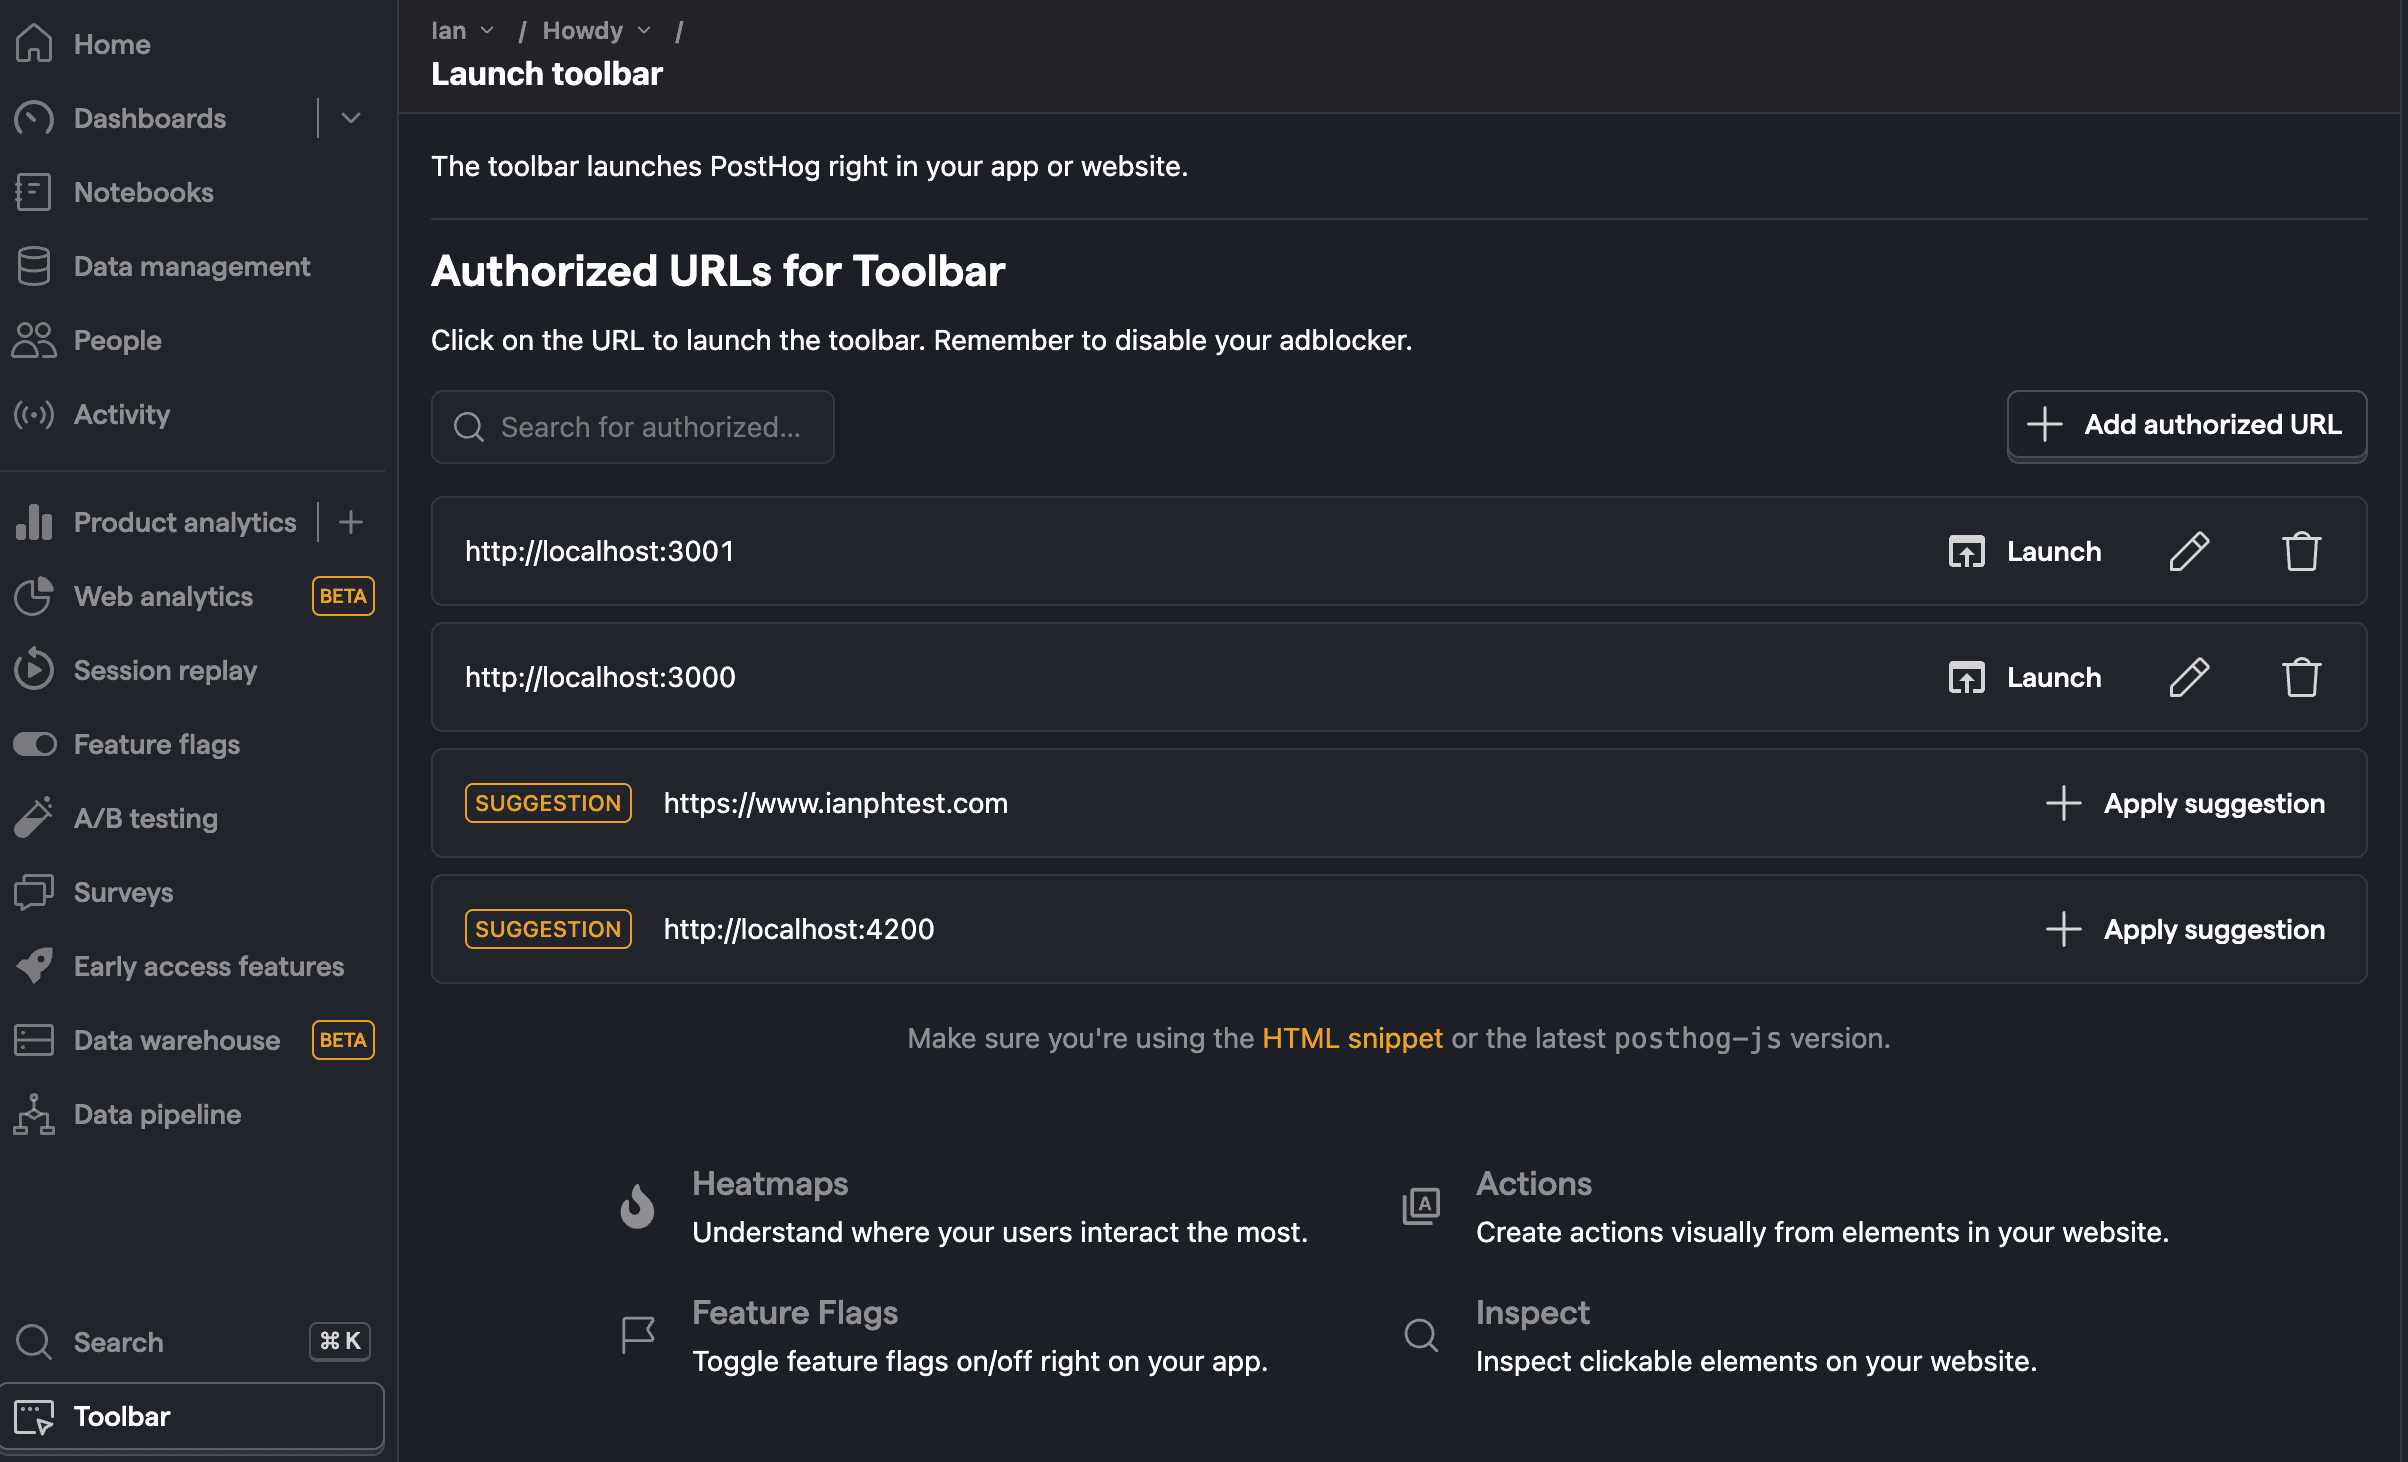
Once enabled, you can access it via the toolbar. To launch the toolbar, go to the toolbar tab in PostHog, add your URL as an authorized domain, and click Launch.
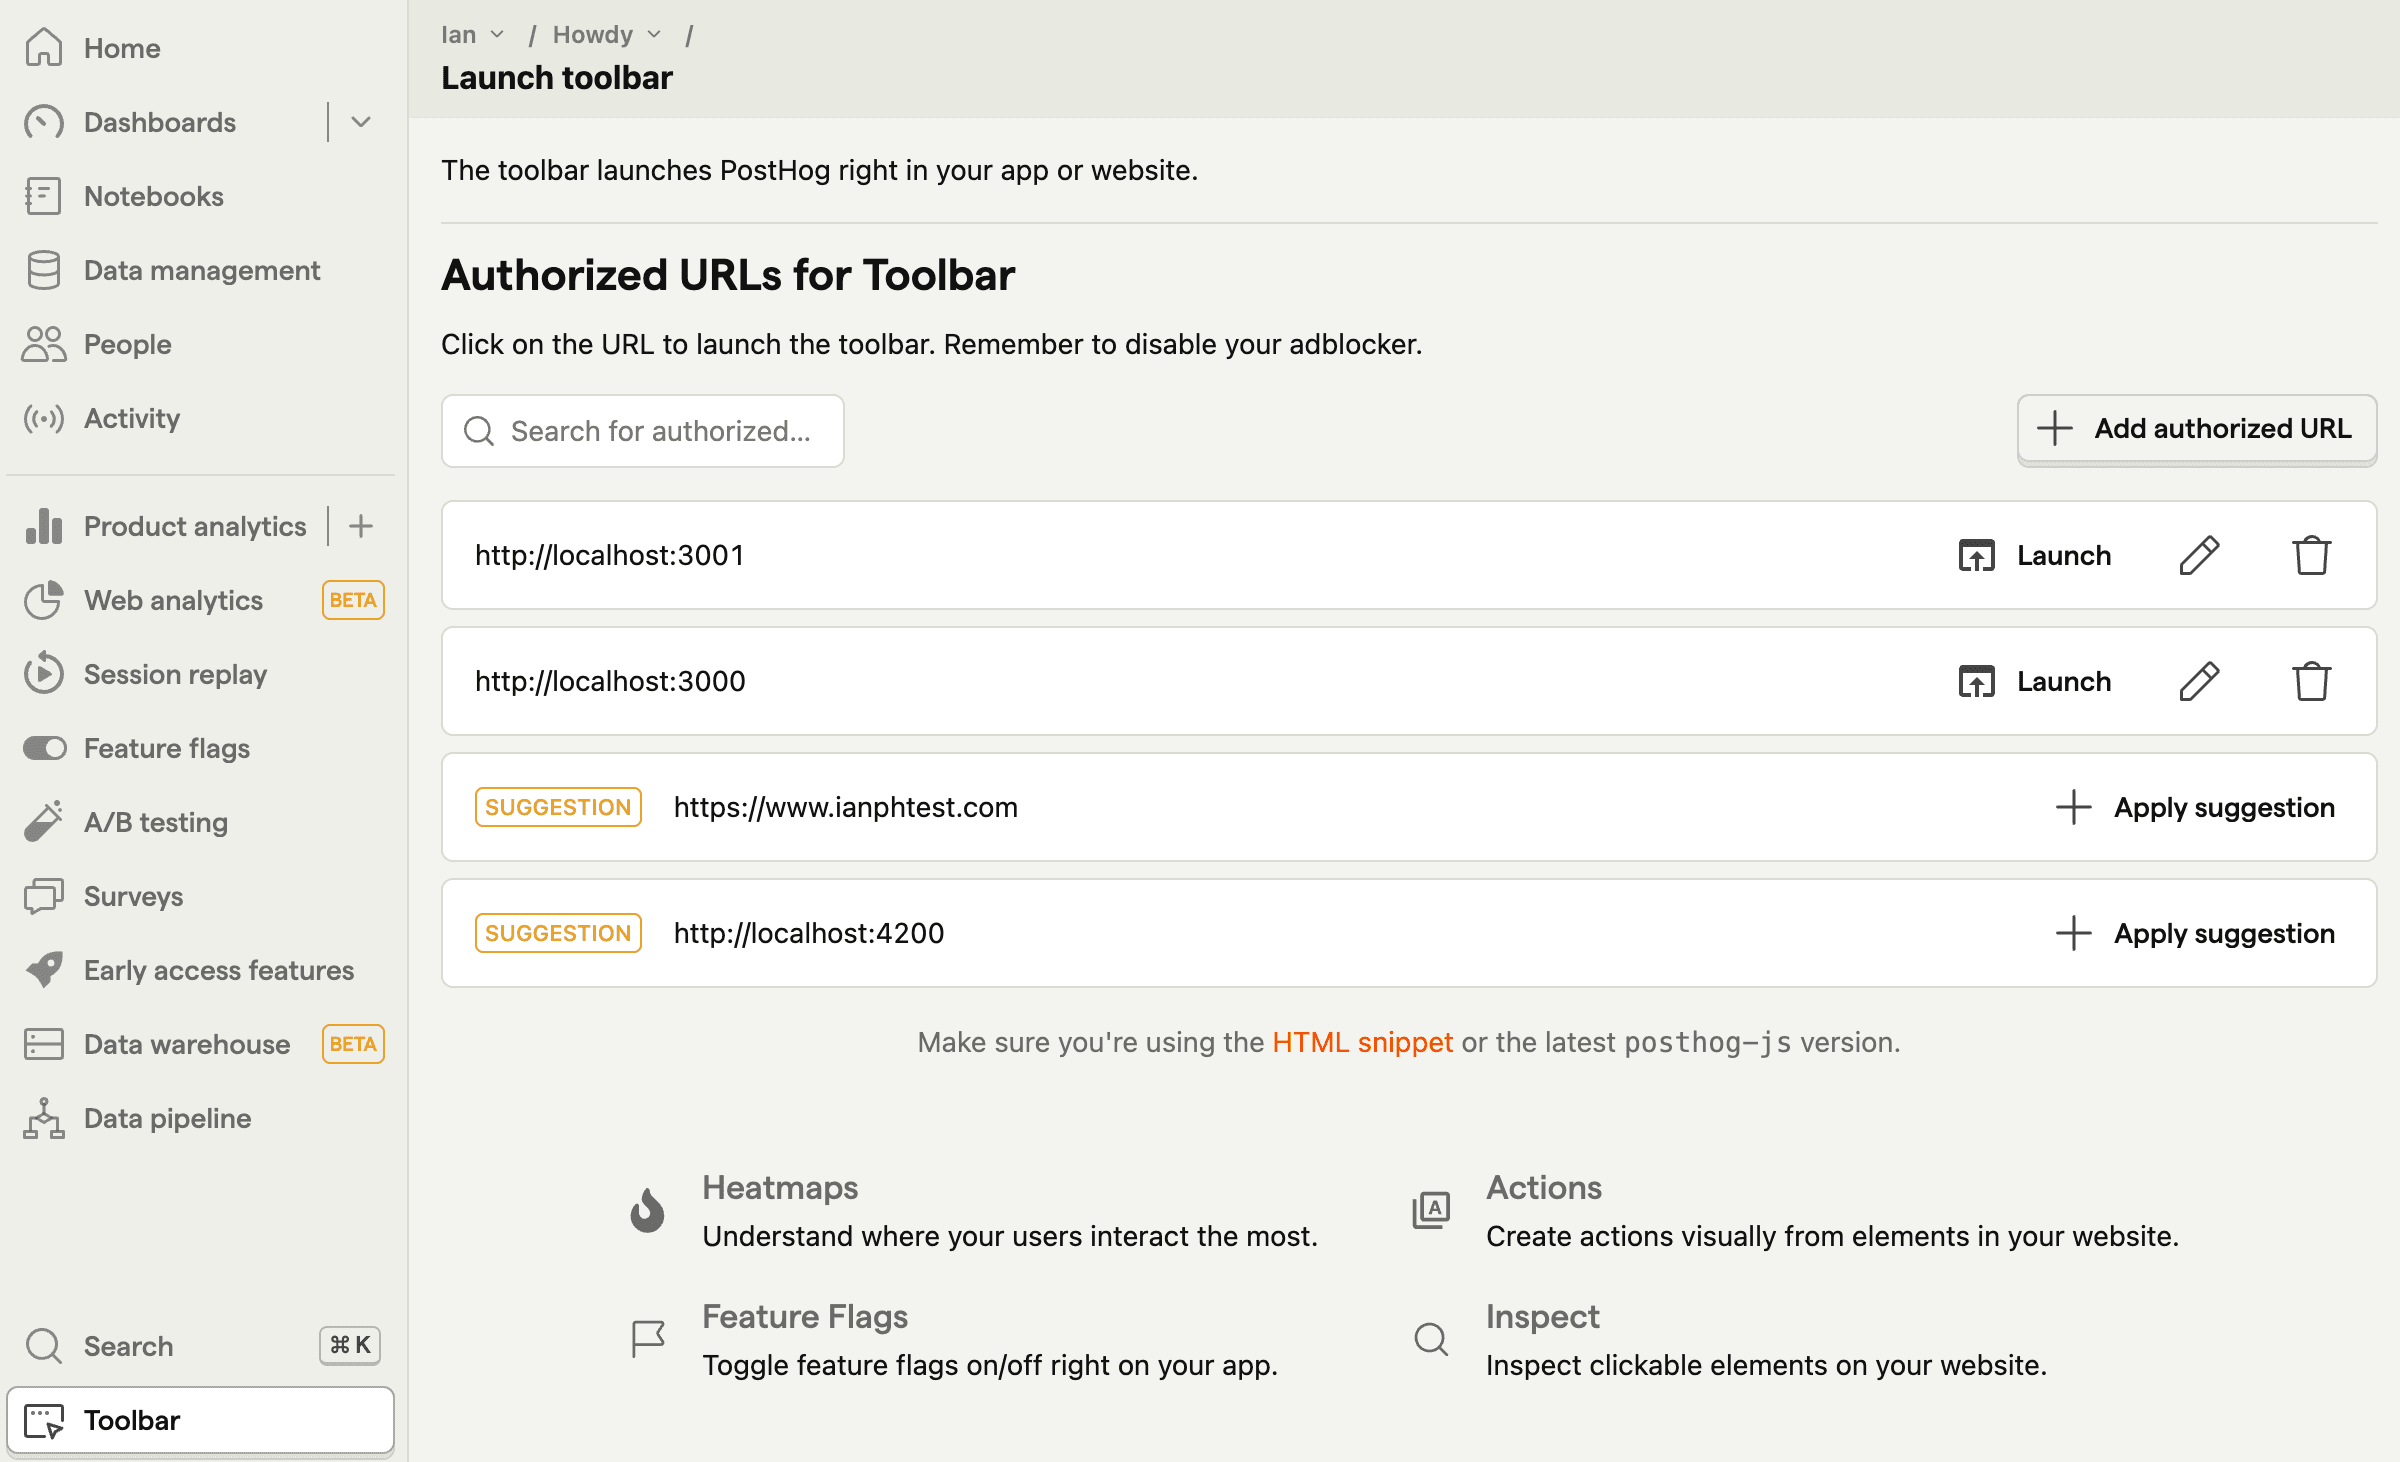
This brings you to your site with the toolbar active. From here, you can click between the toolbar options to view the heatmap, clickmap, and scrollmap overlaid on your Wix site.
Further reading
- What to do after installing PostHog in 5 steps
- How to track performance marketing in PostHog
- How to do cookieless tracking with PostHog

Subscribe to our newsletter
Product for Engineers
Read by 100,000+ founders and builders
We'll share your email with Substack
PostHog is an all-in-one developer platform for building successful products. We provide product analytics, web analytics, session replay, error tracking, feature flags, experiments, surveys, LLM analytics, data warehouse, CDP, and an AI product assistant to help debug your code, ship features faster, and keep all your usage and customer data in one stack.


