


How to set up Astro analytics, feature flags, and more

Contents
Astro is a frontend JavaScript framework focused on performance and simplifying the creation of content-based sites. It has seen a rapid increase in interest and usage since its release in 2022.
PostHog provides the tools you need to create the best possible Astro app. In this tutorial, we show you how to set them up. We create a basic Astro blog app, add PostHog on both the client and server, capture custom events, and set up feature flags.
Creating your Astro app
First make sure you install a Node version greater than 18. After that, you can run the command below to create your app. Name your app (we choose astro-tutorial), start your new project Empty, install dependencies, choose No for TypeScript, and No for git repository.
Once created, go to the src folder and create a layouts folder. In this folder, create a Layout.astro file with some basic HTML code and links to the home and posts pages.
Next, in the src/pages folder, we create a posts folder and a basic index.astro file with a link to a post we will create.
In the posts folder, we also create a first-post.md file where we write a bit of Markdown as an example. You can customize this or add more posts and links here if you’d like.
We also clean up the base index.astro file in the pages folder to use the layout we created.
Finally, we can run our app with npm run dev to see our full Astro app running locally.
Adding PostHog on the client side
With our app set up, the next step is to add PostHog to it. To start, create a new components folder in the src folder. In this folder, create a posthog.astro file. In this file, add your Javascript Web snippet which you can find in your project settings. Be sure to include the is:inline directive to prevent Astro from processing it, or you will get Typescript and build errors that property 'posthog' does not exist on type 'Window & typeof globalThis'.
After doing this, go back to your Layout.astro file, import PostHog, and then add it to the head section.
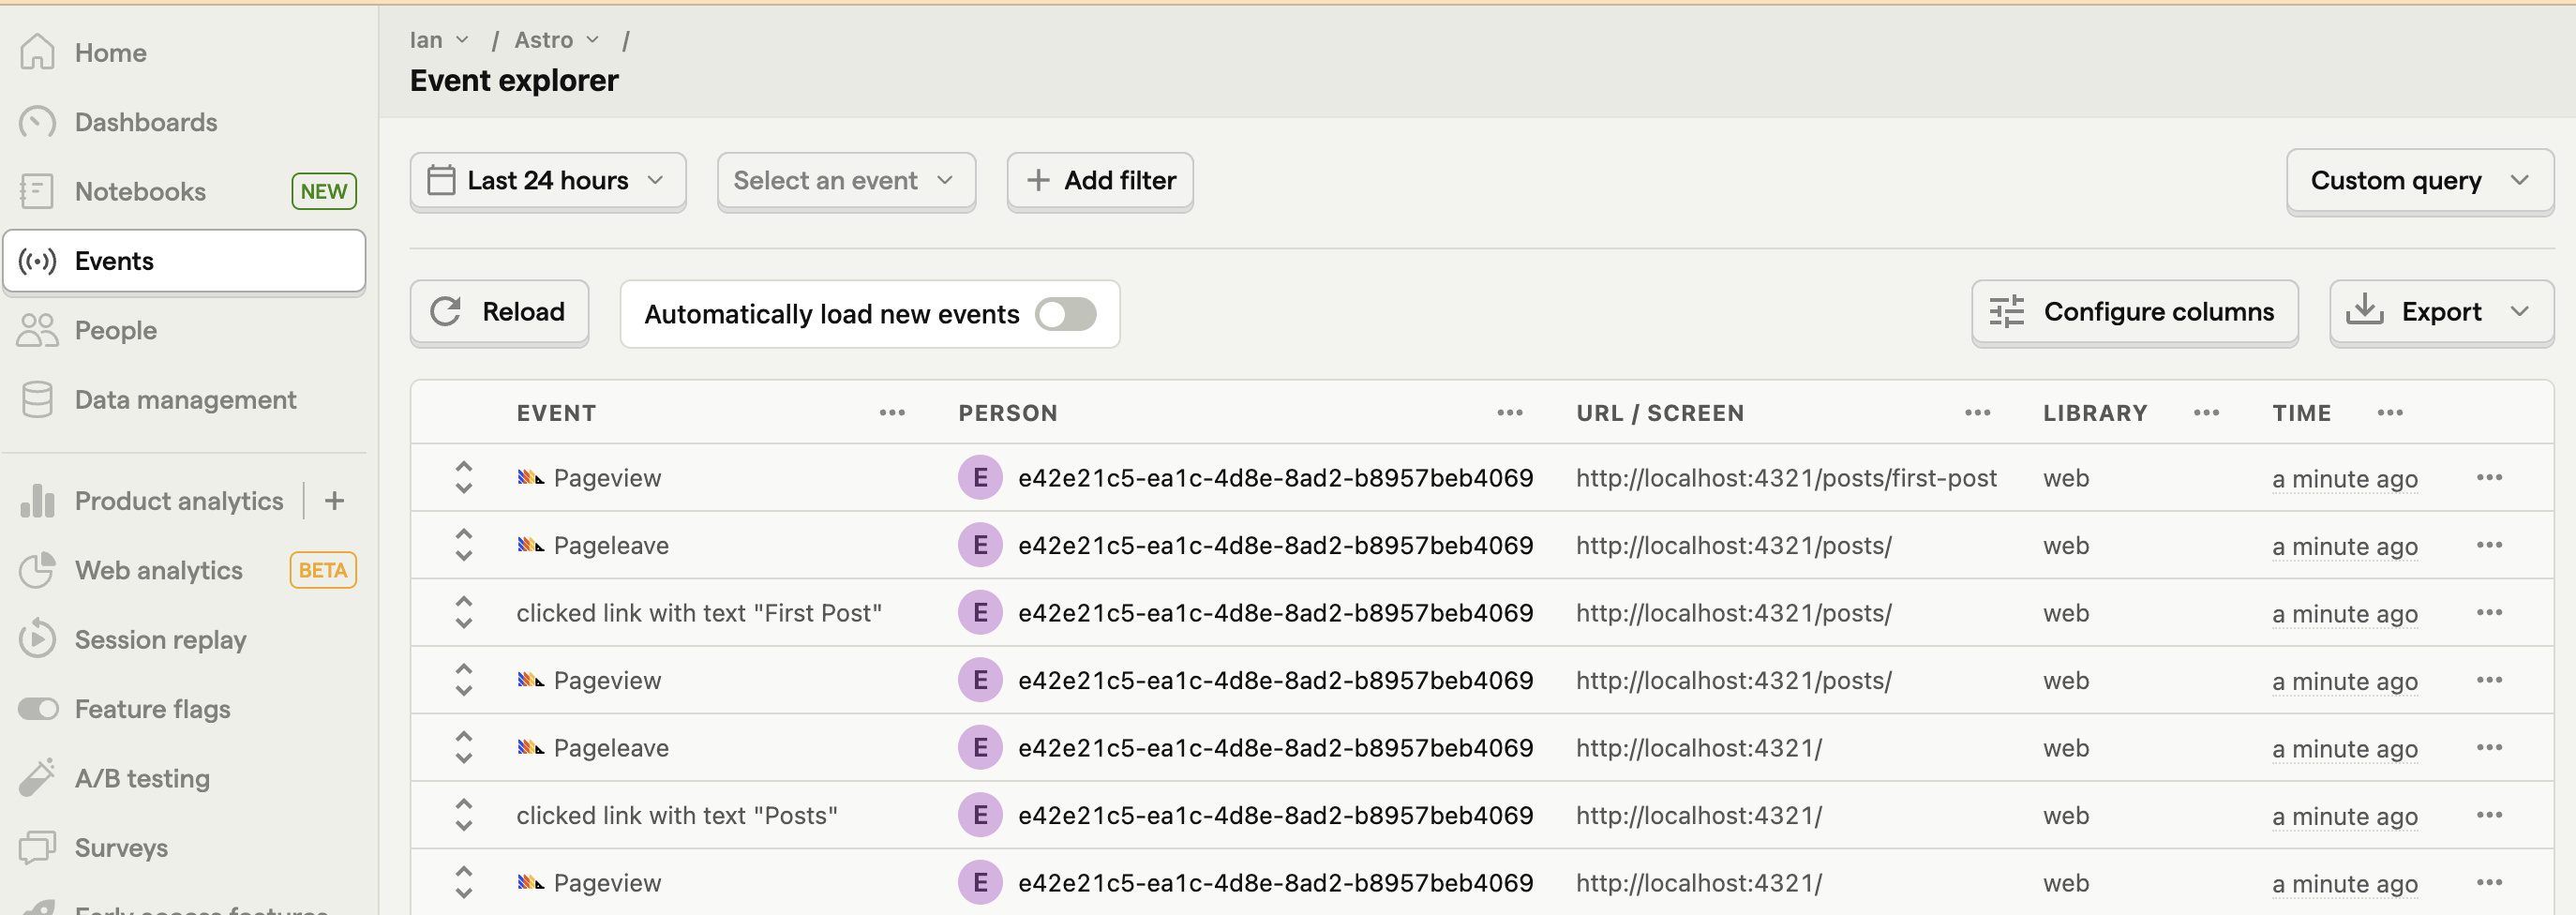
When you go back to your app and reload, PostHog now autocaptures pageviews, button clicks, session replays (if you enable them), and more.
Capturing custom events
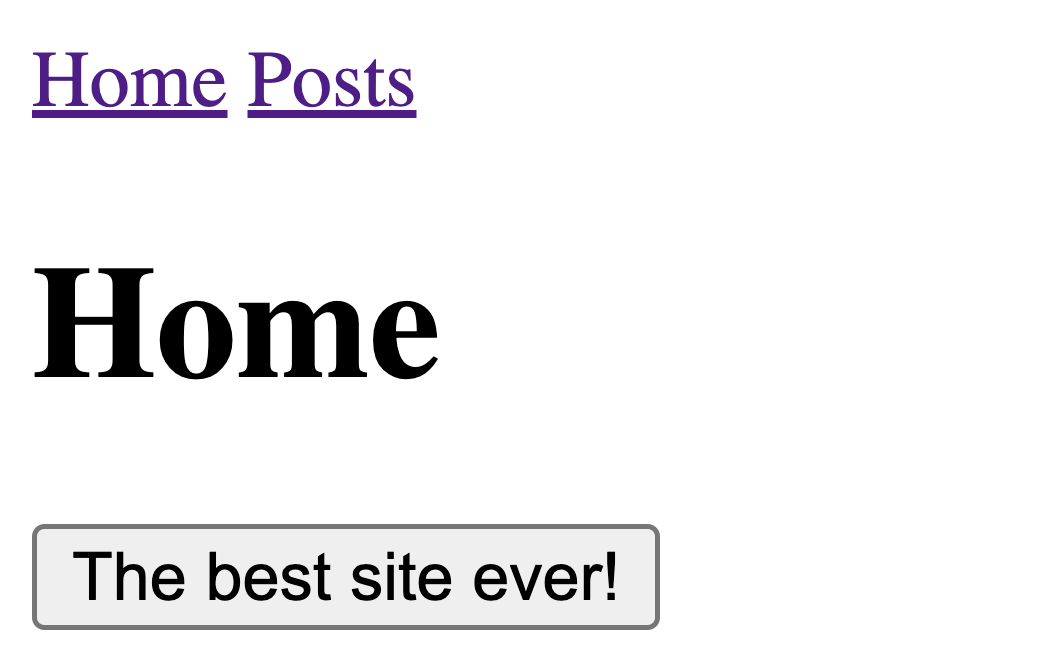
Beyond autocapture, you can use PostHog to capture any events you want. To showcase this, we start by adding a button to our homepage component.
We then add a script to select this button, add a click event listener, and then capture a custom event.
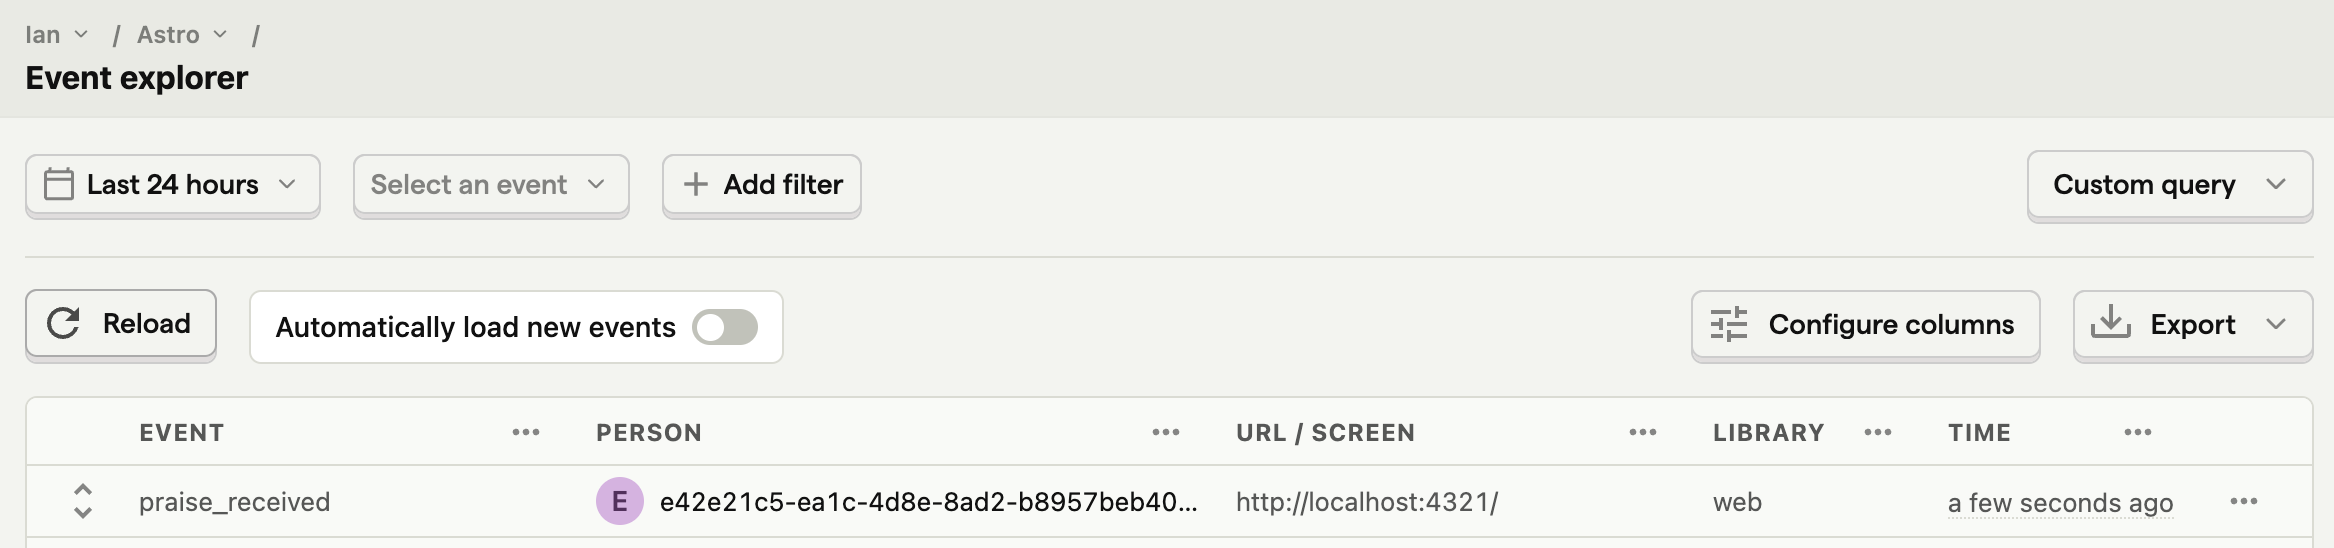
When you go back to your app and click the button, you then see a praise_received event in PostHog.
Setting up a feature flag
To use a feature flag in your app, first, you must create it in PostHog. Go to the feature flags tab, click "New feature flag," add a key (we chose new-button), set the release condition to 100% of users, and click "Save."
With the feature flag, go back to your home page at components/posthog.astro. Add the loaded: argument to your snippet and implement the posthog.onFeatureFlags callback to update the button text depending on the flag value. If enabled, change the innerText of your button.
When you reload your page, it shows different button text controlled by the PostHog feature flag.
Adding PostHog on the server side
So far, we have only used PostHog on the client side. We can also set up PostHog on the server side to capture events on page load, evaluate feature flags before page loads, and more. To do this, start by installing the Node SDK by running:
In the src folder, create a posthog.js file. This is where we set up the code to create the PostHog Node client using our project token and instance address.
To show how we can use this, we import it into our home pages/index.astro file and then capture an event with it.
Now when we reload the page, PostHog captures a server_side_event.
Identifying users to connect server and client
One issue with our implementation is the hard-coded user distinct ID we are using to capture events. For it to use a real user’s ID, we can either:
- Use the distinct ID set by the client side PostHog in the request cookie.
- Create a new distinct ID on the server and use
identify()to connect it in the client.
We can start by changing the output mode in astro.config.mjs to hybrid so we can access the cookies.
Next, we use the Astro.cookies utility to get the cookie using our project token.
If we can’t get the distinct_id this way, we can create our own by importing the Node crypto library and using crypto.randomUUID(). This makes our final server code look like this:
This solves our problem partially, but the server and client distinct IDs end up disconnected. Your analysis will show events from two different users when they came from one.
To prevent this, we add the distinct ID in a hidden component so we can access it when PostHog loads.
Finally, in posthog.astro, we add logic to get the distinct ID, check if it’s different, and call posthog.identify() to connect the IDs if so.
Now, we will have accurate, combined user IDs on both the client and server.
Setting up server side feature flags
When setting up feature flags, you might have noticed that they flicker on the initial load. The delay between the page and PostHog loading causes this. To prevent it, we can evaluate flags on the server side.
To do this, call isFeatureEnabled for the new-button key and distinctID with the Node phClient. Replace the button text with a server variable that depends on the flag and remove the client side flag logic.
Lastly, remove the posthog.onFeatureFlags() code we added in posthog.astro:
Now when you refresh your page, your flag won’t flicker because the content is sent from the server. This is especially useful for ensuring good user experiences in A/B tests.
Further reading
- What to do after installing PostHog in 5 steps
- How to set up A/B tests in Astro
- How to set up surveys in Astro
Subscribe to our newsletter
build mode
Read by 75,000+ founders and builders
We'll share your email with Substack
PostHog is the leading platform for building self-driving products. With a full suite of developer tools – AI observability, product analytics, session replay, feature flags, experiments, error tracking, logs, and more – PostHog captures all the context agents need to diagnose problems, uncover opportunities, and ship fixes. A data warehouse and CDP tie it all together, unifying that context into one source agents can read across. You can steer it all from Slack, the web app, the desktop (PostHog Desktop), or your own editor via the MCP.