


How to set up analytics in Rust

Contents
Product analytics enable you to gather and analyze data about how users interact with your Rust app. To show you how to set up analytics, in this tutorial we create a basic Rust app, add PostHog, and use it to capture events and create insights.
1. Create a basic Rust app
We start by creating a simple Rust app that has two pages:
- A
loginpage where a user can enter their name, email, and company name in a form. - A
dashboardpage that has some text and a button.
First, ensure Rust is installed. Then create a new project:
Add the following dependencies to your Cargo.toml:
Then, we set up our routes and HTML pages. Replace the code in src/main.rs with the following:
Run cargo run and navigate to http://localhost:8000 to see our app in action. Enter anything on the login page to save some session details.
2. Add PostHog to your app
With our app set up, it's time to install and set up PostHog. If you don't have a PostHog instance, you can sign up for free.
Add posthog-rs to your Cargo.toml to install PostHog's Rust SDK:
With this set up, we're ready to capture events.
3. Implement the event capture code
To show how to capture events with PostHog, we capture an event when the button on the dashboard page is clicked. To do this, we call posthog.capture().
First, import posthog_rs::Event at the top of main.rs. We also need to import tokio::task to convert our asynchronous capture request to synchronous:
Then update our api_dashboard() function to initialize a PostHog client and capture an event. You'll need your project token for this, which you can find in your project settings:
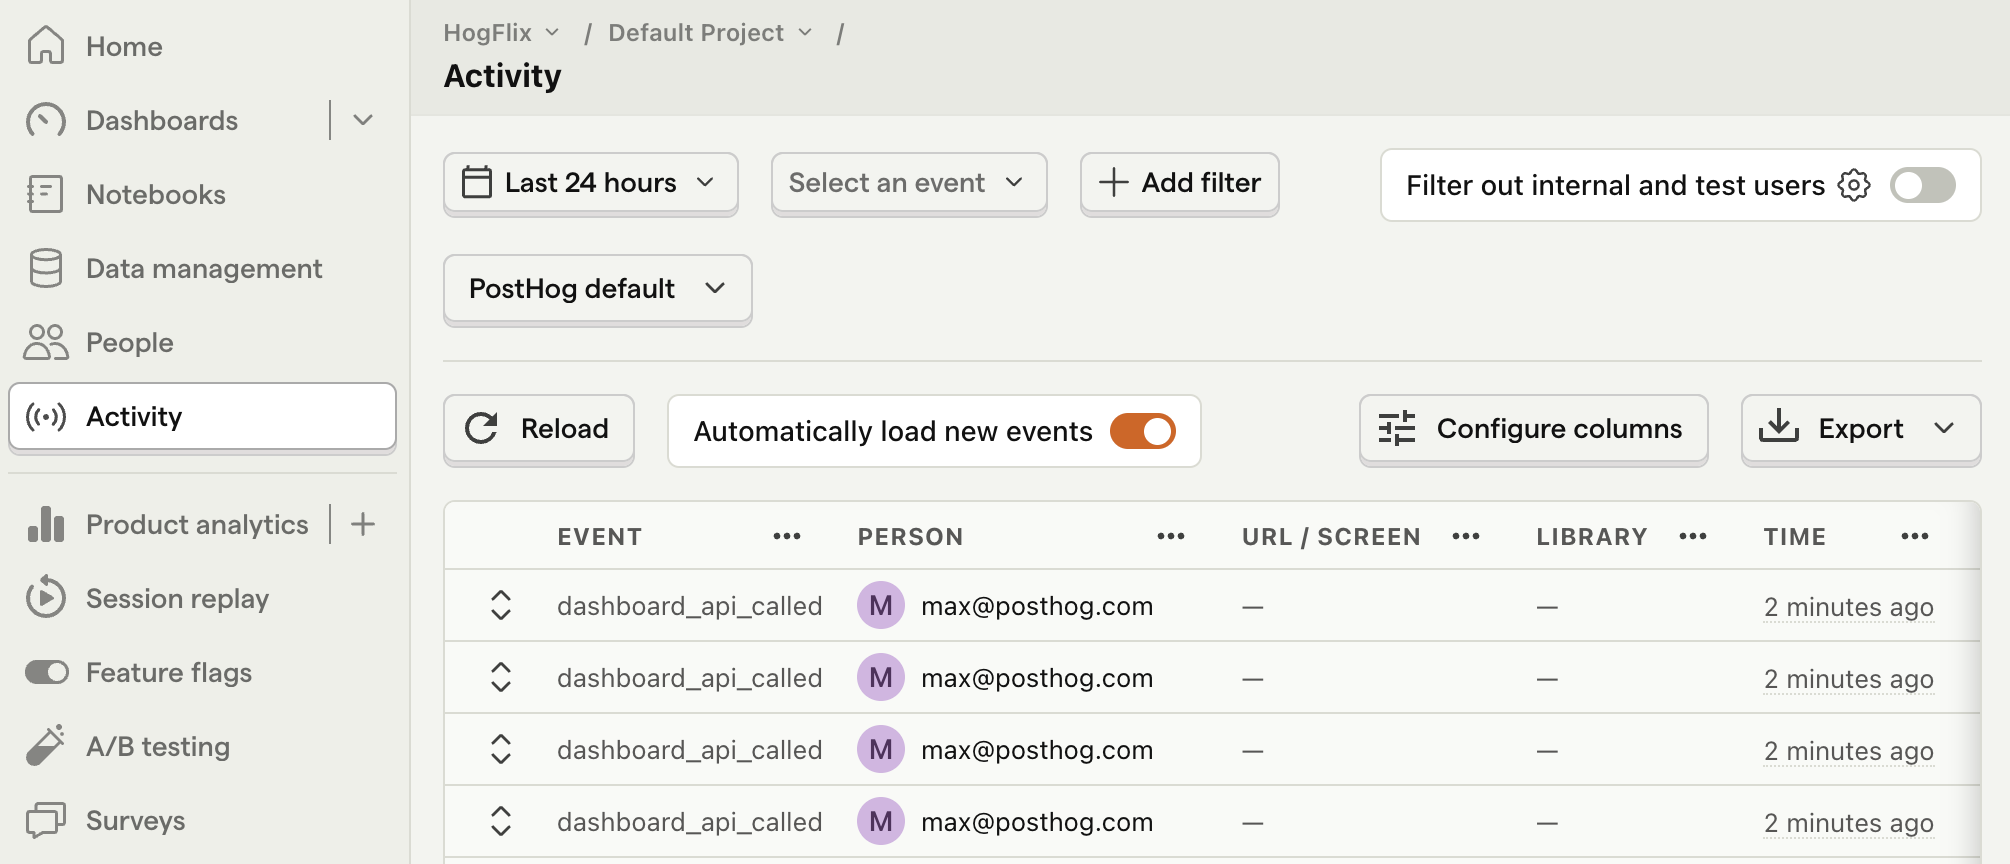
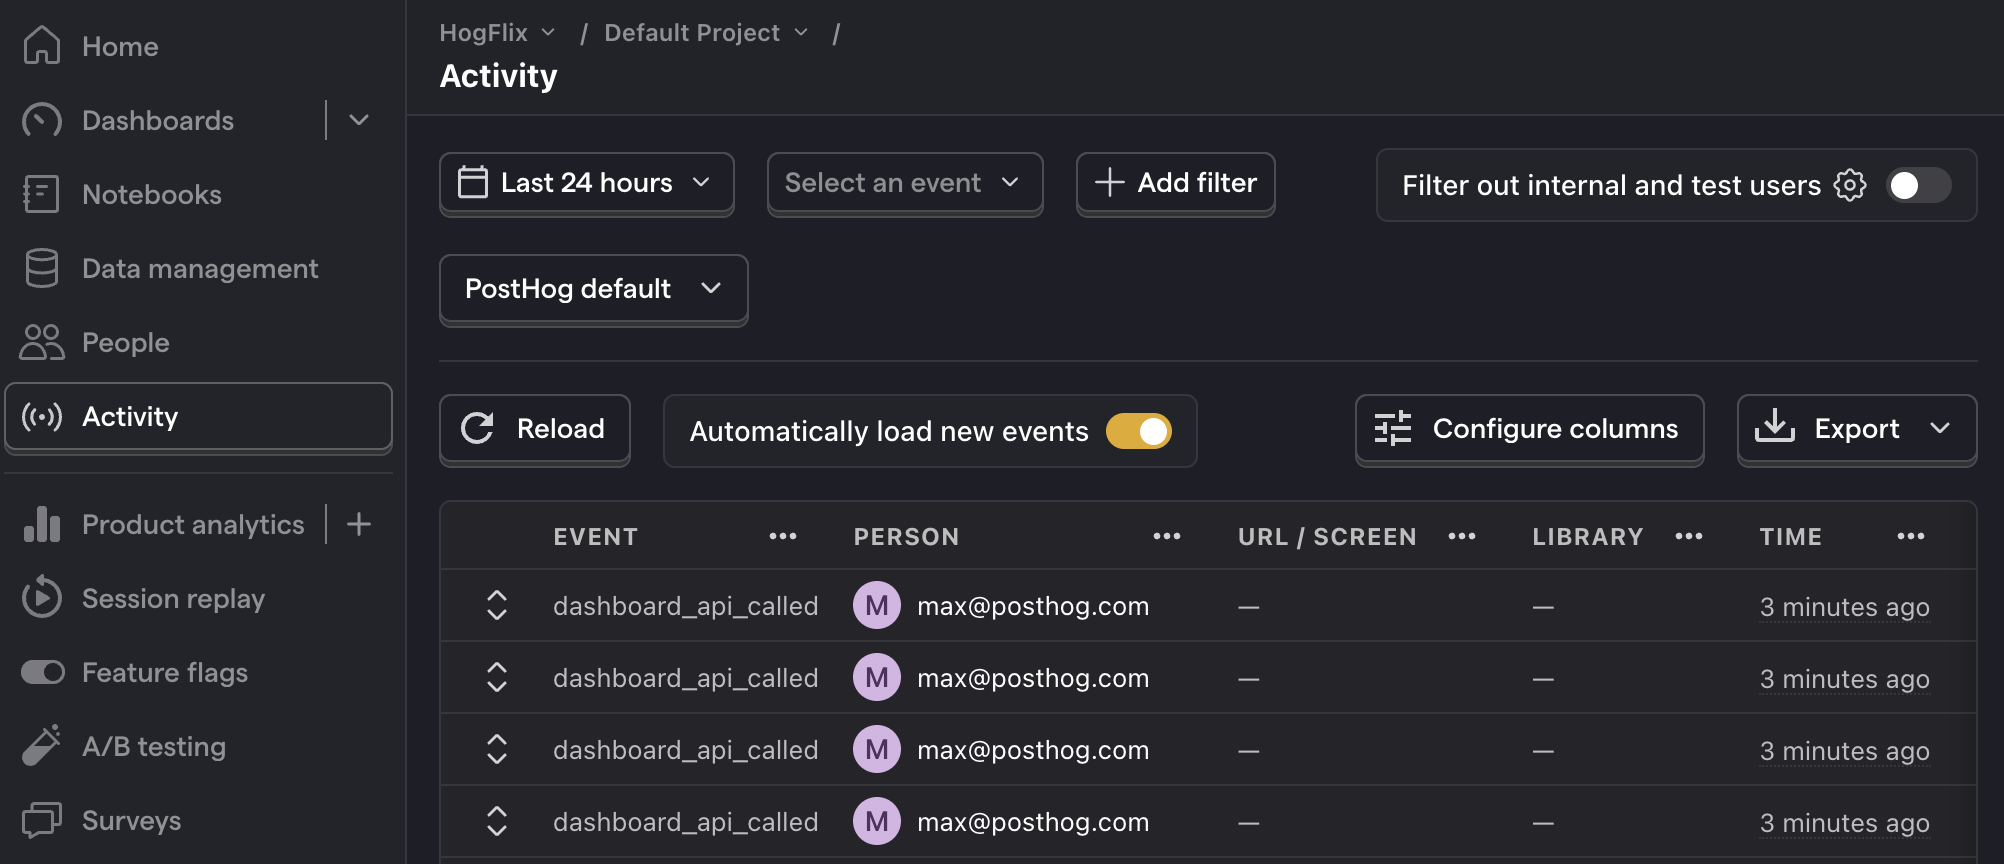
With this set up, re-run your app and click the button on the dashboard page a few times. You should now see the captured event in your PostHog activity tab.
💡 PostHog tip: Setting the correct
distinct_idWhen calling
posthog.capture(), you need to provide adistinct_idargument in your event. This is a unique identifier for your user and enables you to correctly attribute events to them.For logged-in users, you typically use their email or database ID. For logged-out or anonymous users, you should use a unique identifier, either generated by you or the PostHog JavaScript web library (which can then be accessed in the cookies. See an example of accessing the PostHog cookie in our Nuxt tutorial).
Setting event properties
When capturing events, you can optionally include additional information by setting the properties argument. This is helpful for breaking down or filtering events when creating insights.
As an example, we add the user's name as an event property:
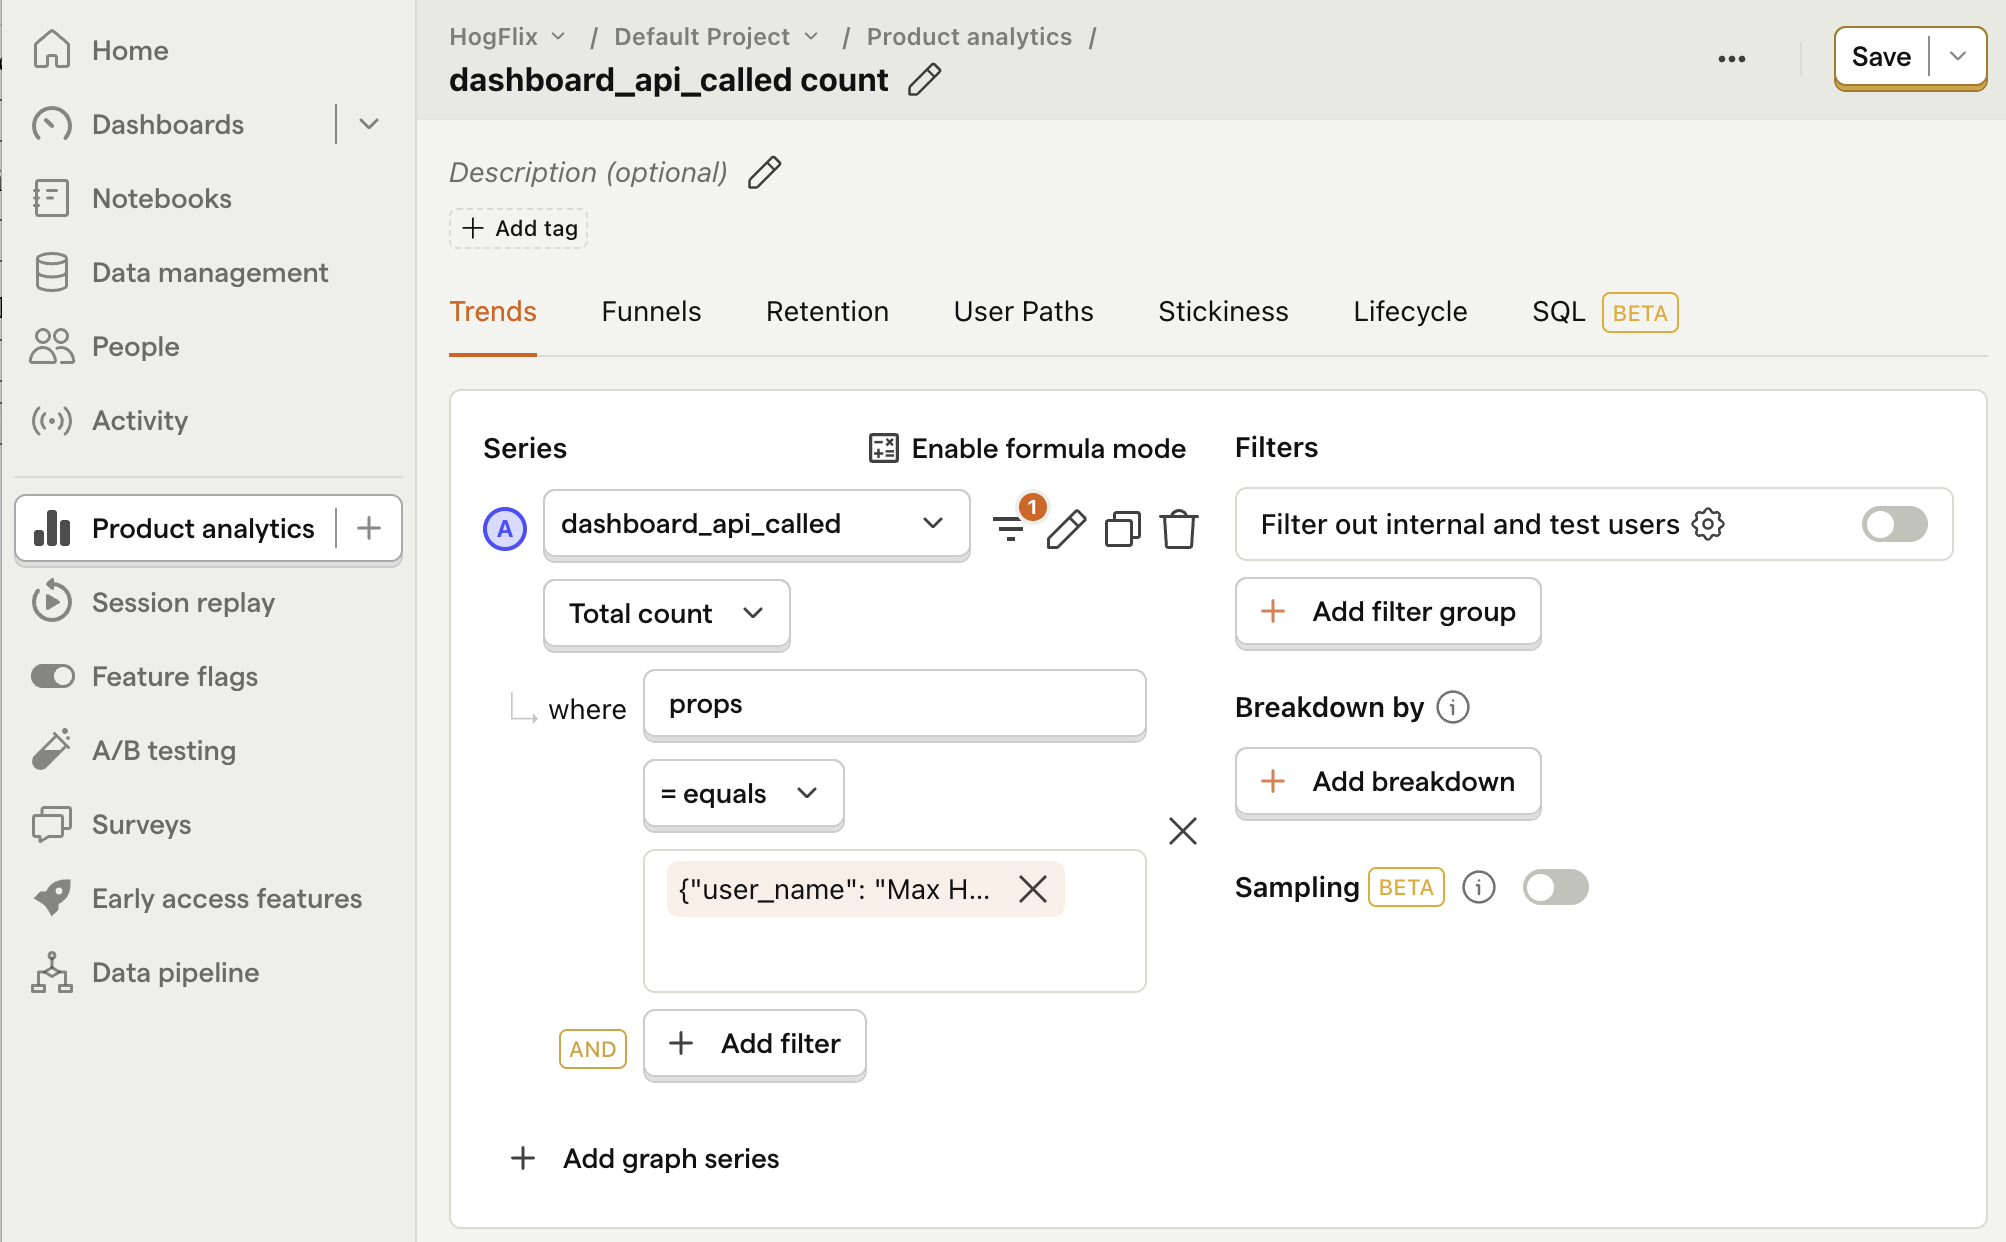
4. Create an insight in PostHog
Restart your app and capture events using different inputs in the login page. This will capture events for different users and enable us to show the power of PostHog insights.
Next, go to the Product analytics tab in PostHog and click the + New insight button. PostHog supports many different types of insights, such as trends, funnels, paths and more.
In this tutorial, we create a simple trend insight:
- Select the Trends tab.
- Under the Series header select the
dashboard_api_calledevent. - Click the Total count dropdown to change how events are aggregated. You can choose options such as
Count per user,Unique users, and more. You can also add filters or breakdown based on properties.
For example, in the image below we set our insight to show the total count of events dashboard_api_called events where the user_name property is equal to Max Hedgehog:
That's it! Feel free to play around in your dashboard and explore the different kinds of insights you can create in PostHog.
Further reading
- Using the PostHog API to capture events
- How to use the PostHog API to get insights and persons
- What to do after installing PostHog in 5 steps
Subscribe to our newsletter
build mode
Read by 75,000+ founders and builders
We'll share your email with Substack
PostHog is the leading platform for building self-driving products. With a full suite of developer tools – AI observability, product analytics, session replay, feature flags, experiments, error tracking, logs, and more – PostHog captures all the context agents need to diagnose problems, uncover opportunities, and ship fixes. A data warehouse and CDP tie it all together, unifying that context into one source agents can read across. You can steer it all from Slack, the web app, the desktop (PostHog Desktop), or your own editor via the MCP.