


How to set up A/B tests in Go

Contents
A/B tests help you improve your Go app by enabling you to compare the impact of changes on key metrics. To show you how to set one up, we create a basic Go app, add PostHog, create an A/B test, and implement the code for it.
1. Create a basic Go app
First, ensure Go is installed. Then, create a folder and a main.go file for our app.:
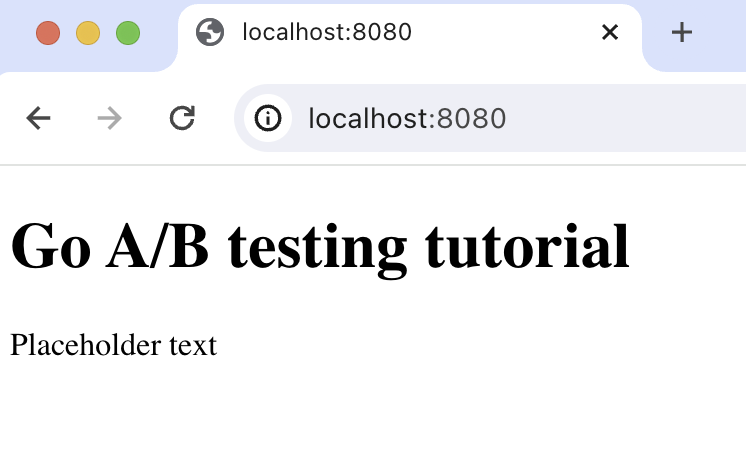
Next, import fmt and net/http into main.go. We use them to run an HTTP server that returns a basic HTML page on localhost:8080:
Run go run main.go and navigate to http://localhost:8080 to see your app in action.
2. Add PostHog to your app
With our app set up, it’s time to install and set up PostHog. If you don't have a PostHog instance, you can sign up for free.
To start, run go mod init go-ab-tests to initialize our project and then install PostHog’s Go library:
Next, we set up the PostHog client in main.go. To do this, you need your project token and instance address from your project settings. You also need to create a personal API key. Use these values to initialize posthog.NewWithConfig(). Lastly, we capture a $pageview event in our HTTP function handler.
Altogether, the code looks like this:
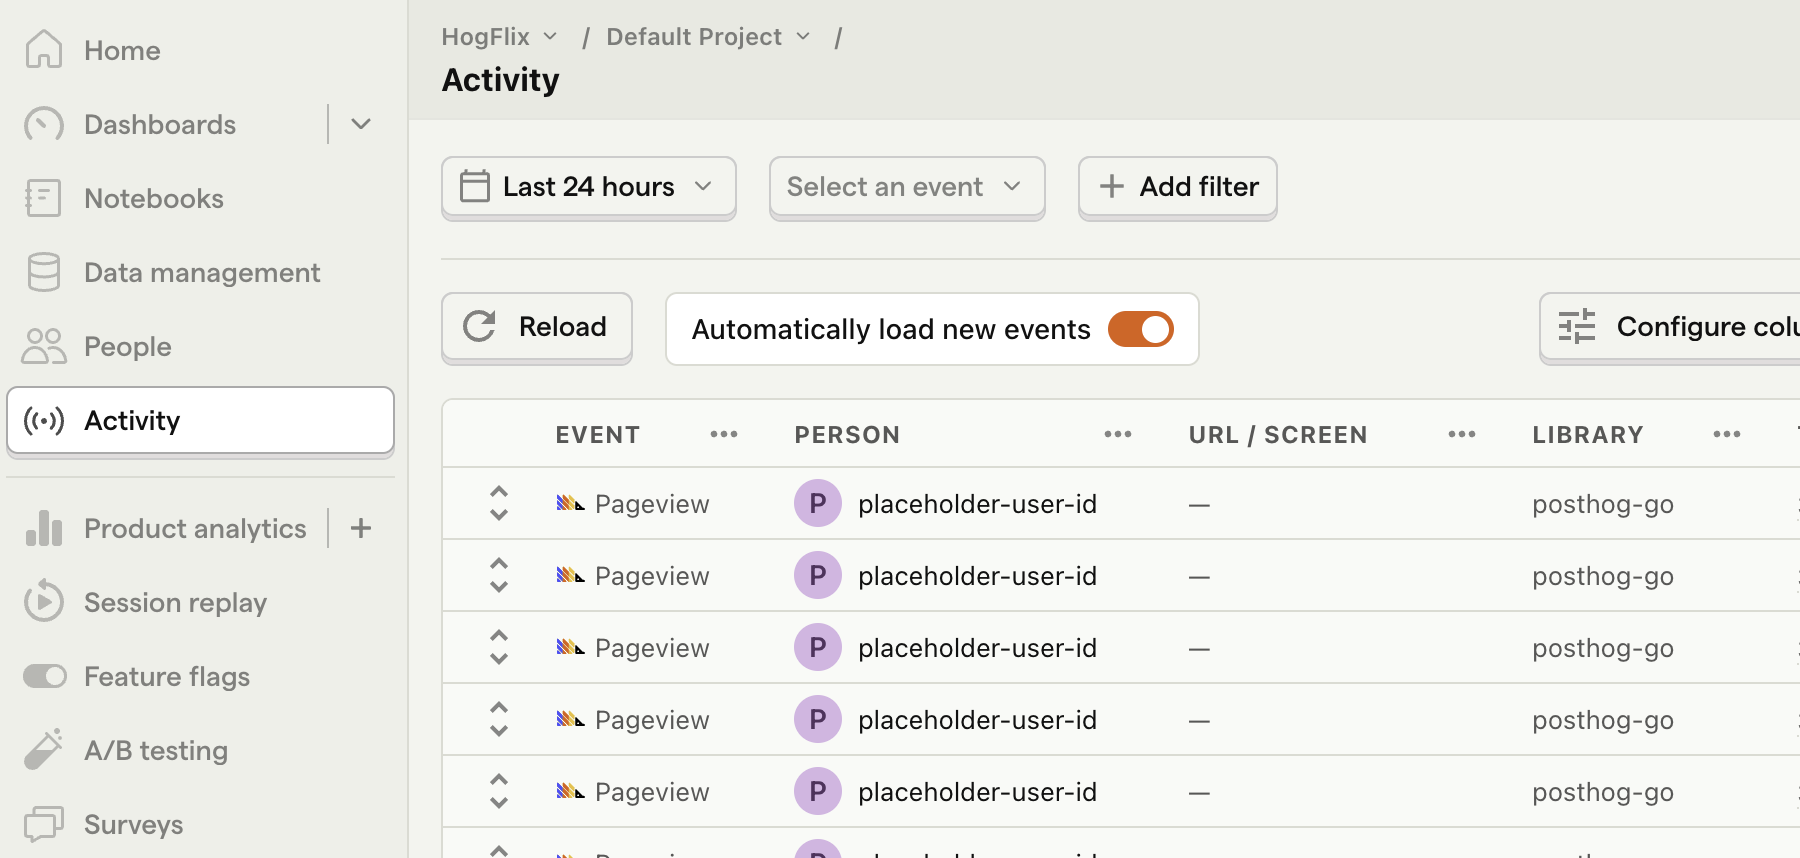
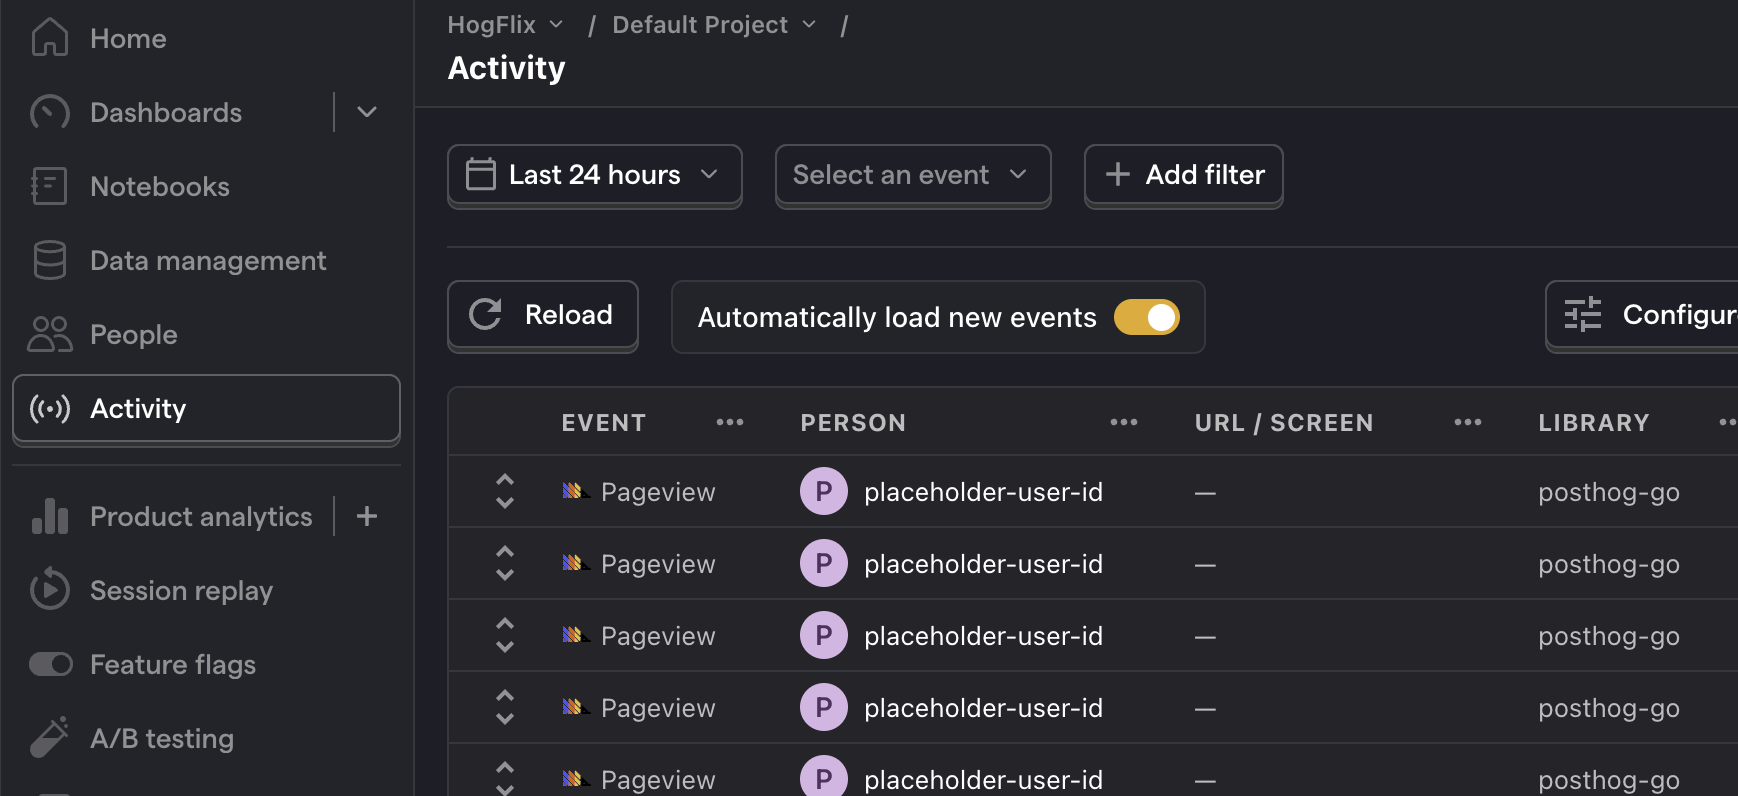
With this set up, restart your app and then refresh your browser a few times. You should now see the event captured in your PostHog activity tab.
3. Create an A/B test in PostHog
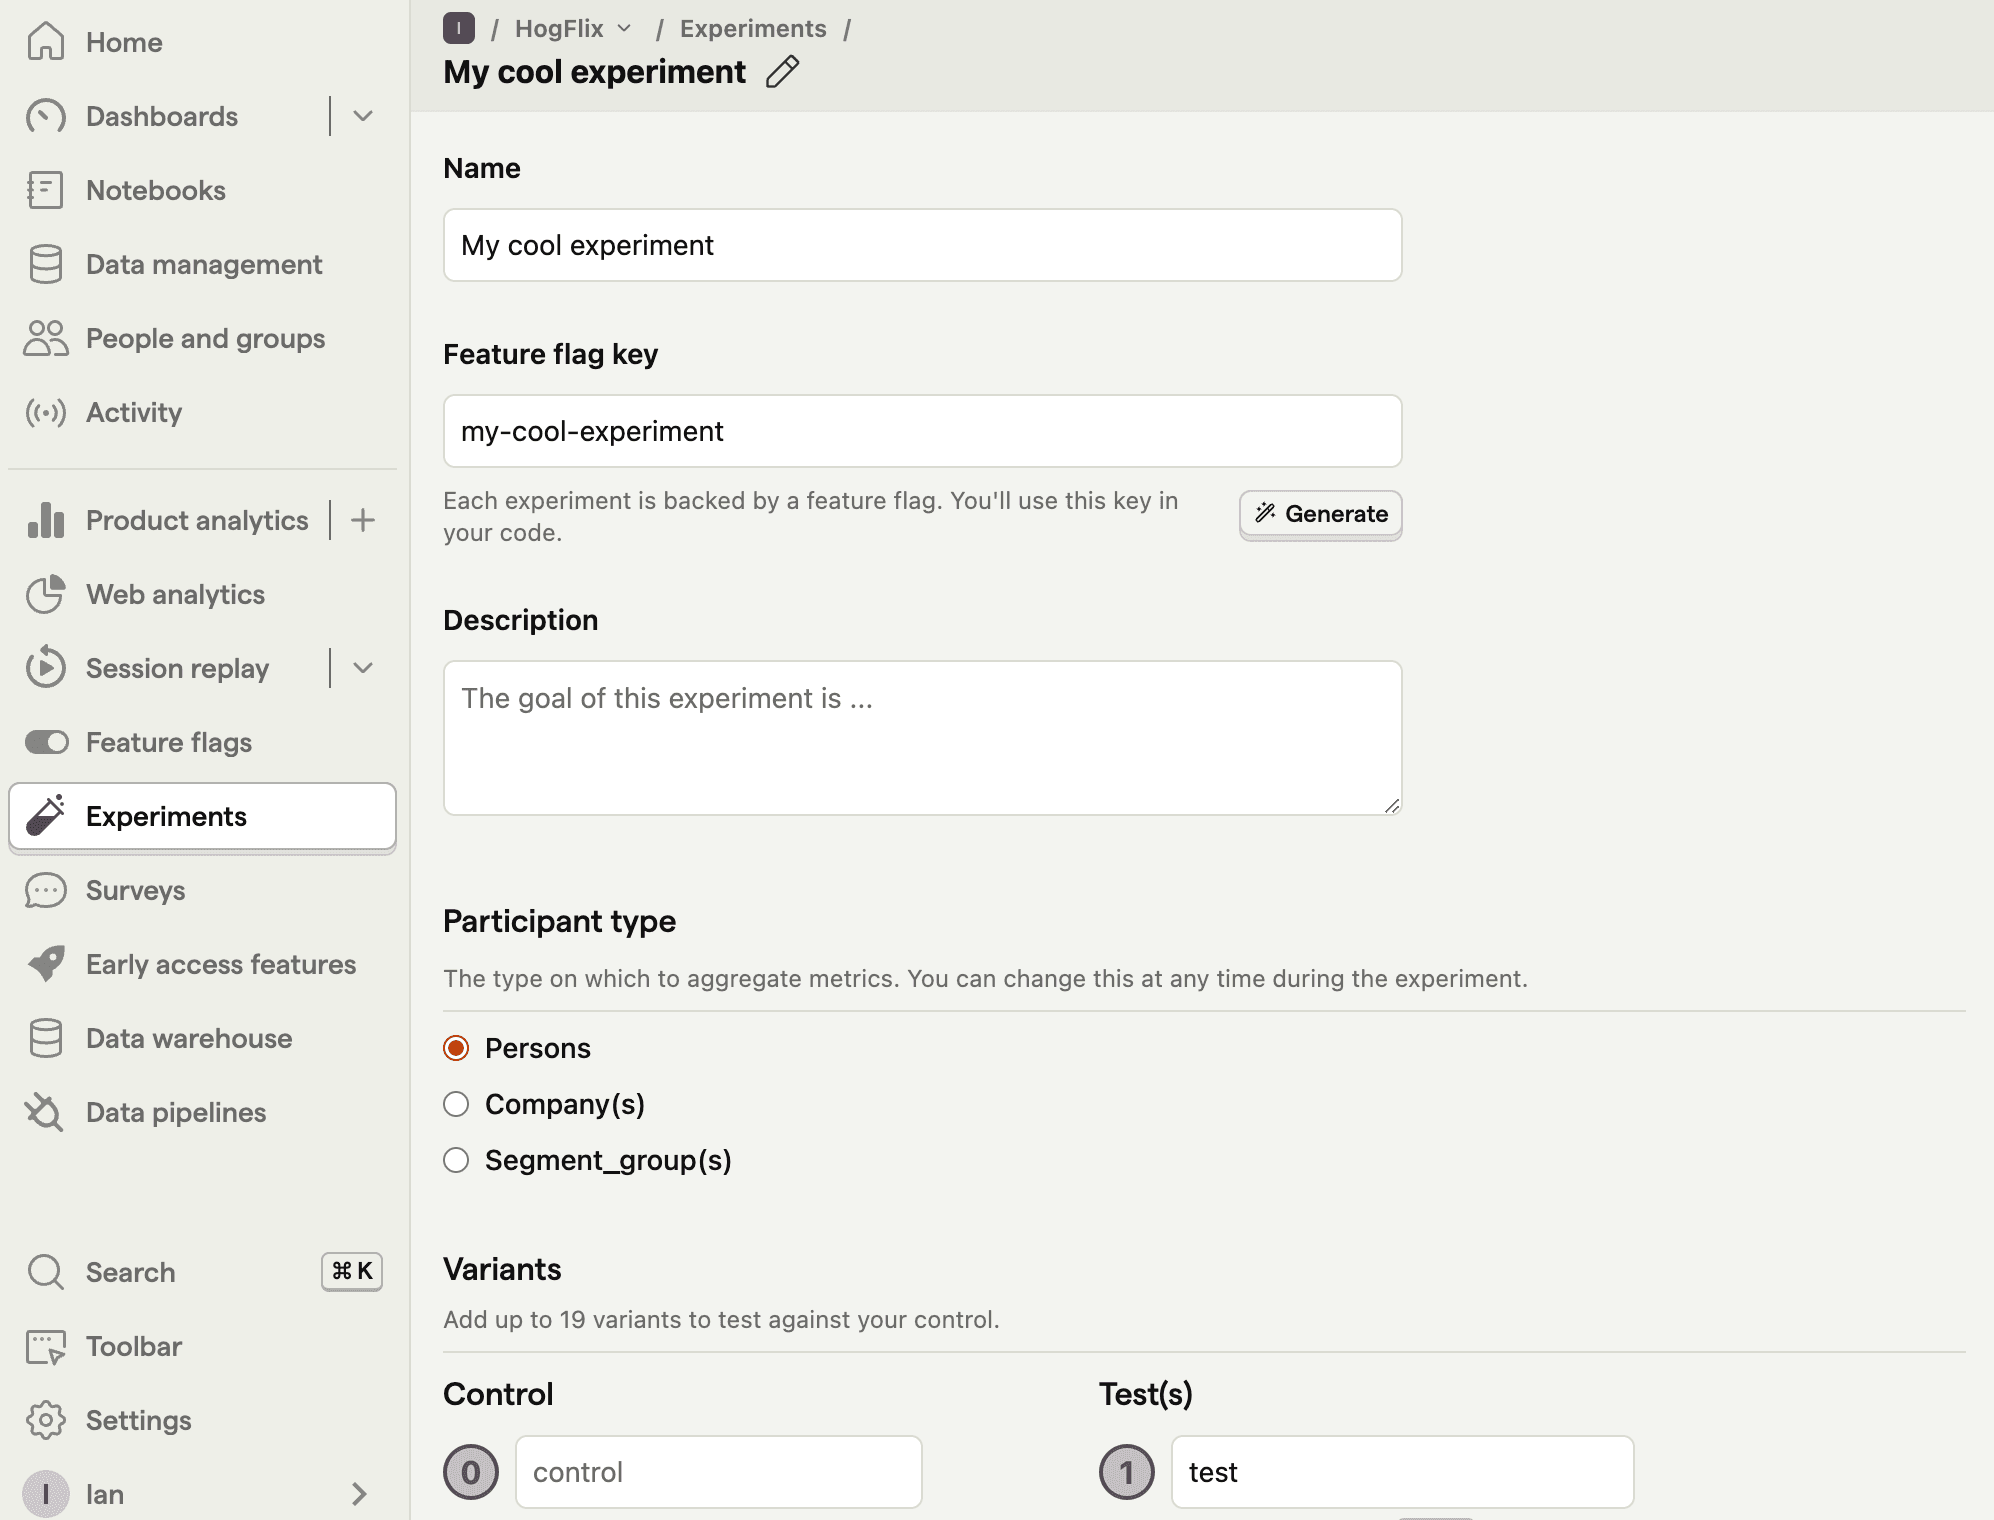
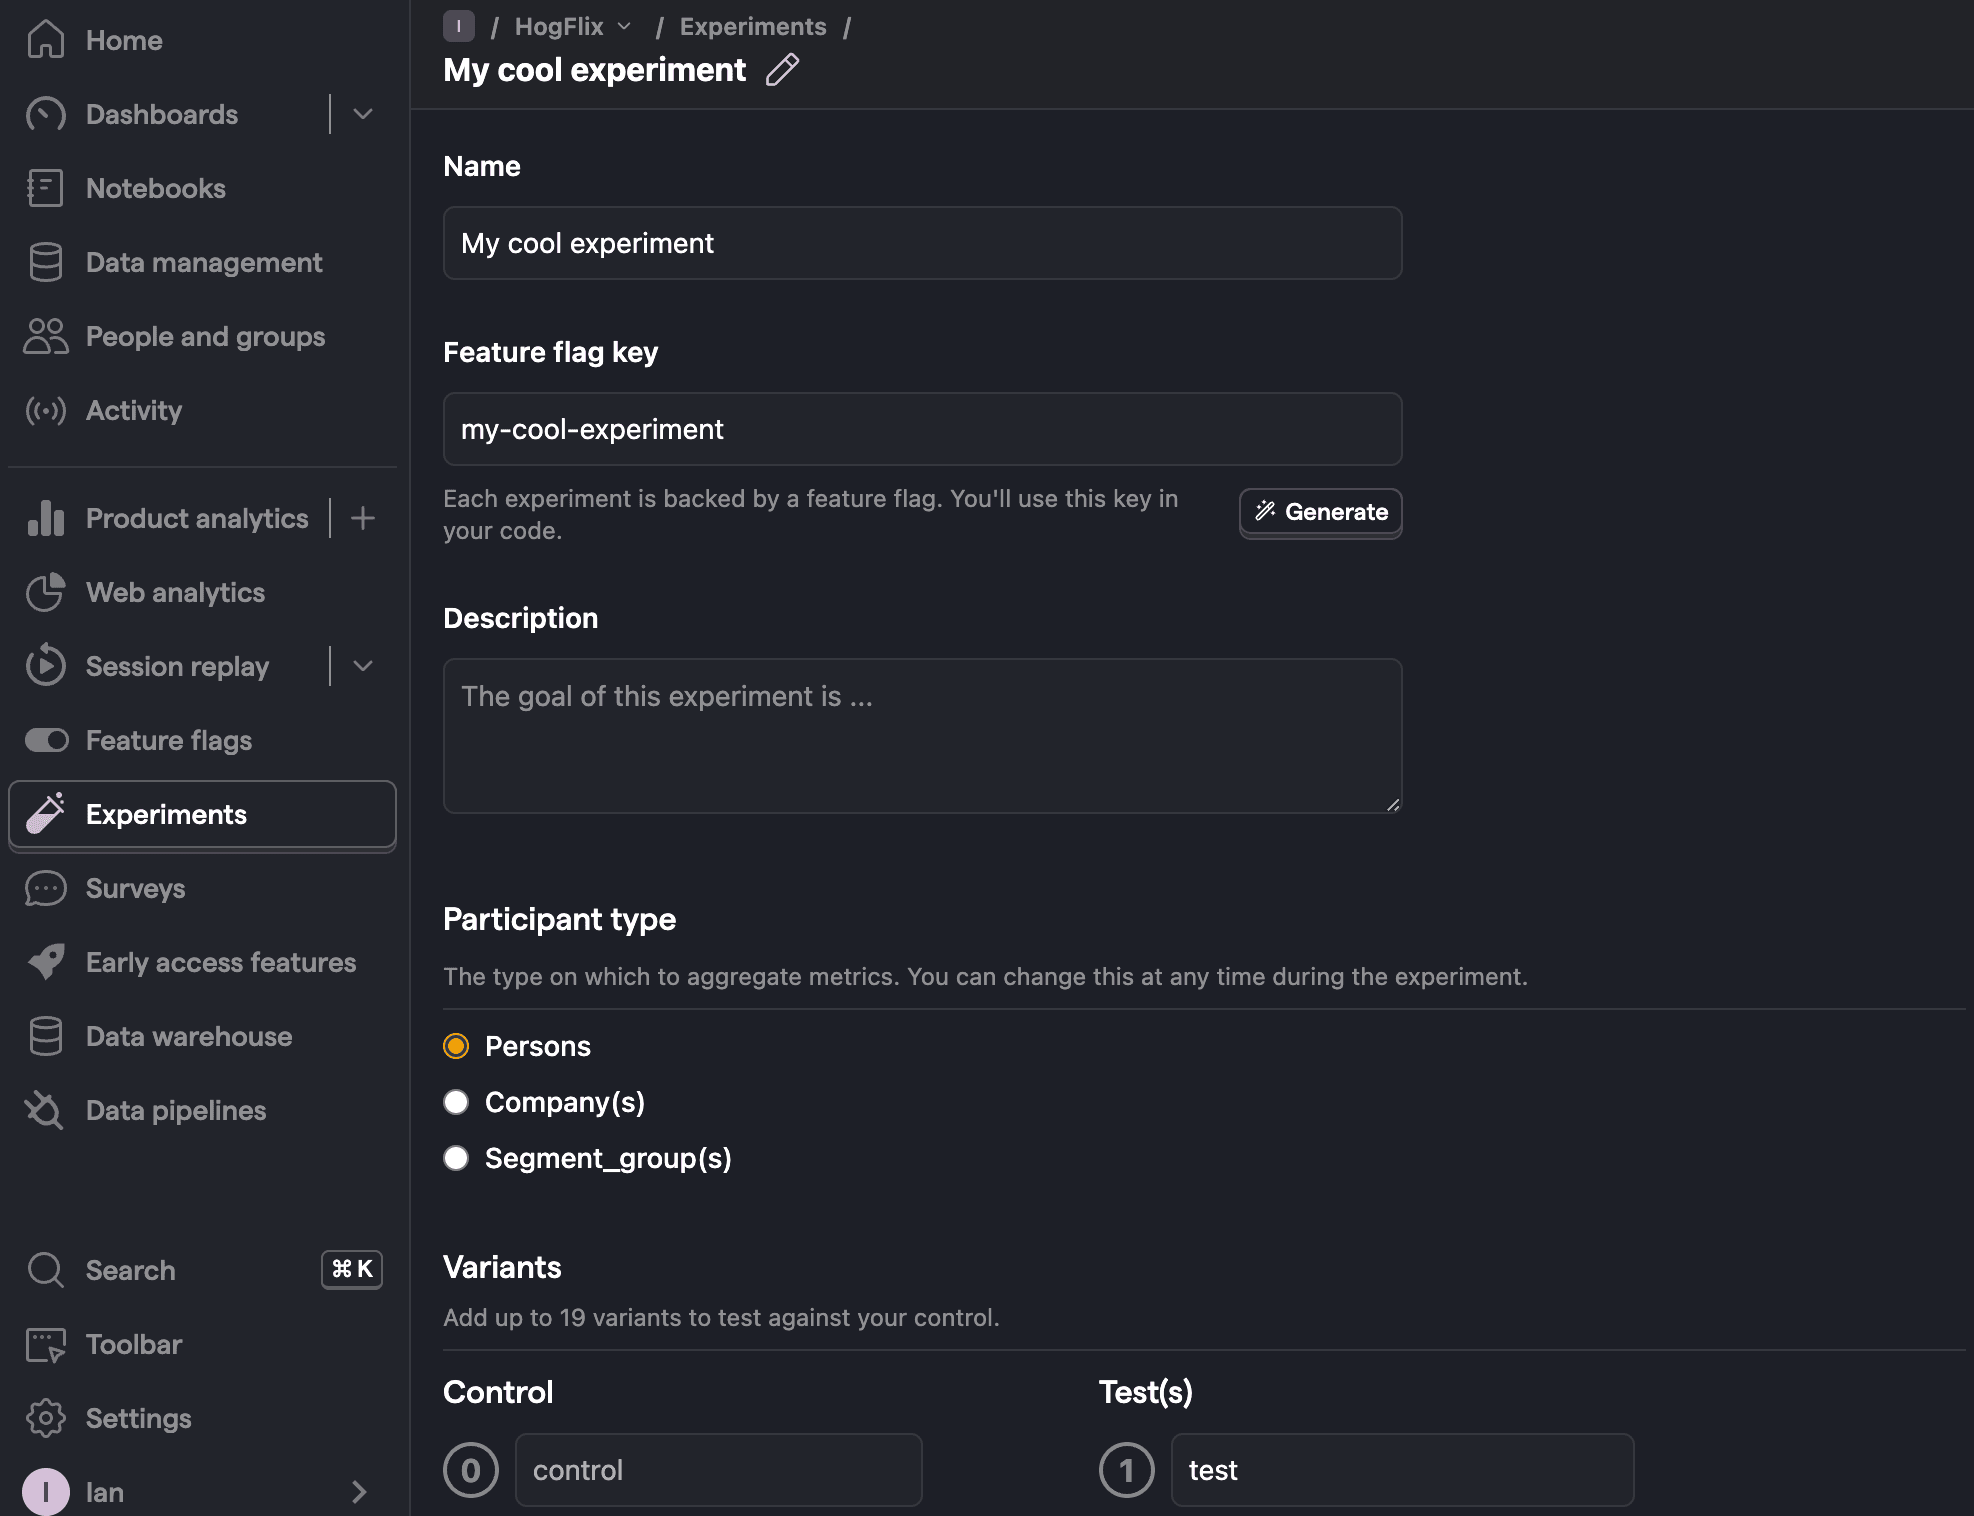
Next, go to the A/B testing tab and create an A/B test by clicking the New experiment button. Add the following details to your experiment:
- Name it "My cool experiment".
- Set "Feature flag key" to
my-cool-experiment. - Use the default values for all other fields.
- Click Save as draft.
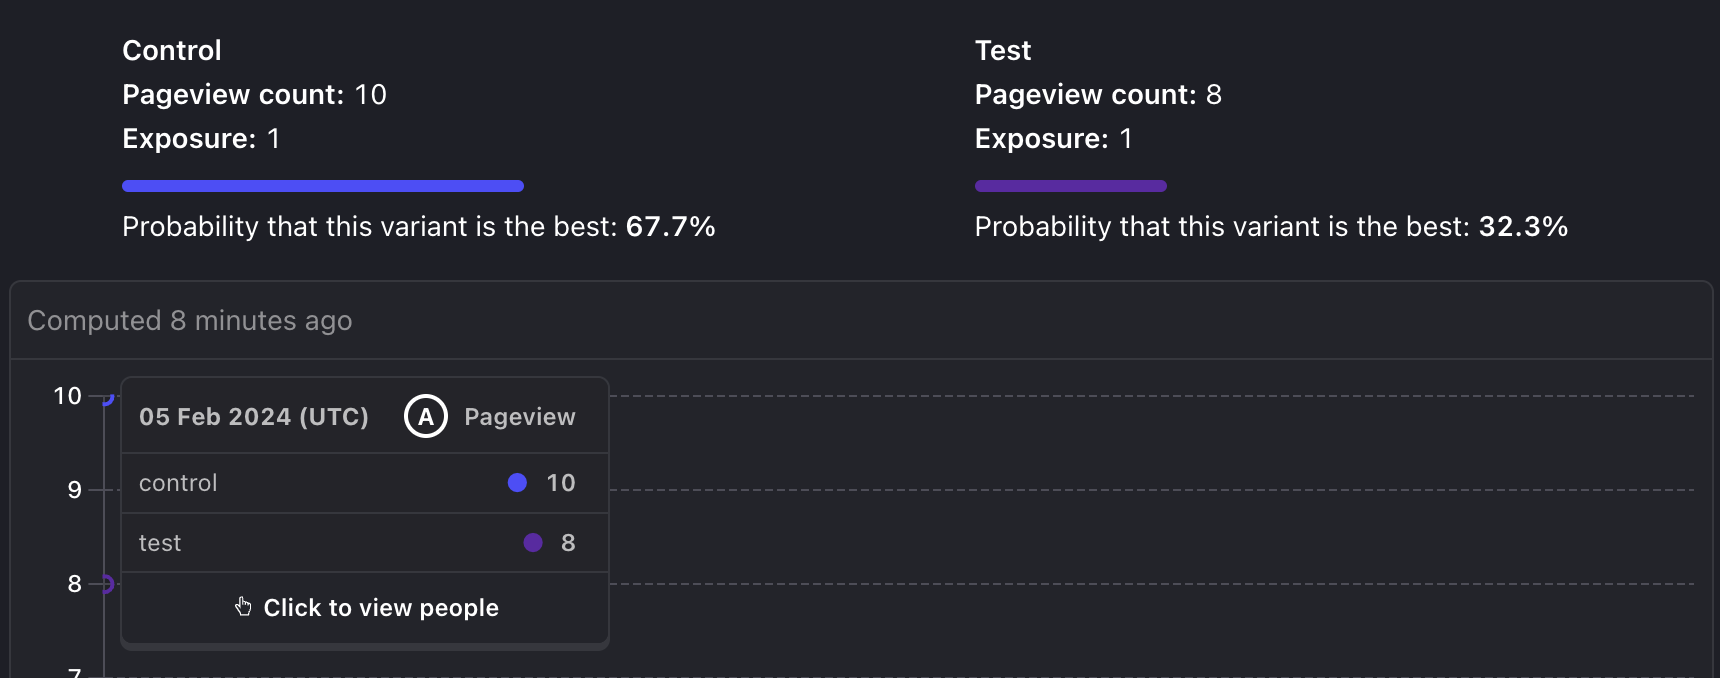
Once created, set the primary metric to a trend of pageview and then click Launch.
4. Implement the A/B test code
To implement the A/B test, we:
- Fetch the
my-cool-experimentflag usingclient.GetFeatureFlag(). - Update the paragraph text based on whether the user is in the
controlortestvariant of the experiment.
When you restart your app and refresh the page, you should see the text updated to either Control variant! or Test variant!.
💡 Setting the correct
distinctId:You may notice that we set
distinctId = 'placeholder-user-id'in our flag call above. In production apps, to ensure you fetch the correct flag value for your user,distinctIdshould be set to their unique ID.For logged-in users, you typically use their email or user ID as their
distinctId. For logged-out users, assuming they made their request from a browser, you can use values from their request cookies. See an example of this in our Go feature flags tutorial.
5. Include the feature flag when capturing your event
To ensure our goal metric is correctly calculated for each experiment variant, we need to include our feature flag information when capturing our $pageview event.
To do this, we add the $feature/my-cool-experiment key to our event properties:
Now PostHog is able to calculate our goal metric for our experiment results.

Further reading
- How to set up analytics in Go
- How to set up Go feature flags
- A software engineer's guide to A/B testing
Subscribe to our newsletter
build mode
Read by 75,000+ founders and builders
We'll share your email with Substack
PostHog is the leading platform for building self-driving products. With a full suite of developer tools – AI observability, product analytics, session replay, feature flags, experiments, error tracking, logs, and more – PostHog captures all the context agents need to diagnose problems, uncover opportunities, and ship fixes. A data warehouse and CDP tie it all together, unifying that context into one source agents can read across. You can steer it all from Slack, the web app, the desktop (PostHog Desktop), or your own editor via the MCP.