


Launch your first messaging campaign
After setting up your messaging channel, you can launch your first campaign. Campaigns are workflows that deliver messages to your users based your configured logic.
This guide covers creating a very basic campaign. See the campaign builder for more information on the different components of a campaign, and see the end of this guide for more examples.
- 1
Create a campaign
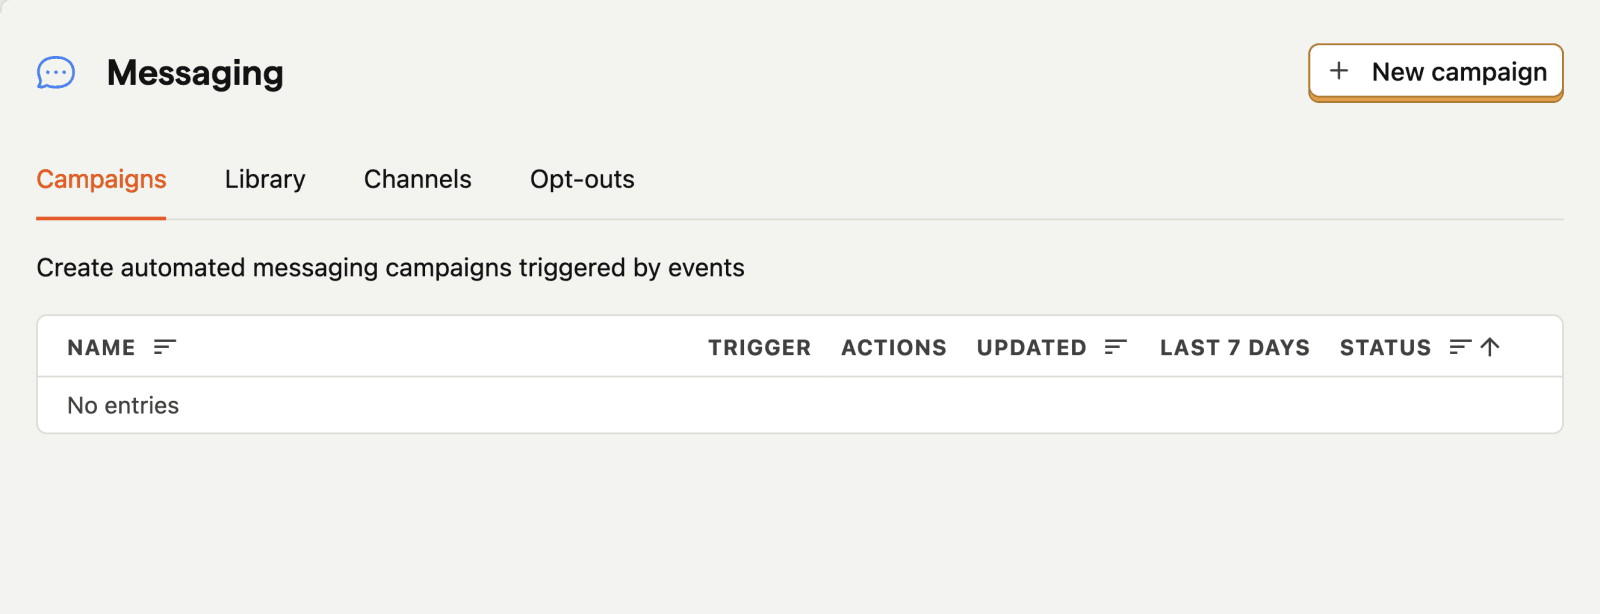
RequiredGo to Messaging and click the + New campaign button.
This will open the campaign builder:
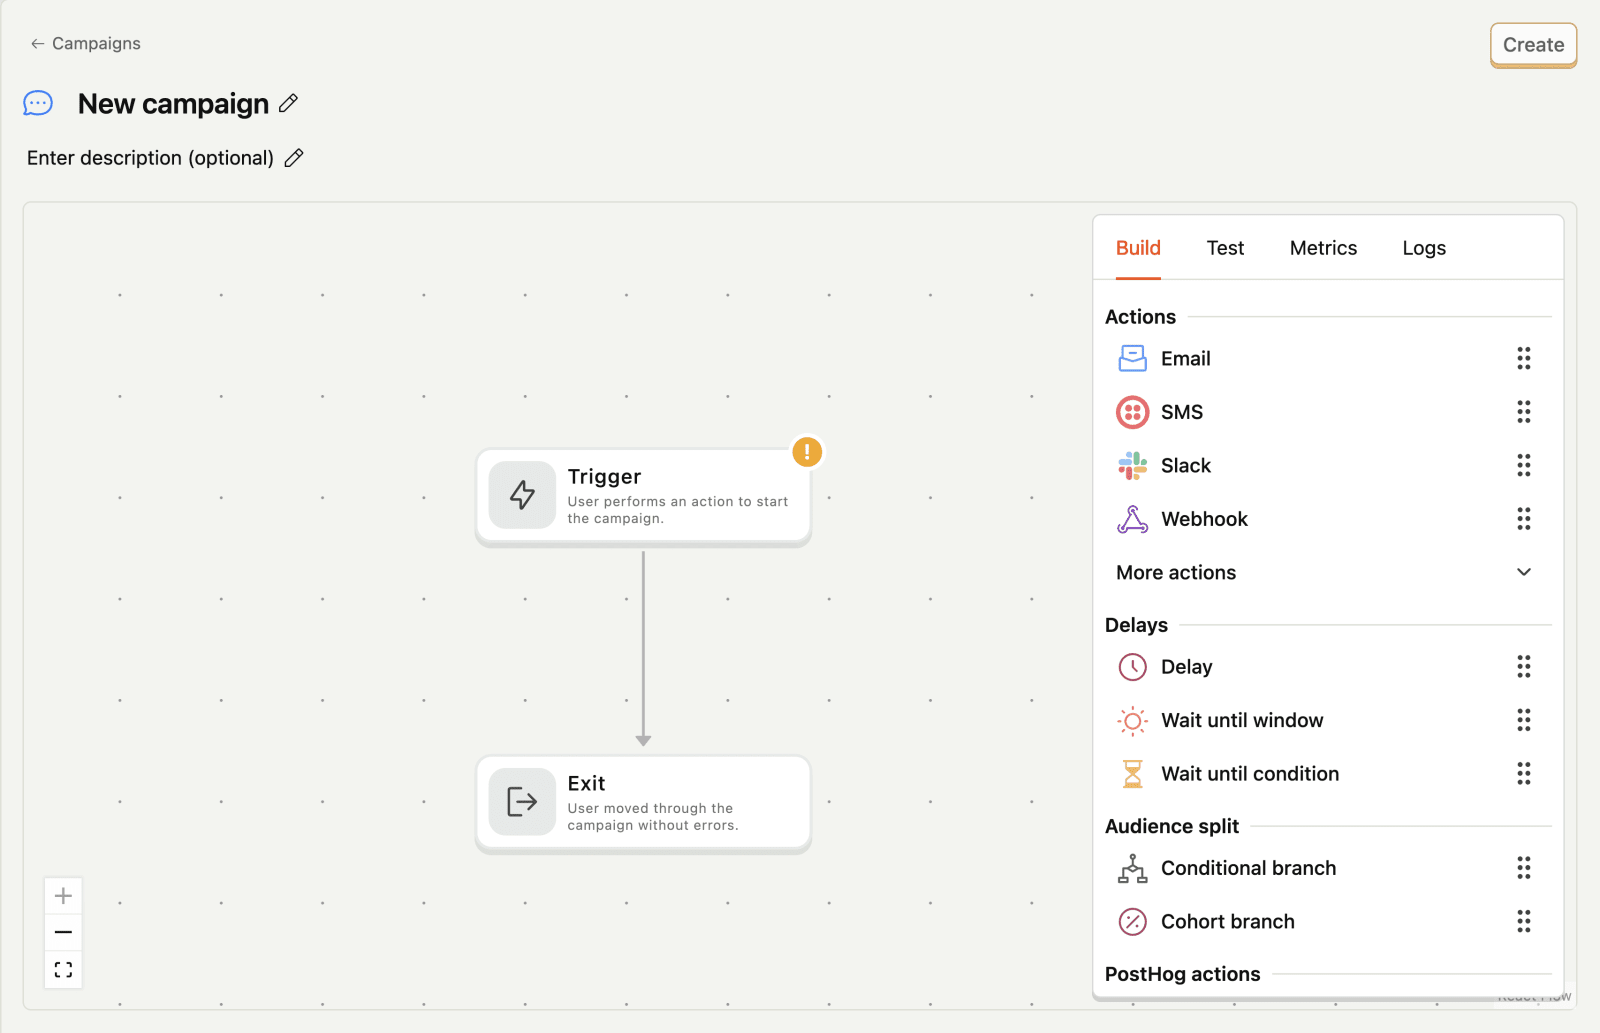
The new campaign only has two blocks:
- A trigger block: This defines the event that will start the campaign workflow.
- An exit block: This defines the event that will end the campaign workflow.
On the right side of the campaign builder, you can see the types of blocks available to add to your campaign.
- 2
Configure the trigger
RequiredNow, let's click on the trigger block and configure it. In a new campaign, the trigger doesn't have any trigger events. Triggers tell PostHog what events will start the campaign workflow.


Click the + Add trigger event button and search for the event you want to use as the trigger. In this example, we'll use a
pageviewevent to send an email to any users who view a page on our website.You can use any PostHog event as a trigger. For example, you could add a button in your app that captures a
test_emailevent when clicked. - 3
Add an Dispatch
RequiredNow that we have a trigger that can initiate the campaign workflow, we need to add an Dispatch to send a message to the users who trigger the campaign.
Drag an Email dispatch beneath the trigger, into the campaign. Then, click on the email block to configure it.

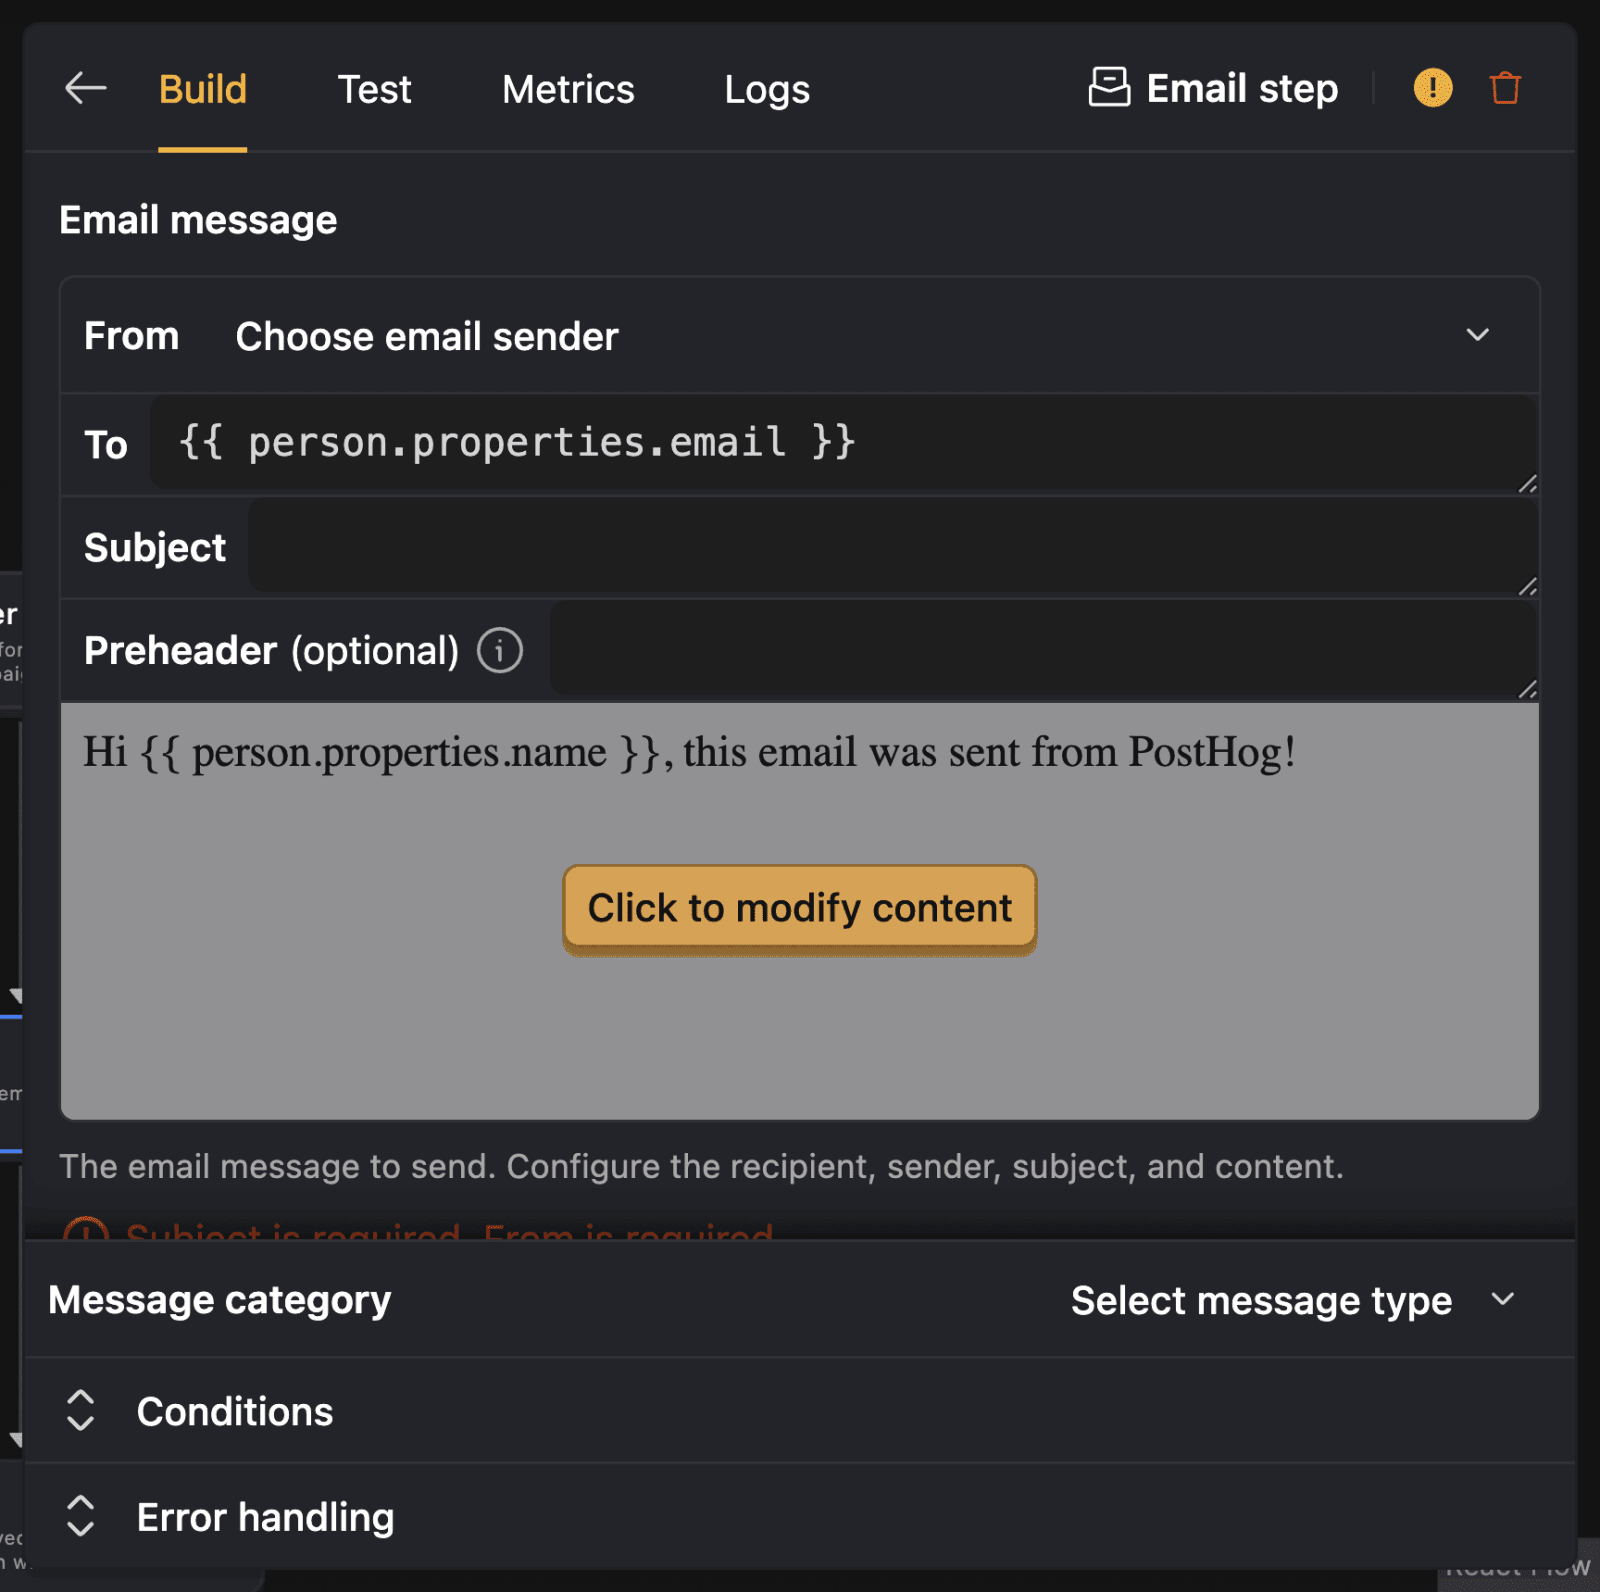
In the email template, you can configure the following:
- From: A sender address configured in your messaging channel.
- To: The email address of the recipient. By default, it targets the user who's event triggered the campaign.
- Subject: The subject line of the email.
- Preheader: The optional preheader of the email.
- Body: The body of the email. You can use the built in editor to format your email, or you can use a custom template.
During testing, you can hardcode your own email address in the To field for testing.
The email template has access to event and person properties of the trigger event. You can learn more about this in the campaign builder documentation.
Test the campaign
CheckpointConfirm you can trigger the campaignBefore publishing the campaign, you can test it to confirm it works as expected. On the right side of the campaign builder, you can see the Test button.


When you click the Test button, you will be directed to test the campaign by creating a mock trigger. The following options are available:
- Make a real request to PostHog: When enabled, real messages will be delivered to the recipient. When disabled, API calls are mocked and logged.
- Test event: Click to expand the test event configuration. An example event will be generated by default. You can click the Load new event to load a real event's data into the test event.
You can click the Run test button to send the test event.
- 4
Enable the campaign
RequiredOnce you have confirmed the campaign works as expected, you can enable it by clicking the Enable button at the top right of the campaign builder.
This will publish the campaign and start delivering messages to your when the trigger event is triggered. For this example campaign, you can hardcode all emails to your own email address for testing.
Monitor the campaign
CheckpointConfirm messages are being deliveredOnce the campaign is enabled, you can monitor your campaign in the Metrics and Logs tabs of the campaign builder.
To confirm your campaign is delivering messages, look for these signs:
- In the Metrics tab, you should see a line chart showing the number of succeeded and triggered messages.
- In the Logs tab, you can see logs of recently triggered campaign workflows. Confirm that there aren't any errors.
- See the message delivered in your inbox.
Troubleshooting
CheckpointCommon issues you may encounterIssue Solution Emails not sending? Check that your domain is verified and you've added the DNS records correctly. Spam folder issues? Ensure SPF/DKIM are valid, and consider setting up DMARC. Variables not populating? Confirm the property exists on the person profile (e.g. person.name).