


Set up an email drip campaign
In this guide we'll walk through creating a simple drip campaign. After following this guide, you will:
- Send a welcome email when a user signs up
- Follow up 1 day later if they haven't completed onboarding
- 1
Create a campaign
RequiredGo to Messaging and click the + New campaign button.
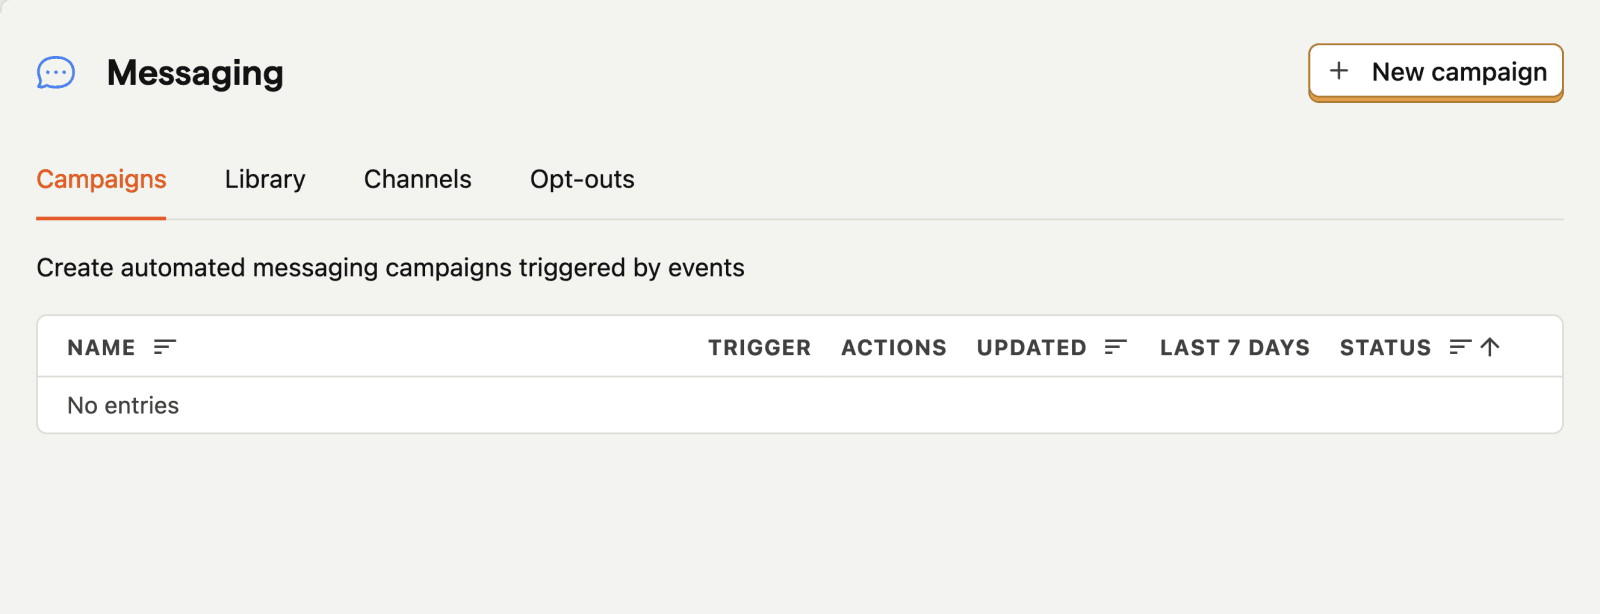

This will open the campaign builder.
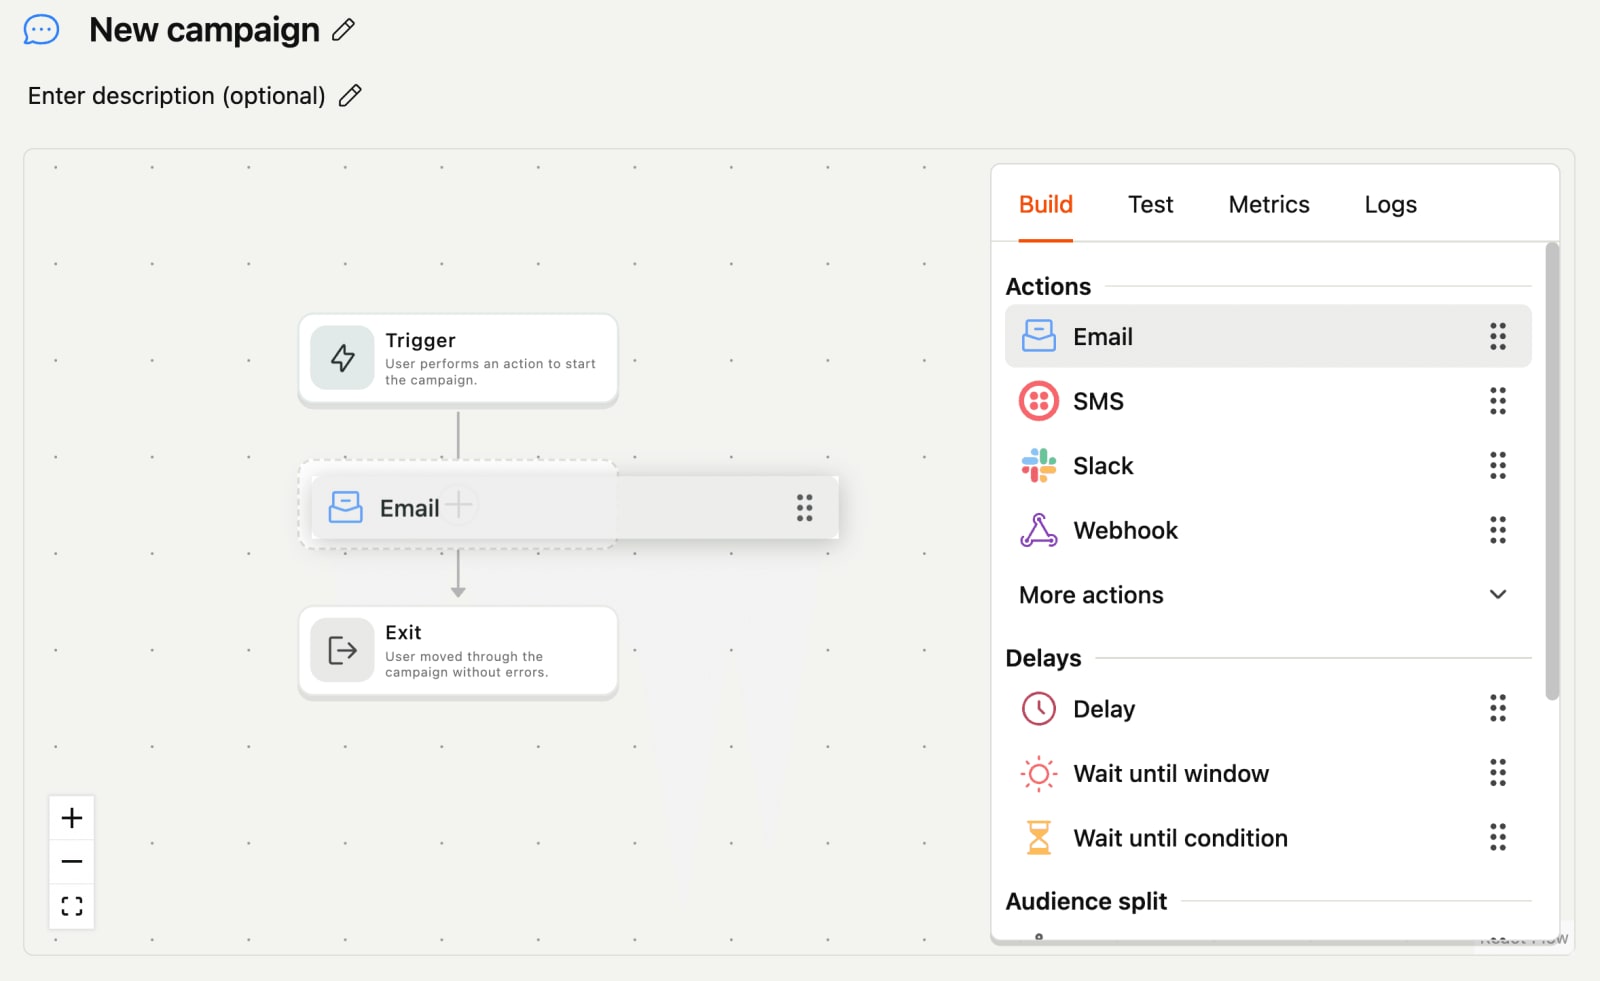
The new campaign only has two blocks:
- A trigger block: This defines the event that will start the campaign workflow.
- An exit block: This defines the event that will end the campaign workflow.
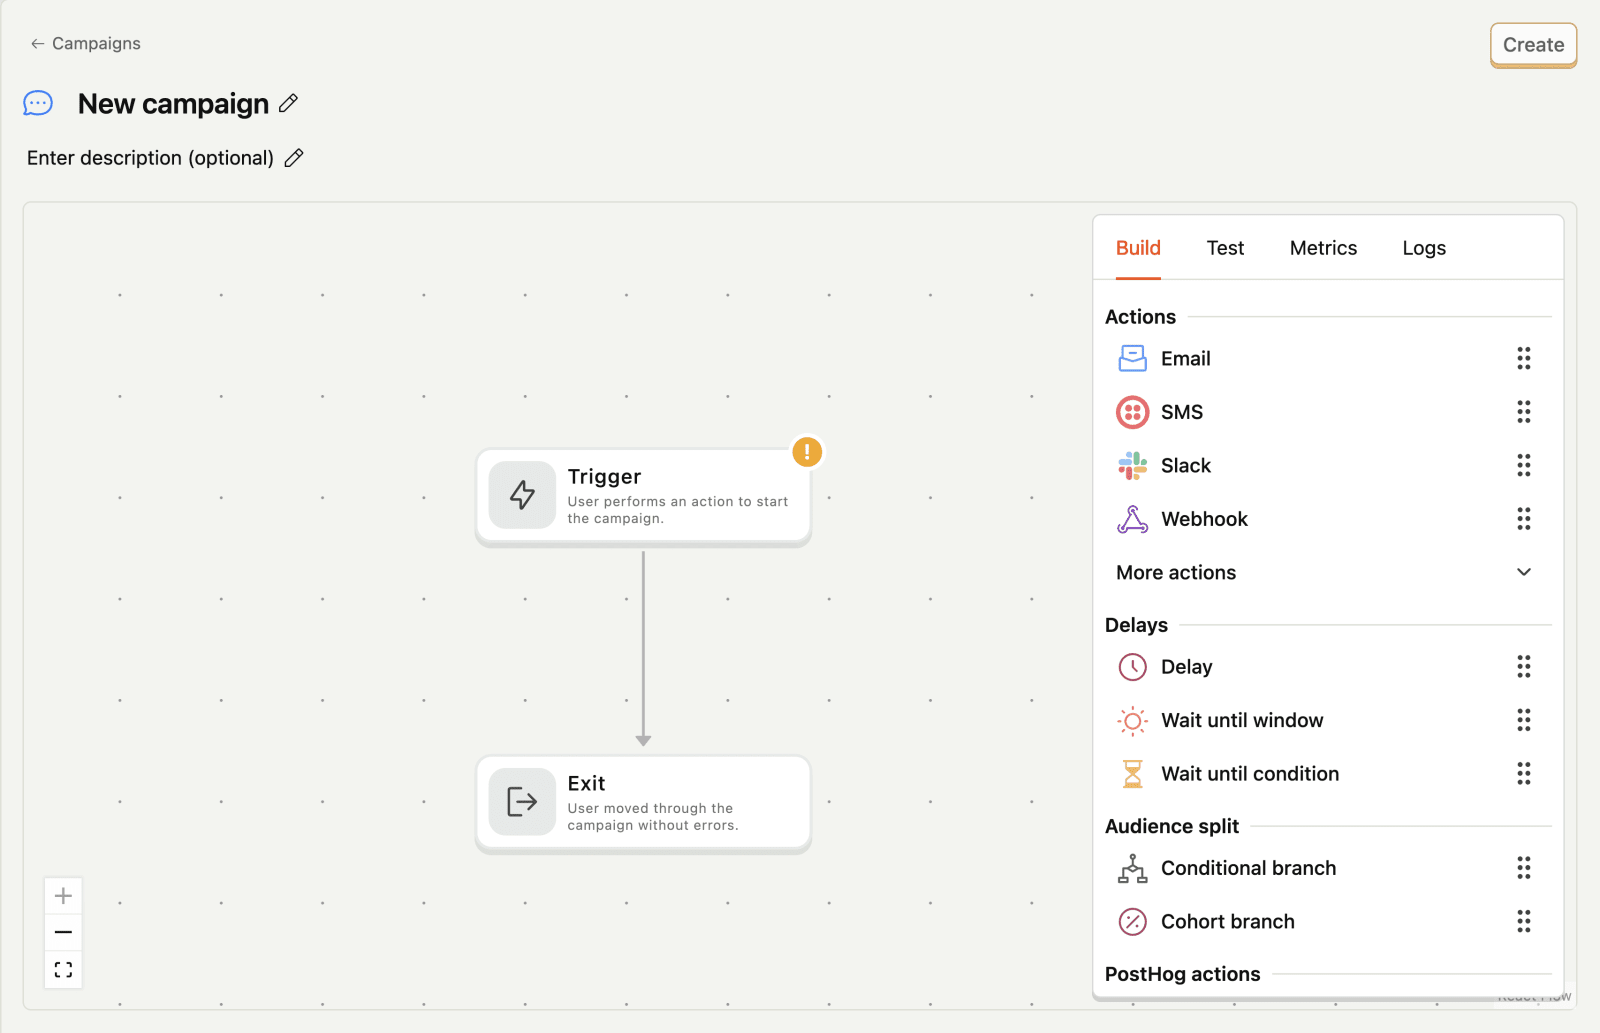
The trigger block has a little exclamation mark. This means it is not configured. In general, if there are problems with a block, it will have a little exclamation mark.
- 2
Set the trigger
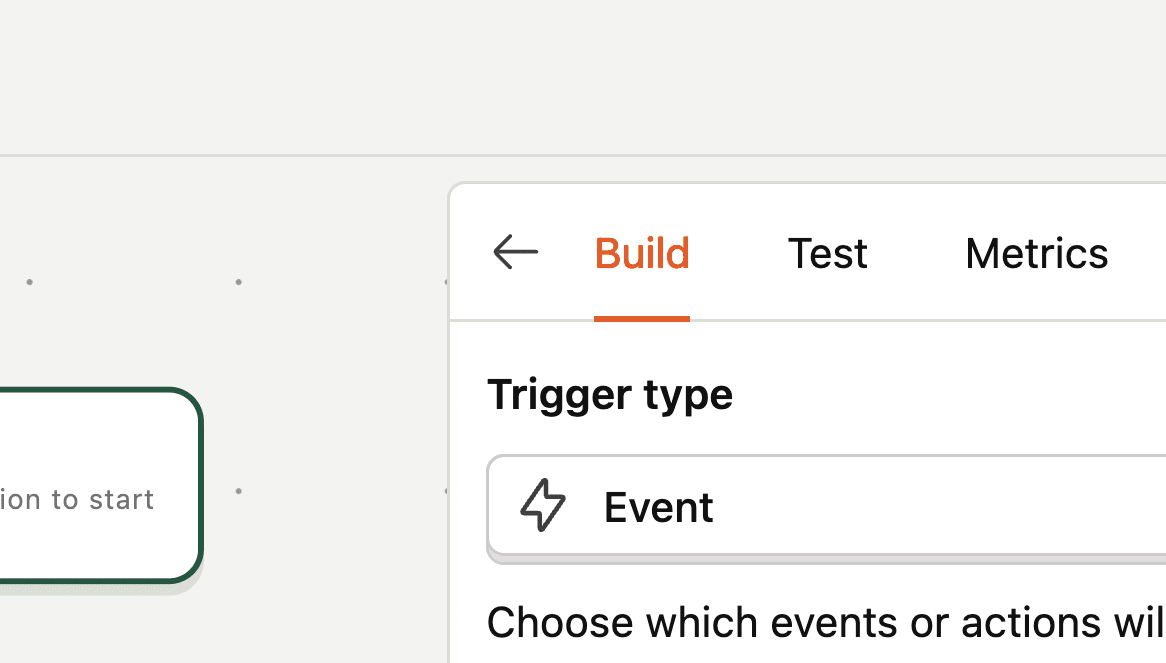
RequiredNow, let's click on the trigger block and configure it. In a new campaign, the trigger doesn't have any default trigger events. Triggers tell PostHog what events will start the campaign workflow.


Click the + Add trigger event button and search for the event you want to use as the trigger.
Search for your the signup event you capture with PostHog SDKs, (e.g.
user signed up) and click it. This tells the campaign to start when this event is captured: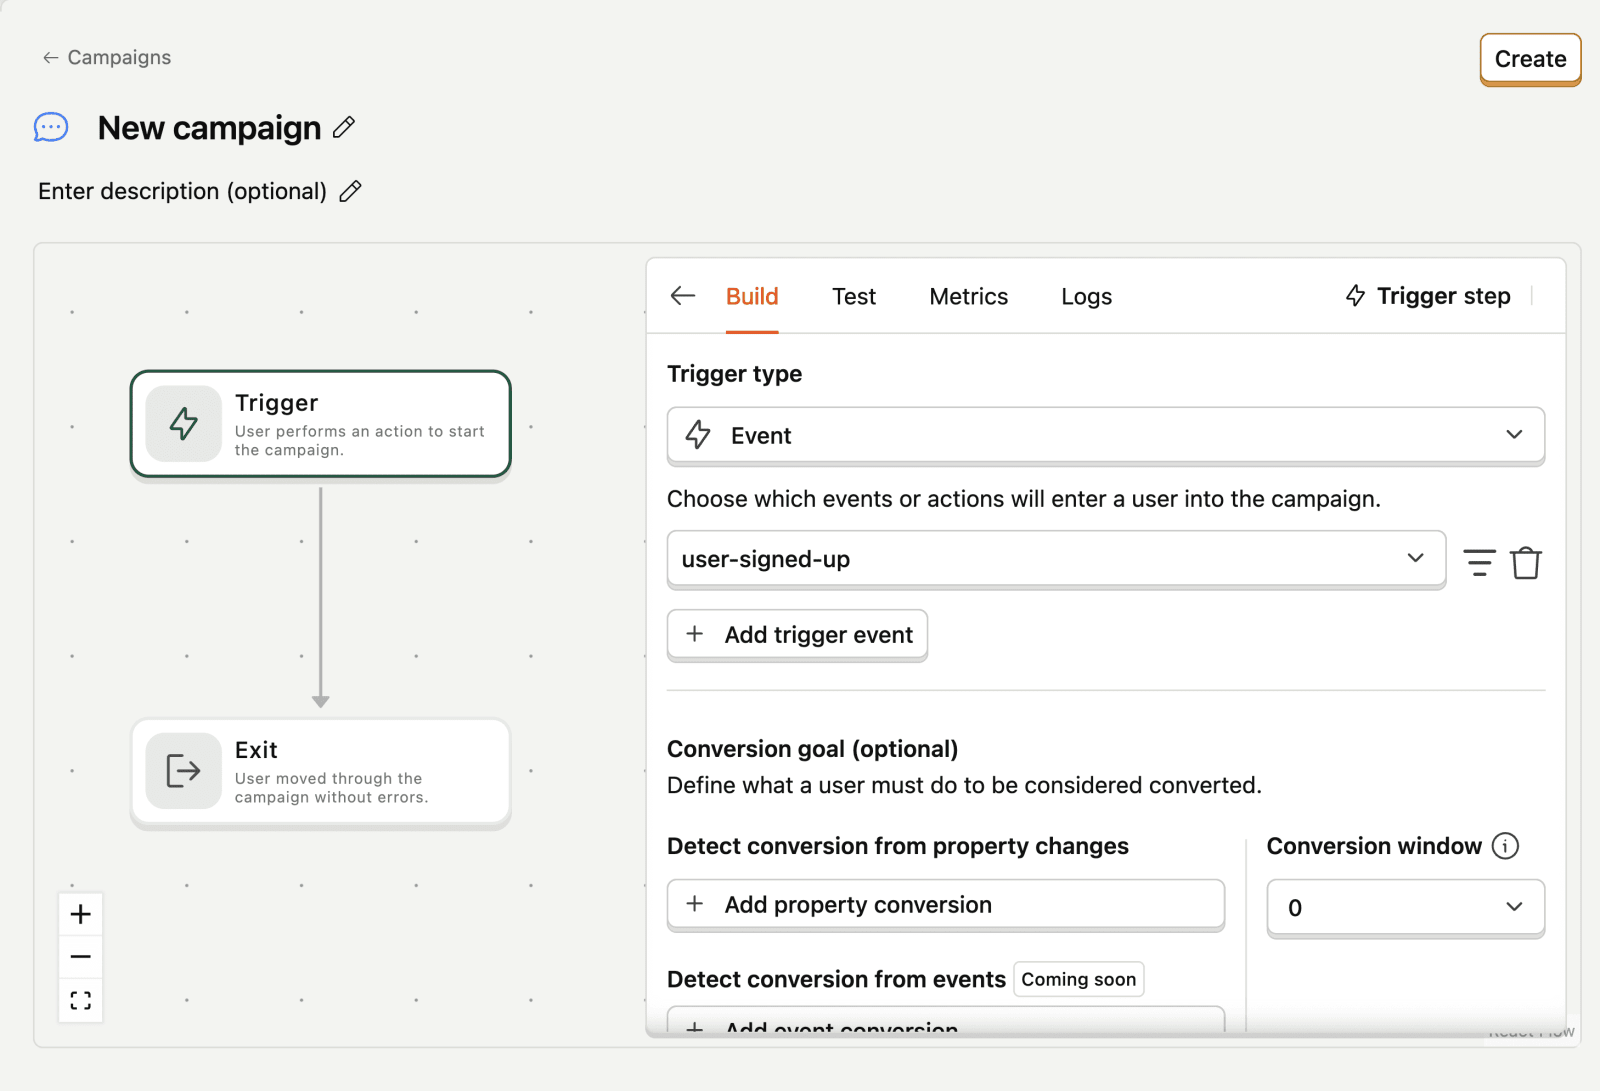

Don't worry about the conversion goal or exit conditions for now, and exit this step by clicking on the back arrow in the sidepanel - this is how you will exit any step after configuring it.

- 3
Send the first email
RequiredDrag an Email dispatch beneath the trigger, into the campaign like this:
Then, click on the email block to configure it. Set the subject line and sender.

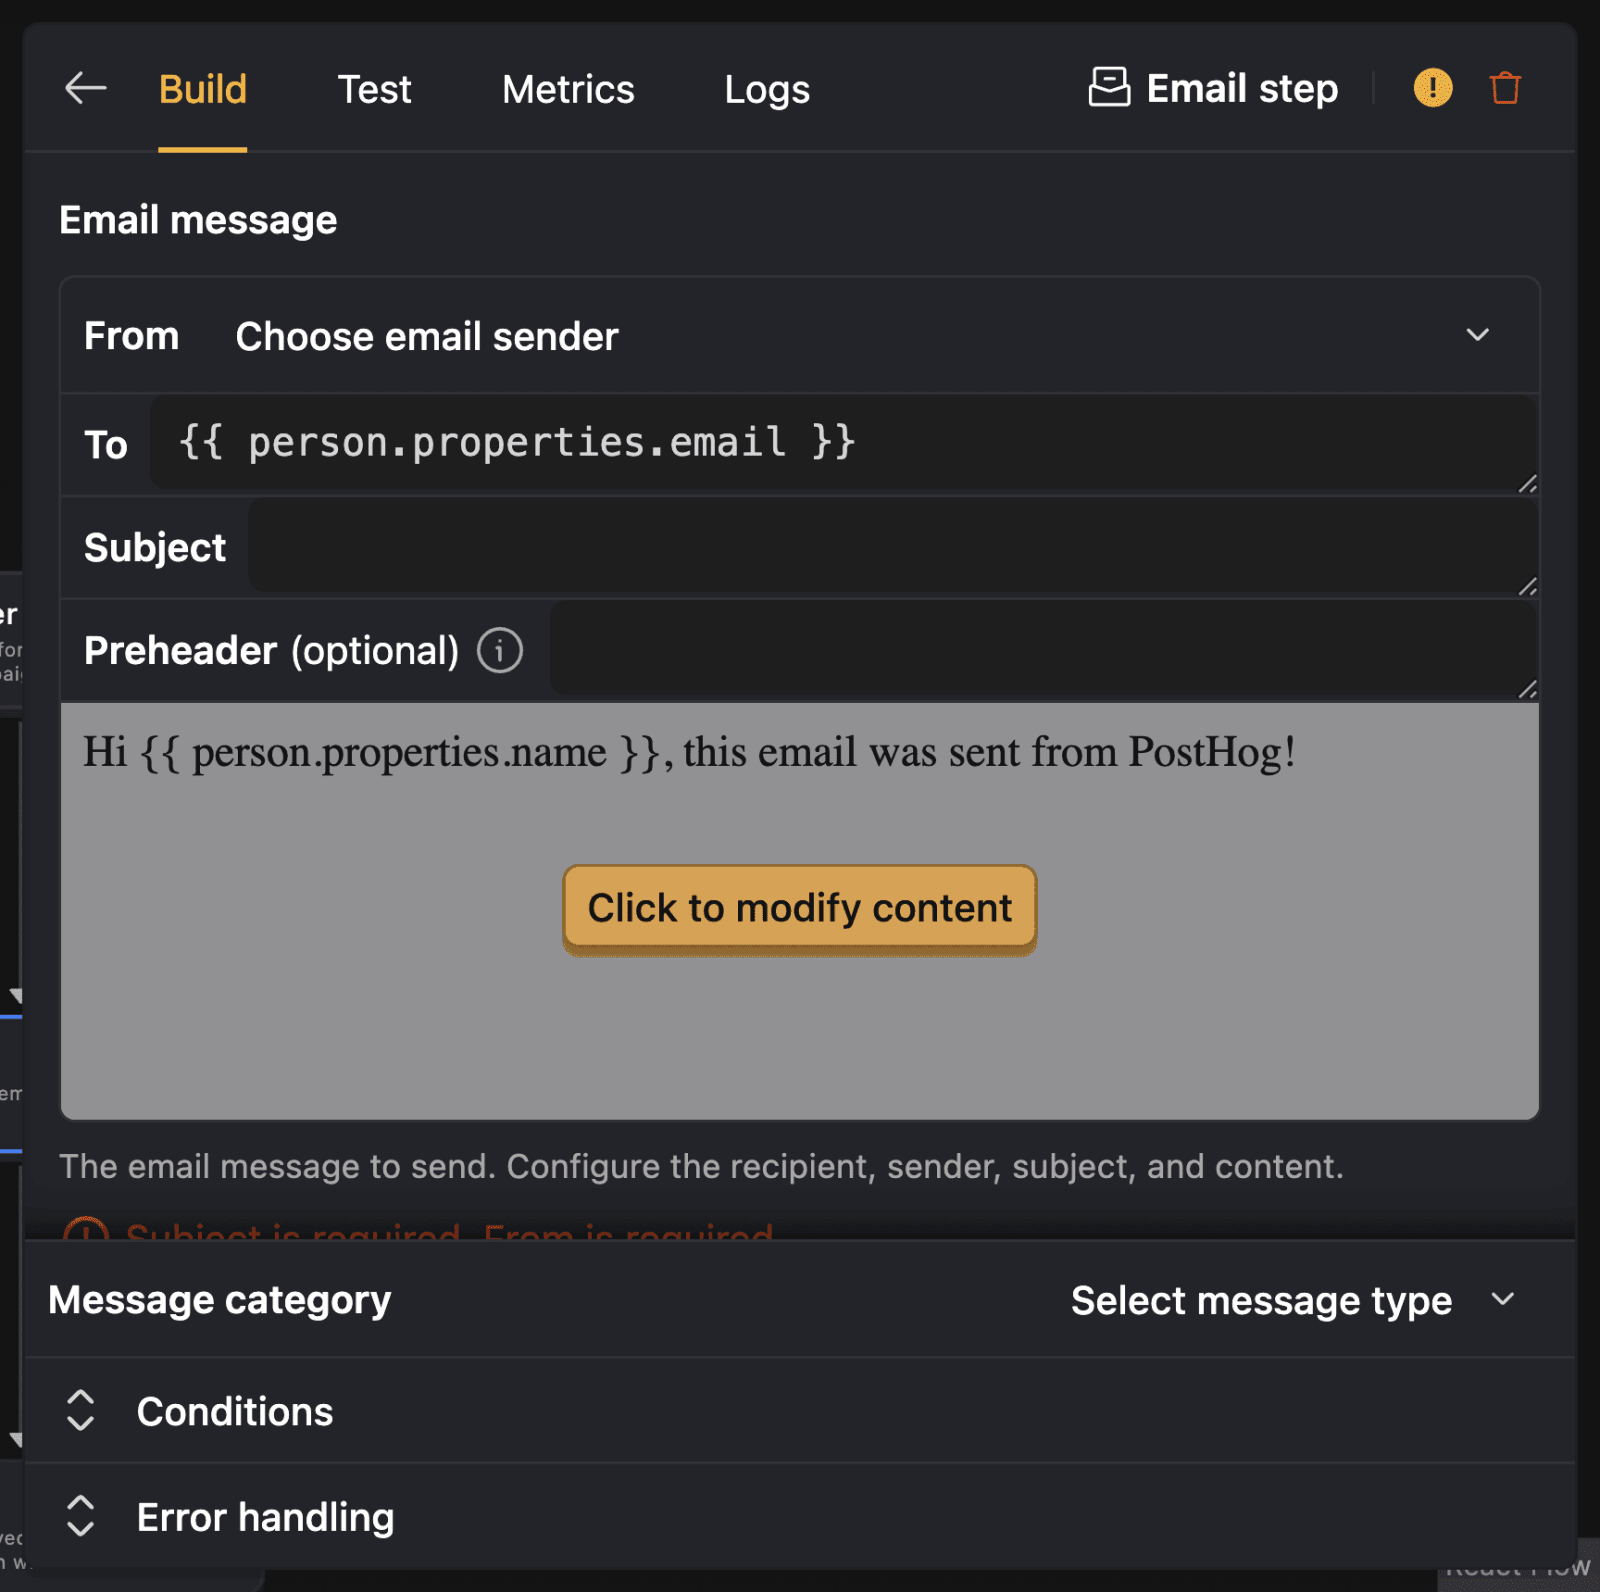
If you haven't configured an email channel yet, you will need to do that first.
And also select your welcome email template or create a new one, and then click out.


- 4
Wait until condition branch
RequiredThis is where things get interesting. We will want to send a follow up email only to those users who have
not completed onboarding. We can achieve this with await until conditionstep.After the email, add a Wait until Condition.


In the wait until condition block, you can configure the following:
- Wait time: The time to wait for the condition to be met. For this example, we'll wait 1 day.
- Conditions to wait for: The condition to wait for. For this example, we'll wait for the person property
onboarding_completedto be set totrue. This can be a person property set on users after they complete onboarding.
Click Create to create the wait until condition.
- 5
Add follow up email
RequiredFor users who haven't completed onboarding after the wait period, we'll send a follow-up email. Drag an email dispatch to the
no matchbranch of thewait until condition.

Configure this email with content encouraging them to complete onboarding. Some tips:
- Keep it short and focused
- Include a clear call-to-action
- Highlight the value they'll get from completing onboarding
- Consider offering help or support
The campaign will now:
- Exit if their person property
first_onboarding_completeis set totrue(they've completed onboarding) - Send the follow-up email if they have not completed onboarding after the wait period
- 6
Review and launch
RequiredNow the complete campaign should look like this:


Click Create to publish the campaign.
- 7
Enable the campaign
RequiredOnce you have confirmed the campaign works as expected, you can enable it by clicking the Enable button at the top right of the campaign builder.
Your new users will now automatically receive this drip campaign to help guide them through onboarding.