- 1
Install PostHog web SDK
RequiredOption 1: Add the JavaScript snippet to your HTML Recommended
HTML<script>!function(t,e){var o,n,p,r;e.__SV||(window.posthog=e,e._i=[],e.init=function(i,s,a){function g(t,e){var o=e.split(".");2==o.length&&(t=t[o[0]],e=o[1]),t[e]=function(){t.push([e].concat(Array.prototype.slice.call(arguments,0)))}}(p=t.createElement("script")).type="text/javascript",p.crossOrigin="anonymous",p.async=!0,p.src=s.api_host.replace(".i.posthog.com","-assets.i.posthog.com")+"/static/array.js",(r=t.getElementsByTagName("script")[0]).parentNode.insertBefore(p,r);var u=e;for(void 0!==a?u=e[a]=[]:a="posthog",u.people=u.people||[],u.toString=function(t){var e="posthog";return"posthog"!==a&&(e+="."+a),t||(e+=" (stub)"),e},u.people.toString=function(){return u.toString(1)+".people (stub)"},o="init capture register register_once register_for_session unregister unregister_for_session getFeatureFlag getFeatureFlagPayload isFeatureEnabled reloadFeatureFlags updateEarlyAccessFeatureEnrollment getEarlyAccessFeatures on onFeatureFlags onSessionId getSurveys getActiveMatchingSurveys renderSurvey canRenderSurvey getNextSurveyStep identify setPersonProperties group resetGroups setPersonPropertiesForFlags resetPersonPropertiesForFlags setGroupPropertiesForFlags resetGroupPropertiesForFlags reset get_distinct_id getGroups get_session_id get_session_replay_url alias set_config startSessionRecording stopSessionRecording sessionRecordingStarted captureException loadToolbar get_property getSessionProperty createPersonProfile opt_in_capturing opt_out_capturing has_opted_in_capturing has_opted_out_capturing clear_opt_in_out_capturing debug".split(" "),n=0;n<o.length;n++)g(u,o[n]);e._i.push([i,s,a])},e.__SV=1)}(document,window.posthog||[]);posthog.init('<ph_project_api_key>',{api_host:'https://us.i.posthog.com', defaults:'2025-05-24'})</script>Option 2: Install via package manager
Start by installing PostHog with the package manager of your choice:
npm install --save posthog-jsAnd then include it with your project API key and host (which you can find in your project settings):
Webimport posthog from 'posthog-js'posthog.init('<ph_project_api_key>', {api_host: 'https://us.i.posthog.com',defaults: '2025-05-24'})See our framework specific docs for Next.js, React, Vue, Angular, Astro, Remix, and Svelte for more installation details.
Bundle all required extensions (advanced)
By default, the JavaScript Web library only loads the core functionality. It lazy-loads extensions such as surveys or the session replay 'recorder' when needed.
This can cause issues if:
- You have a Content Security Policy (CSP) that blocks inline scripts.
- You want to optimize your bundle at build time to ensure all dependencies are ready immediately.
- Your app is running in environments like the Chrome Extension store or Electron that reject or block remote code loading.
To solve these issues, we have multiple import options available below.
Note: With any of the
no-external
options, the toolbar will be unavailable as this is only possible as a runtime dependency loaded directly fromapp.posthog.com
.Web// No external code loading possible (this disables all extensions such as Replay, Surveys, Exceptions etc.)import posthog from 'posthog-js/dist/module.no-external'// No external code loading possible but all external dependencies pre-bundledimport posthog from 'posthog-js/dist/module.full.no-external'// All external dependencies pre-bundled and with the ability to load external scripts (primarily useful is you use Site Apps)import posthog from 'posthog-js/dist/module.full'// Finally you can also import specific extra dependenciesimport "posthog-js/dist/recorder"import "posthog-js/dist/surveys"import "posthog-js/dist/exception-autocapture"import "posthog-js/dist/tracing-headers"import "posthog-js/dist/web-vitals"import posthog from 'posthog-js/dist/module.no-external'// All other posthog commands are the same as usualposthog.init('<ph_project_api_key>', { api_host: 'https://us.i.posthog.com', defaults: '2025-05-24' })Note: You should ensure if using this option that you always import
posthog-js
from the same module, otherwise multiple bundles could get included. At this timeposthog-js/react
does not work with any module import other than the default.Don't want to send test data while developing?
If you don't want to send test data while you're developing, you can do the following:
Webif (!window.location.host.includes('127.0.0.1') && !window.location.host.includes('localhost')) {posthog.init('<ph_project_api_key>', { api_host: 'https://us.i.posthog.com', defaults: '2025-05-24' })}What is the `defaults` option?
The
defaults
is a date, such as2025-05-24
, for a configuration snapshot used as defaults to initialize PostHog. This default is overridden when you explicitly set a value for any of the options. - 2
Set up exception autocapture
RequiredNote: A minimum SDK version of v1.207.8 is required, but we recommend keeping up to date with the latest version to ensure you have all of error tracking's features.
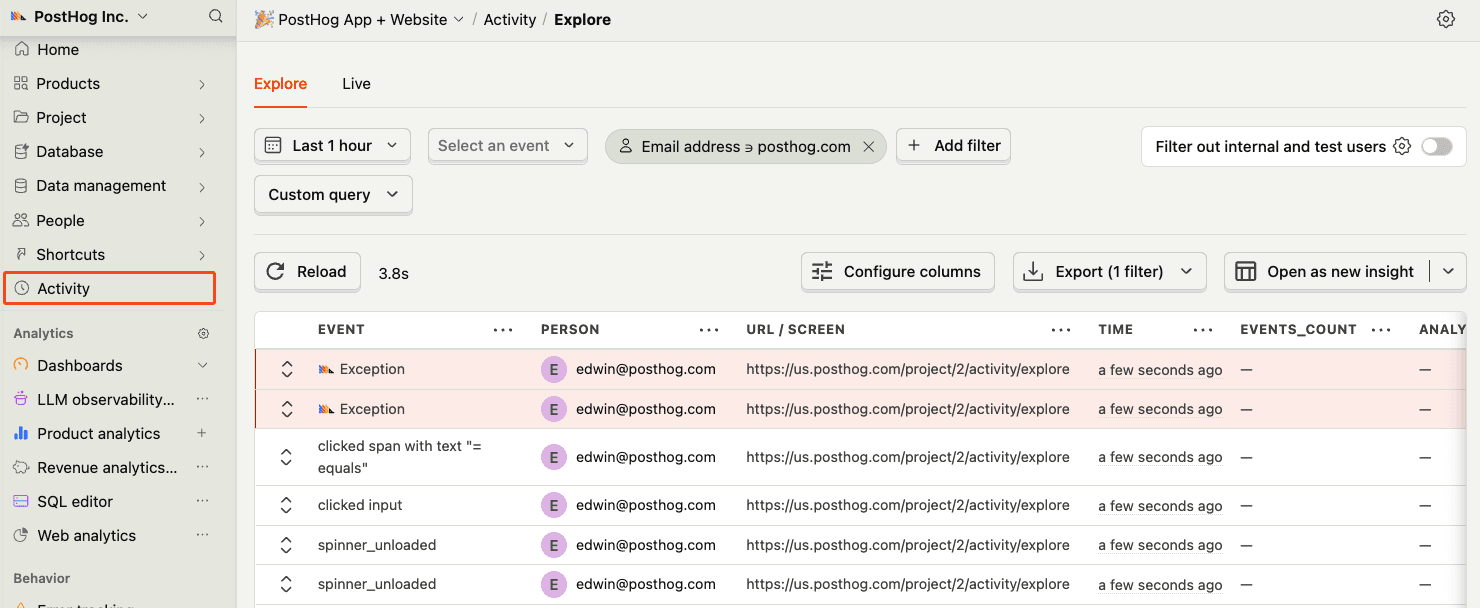
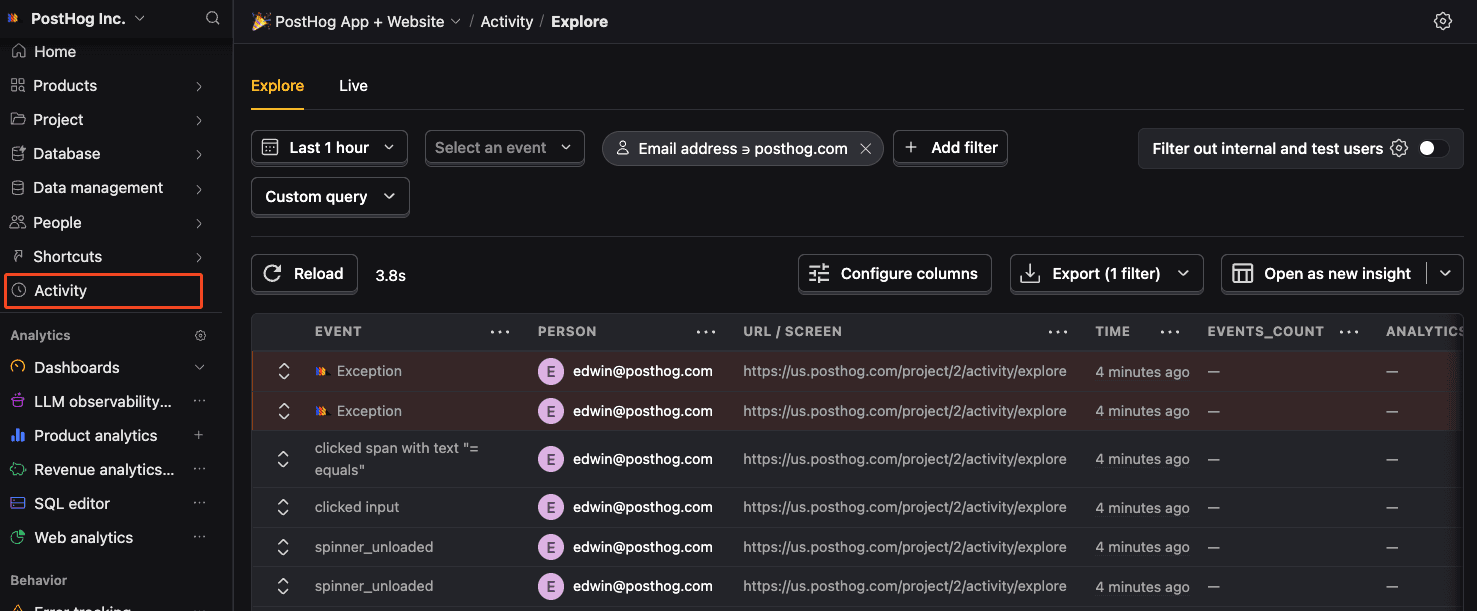
You can enable exception autocapture for the JavaScript Web SDK in the Error tracking section of your project settings.
When enabled, this automatically captures
$exception
events when errors are thrown by wrapping thewindow.onerror
andwindow.onunhandledrejection
listeners. - 3
Manually capture exceptions
OptionalIt is also possible to manually capture exceptions using the
captureException
method:JavaScriptposthog.captureException(error, additionalProperties)This is helpful if you've built your own error handling logic or want to capture exceptions that are handled by your application code.
- 5
Web error tracking installation
Questions? Ask Max AI.
It's easier than reading through 698 pages of documentation
Community questions
Was this page useful?
Next article
Next.js error tracking installation
Next.js is a SSR framework with both client-side and server-side rendering. To track errors in your Next.js app, you need to install and configure the PostHog SDK for both client-side and server-side . You can capture exceptions in client-side code in two ways: Manual capture : Use posthog.captureException() in components that include 'use client' . Autocapture : PostHog will automatically capture $exception events when errors are thrown. Setting up exception autocapture Next.js enables…