React Native error tracking installation

Planned features

We currently don't support the following features:

  • No native Android and iOS exception capture
  • No automatic source map uploads on React Native web

These features will be added in future releases.

  1. Install PostHog React Native SDK

    Required
    Hermes engine

    React Native error tracking is supported supported for Android and iOS apps compiled with the Hermes engine enabled.

    A minimum SDK version of 4.12.0 is required, but we recommend keeping up with the latest SDK version to ensure you have all of error tracking's features.

    Our React Native enables you to integrate PostHog with your React Native project. For React Native projects built with Expo, there are no mobile native dependencies outside of supported Expo packages.

    To install, add the posthog-react-native package to your project as well as the required peer dependencies.

    Expo apps

    Terminal
    npx expo install posthog-react-native expo-file-system expo-application expo-device expo-localization

    React Native apps

    Terminal
    yarn add posthog-react-native @react-native-async-storage/async-storage react-native-device-info react-native-localize
    # or
    npm i -s posthog-react-native @react-native-async-storage/async-storage react-native-device-info react-native-localize

    React Native Web and macOS

    If you're using React Native Web or React Native macOS, do not use the expo-file-system package since the Web and macOS targets aren't supported, use the @react-native-async-storage/async-storage package instead.

    Configuration

    With the PosthogProvider

    The recommended way to set up PostHog for React Native is to use the PostHogProvider. This utilizes the Context API to pass the PostHog client around, and enables autocapture.

    To set up PostHogProvider, add it to your App.js or App.ts file:

    App.js
    // App.(js|ts)
    import { usePostHog, PostHogProvider } from 'posthog-react-native'
    ...
    export function MyApp() {
    return (
    <PostHogProvider apiKey="<ph_project_api_key>" options={{
    // usually 'https://us.i.posthog.com' or 'https://eu.i.posthog.com'
    host: 'https://us.i.posthog.com',
    }}>
    <MyComponent />
    </PostHogProvider>
    )
    }

    Then you can access PostHog using the usePostHog() hook:

    React Native
    const MyComponent = () => {
    const posthog = usePostHog()
    useEffect(() => {
    posthog.capture("event_name")
    }, [posthog])
    }

    Without the PosthogProvider

    If you prefer not to use the provider, you can initialize PostHog in its own file and import the instance from there:

    posthog.ts
    import PostHog from 'posthog-react-native'
    export const posthog = new PostHog('<ph_project_api_key>', {
    // usually 'https://us.i.posthog.com' or 'https://eu.i.posthog.com'
    host: 'https://us.i.posthog.com'
    })

    Then you can access PostHog by importing your instance:

    React Native
    import { posthog } from './posthog'
    export function MyApp1() {
    useEffect(async () => {
    posthog.capture('event_name')
    }, [posthog])
    return <View>Your app code</View>
    }

    You can even use this instance with the PostHogProvider:

    React Native
    import { posthog } from './posthog'
    export function MyApp() {
    return <PostHogProvider client={posthog}>{/* Your app code */}</PostHogProvider>
    }
  2. Set up exception autocapture

    Recommended

    This configuration is client-side only. Support for remote configuration in the error tracking settings will be added in a future release.

    You can autocapture exceptions by configuring the errorTracking when setting up PostHog:

    React Native
    export const posthog = new PostHog('<ph_project_api_key>', {
    errorTracking: {
    autocapture: {
    uncaughtExceptions: true,
    unhandledRejections: true,
    console: ['error', 'warn'],
    },
    },
    })

    Configuration options:

    • uncaughtExceptions: Captures Uncaught exceptions (ReactNativeGlobal.ErrorUtils.setGlobalHandler)
    • unhandledRejections: Captures Unhandled rejections (ReactNativeGlobal.onunhandledrejection)
    • console: Captures console logs as errors according to the reported LogLevel.
  3. Manually capture exceptions

    Optional

    You can manually capture exceptions using the captureException method:

    React Native
    try {
    // Your awesome code that may throw
    someRiskyOperation();
    } catch (error) {
    posthog.captureException(error)
    }

    This is helpful if you've built your own error handling logic or want to capture exceptions that are handled by your application code.

  4. Verify error tracking

    Checkpoint
    Confirm events are being sent to PostHog

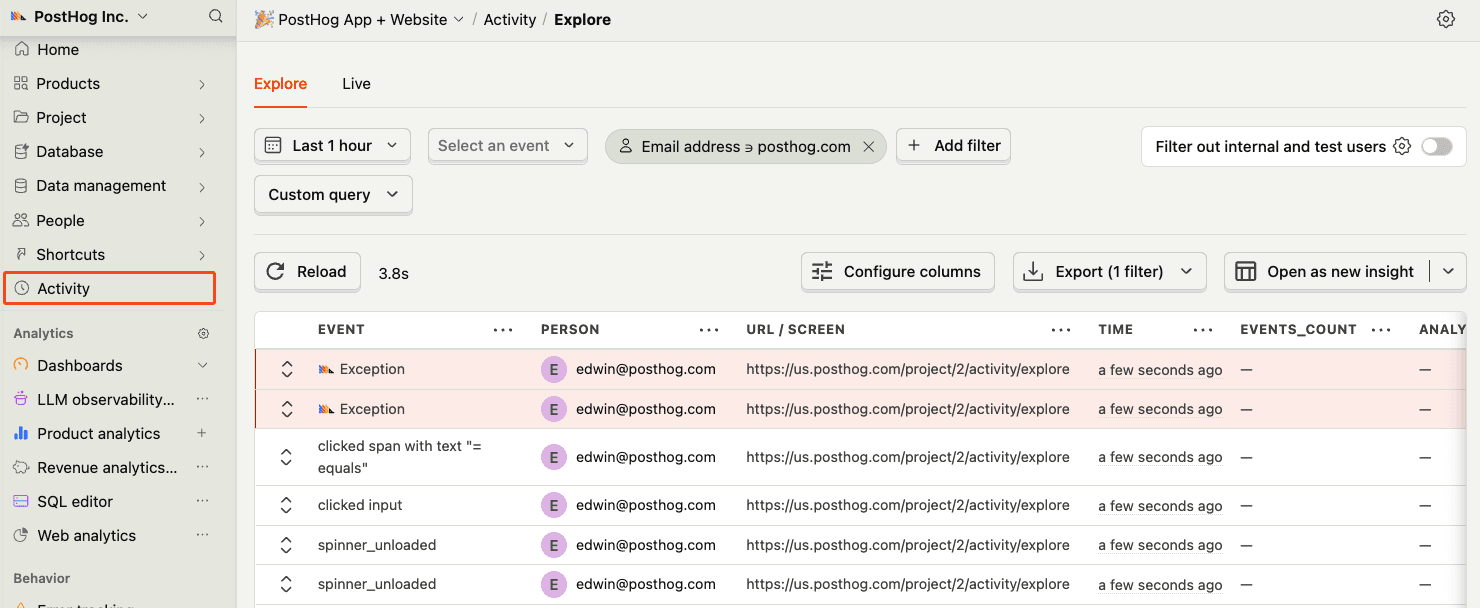
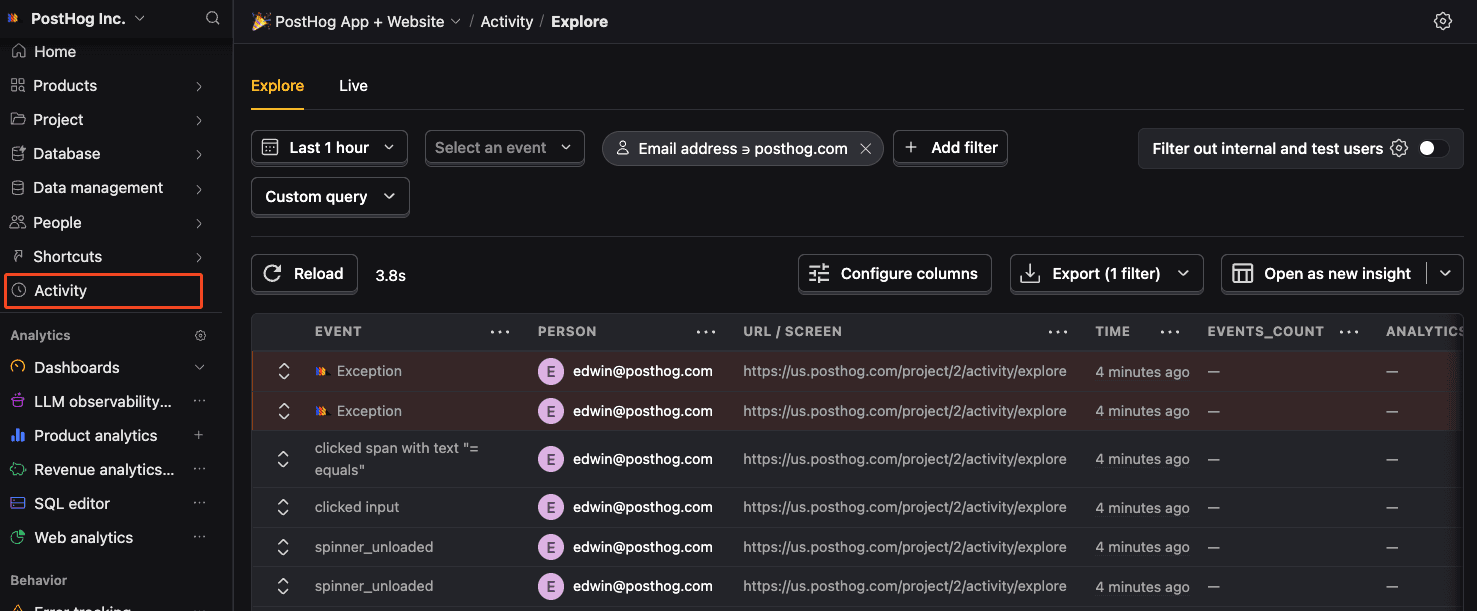
    Before proceeding, let's make sure exception events are being captured and sent to PostHog. You should see events appear in the activity feed.


    Activity feed with events
    Check for exceptions in PostHog
  5. Upload source maps

    Required

    Great, you're capturing exceptions! If you serve minified bundles, the next step is to upload source maps to generate accurate stack traces.

    Let's continue to the next section.

    Upload source maps for React Native

Community questions

Was this page useful?

Questions about this page? or post a community question.