


Schema management
Contents
Schema management lets you define and enforce the structure of your events using typed property groups. This helps document expected properties, provides type safety in your code, and makes your analytics implementation more maintainable.
Creating events
You can create event definitions before any events are actually captured. This is useful when planning your analytics implementation upfront, allowing you to:
- Define your event schema before writing instrumentation code
- Generate typed definitions for events that haven't been captured yet
- Document expected events for your team
- Ensure consistency across your codebase from day one
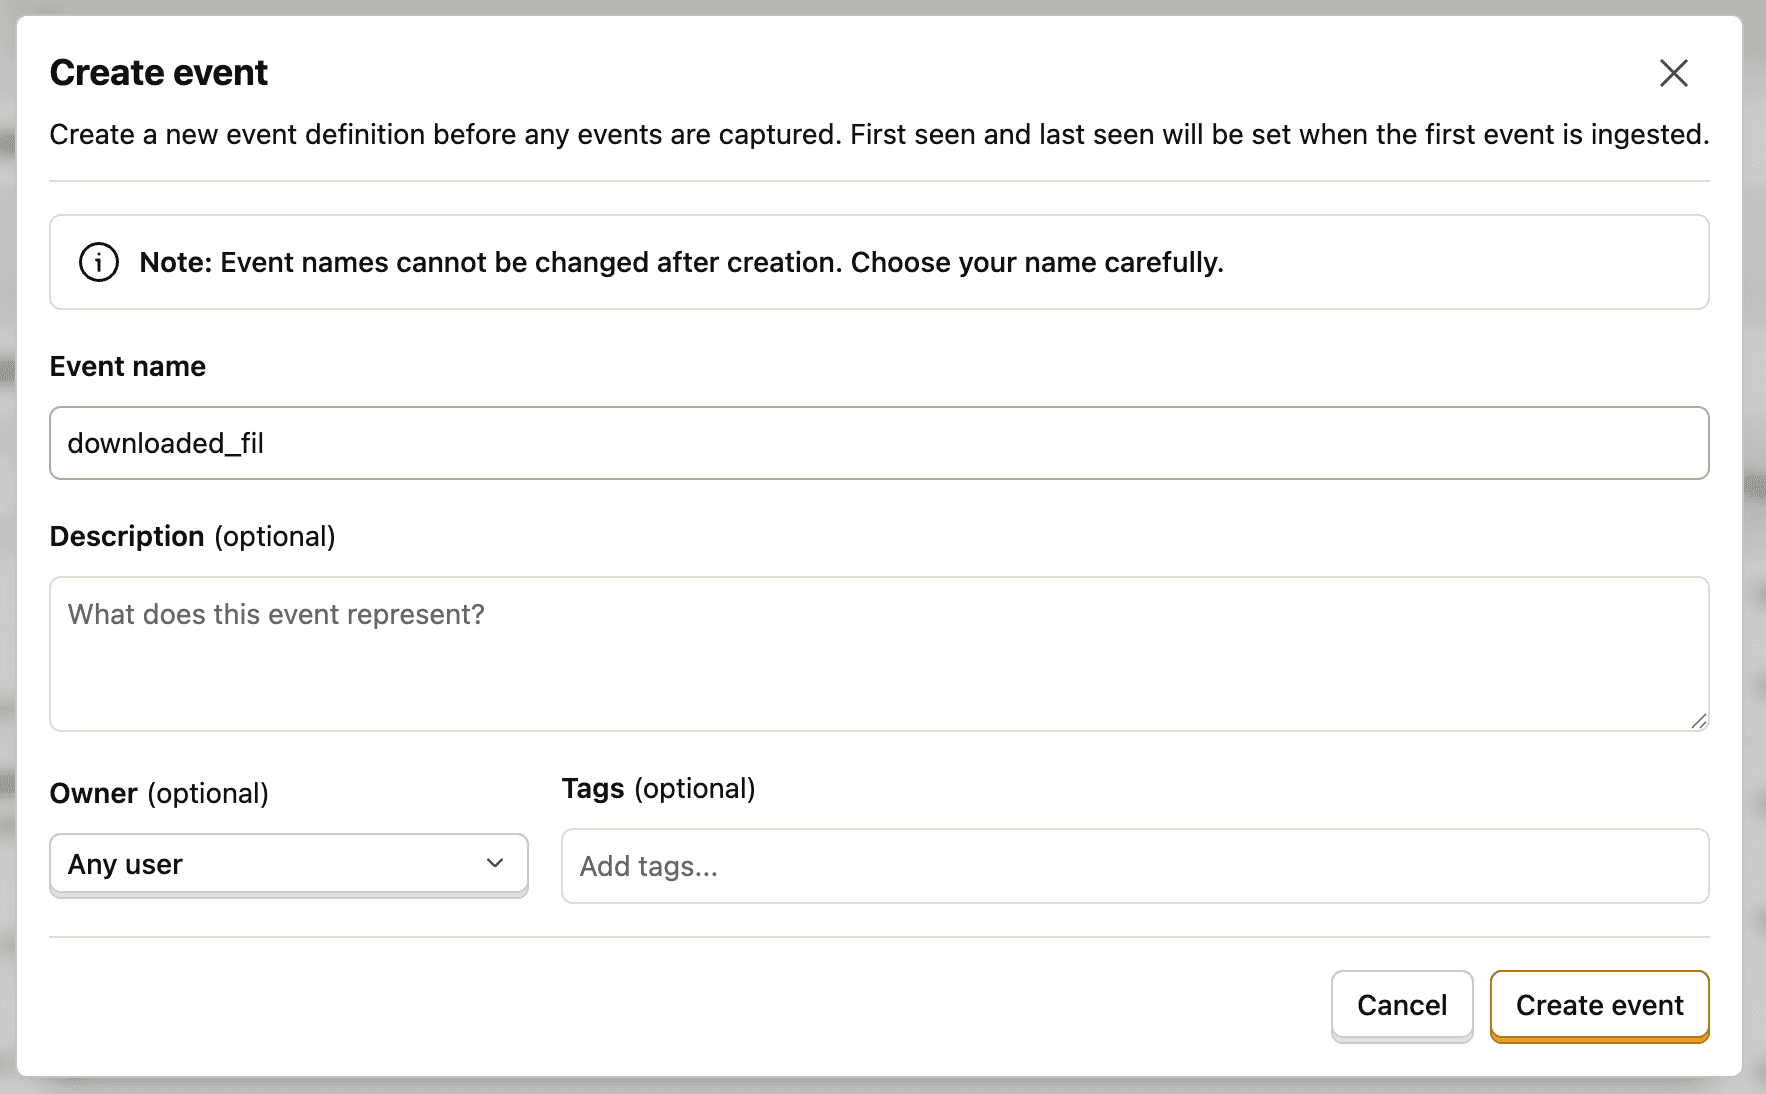
To create an event:
- Go to Data Management > Events
- Click Create event
- Enter the event name (e.g., "user_signed_up")
- Optionally add:
- Description: What the event represents
- Owner: Team member responsible for this event
- Tags: Organizational labels
Events created this way will show "-" for First seen and Last seen until the first event is actually captured by PostHog.

Creating property groups
Property groups are reusable collections of typed properties that can be attached to one or more events.
- Navigate to Data Management > Property Groups
- Click New Property Group
- Give your group a name (e.g.,
Order Information) - Add properties with their types:
- Name: The property key
- Type: String, Number, Boolean, or Object
- Required: Whether the property must be present
- Description: Help text for your team


Property groups can be reused across multiple events, making it easy to maintain consistent schemas.
Adding schemas to events
Once you've created property groups and events (either new events you created, or existing events from captured data), attach property groups to your events:
- Go to Data Management > Events
- Select an event
- In the Schema section, click Add Property Group
- Choose from your existing property groups or create a new one


Events can have multiple property groups, and each group's properties will be included in the generated types.
Downloading your schema with the CLI
The PostHog CLI generates language definitions from your configured schemas.
Install the CLI
Authenticate
This opens your browser to authorize the CLI with your PostHog account. Select your organization, project, and the API scopes to grant.

Download your schema
Note: Schema management is currently an experimental feature. The
expprefix will be removed once the feature is stable.
The CLI will:
- Fetch your event schemas
- Prompt you for the output file path
- Generate typed definitions and save them to the specified file
- Update
posthog.jsonwith the schema hash
When prompted for the output path, choose a location that's accessible from your application code (e.g., src/lib/posthog-typed.ts or app/lib/posthog-typed.ts for TypeScript).
Important: Commit both
posthog.jsonandposthog-typed.<extension>to your git repository. This ensures your team has consistent types and tracks schema changes over time.
On subsequent runs, the CLI only updates the file if your schema has changed.
Check schema status
This shows your current sync status, including the schema hash, last updated time, and number of events.
Using typed events in your app
Once you've downloaded your schema, import and use the generated PostHog client:
The generated typed file provides:
- Type safety: Properties are validated against your schema
- Autocomplete: Your IDE suggests event names and properties
- Documentation: Inline types show required properties and descriptions
- Flexibility: The standard SDK functionality remains available (capture / identify / experiments / ...), allowing gradual migrations

Best practices
- Define events upfront: Create event definitions before implementing instrumentation to get type safety from day one
- Start with your most important events: Define schemas for critical conversion events first
- Use descriptive property groups: Name groups by their purpose (e.g., "E-commerce Properties", "User Context")
- Don't over-schema: Not every event needs a schema—use them where type safety adds value
- Commit generated types: Always commit
posthog.jsonandposthog-typed.<extension>to version control so your team stays in sync