React error tracking installation

Last updated:

|Edit this page|

For Next.js, we recommend following the Next.js integration guide instead.

  1. Install PostHog web SDK

    Required
    1. Install posthog-js using your package manager:
    npm install --save posthog-js
    1. Add your environment variables to your .env.local file and to your hosting provider (e.g. Vercel, Netlify, AWS). You can find your project API key and host in your project settings. Including VITE_PUBLIC_ in their names ensures they are accessible in the frontend.
    .env.local
    VITE_PUBLIC_POSTHOG_KEY=<ph_project_api_key>
    VITE_PUBLIC_POSTHOG_HOST=https://us.i.posthog.com
    1. Integrate PostHog at the root of your app (such as main.jsx if you are using Vite).
    React
    // src/main.jsx
    import { StrictMode } from 'react'
    import { createRoot } from 'react-dom/client'
    import './index.css'
    import App from './App.jsx'
    import { PostHogProvider } from 'posthog-js/react'
    const options = {
    api_host: import.meta.env.VITE_PUBLIC_POSTHOG_HOST,
    defaults: '2025-05-24',
    }
    createRoot(document.getElementById('root')).render(
    <StrictMode>
    <PostHogProvider apiKey={import.meta.env.VITE_PUBLIC_POSTHOG_KEY} options={options}>
    <App />
    </PostHogProvider>
    </StrictMode>,
    )
    Using React Router v7?

    You need to set posthog-js and posthog-js/react as external packages in your vite.config.ts file to avoid SSR errors.

    vite.config.ts
    // ... imports
    export default defineConfig({
    plugins: [tailwindcss(), reactRouter(), tsconfigPaths()],
    ssr: {
    noExternal: ['posthog-js', 'posthog-js/react']
    }
    });

    See our Remix docs for more details.

  2. Verify PostHog is initialized

    Checkpoint
    Confirm you can capture events with PostHog

    Before proceeding, confirm that you can capture events with PostHog using posthog.capture('test_event').

    TSX
    import { usePostHog } from 'posthog-js/react'
    const posthog = usePostHog()
    posthog?.capture('test_event')
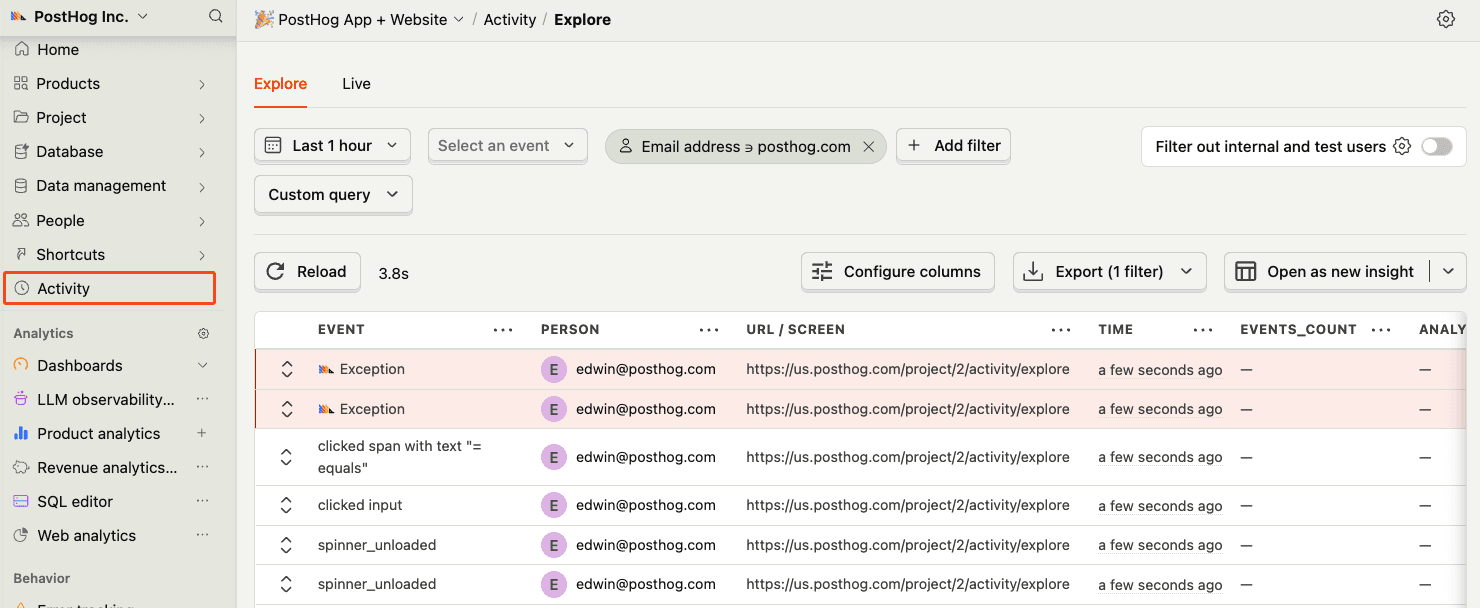
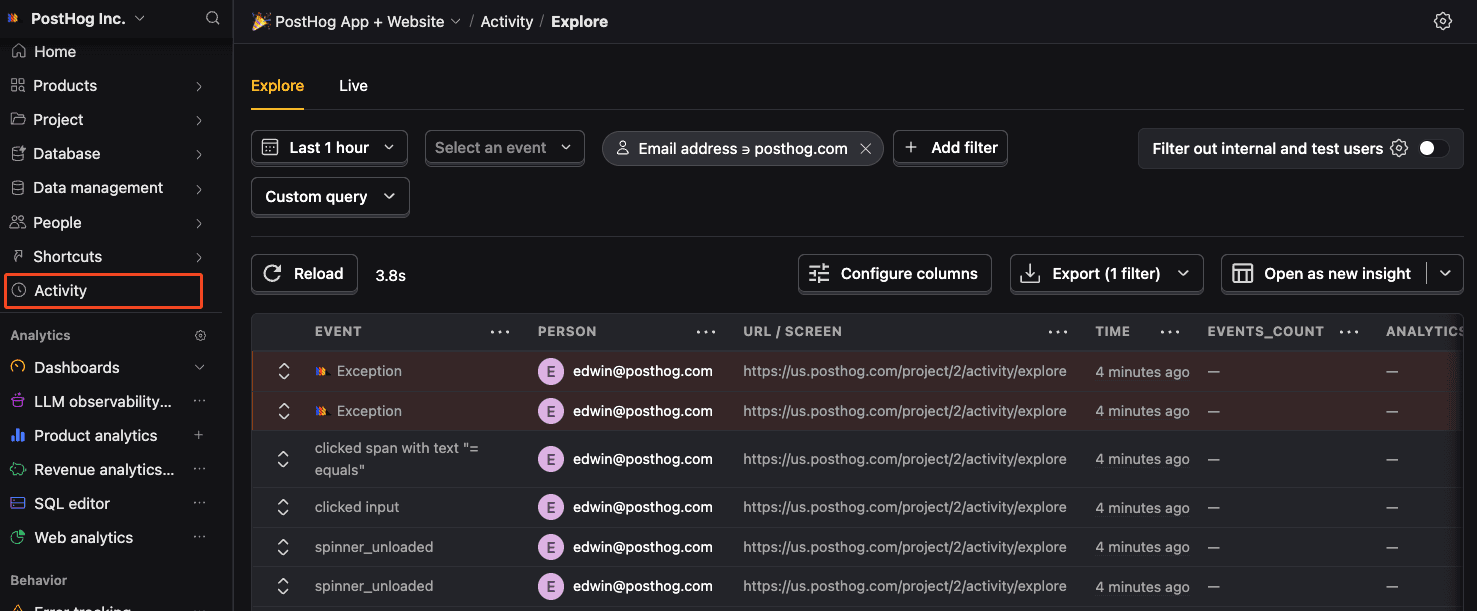
  3. Set up exception autocapture

    Required

    Note: A minimum SDK version of v1.207.8 is required, but we recommend keeping up to date with the latest version to ensure you have all of error tracking's features.

    You can enable exception autocapture for the JavaScript Web SDK in the Error tracking section of your project settings.

    When enabled, this automatically captures $exception events when errors are thrown by wrapping the window.onerror and window.onunhandledrejection listeners.

  4. Set up error boundaries

    Optional

    You can add a custom error boundary to capture rendering errors thrown by components:

    JavaScript
    import * as React from 'react';
    class CustomErrorBoundary extends React.Component {
    constructor(props) {
    super(props);
    this.state = { hasError: false };
    }
    static getDerivedStateFromError(error) {
    // Update state so the next render will show the fallback UI.
    return { hasError: true };
    }
    componentDidCatch(error) {
    posthog.captureException(error)
    }
    render() {
    if (this.state.hasError) {
    // You can render any custom fallback UI
    return this.props.fallback;
    }
    return this.props.children;
    }
    }
  5. Manually capture exceptions

    Optional

    It is also possible to manually capture exceptions using the captureException method:

    JavaScript
    posthog.captureException(error, additionalProperties)
  6. Verify error tracking

    Checkpoint
    Confirm events are being sent to PostHog

    Before proceeding, let's make sure exception events are being captured and sent to PostHog. You should see events appear in the activity feed.


    Activity feed with events
    Check for exceptions in PostHog
  7. Upload source maps

    Required

    Great, you're capturing exceptions! If you serve minified bundles, the next step is to upload source maps to generate accurate stack traces.

    Let's continue to the next section.

    Upload source maps for React

Questions? Ask Max AI.

It's easier than reading through 698 pages of documentation

Community questions

Was this page useful?

Next article

Angular error tracking installation

Before proceeding, confirm that you can capture events with PostHog using posthog.capture('test_event') . This requires overriding Angular's default ErrorHandler provider: Then, in your src/app/app.config.ts , import the providePostHogErrorHandler function and add it to the providers array: If there are more errors you'd like to capture, you can manually call the captureException method:

Read next article