Nuxt error tracking installation

Last updated:

|Edit this page|
  1. Installing PostHog Nuxt SDK

    Required
    Your goal in this step: Install the PostHog Nuxt.js SDK.
    1. Install posthog-js using your package manager:
    npm install --save posthog-js
    1. Add your PostHog API key and host to your nuxt.config.js file. You can find these in your project settings.
    nuxt.config.js
    export default defineNuxtConfig({
    runtimeConfig: {
    public: {
    posthogPublicKey: process.env.NUXT_PUBLIC_POSTHOG_KEY || '<ph_project_api_key>',
    posthogHost: process.env.NUXT_PUBLIC_POSTHOG_HOST || 'https://us.i.posthog.com',
    posthogDefaults: '2025-05-24',
    },
    }
    })
    1. Create a new plugin by creating a new file posthog.client.js in your plugins directory.
    plugins/posthog.client.js
    import { defineNuxtPlugin, useRuntimeConfig } from '#imports'
    import posthog from 'posthog-js'
    export default defineNuxtPlugin(() => {
    const runtimeConfig = useRuntimeConfig()
    const posthogClient = posthog.init(runtimeConfig.public.posthogPublicKey, {
    api_host: runtimeConfig.public.posthogHost,
    defaults: runtimeConfig.public.posthogDefaults,
    loaded: (posthog) => {
    if (import.meta.env.MODE === 'development') posthog.debug()
    },
    })
    return {
    provide: {
    posthog: () => posthogClient,
    },
    }
    })
  2. Verify PostHog is initialized

    Checkpoint
    Confirm you can capture events with PostHog

    Before proceeding, confirm that you can capture events using posthog.capture('test_event').

  3. Manually capturing exceptions

    Required
    Your goal in this step: Manually capture exceptions in your Nuxt application.

    To send errors directly using the PostHog client, import it and use the captureException method like this:

    Vue
    <script>
    const { $posthog } = useNuxtApp()
    if ($posthog) {
    const posthog = $posthog()
    posthog.captureException(new Error("Important error message"))
    }
    </script>

    On the server side, you can use the posthog object directly.

    server/api/example.js
    const runtimeConfig = useRuntimeConfig()
    const posthog = new PostHog(
    runtimeConfig.public.posthogPublicKey,
    {
    host: runtimeConfig.public.posthogHost,
    }
    );
    try {
    const results = await DB.query.users.findMany()
    return results
    } catch (error) {
    posthog.captureException(error)
    }
    })
  4. Configuring exception autocapture

    Required
    Your goal in this step: Enable automatic exception tracking for your Nuxt application.

    Update your posthog.client.js to add an error hook

    JavaScript
    export default defineNuxtPlugin((nuxtApp) => {
    ...
    nuxtApp.hook('vue:error', (error) => {
    posthogClient.captureException(error)
    })
    ...
    })
  5. Verify error tracking

    Checkpoint
    Confirm events are being sent to PostHog

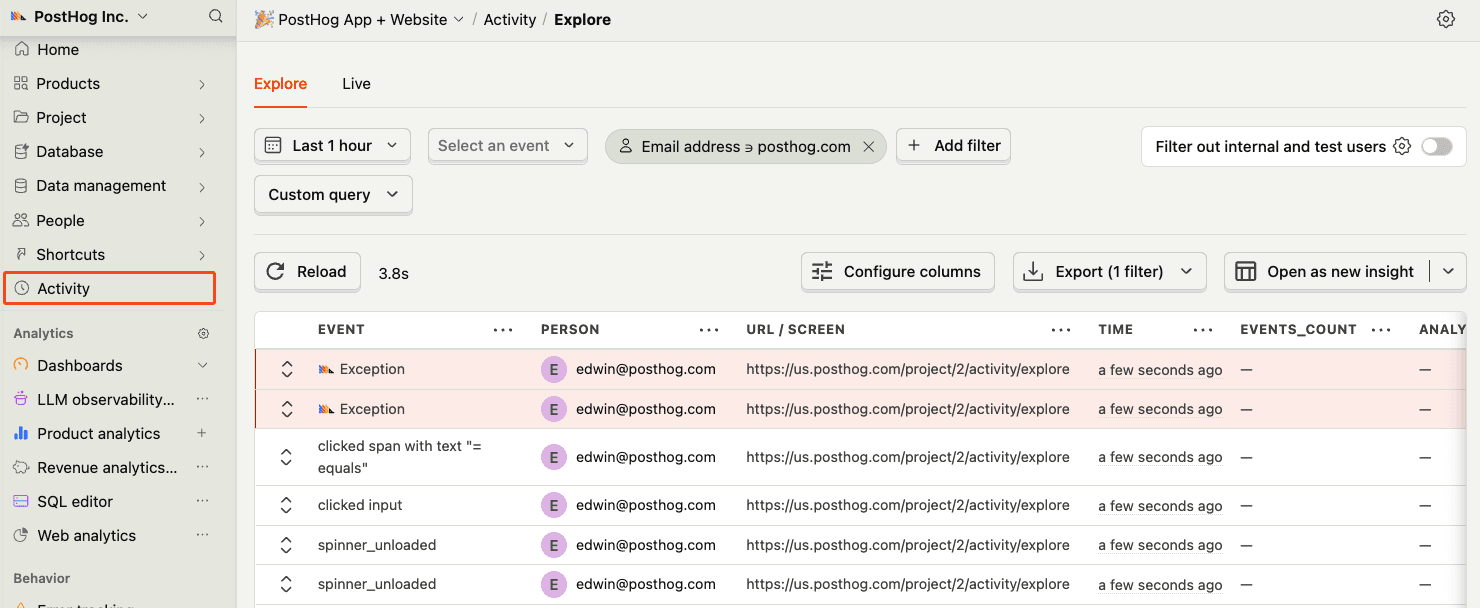
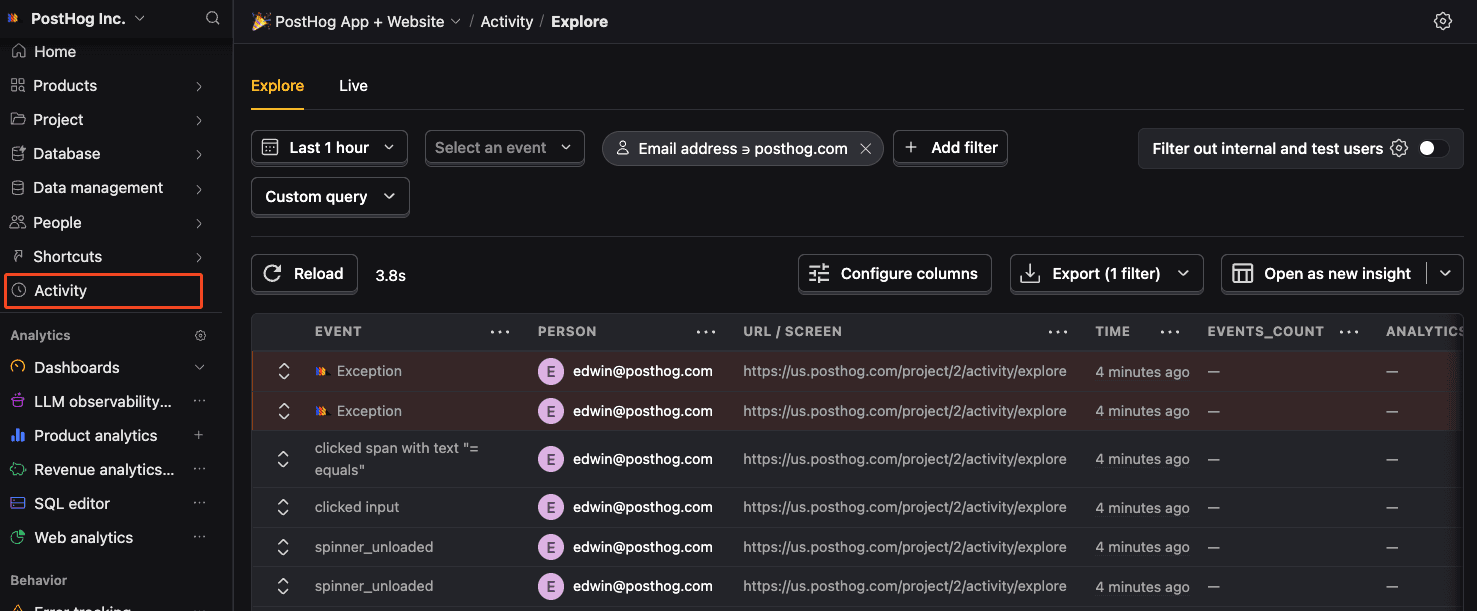
    Before proceeding, let's make sure exception events are being captured and sent to PostHog. You should see events appear in the activity feed.


    Activity feed with events
    Check for exceptions in PostHog
  6. Upload source maps

    Required

    Great, you're capturing exceptions! If you serve minified bundles, the next step is to upload source maps to generate accurate stack traces.

    Let's continue to the next section.

    Upload source maps for Nuxt

Questions? Ask Max AI.

It's easier than reading through 698 pages of documentation

Community questions

Was this page useful?

Next article

SvelteKit error tracking installation

SvelteKit Hooks can be used to capture exceptions in the client and server-side. Capture exceptions in the handleError callback in your client-side hooks file: To capture exceptions on the server-side, you will also need to implement the handleError callback:

Read next article