Node.js error tracking installation

Last updated:

|Edit this page|
  1. Install PostHog Node.js SDK

    Required

    Install the PostHog Node SDK using the package manager of your choice:

    npm install posthog-node --save

    In your app, set your project API key before making any calls.

    Node.js
    import { PostHog } from 'posthog-node'
    const client = new PostHog(
    '<ph_project_api_key>',
    { host: 'https://us.i.posthog.com' }
    )
    await client.shutdown()

    You can find your project API key and instance address in the project settings page in PostHog.

    Note: As a rule of thumb, we do not recommend hardcoding API keys. Setting it as an environment variable is preferred.

  2. Verify PostHog is initialized

    Checkpoint
    Confirm you can capture events with PostHog

    Before proceeding, confirm that you can capture events with PostHog using client.capture('test_event').

  3. Configure exception autocapture

    Required

    Note: A minimum SDK version of v4.5.2 is required, but we recommend keeping up to date with the latest version to ensure you have all of error tracking's features.

    You can enable exception autocapture when initializing the PostHog client to automatically capture uncaught exceptions and unhandled rejections in your Node app.

    Node.js
    import { PostHog } from 'posthog-node'
    const client = new PostHog(
    '<ph_project_api_key>',
    { host: 'https://us.i.posthog.com', enableExceptionAutocapture: true }
    )

    If you are using the Express framework, you will need to import and call setupExpressErrorHandler with your PostHog client and Express app. This is because Express handles uncaught exceptions internally meaning exception autocapture will not work by default.

    server.ts
    import express from 'express'
    import { PostHog, setupExpressErrorHandler } from 'posthog-node'
    const app = express()
    const posthog = new PostHog(PH_API_KEY)
    setupExpressErrorHandler(posthog, app)

    Note: Error tracking requires access the file system to process stack traces. Some providers, like Cloudflare Workers, do not support Node.js runtime APIs by default and need to be included as per their documentation.

  4. Manually capture exceptions

    Optional

    If you need to manually capture exceptions, you can do so by calling the captureException method:

    Node.js
    posthog.captureException(e, 'user_distinct_id', additionalProperties)

    This is helpful if you've built your own error handling logic or want to capture exceptions normally handled by the framework.

  5. Verify error tracking

    Checkpoint
    Confirm events are being sent to PostHog

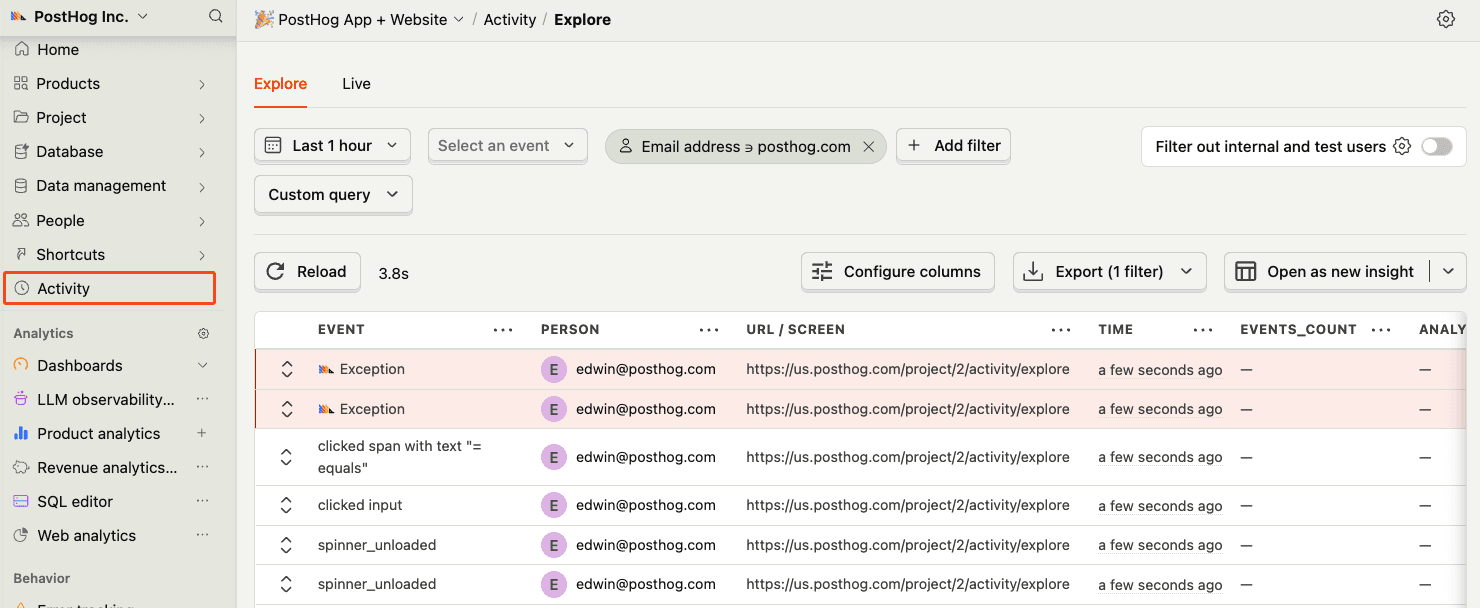
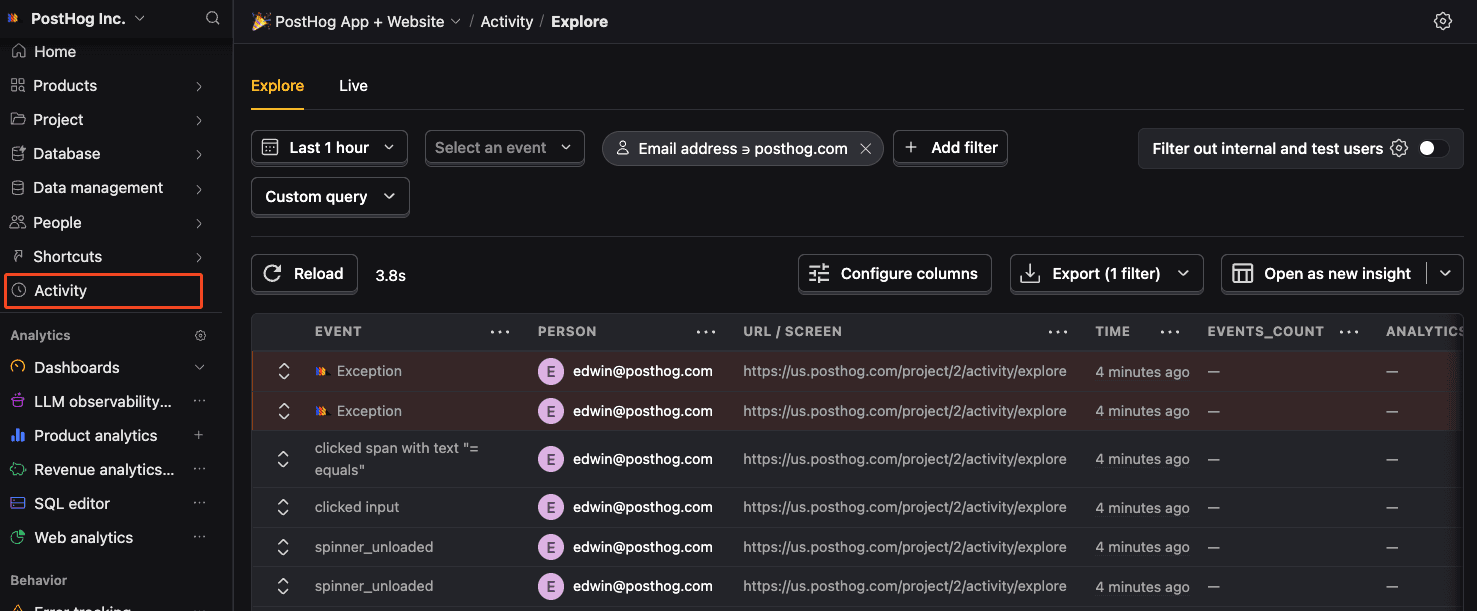
    Before proceeding, let's make sure exception events are being captured and sent to PostHog. You should see events appear in the activity feed.


    Activity feed with events
    Check for exceptions in PostHog
  6. Upload source maps

    Optional

    Great, you're capturing exceptions! If you serve minified bundles, the next step is to upload source maps to generate accurate stack traces.

    Let's continue to the next section.

    Upload source maps for Node.js

Questions? Ask Max AI.

It's easier than reading through 698 pages of documentation

Community questions

Was this page useful?

Next article

React error tracking installation

For Next.js, we recommend following the Next.js integration guide instead. Install posthog-js using your package manager: Add your environment variables to your .env.local file and to your hosting provider (e.g. Vercel, Netlify, AWS). You can find your project API key and host in your project settings . Including VITE_PUBLIC_ in their names ensures they are accessible in the frontend. Integrate PostHog at the root of your app (such as main.jsx if you are using Vite). You need to set…

Read next article