Angular error tracking installation
- 1
Install the package
RequiredInstall the PostHog JavaScript library using your package manager:
- 2
Initialize PostHog
RequiredIn your
src/main.ts, initialize PostHog using your project token and instance address:For Angular v17 and above, you can set up PostHog as a singleton service. To do this, start by creating and injecting a
PosthogServiceinstance.Create a service by running
ng g service services/posthog. The service should look like this:src/main.tsThe service is initialized outside of the Angular zone to reduce change detection cycles. This is important to avoid performance issues with session recording. Then, inject the service in your app's root component
app.component.ts. This will make sure PostHog is initialized before any other component is rendered.src/app/app.component.tsIn your
src/main.ts, initialize PostHog using your project API key and instance address. You can find both in your project settings.src/main.ts - 3
Send events
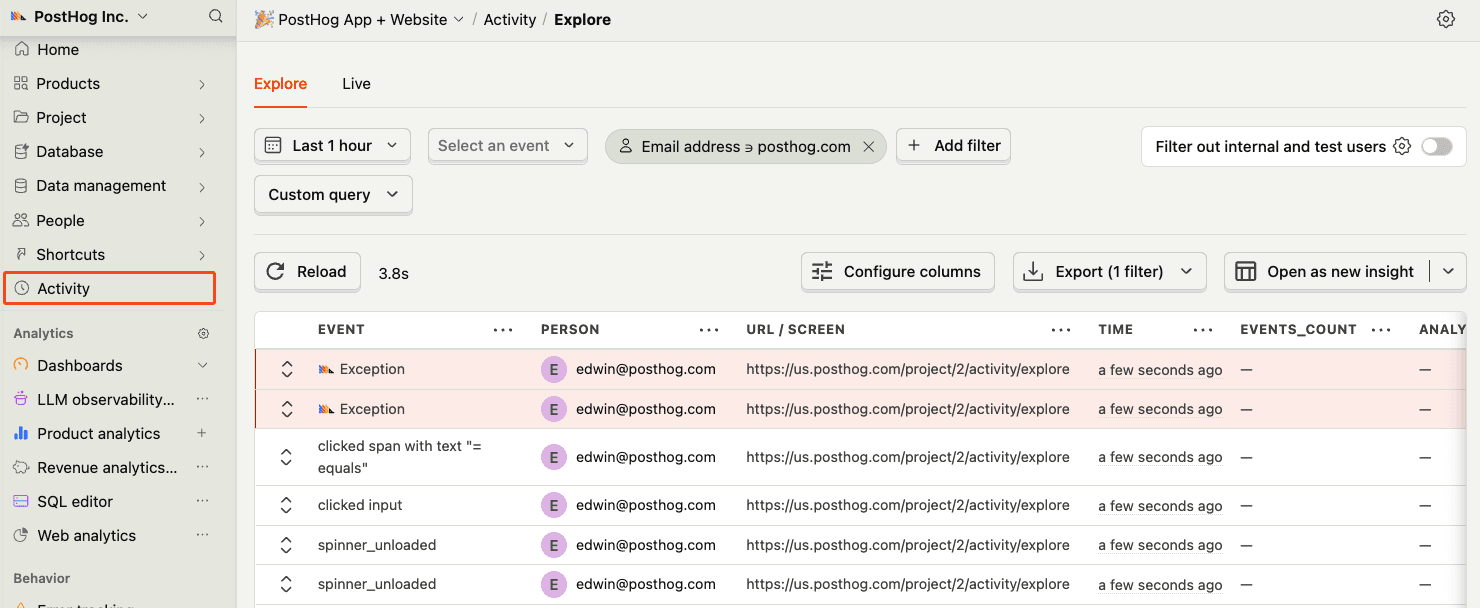
Click around and view a couple pages to generate some events. PostHog automatically captures pageviews, clicks, and other interactions for you.
If you'd like, you can also manually capture custom events:
JavaScript - 4
Setting up exception autocapture
RecommendedException autocapture can be enabled during initialization of the PostHog client to automatically capture any exception thrown by your Angular application.
This requires overriding Angular's default
ErrorHandlerprovider:src/app/posthog-error-handler.tsThen, in your
src/app/app.config.ts, import theprovidePostHogErrorHandlerfunction and add it to the providers array:src/app/app.config.ts - 5
Manually capture exceptions
OptionalIf there are more errors you'd like to capture, you can manually call the
captureExceptionmethod:TypeScript - 6